This project provides a docker image which offers a web service to recognize known faces on images. It's based on the great ageitgey/face_recognition and JanLoebel/face_recognition projects and just add additional web services using the Python face_recognition-library. This service also includes a FaceBox emulate API I create to use the FaceBox component in Home Assistant without having the limitations of the free FaceBox docker container.
On top of that I included a slightly adjusted KCFinder implementation so you can manage your face images via a browser and trigger the 'learn faces' API.
....by the way, I got some questions on why this is called Robin Vision. It is because I gave my home automation setup the 'name' Robin (as per famous Dutch television show 'Bassie and Adriaan').....
First check if your cpu can handle avx instructions. If not, change the following line in the Dockerfile
python3 setup.py install --yes USE_AVX_INSTRUCTIONSto
python3 setup.py install --no USE_AVX_INSTRUCTIONSStart by building the docker image with a defined name. This can take a while.
docker build -t robinvision .Start the image and forward port 8181 & 80.
docker run -d -p 8181:8181 -p 80:80 robinvisionTo make the folders with the trained faces persistent, use below (where /xxx/xxx/xxx is the full path to the local folder which is containing the subfolders with images)
docker run -d -p 8181:8181 -p 80:80 -v /xxx/xxx/xxx:/var/www/html/faces/files robinvisionIMPORTANT REMARK: please always use 8181 as the host port. Changing this will cause the system not to function. On the TODO list to have this fixed
You can also pull the docker image from the Docker Hub registry. There are 2 options, the image with avx and without avx support. This depends on your underlying hardware architecture.
docker pull rdelange/robinvision_noavx:latestor
docker pull rdelange/robinvision:latestStart the image and forward port 8181 & 80.
docker run -d -p 8181:8181 -p 80:80 rdelange/robinvision_noavx:latestor
docker run -d -p 8181:8181 -p 80:80 rdelange/robinvision:latestTo make the folders with the trained faces persistent, use below (where /xxx/xxx/xxx is the full path to the local folder which is containing the subfolders with images)
docker run -d -p 8181:8181 -p 80:80 -v /xxx/xxx/xxx:/var/www/html/faces/files rdelange/robinvision_noavx:latestor
docker run -d -p 8181:8181 -p 80:80 -v /xxx/xxx/xxx:/var/www/html/faces/files rdelange/robinvision:latestIMPORTANT REMARK: please always use 8181 as the host port. Changing this will cause the system not to function. On the TODO list to have this fixed
Simple POST an image-file to the /addface endpoint and provide an identifier.
curl -X POST -F "file=@person1.jpg" http://localhost:8181/addface?name=person1
Simple GET the /faces endpoint.
curl http://localhost:8181/faces
Simple POST an image-file to the web service.
curl -X POST -F "file=@person1.jpg" http://localhost:8181/
Simple DELETE a person from the web service
curl -X DELETE http://localhost:8181/removeface?name=person1
Simple GET the /train endpoint.
curl http://localhost:8181/train
With this function you can enable or disable saving the images of unknown faces. Saving these faces can be handy as you can assign persons to these faces/images later via the Web Interface. As an example: your best friend is not part of the trained face recognition system yet. When your friend visits your house and you have a system running which takes a picture of your living room once every x seconds, the system will classify your friend as an unknown person. By saving the image of his face, you can later update your system by creating a folder with your friends name and moving that image to this folder (all via the web interface). Now your friend will become part of the trained system.
Simple POST the /saveunknown endpoint.
curl -X POST "http://localhost:8181/saveunknown?enable=yes"
With this function you can enable or disable accelerated recognition mode. This is being achieved by downsizing the image before starting the recognition process. This will accelerate the process, but you should keep in mind that small details will be more difficult to differentiate for the system. This means that if the picture contains small faces, they might become too small for the recognition process in the downsized image.
Simple POST the /acceleration endpoint.
curl -X POST "http://localhost:8181/acceleration?enable=yes"
Saving the trained encodings to disk is benefitial when you restart your system. The individual images of faces does not have to be trained with a restart, the system simply loads the data from a file on the disk. On the other hand, dumping a changed dataset to disk takes time and CPU. As such I implemented a function which schedules this task at a moment in time it will not interfere with other workloads. You can enable or disable this function. The time is always on a full hours (between 0 and 23) and minutes (between 0 and 59). Time should be given in UTC!
Simple POST the /scheduler endpoint.
curl -X POST "http://localhost:8181/scheduler?enable=yes&hour=22&minutes=45"
It will return json like: [ { "ScheduleId": 0, "ScheduleTime": "20180724-13:46", "ScheduleTimeStamp": 1532439960.0 } ]
Simple GET the /getschedule endpoint.
curl http://localhost:8181/getschedule
In order to be able to make use of this service from the excelent Home Assistant software I have created an API which emulates the FaceBox docker container API for the /facebox/check, /facebox/teach & /healthz endpoints Just setup the FaceBox component in Home Assistant as per Home Assistant documentation, use the ip address of the RobinVision container as the ip address and the port is 8181. Have Fun. For reference, the API endpoint /facebox/check will only emulates the base64 json implementation (as used in the Home Assistant component). If you would like to check an individual image file you can use the example as given above under ###Identify faces on image
Facebox teach endpoint
curl -X POST -F "file=@Ronald3.jpg" "http://localhost:8181/facebox/teach?name=Ronald&id=Dummy.jpg"
(id is optional)
Facebox healthz endpoint (used by Home Assistant component to check the health of the system befor launching the component.
curl http://localhost:8181/healthz
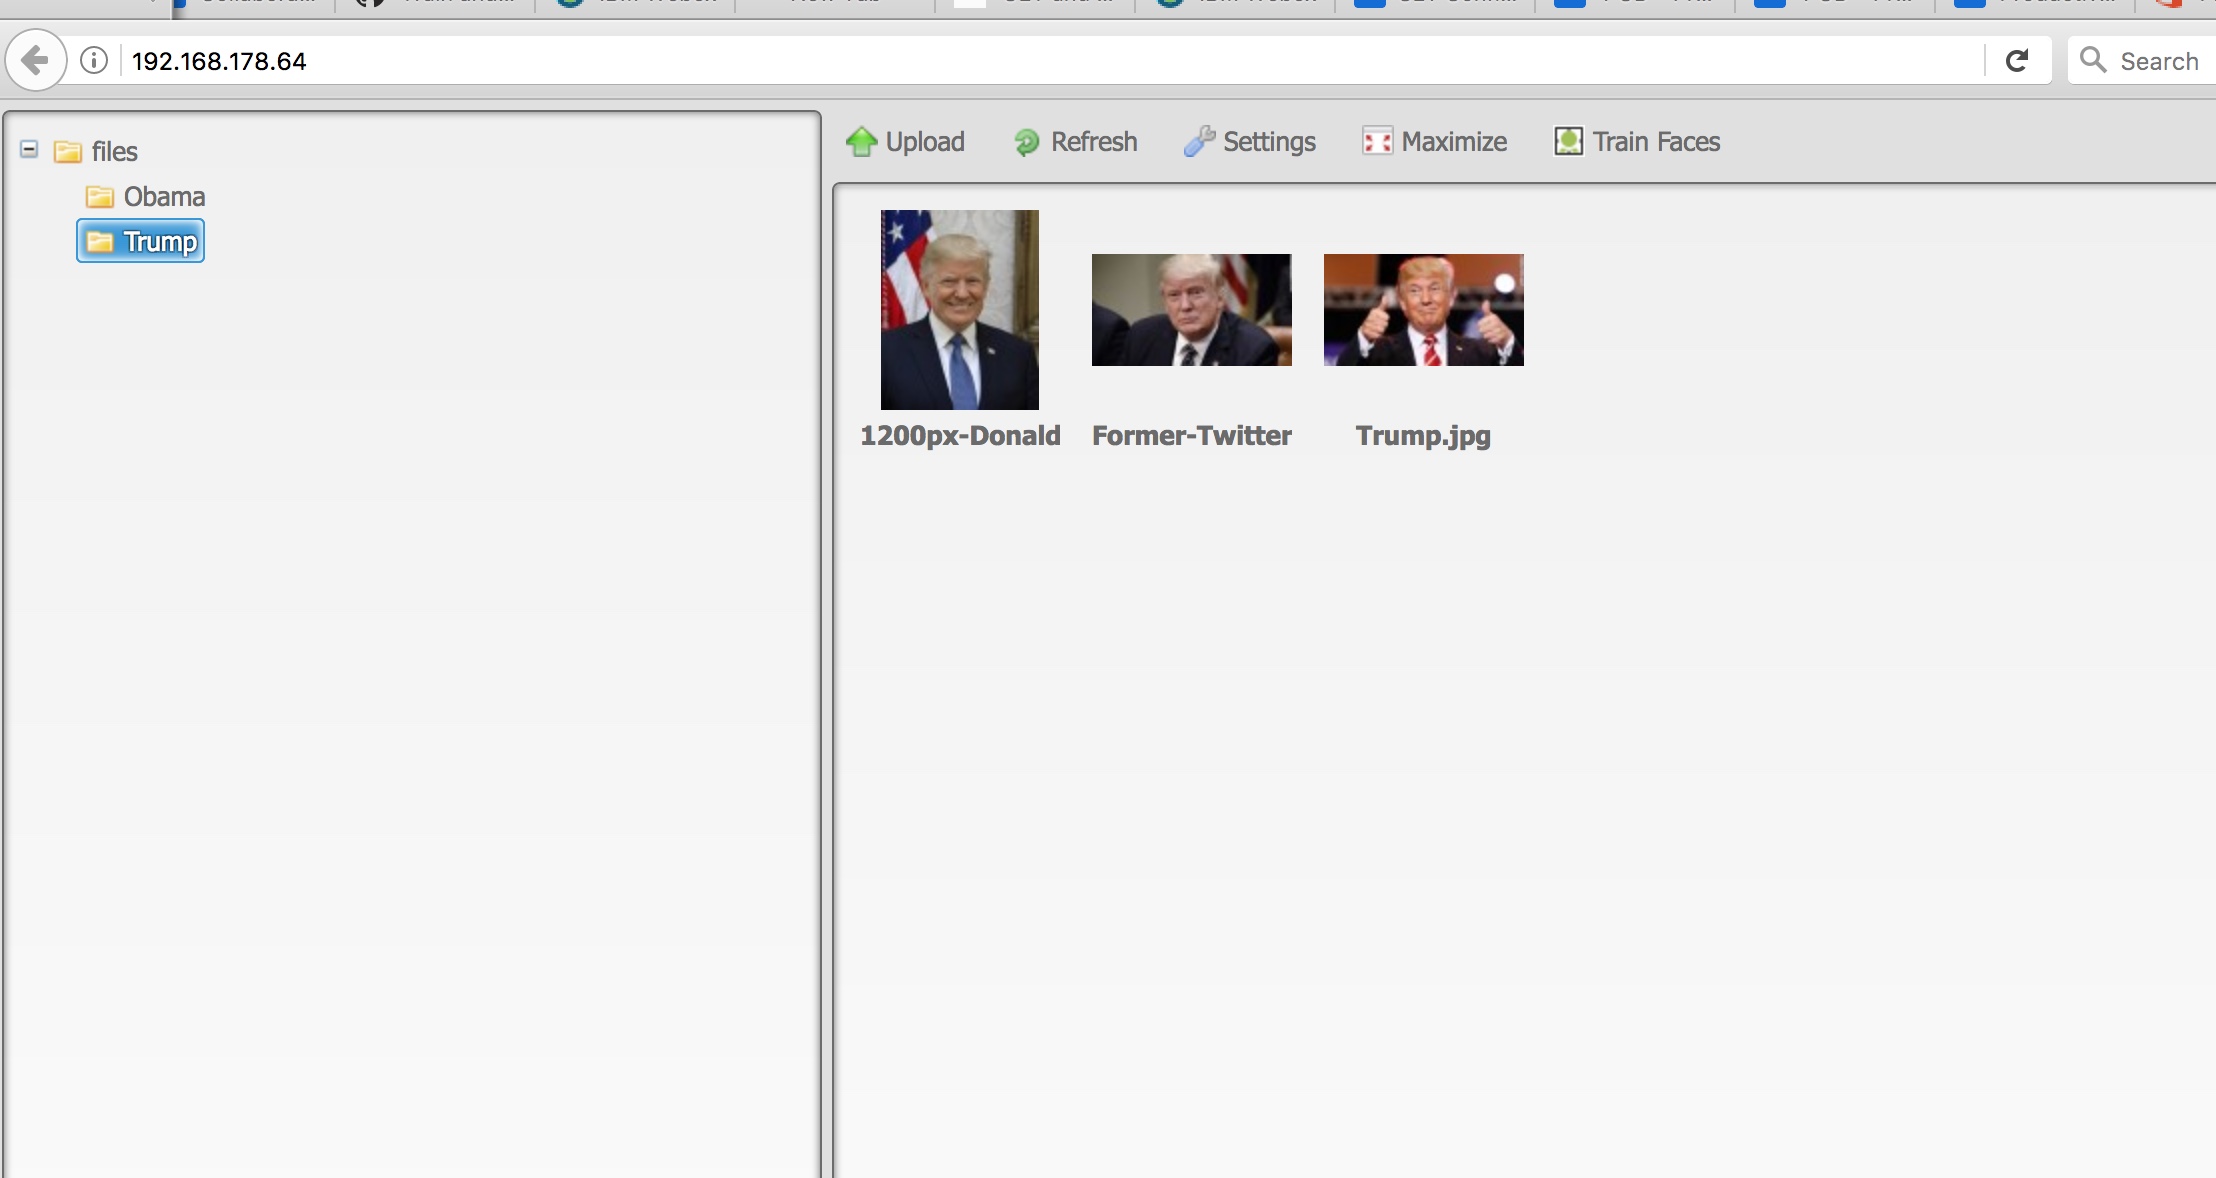
I have added a webinterface to manage your images and to trigger the training of the system (after adding or removing imgages/persons)
The interface is based on KCFinder. The images are managed in folders under the files main folder. Every folder represents a person, the name of the person is the folder name. In the folders you can add/delete images of that specific person. After any change in the person/image database, please make sure to push the train button to get the system retrained. The system will retrain itself after any system (container) relaunch by default.
Just browse to http://localhost:80
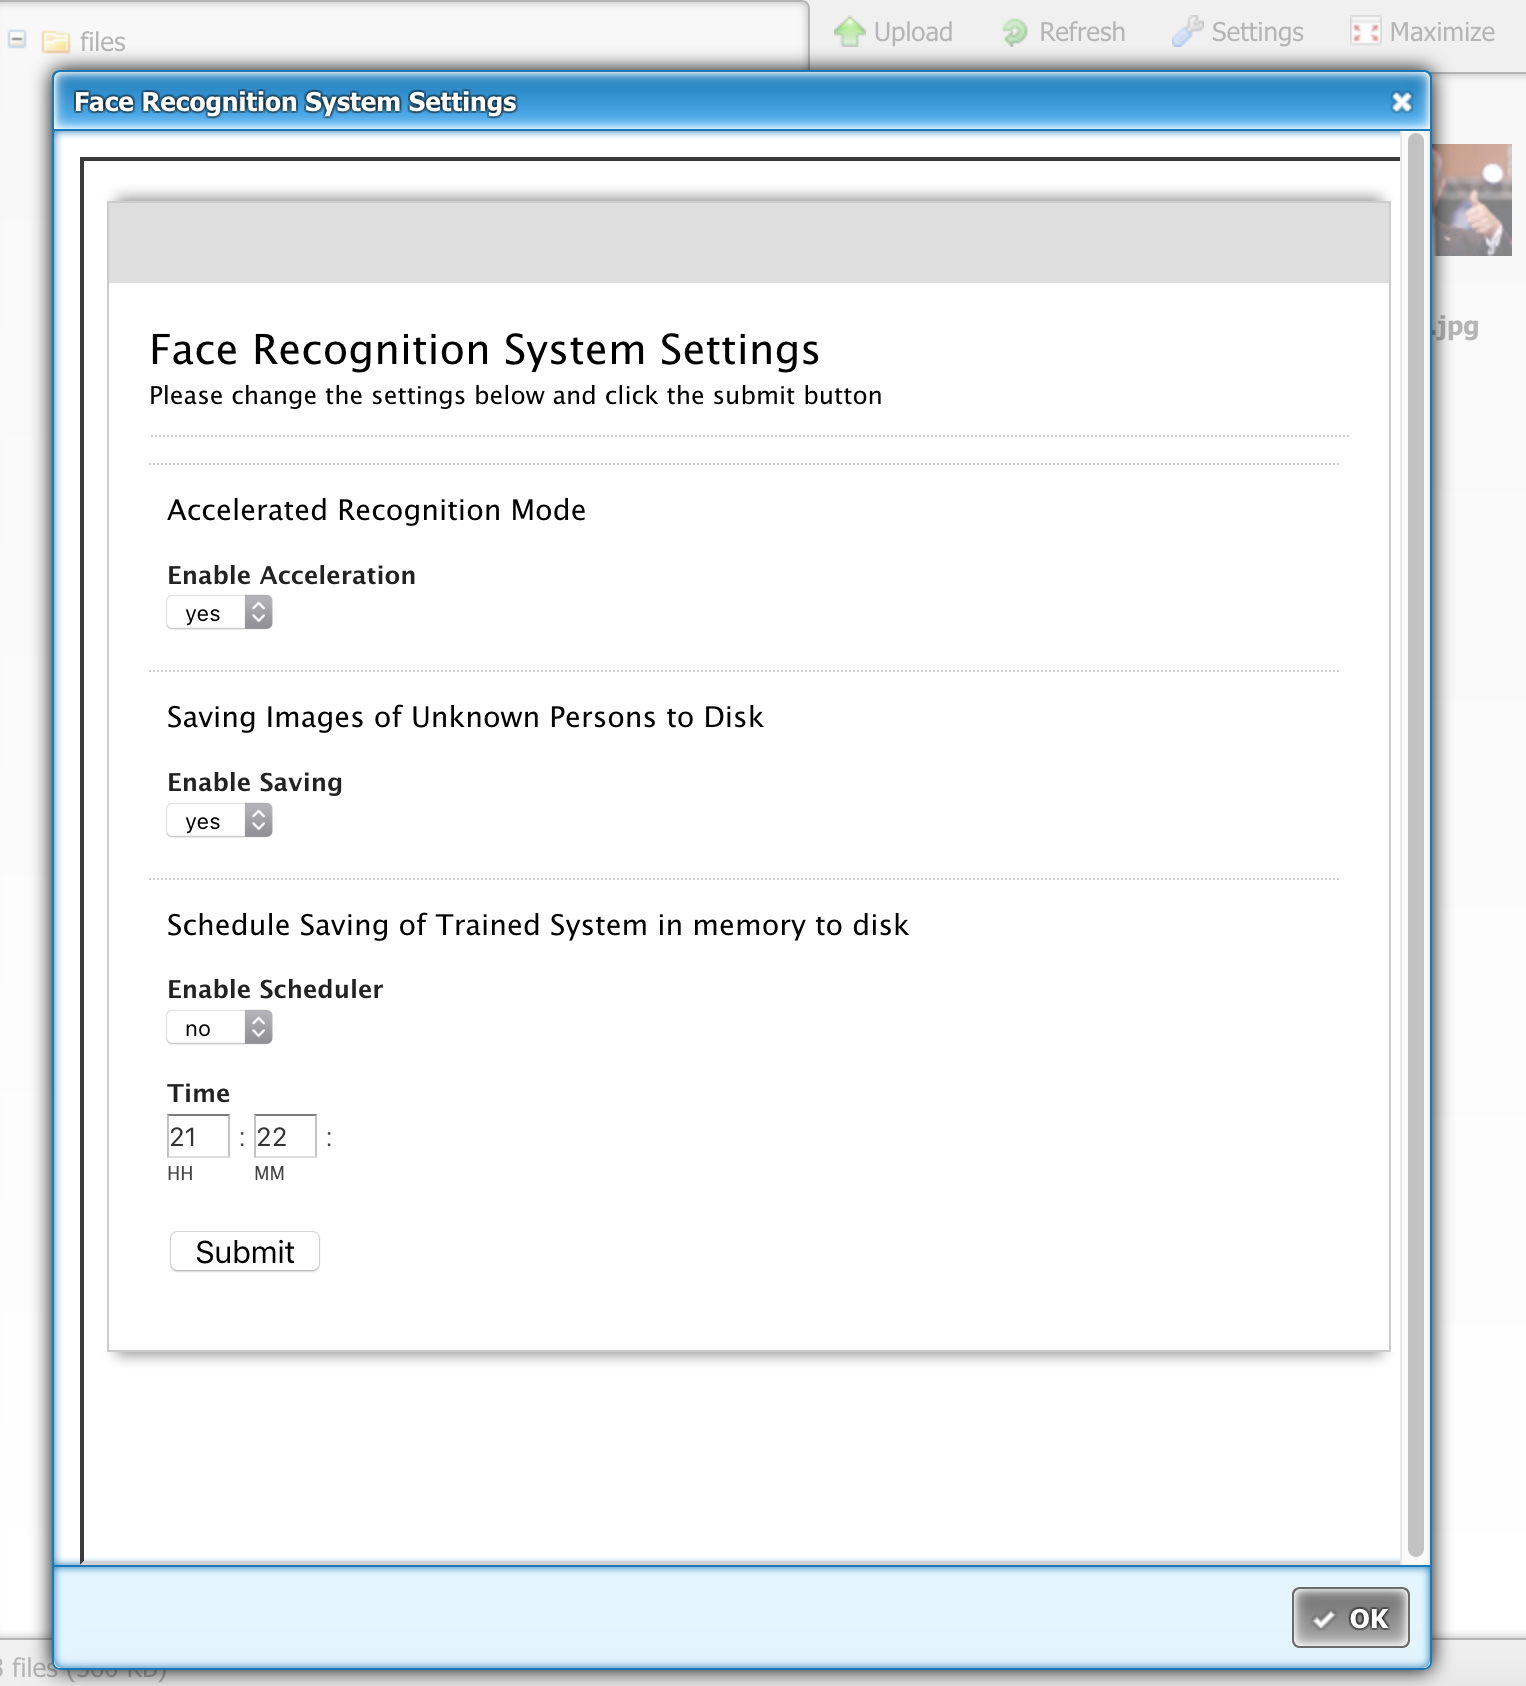
NEW It is now also possible to change basic configuration items via the web interface. Just click the FaceRecognition System Settings button in the toolbar and a dialog will appear where you can update the scheduler and unknown faces settings (see above API's for the description)
I'm not a programming Guru. Code might be not fully optimised. But it's working -:) Enjoy!

