- Preview
- Communication and SensorTag
- Basic idea behind Tamagotchi
- Functionalities
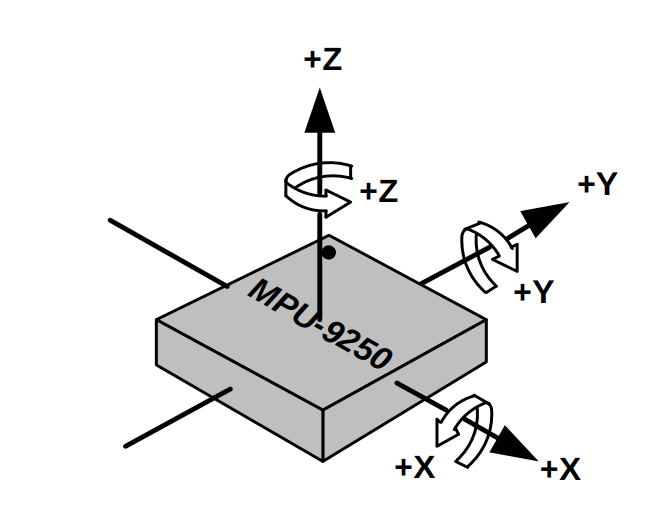
- Motion measurement and functions - MPU9250 sensor calculates six key values: - In final recognizer we use only Acceleration X Y Z values and specific functions around it: - Recognized movements and actions
- State machine
- Summary
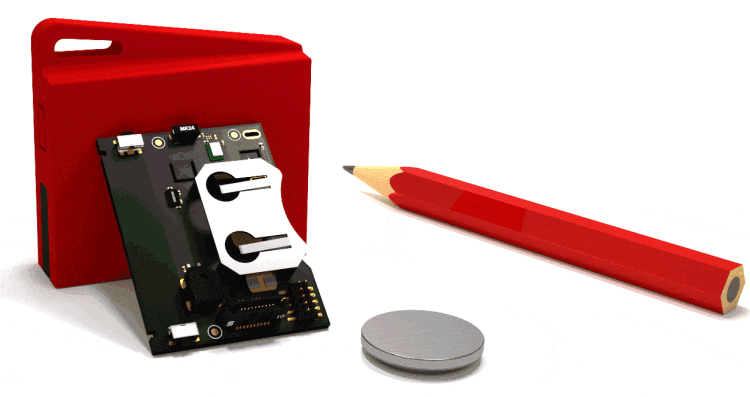
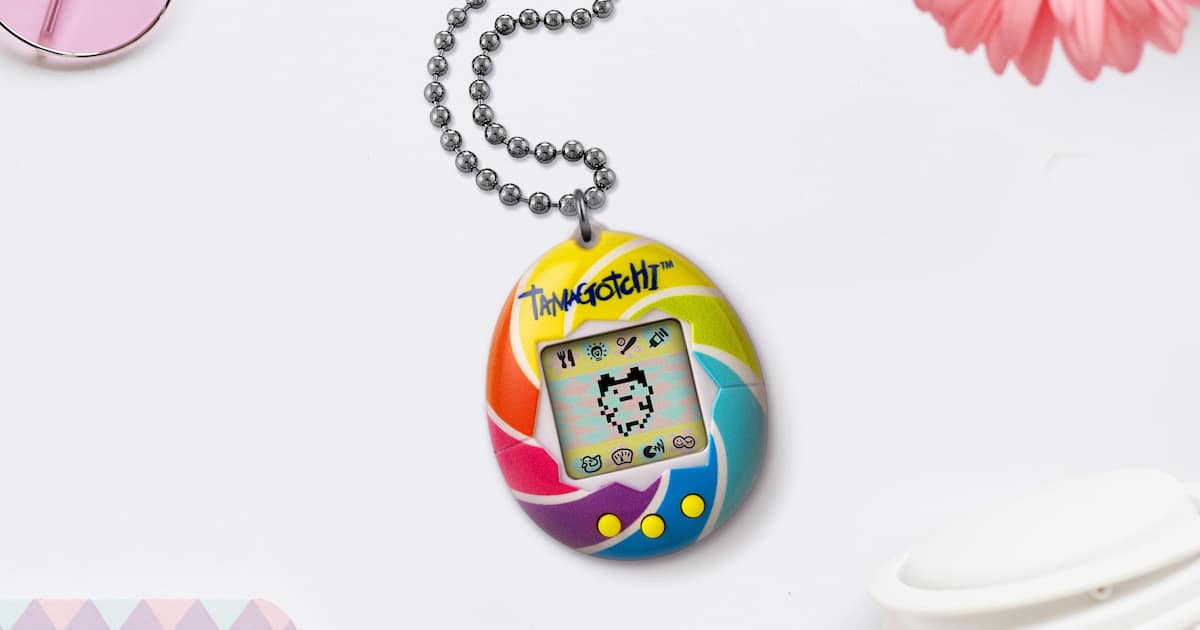
Our project was to create own virtual pet, in other words Tamagotchi by using TIDC-CC2650STK SensorTag. Tamagotchi located inside course backend server and our job was to communicate with that wireless and create all needed functionalities by using SensorTag.
-
Wireless by using ready-made course library.
-
UART by using Node gateway.
We implement both ways, but Wireless couldn't handle as many functions as we created.. So we used UART in our final version.
Tamagotchi functions based mainly in data which is collected by SensorTag sensors. In project we use four sensors:
-
TMP007: Temperature
-
OPT3001: Brightness
-
BMP280: Air pressure
-
MPU9250: Motion sensor
And Three other SensorTag own functionality:
-
Buzzer
-
Battery
-
Buttons
- Food
- Exercise
- Pet
Those values are downgraded by 1 unit in every 10 seconds. User job is to keep those values above 0, otherwise Tamagotchi will run away.
User can upgrade each values by individually or all in once doing certain interactive tasks, which are listed in own section.
- Box 1: Shows battery status
- Box 2: Gives user instructions, encourages and verify identified actions
- Blink Led and warning sound, if some key value drop level 2
- Buzzer response for accepted actions
-
Plays music and give audios signals by using SensorTag Buzzer
-
Communicate with backend in both ways Wireless + UART
-
Receive data from Tamagotchi backend server
- Process data
- Execute different Tasks based received data
-
Menu controlled by auxButton and pwrButton
-
Initial state options are
- pwrButton long press --> shutdown
- auxButton short press --> feed Tamagotchi
- auxButton long press --> Menu state
-
Menu state options are
- pwrButton press --> mitä tekee
- auxButton press --> mitä tekee
-
-
State machine which controls all functions
-
Measures temperature from Sensor Tag TMP007 sensor
-
Measures brightness from Sensor Tag OPT3001 sensor. If there is too dark Tamagotchi going sleep
-
Measures air pressure from Sensor Tag BMP280 sensor
-
Reading battery data and keep user updated its state
-
Informing user by Led, Buzzer and UI messages
-
Sends bellow data to Tamagotchi backend server
- SensorTag raw data from TMP007 OPT3001 BMP280 MPU9250 sensors
- Key value increase commands which based user actions
- Text based information about recognized user actions and other interactive information
-
Measures movements from Sensor Tag MPU9250 sensor
-
Recognises movements and made actions based that
Many of the Tamagotchi actions is based user movements. To recognize those movements we use raw data, which is received form SensorTag MPU9250 sensor.
 Acceleration in X-axis
 Acceleration in Y-axis
 Acceleration in Z-axis
 Gyroscope in X-axis
 Gyroscope in Y-axis
 Gyroscope in Z-axis
To create movement recognizer we tested several solutions and collect a lot of raw data with certain movements and situations.
First we collected data analyze it by using plots
From that data, we was able to define error limits and test several data process techniques. We tested to calculate Standard deviation and Variance for six values, which we received form movement sensor and used different size of data windows.
From those calculations, we created couple different type of functions to recognize moves and ended up final solution, which worked best.
- Floating average for each X Y Z value
- Limit values to recognize users faulty movements
- Variance calculus to process raw data
- Main recognizer, which receives processed data and create Tasks from recognized movements
- Stairs --> Exercise
- Something --> Pet
- Something --> play music
Draft and final version
Project was fun and we was able to create all wanted functionalities. We planned precisely work steps and schedule before we started coding a project, which helped a lot.
During the project, we faced some small problems but we was able to solve those quickly. We would also have liked to create more accurate movement recognizer, but course schedule, didn't offer enough time for that.
- Week 1: Data collection, creating needed Algorithms and planning State machine
- Week 2: Main functionalities
- Week 3: Main and additional functionalities
- Week 4: Combining functionalities, fixing bugs and fine tuning
Division of labor was quite clear from the beginning, Antti has strong knowledge and experience about programming, so he was our main wizard. Antti was responsible of main code and combining smaller functions together. Matias and Joonas helped Antti and created functionalities for example Movement and Brightness detection, Menu structure etc.
Coding was mainly handled face-to-face work sessions, where we was able to share ideas, find needed information and test code.
- Antti: Main Wizard i.e. Main coding + Connecting pieces together
- Matias: Coding + Searching needed information
- Joonas: Coding + Documentation


