| title | summary |
|---|---|
Integrate TiDB Serverless Branching (Beta) with GitHub |
Learn how to integrate the TiDB Serverless branching feature with GitHub. |
Note:
The integration is built upon TiDB Serverless branching. Make sure that you are familiar with TiDB Serverless branching before reading this document.
If you use GitHub for application development, you can integrate TiDB Serverless branching into your GitHub CI/CD pipeline, which lets you automatically test your pull requests with branches without affecting the production database.
In the integration process, you will be prompted to install the TiDB Cloud Branching GitHub App. The app can automatically manage TiDB Serverless branches according to pull requests in your GitHub repository. For example, when you create a pull request, the app will create a corresponding branch for your TiDB Serverless cluster, in which you can work on new features or bug fixes in isolation without affecting the production database.
This document covers the following topics:
- How to integrate TiDB Serverless branching with GitHub
- How does the TiDB Cloud Branching app work
- How to build a branching-based CI workflow to test every pull request using branches rather than the production cluster
Before the integration, make sure that you have the following:
- A GitHub account
- A GitHub repository for your application
- A TiDB Serverless cluster
To integrate TiDB Serverless branching with your GitHub repository, take the following steps:
-
In the TiDB Cloud console, navigate to the Clusters page of your project, and then click the name of your target TiDB Serverless cluster to go to its overview page.
-
Click Branches in the left navigation pane.
-
In the upper-right corner of the Branches page, click Connect to GitHub.
- If you have not logged into GitHub, you will be asked to log into GitHub first.
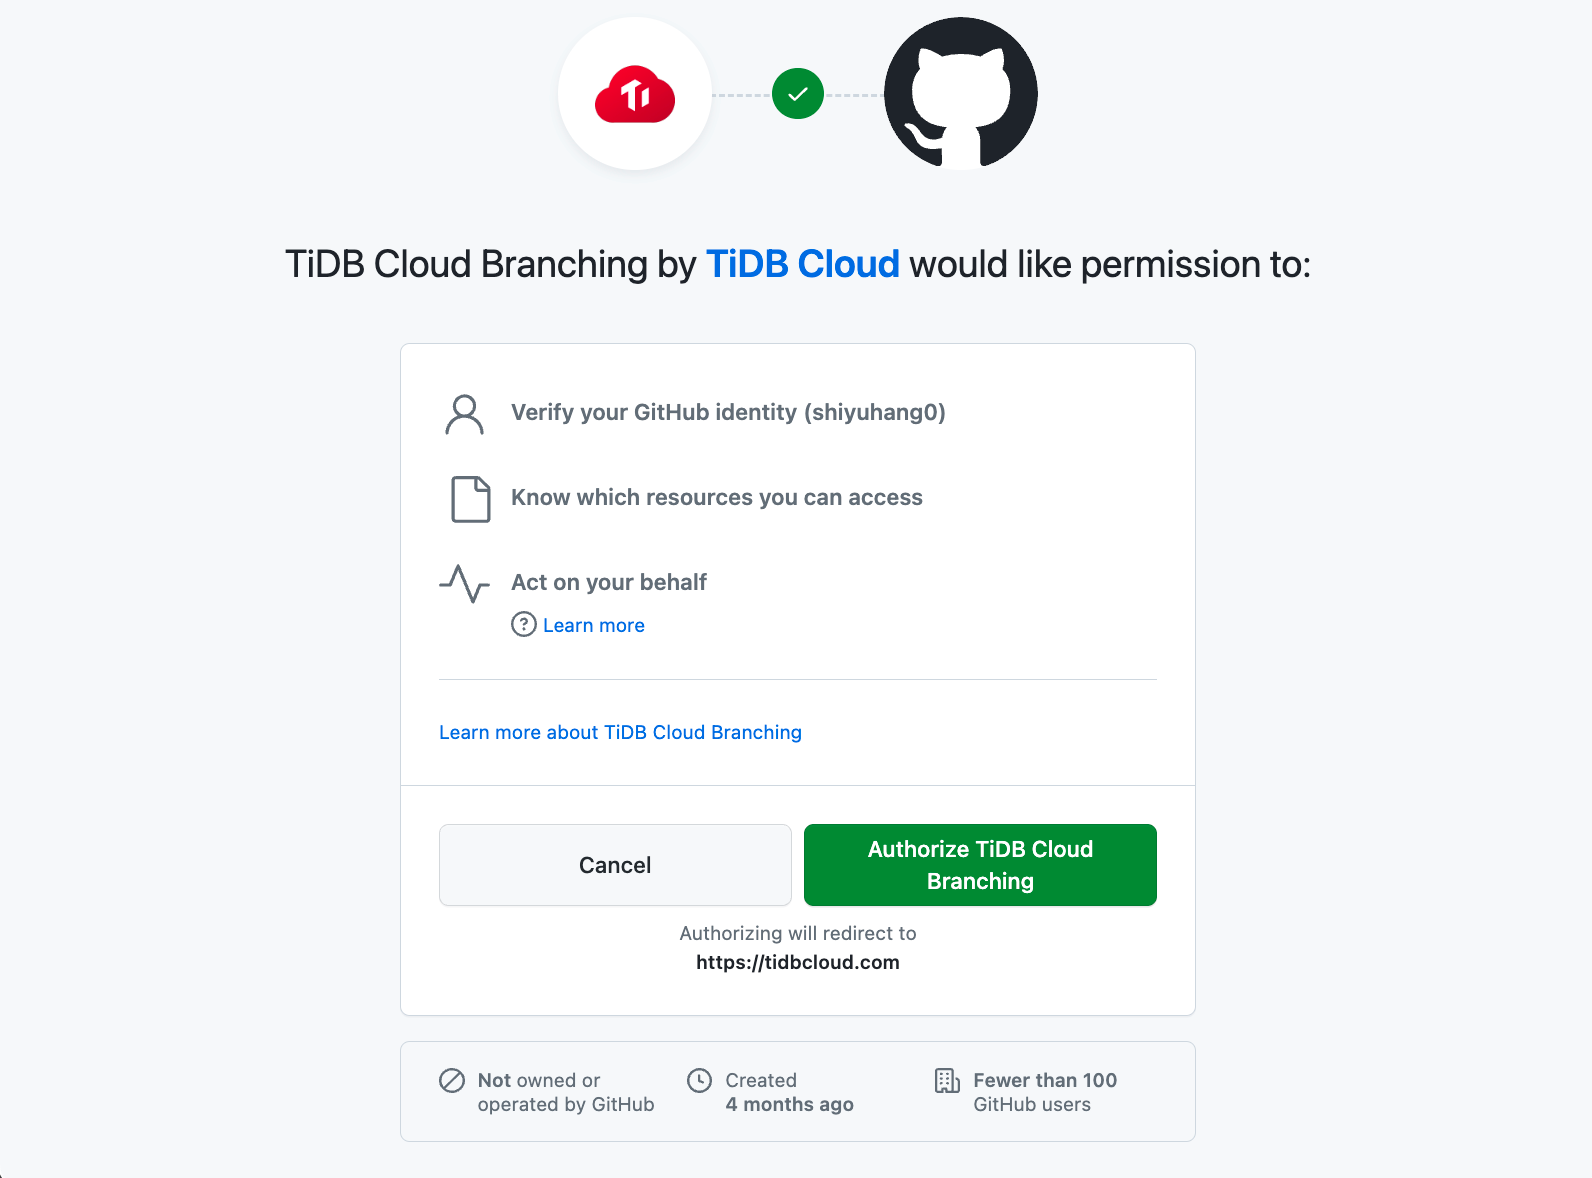
- If it is the first time you use the integration, you will be asked to authorize the TiDB Cloud Branching app.
-
In the Connect to GitHub dialog, select a GitHub account in the GitHub Account drop-down list.
If your account does not exist in the list, click Install Other Account, and then follow the on-screen instructions to install the account.
-
Select your target repository in the GitHub Repository drop-down list. If the list is long, you can search the repository by typing the name.
-
Click Connect to connect between your TiDB Serverless cluster and your GitHub repository.
After you connect your TiDB Serverless cluster to your GitHub repository, for each pull request in this repository, the TiDB Cloud Branching GitHub App can automatically manage its corresponding TiDB Serverless branch. The following lists the default behaviors for pull request changes:
| Pull request changes | TiDB Cloud Branching app behaviors |
|---|---|
| Create a pull request | When you create a pull request in the repository, the TiDB Cloud Branching app creates a branch for your TiDB Serverless cluster. The branch name is in the ${github_branch_name}_${pr_id}_${commit_sha} format. Note that the number of branches has a limit. |
| Push new commits to a pull request | Every time you push a new commit to a pull request in the repository, the TiDB Cloud Branching app deletes the previous TiDB Serverless branch and creates a new branch for the latest commit. |
| Close or merge a pull request | When you close or merge a pull request, the TiDB Cloud Branching app deletes the branch for this pull request. |
| Reopen a pull request | When you reopen a pull request, the TiDB Cloud Branching app creates a branch for the lasted commit of the pull request. |
To configure the behaviors of TiDB Cloud Branching app, you can add a tidbcloud.yml file to the root directory of your repository, and then add the desired configurations to this file according to the following instructions.
Type: array of string. Default: [].
Specify the GitHub branches that forbid the TiDB Cloud Branching app, even if they are in the allowList.
github:
    branch:
        blockList:
            - ".*_doc"
- ".*_blackList"type: array of string. Default: [.*].
Specify the GitHub branches that allow the TiDB Cloud Branching app.
github:
    branch:
        allowList:
- ".*_db"Type: boolean. Default: false.
If it is set to true, the TiDB Cloud Branching app will not delete the TiDB Serverless branch that is created in the previous commit.
github:
    branch:
autoReserved: falseType: boolean. Default: true.
If it is set to false, the TiDB Cloud Branching app will not delete the TiDB Serverless branch when a pull request is closed or merged.
github:
    branch:
autoDestroy: trueOne of the best practices for using branches is to create a branching CI workflow. With the workflow, you can test your code using a TiDB Serverless branch instead of using the production cluster before merging the pull request. You can find a live demo here.
Here are the main steps to create the workflow:
-
Integrate TiDB Serverless branching with your GitHub repository.
-
Get the branch connection information.
You can use the wait-for-tidbcloud-branch action to wait for the readiness of the TiDB Serverless branch and get the connection information of the branch.
Example usage:
steps:
  - name: Wait for TiDB Serverless branch to be ready
    uses: tidbcloud/wait-for-tidbcloud-branch@v0
    id: wait-for-branch
    with:
      token: ${{ secrets.GITHUB_TOKEN }}
      public-key: ${{ secrets.TIDB_CLOUD_API_PUBLIC_KEY }}
      private-key: ${{ secrets.TIDB_CLOUD_API_PRIVATE_KEY }}

  - name: Test with TiDB Serverless branch
     run: |
        echo "The host is ${{ steps.wait-for-branch.outputs.host }}"
        echo "The user is ${{ steps.wait-for-branch.outputs.user }}"
        echo "The password is ${{ steps.wait-for-branch.outputs.password }}"
-
Modify your test code.
Modify your test code to accept the connection information from GitHub Actions. For example, you can accept the connection information through the environment, as demonstrated in the live demo.
You can also build your branching CI/CD workflow without the branching GitHub integration. For example, you can use setup-tidbcloud-cli and GitHub Actions to customize your CI/CD workflows.

