npm install --save react-native-branchreact-native link react-native-branchor link the project manually- Add
pod 'Branch'as a dependency in your ios/Podfile cd ios; pod install --repo-update
Note that CocoaPods 1.0 no longer automatically updates pod repositories automatically on pod install. To make sure
you get the latest version of the Branch SDK, use --repo-update or run pod repo update before pod install.
In a standard installation your Podfile should look something like:
target 'MyProject' do
  pod 'Branch'
endIf you do not already have a Podfile in your ios directory, you can create one with cd ios; pod init. Then add pod 'Branch' to your target. Or you
can copy the simple Podfile from the testbed_cocoapods sample app
and modify it for your target(s), e.g.:
use_frameworks!

pod "Branch"

target "MyProject"
target "MyProjectTests"
Now run pod install to get the Branch SDK.
Note: Version 0.9.0 will not build if use_frameworks! is specified. Use 1.0.0 or 0.9.1 (to be released soon).
After pod install you will from now on need to open your project using [MyProject].xcworkspace instead of the original .xcodeproj.
If you already use the React pod, you can simply add the react-native-branch dependency to your Podfile:
target 'MyProject' do
  pod 'React', path: '../node_modules/react-native'
  pod 'react-native-branch', path: '../node_modules/react-native-branch'
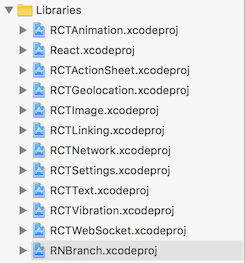
end- Drag and Drop node_modules/react-native-branch/RNBranch/RNBranch.xcodeproj into the Libraries folder of your project in XCode (as described in Step 1 here). Be certain to add RNBRanch.xcodeproj after all the React projects in the Libraries group.
- Drag and Drop the RNBranch.xcodeproj's Products's libreact-native-branch.a into your project's target's "Linked Frameworks and Libraries" section (as described in Step 2 here). The order here is not important. Note: In version 0.9, the library is called libRNBranch.a.
- If you are using version 0.9 of
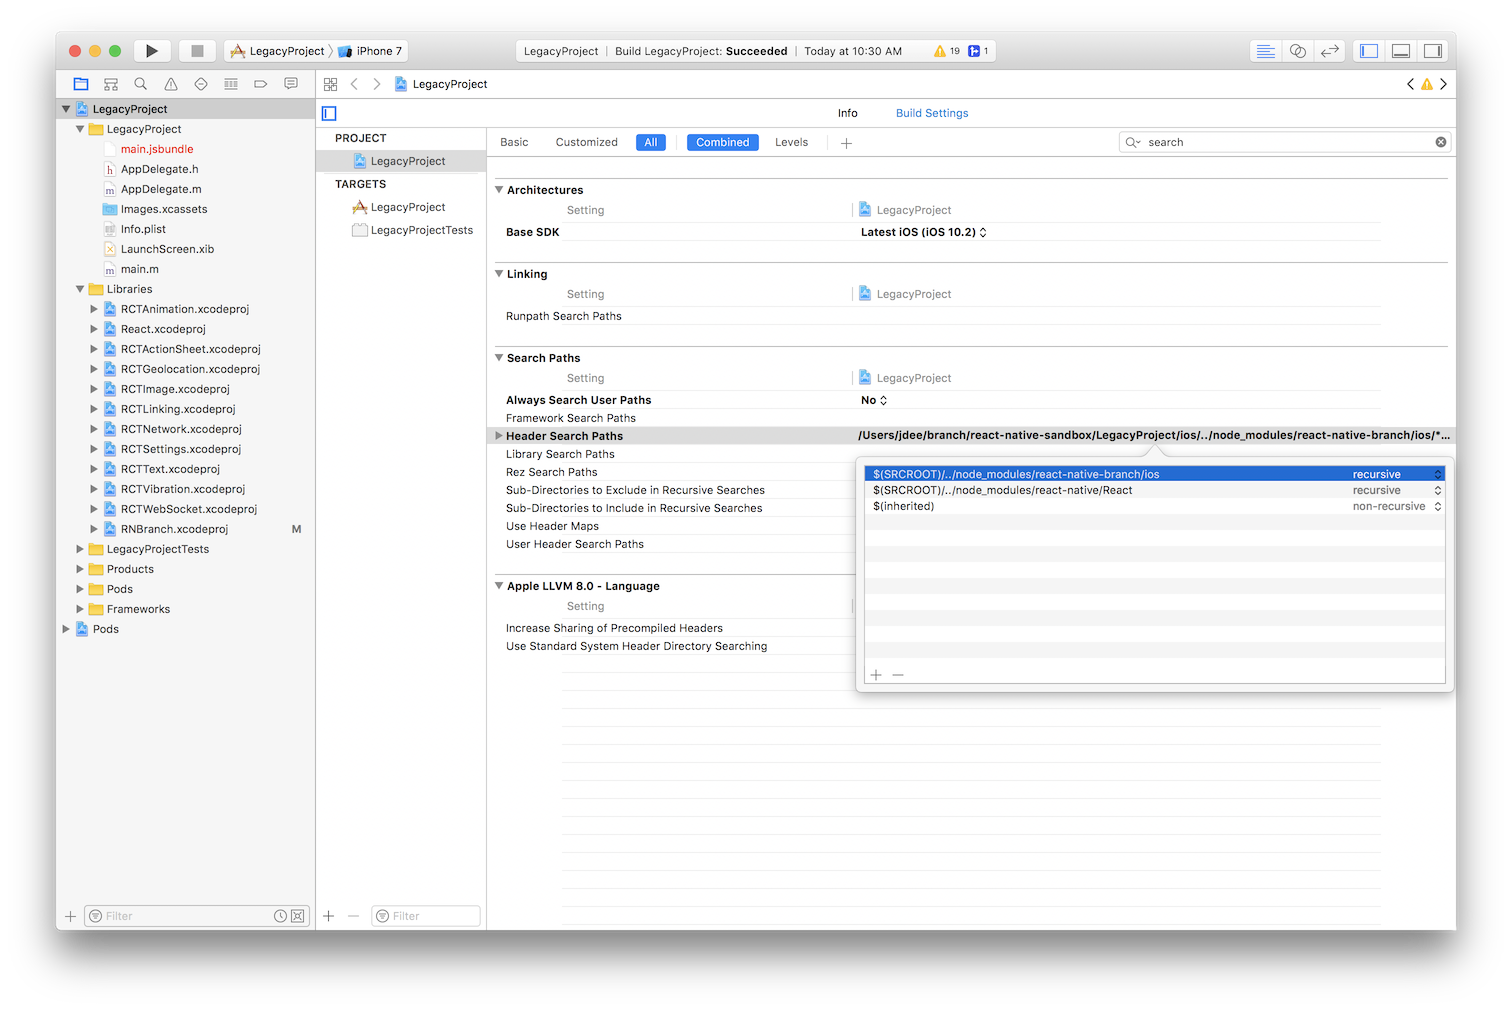
react-native-branch, add a Header Search Path pointing to$(SRCROOT)/../node_modules/react-native-branch/ios(as described in Step 3 here).
This step is not necessary if you are using version 1.0.
android/settings.gradle
include ':react-native-branch', ':app'

project(':react-native-branch').projectDir = new File(rootProject.projectDir, '../node_modules/react-native-branch/android')
android/app/build.gradle
dependencies {
    ...
    compile project(':react-native-branch')
}
Now that Branch is installed, you will need to set up your app to handle Branch links.

