

Website |
Documentation |
Add-ons |
Pricing |
Services |
Stack Overflow |
Reddit |
Blog |
Newsletter
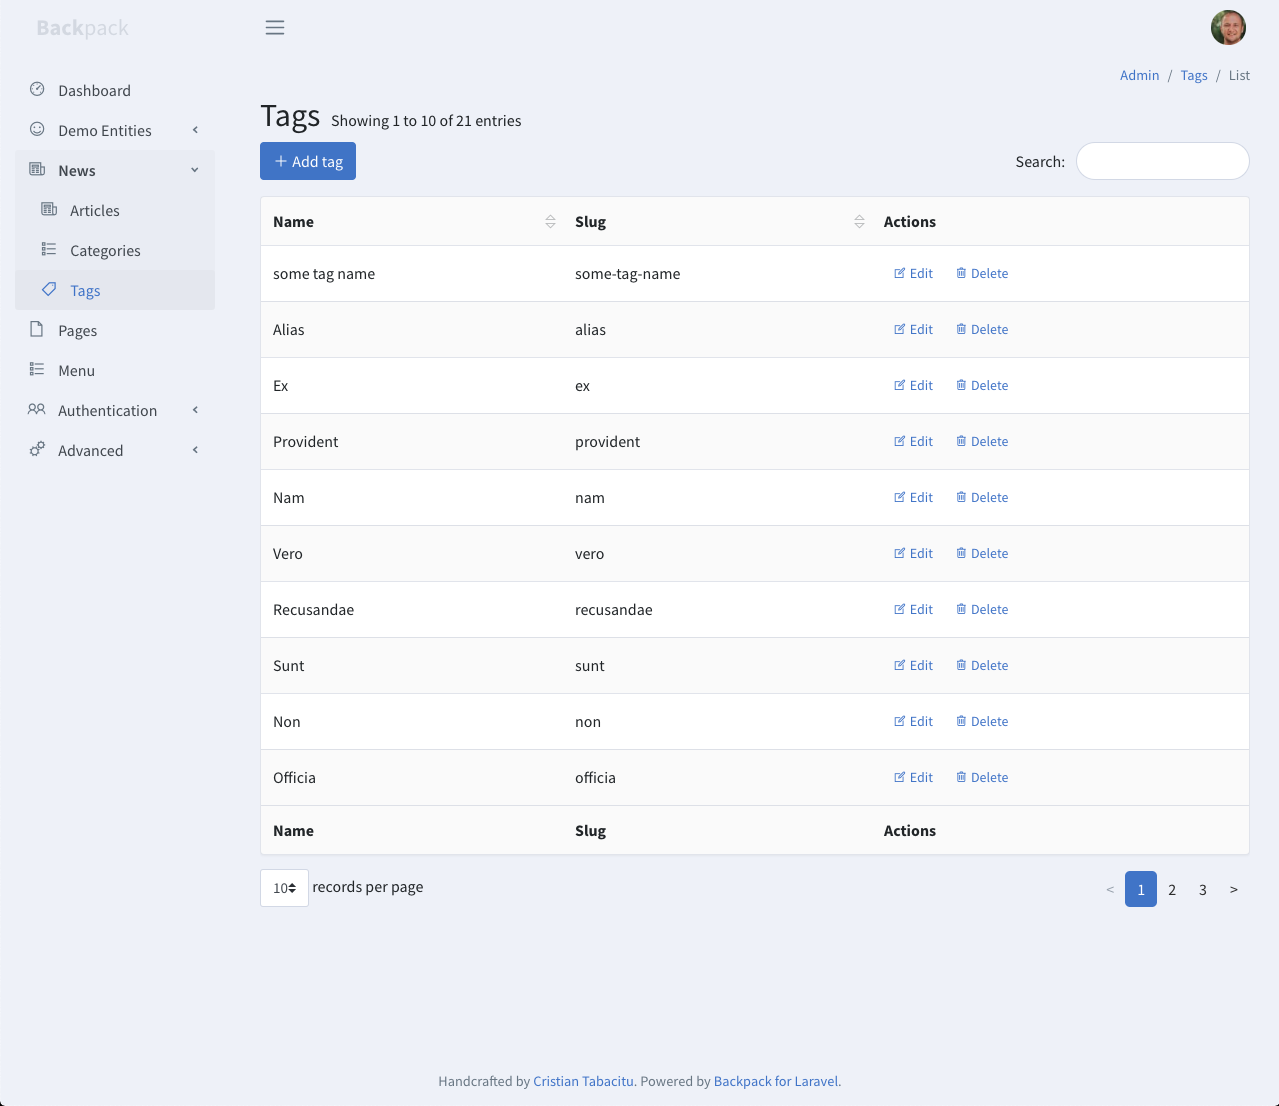
Laravel BackPack's demo, which includes all Backpack packages.
Please subscribe to the Backpack Newsletter so you can find out about any security updates, breaking changes or major features. We send an email every 1-2 months.
You can find the demo online at demo.backpackforlaravel.com, and play around. But some functionality is disabled, for security reasons (uploads, edits to users). If you want to run the demo without restrictions and/or make code edits and see how they're applied, you can install it on your own machine. See below.
IMPORTANT. This demo requires ALL our premium packages. If you do not have access to one of them, you will not be able to install it. To install this demo yourself, make sure you've purchased all our premium add-ons individually, or our Everything bundle - https://backpackforlaravel.com/pricing
- Run in your terminal:
git clone https://github.com/Laravel-Backpack/demo.git backpack-demo-
Set your database information in your .env file (use the .env.example as an example);
-
Make sure the
APP_URLin your .env file is correctly pointing to the URL you use to access your application in the browser, for example:http:127.0.0.1:8000orhttp://something.test -
Run in your backpack-demo folder:
composer install
php artisan key:generate
php artisan migrate
php artisan db:seed- Your admin panel is available at http://localhost/backpack-demo/admin
- Login with email
admin@example.com, passwordadmin - [optional] You can register a different account, to check out the process and see your gravatar inside the admin panel.
- By default, registration is open only in your local environment. Check out
config/backpack/base.phpto change this and other preferences.
Note: Depending on your configuration you may need to define a site within NGINX or Apache; Your URL domain may change from localhost to what you have defined.
This package provides an example docker-compose.yml to launch your database and web server easily
composer install
cp .env.example .env
php artisan key:generate
Use these parameters in your .env file
APP_URL=http://localhost
DB_CONNECTION=mysql
DB_HOST=db
DB_PORT=3306
DB_DATABASE=backpackdemo
DB_USERNAME=root
DB_PASSWORD=asdf
Launch docker
docker-compose up -d
Create your database with following command
docker-compose exec db mysql -u root -pasdf -e "create database if not exists backpackdemo;"
Migrate and seed
php artisan migrate --seed
You should see the demo in your browser now
http://localhost/admin
To stop the server simply run
docker-compose down
Note:
In docker, to connect to your database from your GUI use 127.0.0.1 as your database host, instead of localhost
Please see CHANGELOG for more information what has changed recently.
Please see CONTRIBUTING and CONDUCT for details.
If you discover any security related issues, please email tabacitu@backpackforlaravel.com instead of using the issue tracker.
Please subscribe to the Backpack Newsletter so you can find out about any security updates, breaking changes or major features. We send an email every 1-2 months.
Backpack is free for non-commercial use and 69 EUR/project for commercial use. Please see License File and backpackforlaravel.com for more information.
We've spend more than 10.000 hours creating, polishing and maintaining administration panels on Laravel. We've developed e-Commerce, e-Learning, ERPs, social networks, payment gateways and much more. We've worked on admin panels so much, that we've created one of the most popular software in its niche - just from making public what was repetitive in our projects.
If you are looking for a developer/team to help you build an admin panel on Laravel, look no further. You'll have a difficult time finding someone with more experience & enthusiasm for this. This is what we do. Contact us - let's see if we can work together.

