An app extension lets you extend custom functionality and content beyond your app and make it available to users while they’re using other apps or the system. In this post, you will learn how to use extensions with the Couchbase Lite iOS SDK and Sync Gateway.
Action extensions are all about changing content in-place and Share extensions is about moving content from the current host application to your application or web service.
Action extensions act on the current content and because of that it uses the content as the user interface (for example, a Translate extension to translate text in-place would be an Action extension).
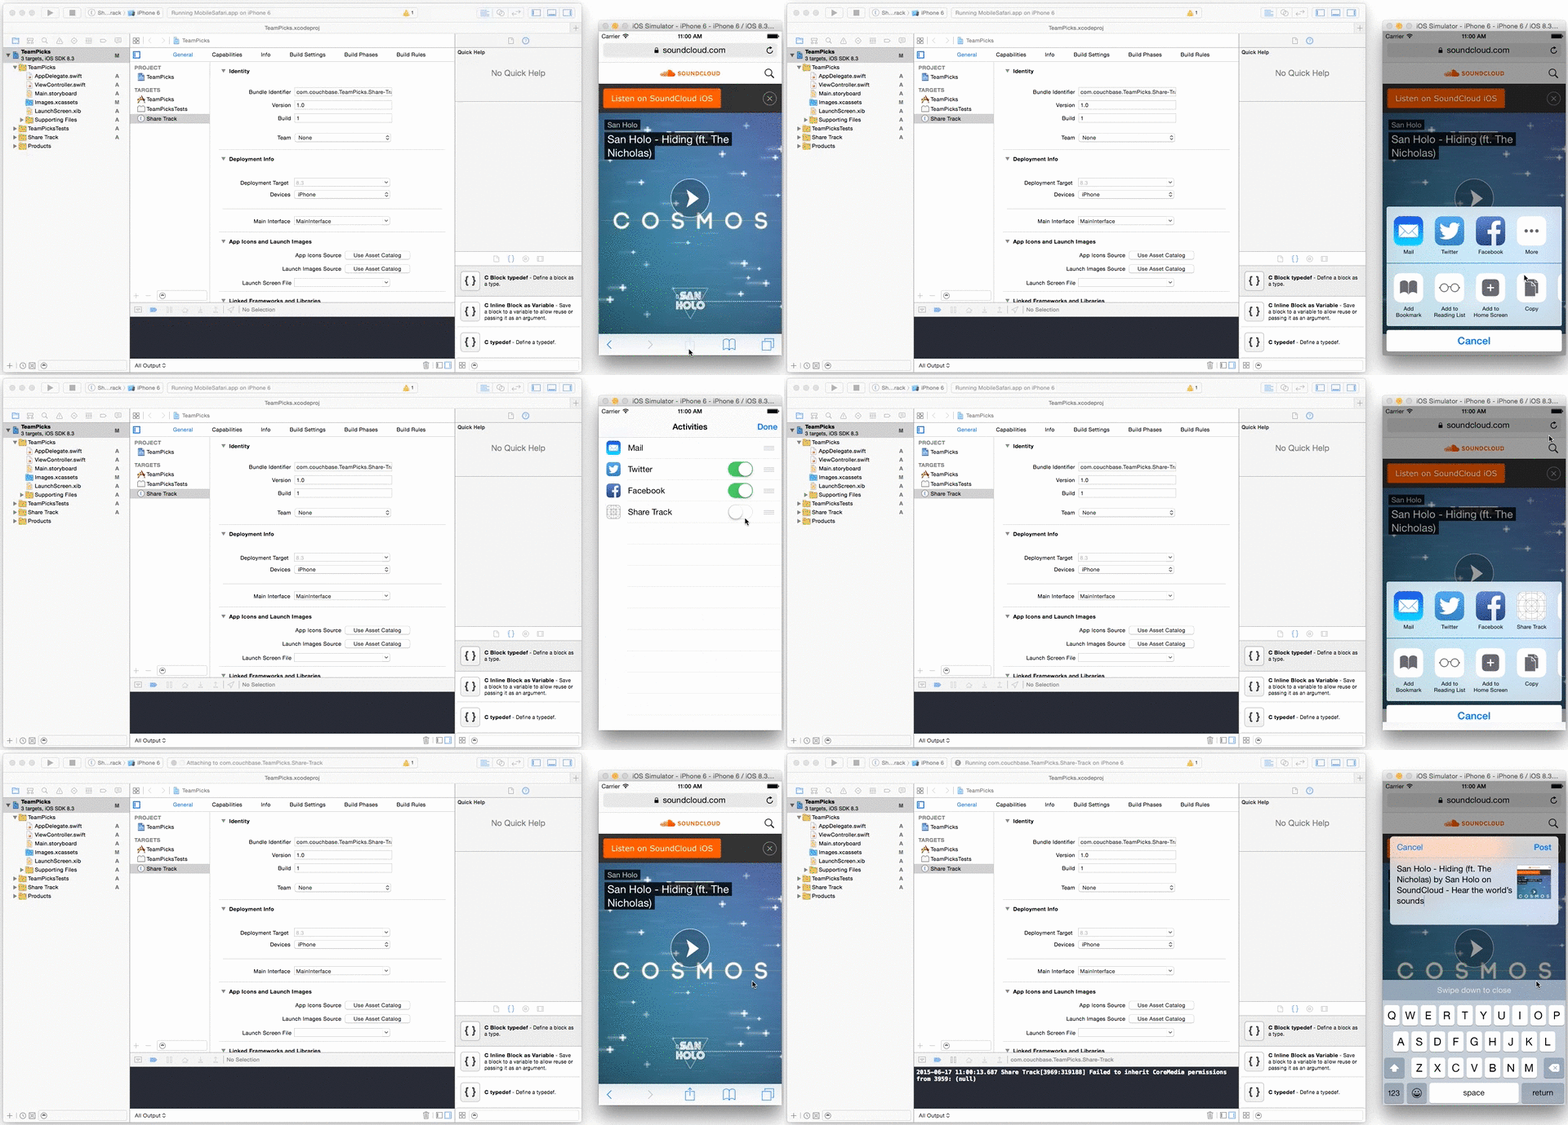
In Safari, if we tap on the action bar on the top right, it brings up the share sheet with two types of extensions:
The Share Extensions are on the top and the Action Extensions are on the bottom.
Imagine you are building a music curation platform and would like to allow curators to pick songs while browsing the internet. This is a perfect use case for a Share extension. In this tutorial, you will build this Share extension with multiple View Controllers on screen to share the beat with a particular curation team.
In Xcode, create a new Single View Application project called TeamPicks:
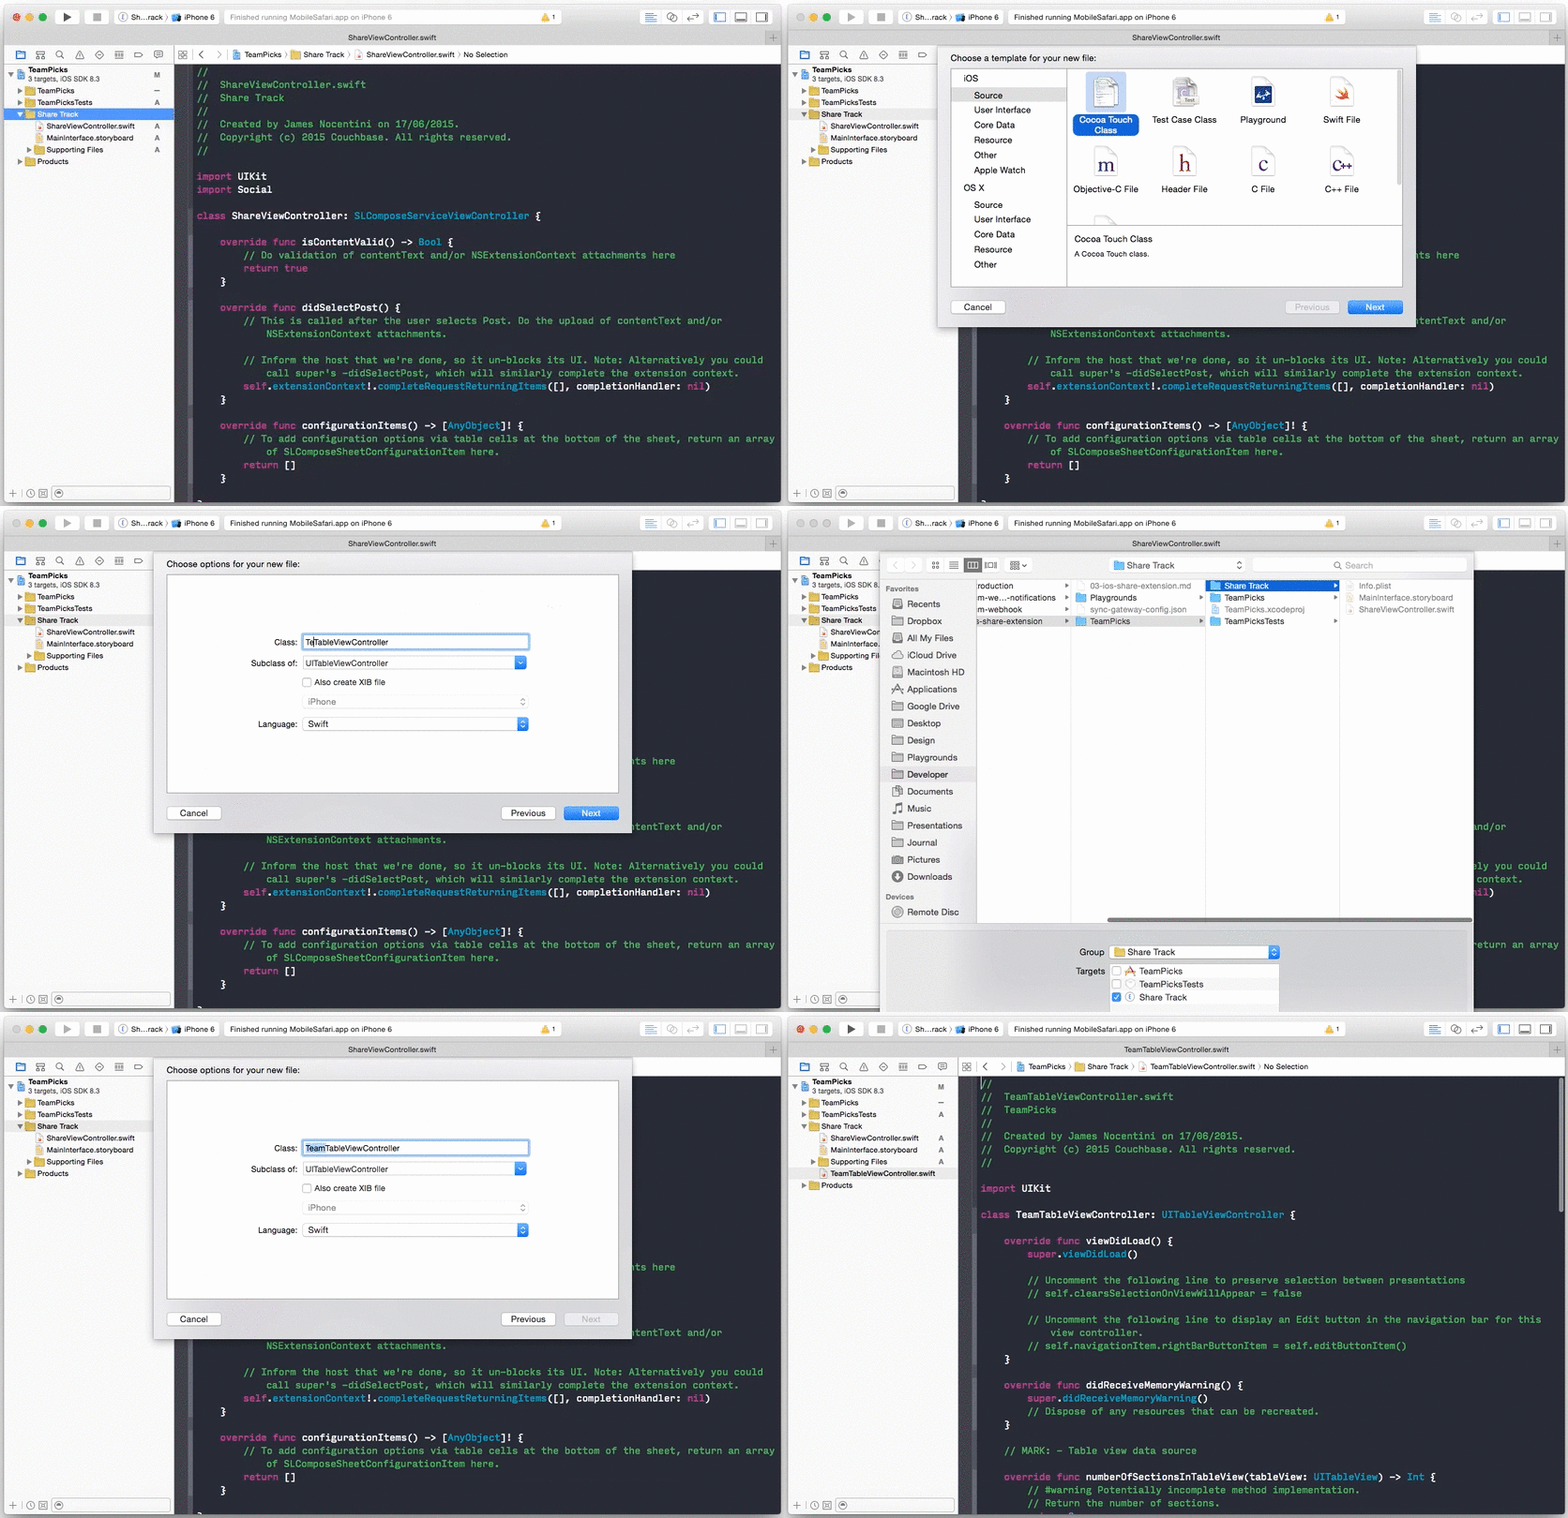
Then, select the File > New > Target menu item and select Share Extension in the new target wizard. Name your extension Share Track:
Select the Extension Target and run it, it should popup in Safari. Use the more menu item to display your extension in the Share Sheet by default:
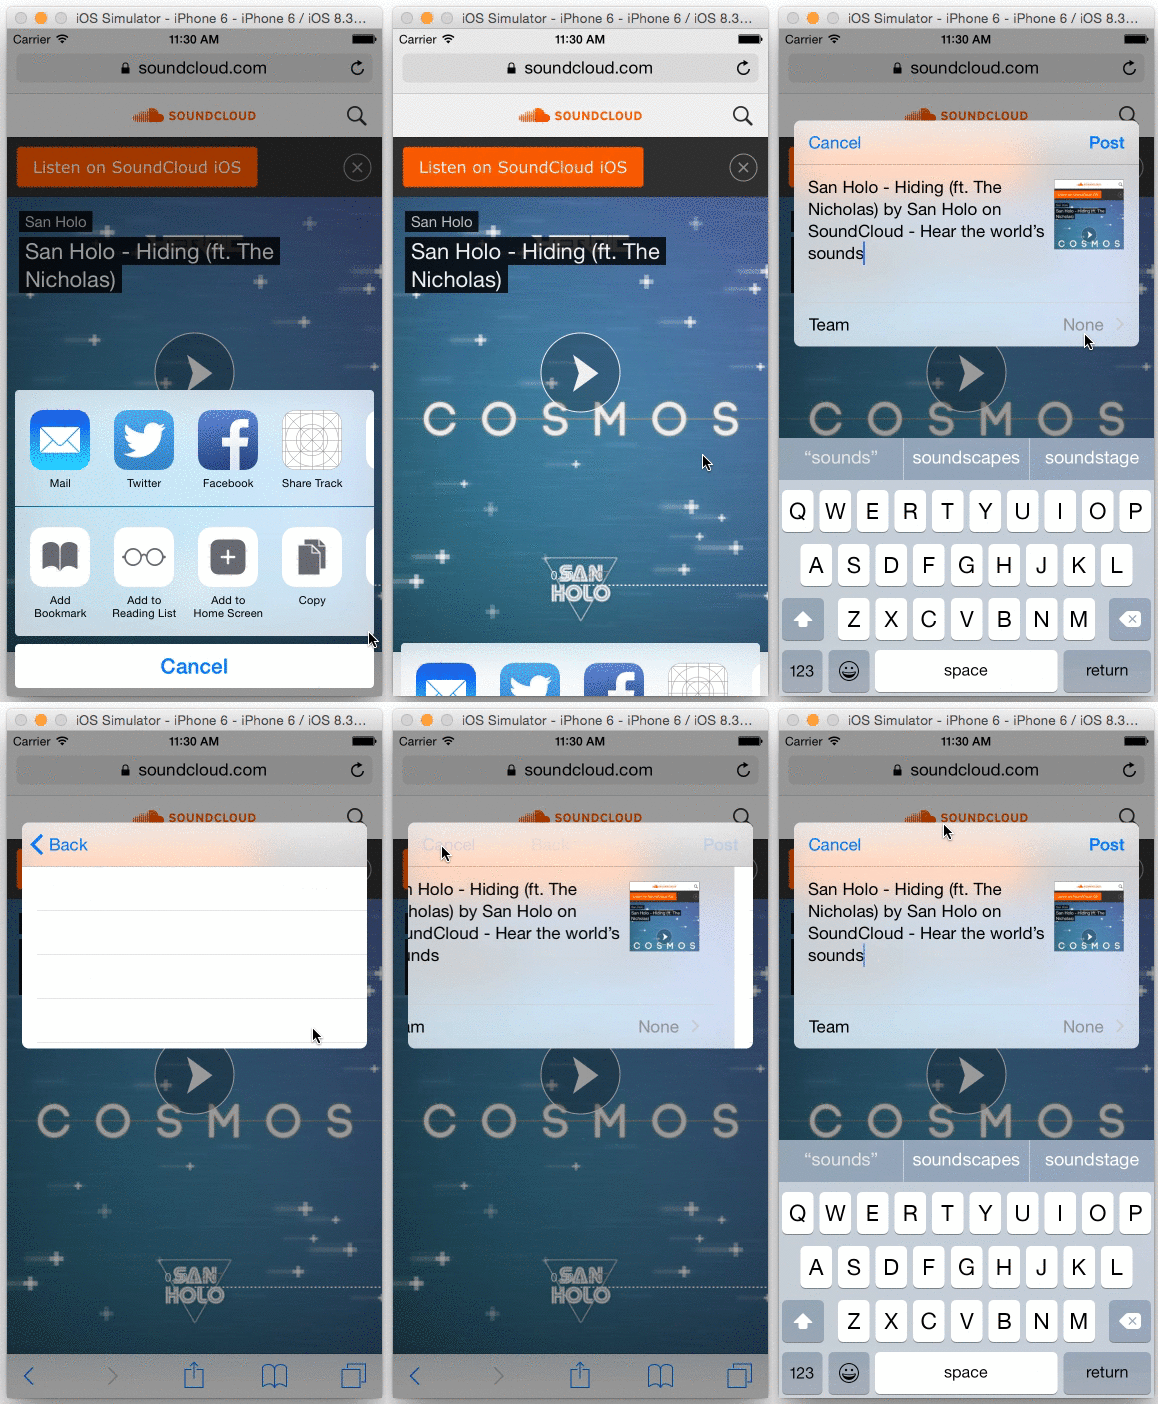
Apple’s default share extension view has a text area populated with the title of the web page on which it was invoked and a preview area on the right. You will add a configuration item below to allow the user to pick the team to share the song with. Add a new property item of type SLComposeSheetConfigurationItem and change the configureItems method to read:
override func configurationItems() -> [AnyObject]! {
    self.item = SLComposeSheetConfigurationItem()

    self.item.title = "Team"
    self.item.value = "None"

    self.item.tapHandler = {
        // TBA
    }

    return [self.item]
}
If the user taps on a cell, the tapHandler closure is invoked and that’s where you will push a new table view controller on the SLComposeServiceViewController, the same way you would with UINavigationController. First, open a new file TeamTableViewController subclassing UITableViewController:
In ShareViewController, add property teamPickerVC of type TeamTableViewController and push it on the nav stack in the tapHandler:
self.item.tapHandler = {
    self.teamPickerVC = TeamTableViewController()
    self.pushConfigurationViewController(self.teamPickerVC)
}
Run the extension and navigate to and back from the configuration view controller.
In the next section, you will learn how to set up Sync Gateway with basic channels so that we can display them in the table view later on.
Download Sync Gateway and unzip the file:
http://www.couchbase.com/nosql-databases/downloads#Couchbase\_Mobile
You can find the Sync Gateway binary in the bin folder and examples of configuration files in the examples folder. Copy the cors.json file to the root of your project:
$ cp /Downloads/couchbase-sync-gateway/examples/admin_party.json /path/to/proj/sync-gateway-config.json
Each team will be represented by a channel. The channel name will be the team name. Channels are a convenient way to tag documents and by giving users access to a set of channels, you can add fine grained access control. In this tutorial, you will use channels exclusively with the GUEST account (all unauthorised requests made to Sync Gateway). In a full featured application, you would likely give each user access to channels in the Sync Function.
Change the configuration file to declare the list of channels, i.e. teams:
{
  "log": ["HTTP+"],
  "databases": {
	"db": {
	  "server": "walrus:",
	  "users": {
		"GUEST": {
		  "disabled": false,
		  "admin_channels": ["pop", "rock", "house"]
		}
	  }
	}
  }
}
NOTE: It’s also possible to create channels programmatically in the Sync Function by using the channel command.
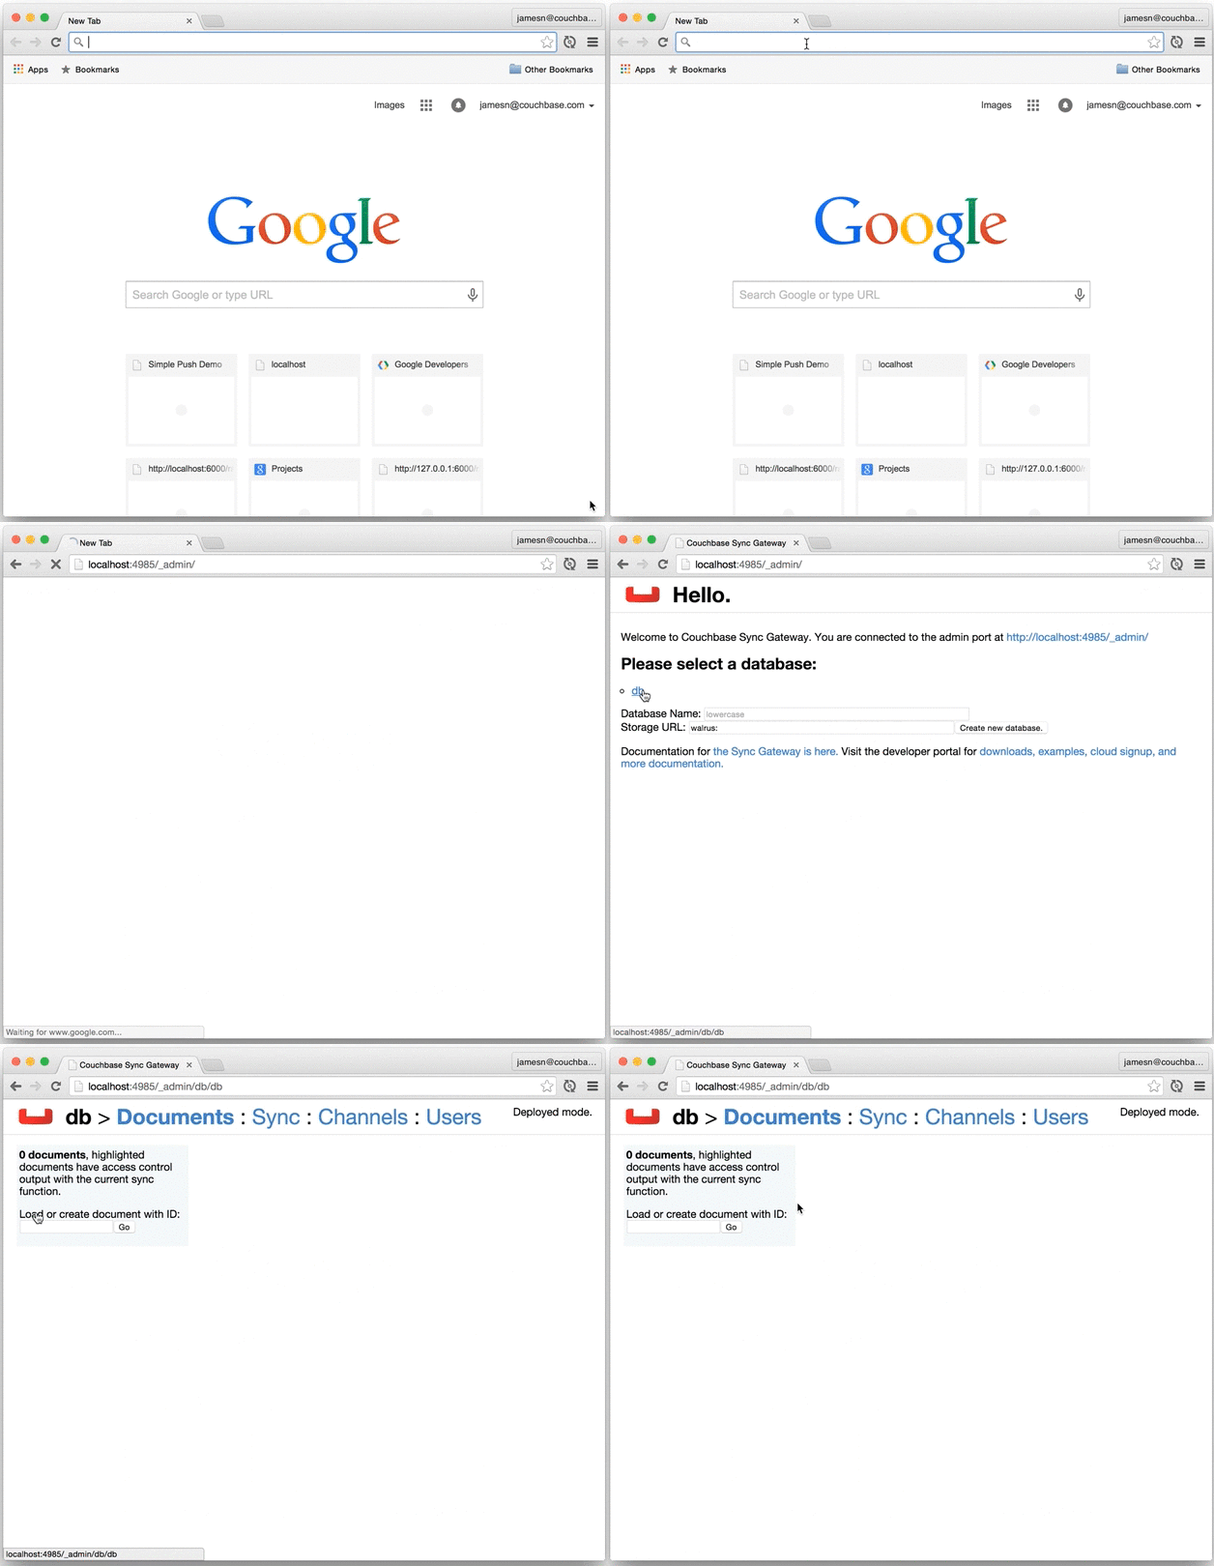
Start Sync Gateway and open the Admin Dashboard on http://localhost:4985/_admin/ to monitor the channels and what documents were synced to them:
Now you can display the list of teams in the share extensions by simply using NSURLSession to retrieve the channel names from Sync Gateway.
In the ViewDidLoad method of ShareViewController, make a GET request to http://localhost:4984/db/_session. Use the Swift Playground attached to this project for hints on how to make that request:
./Playgrounds/REST_GET_channels
Pass the result to a teams property (of type [String]) on the View Controller and replace the required UITableViewDataSource methods:
-
tableView:numberOfSectionsInTableView:should return 1 -
tableView:numberOfRowsInSection:should return the number of teams -
tableView:cellForRowAtIndexPath:should set thetextLabel’s text property to a team name for each row:override func tableView(tableView: UITableView, cellForRowAtIndexPath indexPath: NSIndexPath) -> UITableViewCell { var cell: UITableViewCell? = tableView.dequeueReusableCellWithIdentifier("TeamCell") as? UITableViewCell if (cell == nil) { cell = UITableViewCell(style: .Default, reuseIdentifier: "TeamCell") }
  cell!.textLabel!.text = teams[indexPath.item]
  return cell!
}
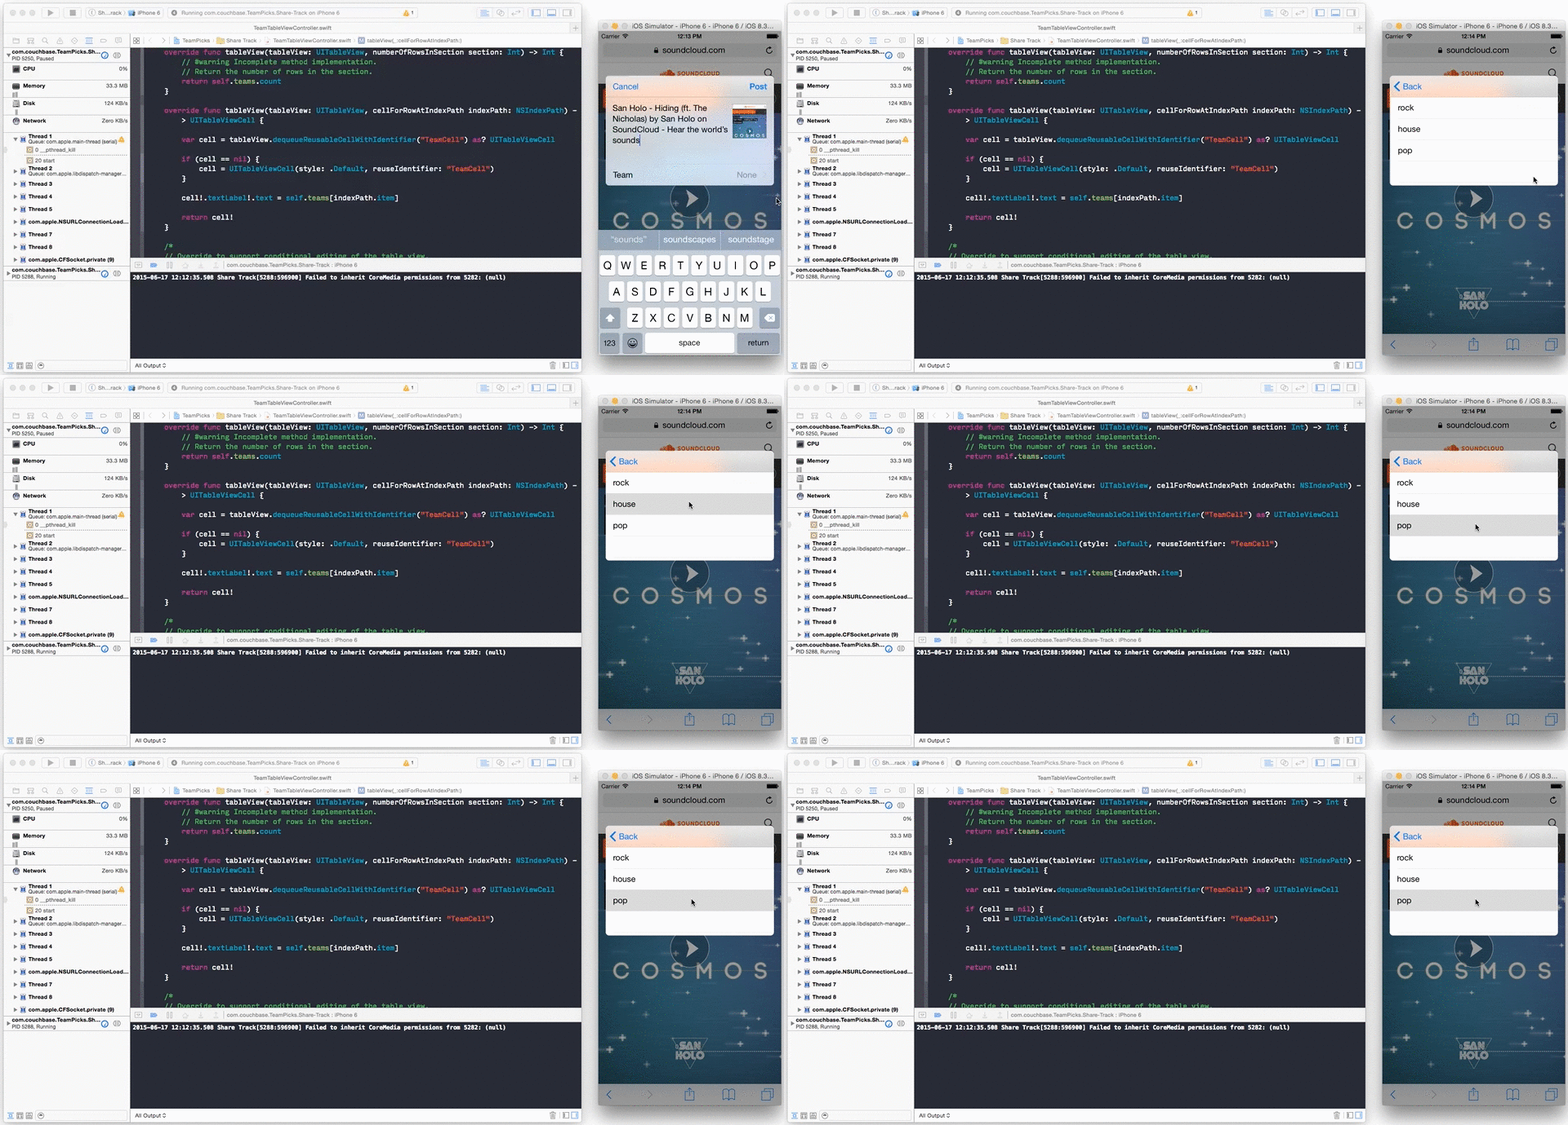
Run the extension and you should see the list of teams:
Now you will learn how to pass back the selected team to the ShareViewController using a protocol. Above the class definition of Table View in TeamTableViewController.swift, add a protocol:
protocol TeamViewProtocol {
    func sendingViewController(viewController: TeamTableViewController, sentItem: String)
}
In TeamTableViewController, add a delegate property of type TeamViewProtocol? and implement tableView:didSelectRowAtIndexPath:
override func tableView(tableView: UITableView, didSelectRowAtIndexPath indexPath: NSIndexPath) {
    self.delegate?.sendingViewController(self, sentItem: self.teams[indexPath.item])
}
Implement the protocol in ShareViewController:
func sendingViewController(viewController: TeamTableViewController, sentItem: String) {
    self.item.value = sentItem
    self.popConfigurationViewController()
}
In tapHandler of ShareViewController, set the delegate before pushing the View Controller on the navigation stack:
self.item.tapHandler = {
    self.teamPickerVC = TeamTableViewController()
    self.teamPickerVC.delegate = self
    self.pushConfigurationViewController(self.teamPickerVC)
}
Run the app and selecting a team should now return to the ShareViewController with the configuration item value updated accordingly.
In the next section, you will save the document to Sync Gateway when the didSelectPost method is called (i.e when clicking the Post button).
The final step is to save the document to Sync Gateway when the post button is pressed. This time, you will use NSURLSession to make a POST request to http://localhost:4984/db/ with the track name and team name:
override func didSelectPost() {
    // This is called after the user selects Post. Do the upload of contentText and/or NSExtensionContext attachments.

    var properties = [
        "text": self.contentText,
        "team": self.item.value
    ]

    let url = NSURL(string: "http://localhost:4984/db/")!
    let session = NSURLSession.sharedSession()

    let request = NSMutableURLRequest(URL: url)
    request.addValue("application/json", forHTTPHeaderField: "Content-Type")
    request.HTTPMethod = "POST"

    let data = NSJSONSerialization.dataWithJSONObject(properties, options: .allZeros, error: nil)

    let uploadTask = session.uploadTaskWithRequest(request, fromData: data) { (data, response, error) -> Void in

        // Inform the host that we're done, so it un-blocks its UI. Note: Alternatively you could call super's -didSelectPost, which will similarly complete the extension context.
        self.extensionContext!.completeRequestReturningItems([], completionHandler: nil)
    }

    uploadTask.resume()
}
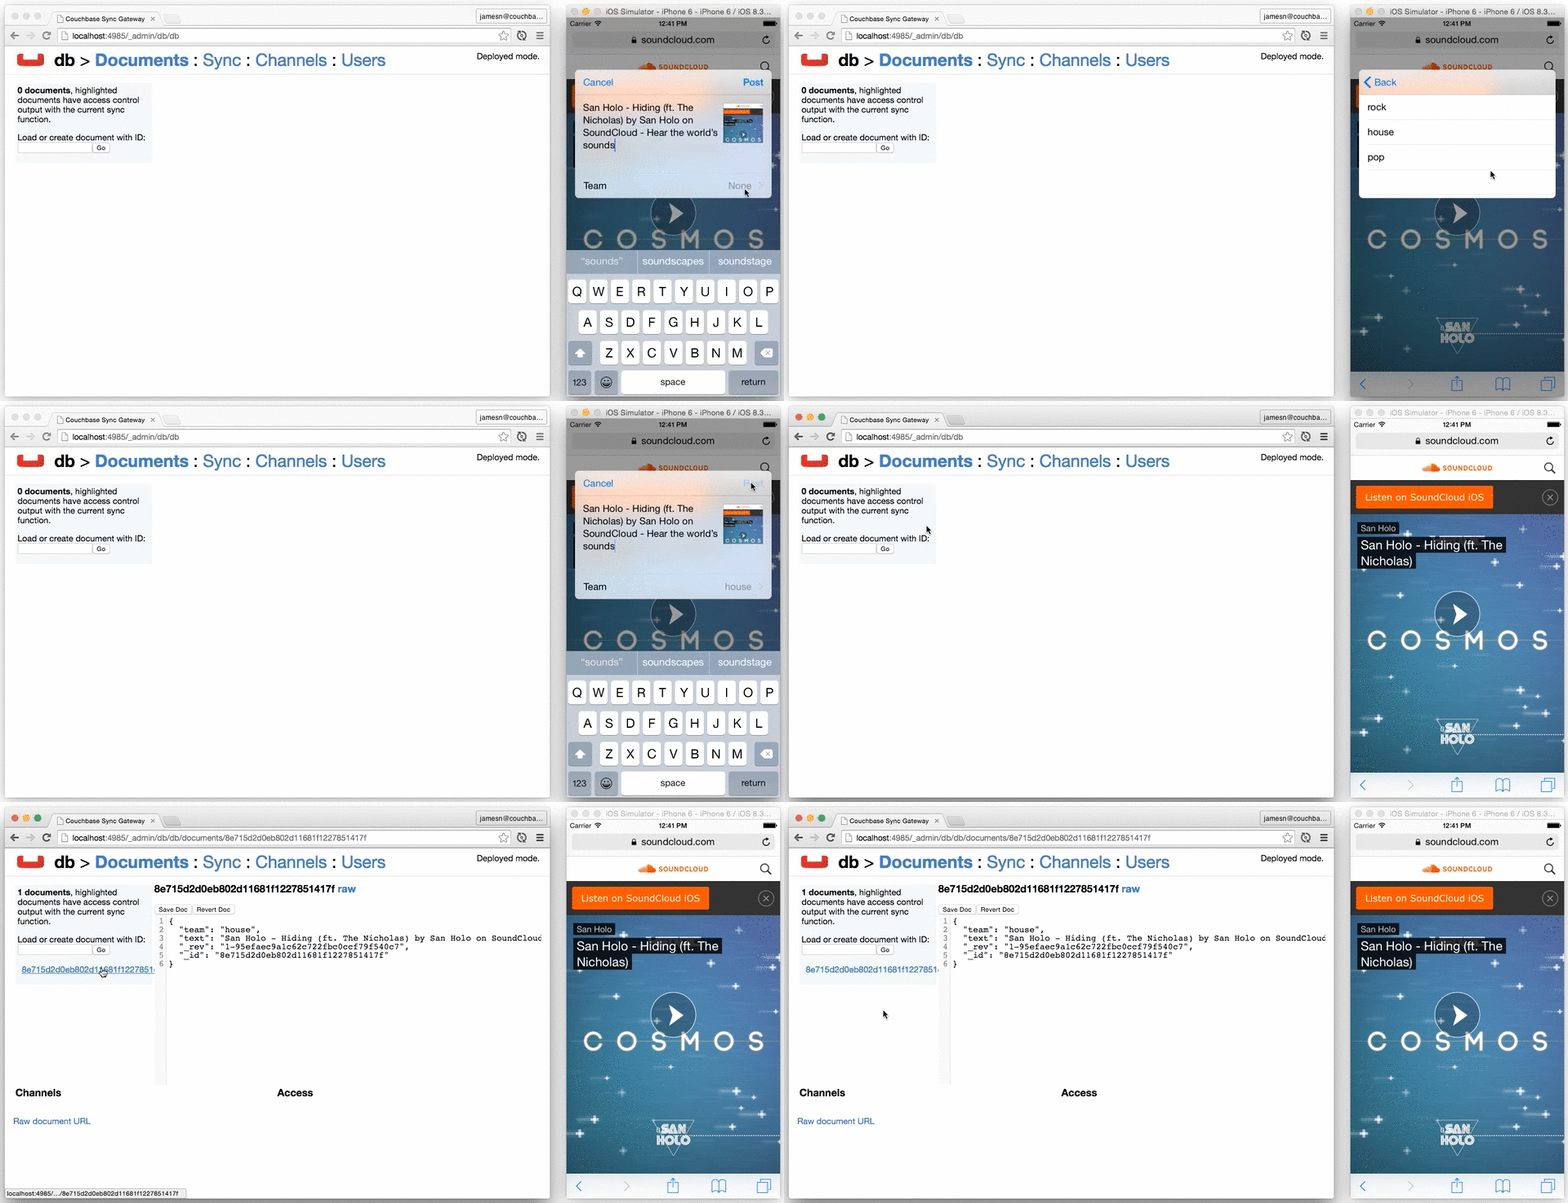
Check the results in the Admin Dashboard. The document should appear in the Documents tab:
NOTE: We could also use the bulk docs endpoint to save multiple documents in one API request. This is particularly useful in app extensions where there is limited time to perform network operations.
Share extensions are great for sharing data with your app and the Web. Setting up a Share Extension to fetch documents on-demand from Sync Gateway is a good way to give more context awareness to the user. You then have the choice to save the document back to Sync Gateway through the REST API or in the Couchbase Lite database also used by your iOS application, we will explore how to do that in the next post!


