This directory contains the scripts and configuration files for running the performance regression tests. These tests are called E2E tests because they run the actual app on a real device (physical or emulated).
The tests can be run with the following CLI options:
--config: Extend/Overwrite the default config with your values, e.g.--config config.local.ts--includes: Expects a string/regexp to filter the tests to run, e.g.--includes "login|signup"
You have two options when running the e2e tests:
- Run a debug build of the app (useful when developing a test)
- Run two (e2e) release builds against each other (useful to test performance regression and the suite as a whole)
- You need to create a debug build of the app that's configured with some build flags to enable e2e testing.
The build flags should be specified in your
./.envfile. You can use the./tests/e2e/.env.e2efile as a template:
cp ./tests/e2e/.env.e2e .envImportant
There are some non-public environment variables that you still have to add to the .env file. Ask on slack for the values (cc @vit, @andrew, @hanno gödecke).
- Create a new android build like you usually would:
npm run android-
We need to modify the app entry to point to the one for the tests. Therefore rename
./index.jsto./appIndex.jstemporarily. -
Create a new
./index.jswith the following content:
require('./src/libs/E2E/reactNativeLaunchingTest');- In
./src/libs/E2E/reactNativeLaunchingTest.tschange the main app import to the new./appIndex.jsfile:
- import '../../../index';
+ import '../../../appIndex';- You can now run the tests. This command will invoke the test runner:
npm run test:e2e:devThe e2e tests are meant to detect performance regressions. For that we need to compare two builds against each other. On the CI system this is e.g. the latest release build (baseline) VS the currently merged PR (compare).
You need to build the two apps first. Note that the two apps will be installed on the same device at the same time, so both apps have a different package name. Therefor, we have special build types for the e2e tests.
- Create a new android build for the baseline:
Important
There are some non-public environment variables that you still have to add to the ./tests/e2e/.env.e2e and ./tests/e2e/.env.e2edelta file. Ask on slack for the values (cc @vit, @andrew, @hanno gödecke).
npm run android-build-e2e- Create a new android build for the compare:
npm run android-build-e2edelta- Run the tests:
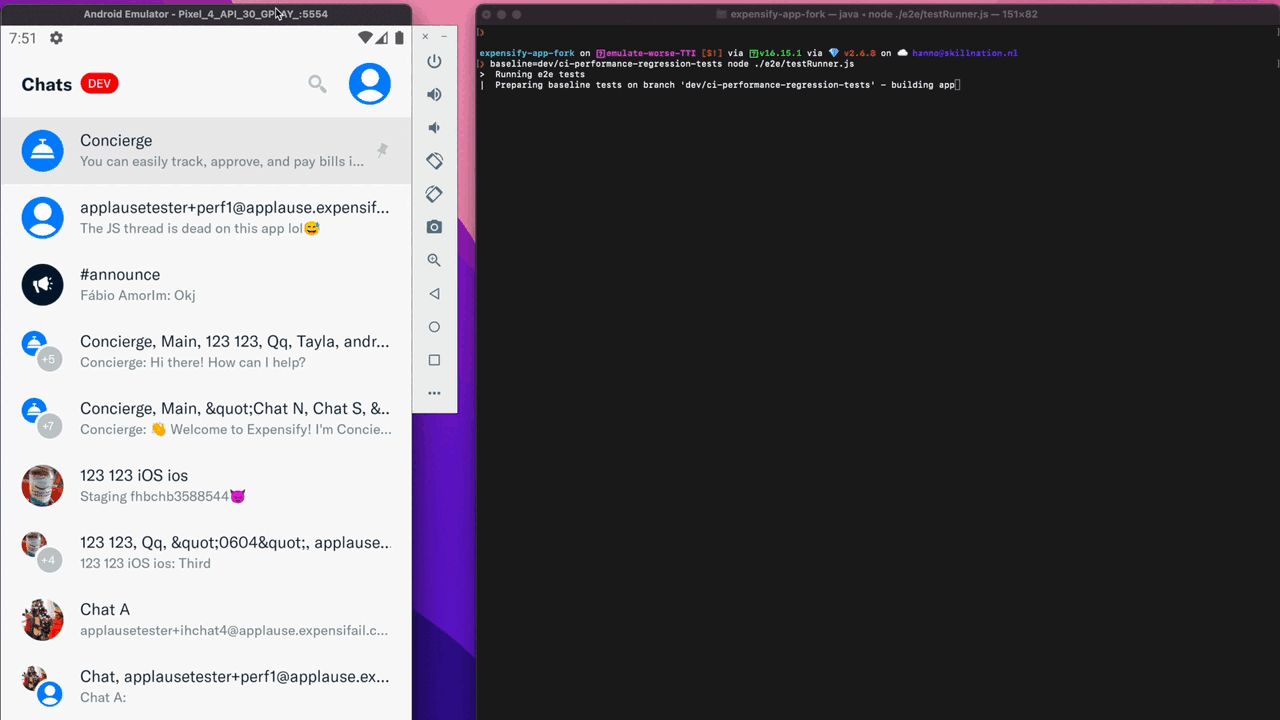
npm run test:e2eThe output of the tests is a set of performance metrics (see video above). The test will tell you if the performance significantly worsened for any test case.
For this to work you need a baseline you test against. The baseline is set by default
to the main branch.
The test suite will run each test-case twice, once on the baseline, and then on the branch you are currently on.
It will run the tests of a test case multiple time to average out the results.
To add a test checkout the designed guide.
For the test suite, no additional tooling was used. It is made of the following components:
-
The tests themselves :
- The tests are located in
src/libs/E2E/tests - As opposed to other test frameworks, the tests are inside the app, and execute logic using app code (e.g.
navigationRef.navigate('Signin')) - For the tests there is a custom entry for react native, located in
src/libs/E2E/reactNativeLaunchingTest.ts
- The tests are located in
-
The test runner:
- Orchestrates the test suite.
- Runs the app with the tests on a device
- Responsible for gathering and comparing results
- Located in
e2e/testRunner.ts.
-
Test server:
- A nodeJS application that starts an HTTP server.
- Receives test results from the app.
- Located in
e2e/server.
-
Client:
- Client-side code (app) for communication with the test server.
- Located in
src/libs/E2E/client.ts.
There exists a custom android entry point for the app, which is used for the e2e tests.
The entry file used is src/libs/E2E/reactNativeEntry.ts, and here we can add our test case.
The test case should only execute its test once. The test runner is responsible for running the test multiple time to average out the results.
Any results of the test (which is usually a duration, like "Time it took to reopen chat", or "TTI") should be submitted to the test server using the client:
import E2EClient from './client';

// ... run you test logic
const someDurationWeCollected = // ...

E2EClient.submitTestResults({
    name: 'My test name',
    metric: someDurationWeCollected,
    unit: 'ms',
});
Submitting test results doesn't automatically finish the test. This enables you do submit multiple test results from one test (e.g. measuring multiple things at the same time).
To finish a test call E2EClient.submitTestDone().
Network calls can add a variance to the test results. To mitigate this in the past we used to provide mocks for the API calls. However, this is not a realistic scenario, as we want to test the app in a realistic environment.
Now we have a module called NetworkInterceptor. The interceptor will intercept all network calls and will
cache the request and response. The next time the same request is made, it will return the cached response.
When writing a test you usually don't need to care about this, as the interceptor is enabled by default. However, look out for "!!! Missed cache hit for url" logs when developing your test. This can indicate a bug with the NetworkInterceptor where a request should have been cached but wasn't (which would introduce variance in your test!).
The tests are designed to run on android (although adding support for iOS should be easy to add). To test under realistic conditions during the tests a release build is used.
However, to be able to call our local HTTP test server, we need to allow
cleartext http traffic.
Therefore, a customized release build type is needed, which is called e2eRelease. This build type has clear
text traffic enabled but works otherwise just like a release build.
In addition to that, another entry file will be used (instead of index.js). The entry file used is
src/libs/E2E/reactNativeEntry.ts. By using a custom entry file we avoid bundling any e2e testing code
into the actual release app.
For the app to detect that it is currently running e2e tests, an environment variable called E2E_TESTING=true must
be set. There is a custom environment file in e2e/.env.e2e that contains the env setup needed. The build automatically
picks this file for configuration.
It can be useful to debug the app while running the e2e tests (to catch errors durign development of a test).
You can simply add the debuggable true property to the e2eRelease buildType config in android/app/build.gradle.
Then rebuild the app. You can now monitor the app's logs using logcat (adb logcat | grep "ReactNativeJS").
If you run the tests on the same branch, the result should ideally be a difference of 0%. However, as the tests
get executed on an emulator, there will be some variance. This variance is mitigated by using statistical tools
such as z-test. However, when running on the same branch, the results
should be below 5% of change.
You might want to tweak the values in e2e/config.js to adjust those values.