This wiki is automatically published from ohmyzsh/wiki. To edit this page, go to ohmyzsh/wiki, make your changes and submit a Pull Request.
This section uses new, uniform screenshots. To see the previous section, go to [[Themes (legacy)]].
All the current themes can be found in the themes/ directory in the Oh My Zsh distribution. See list here.
In order to enable a theme, set ZSH_THEME to the name of the theme in your ~/.zshrc, before sourcing Oh My Zsh; for example: ZSH_THEME=robbyrussell
If you do not want any theme enabled, just set ZSH_THEME to blank: ZSH_THEME=""
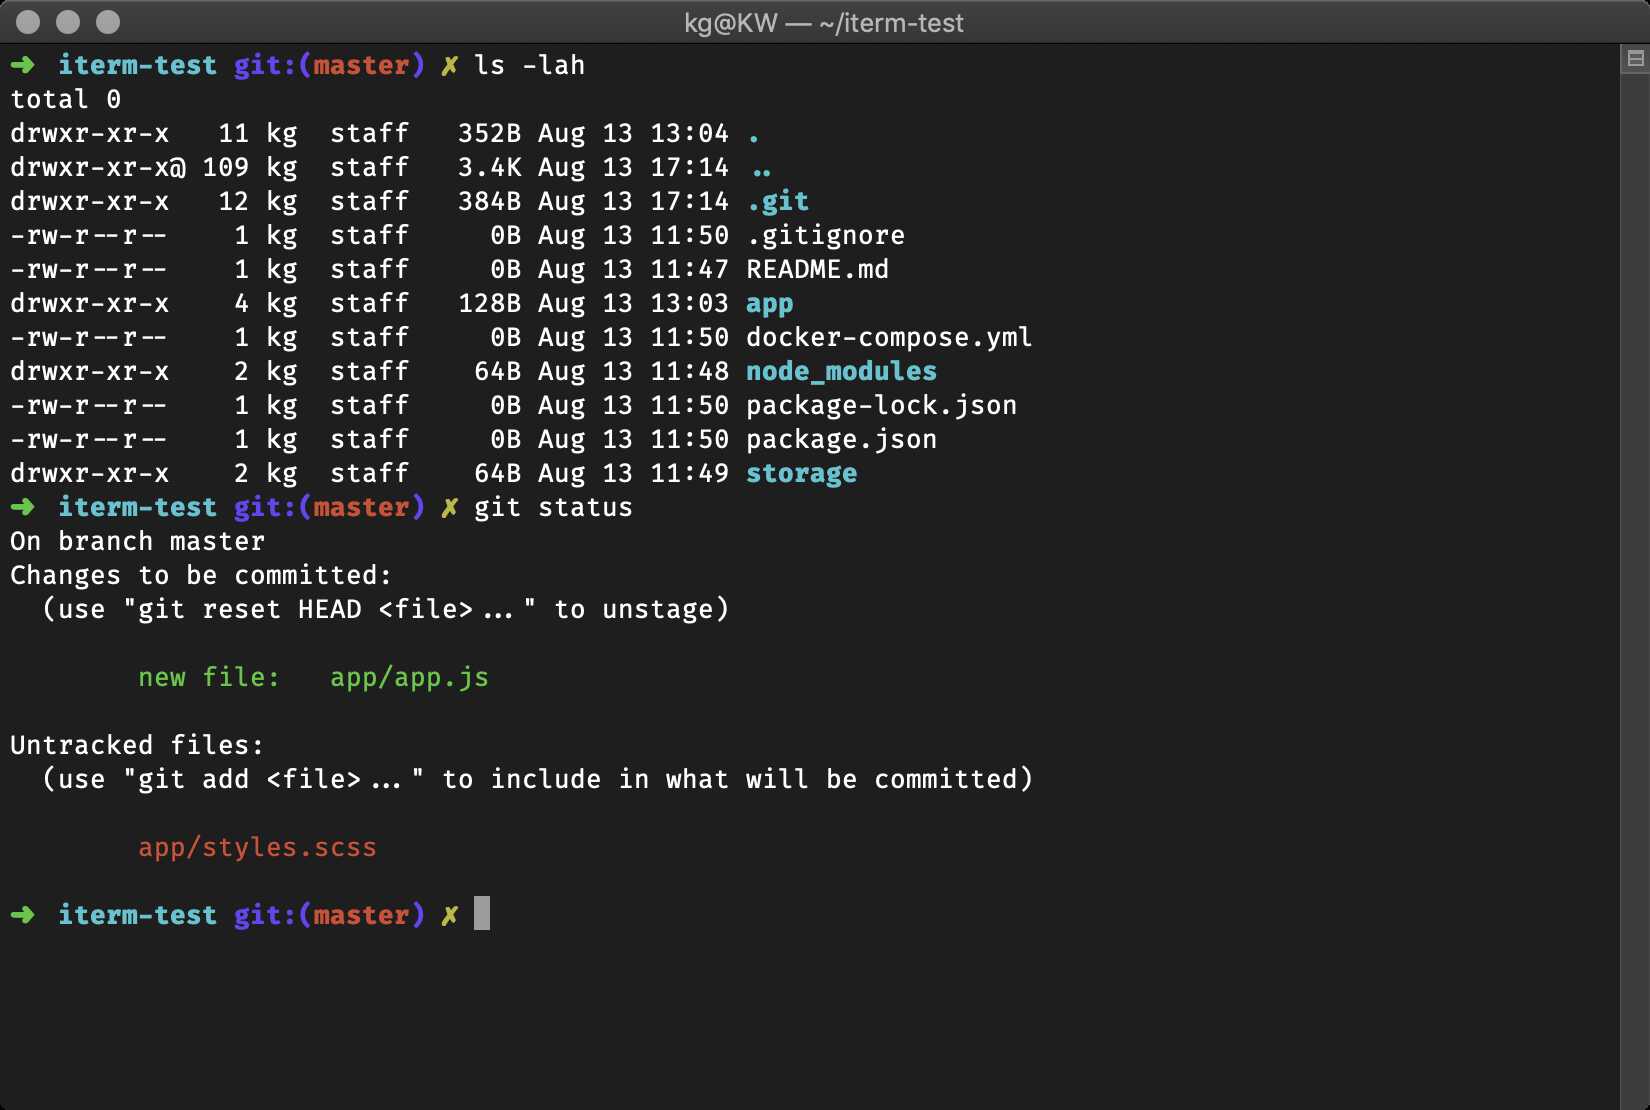
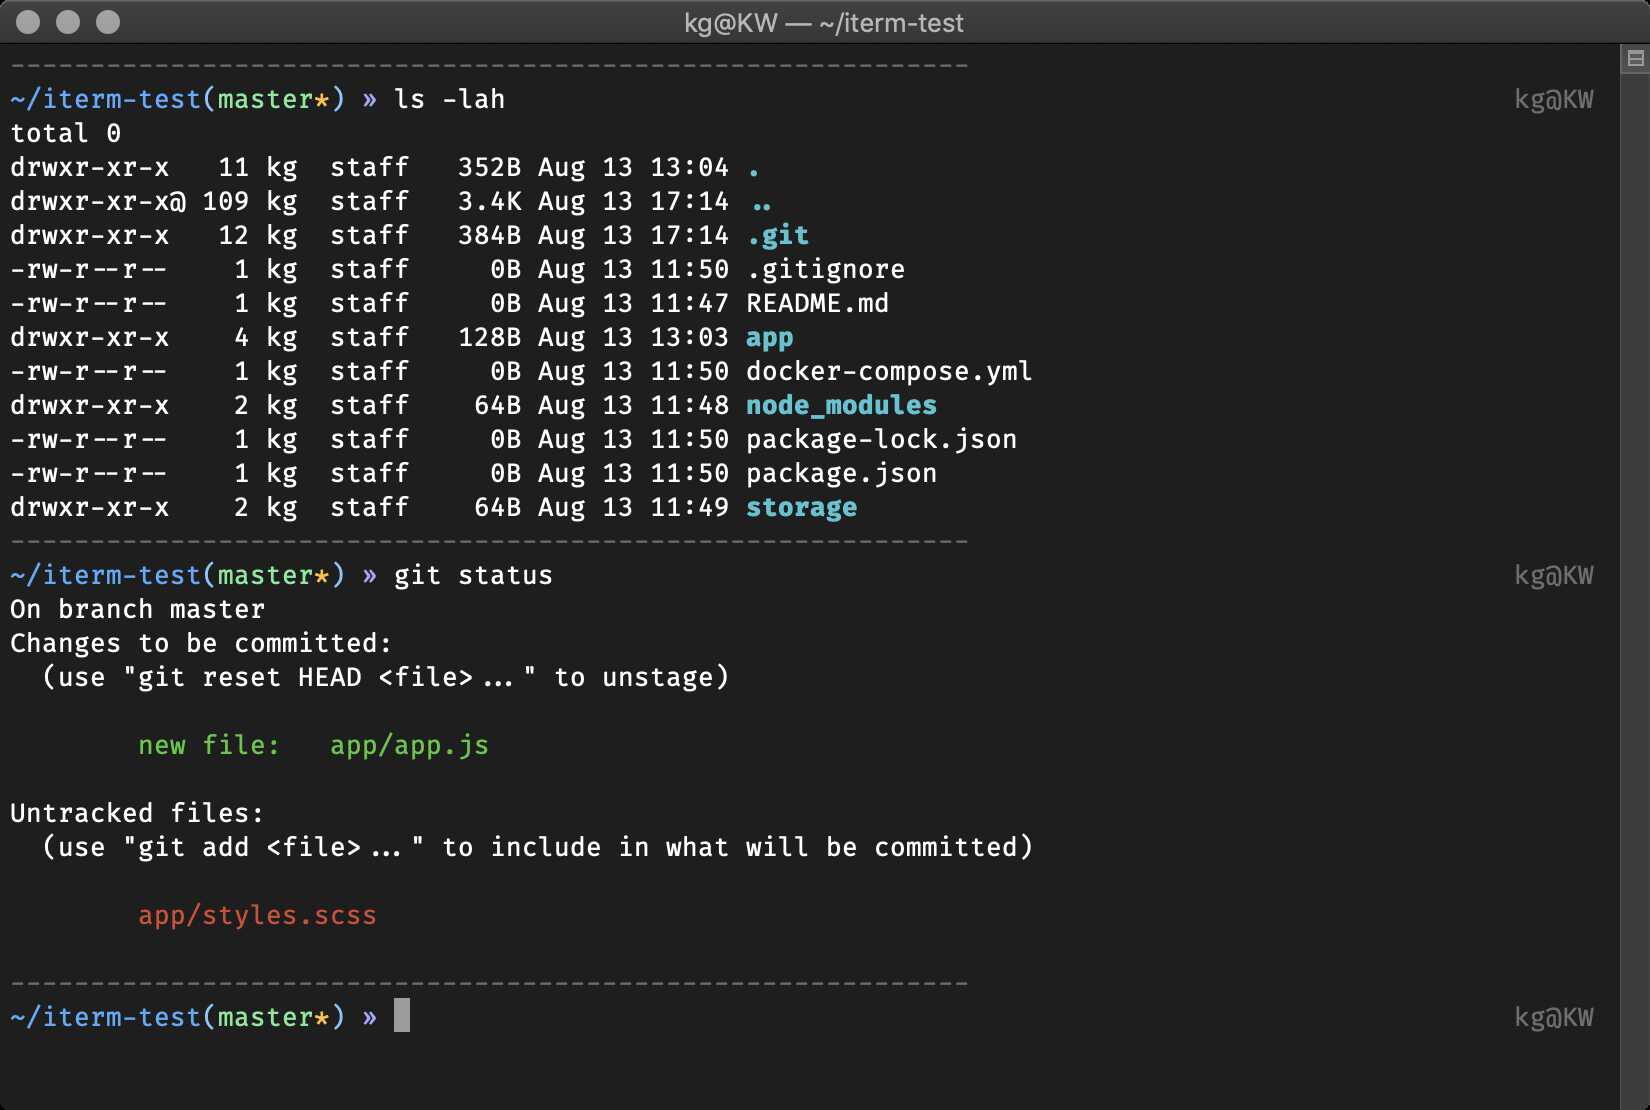
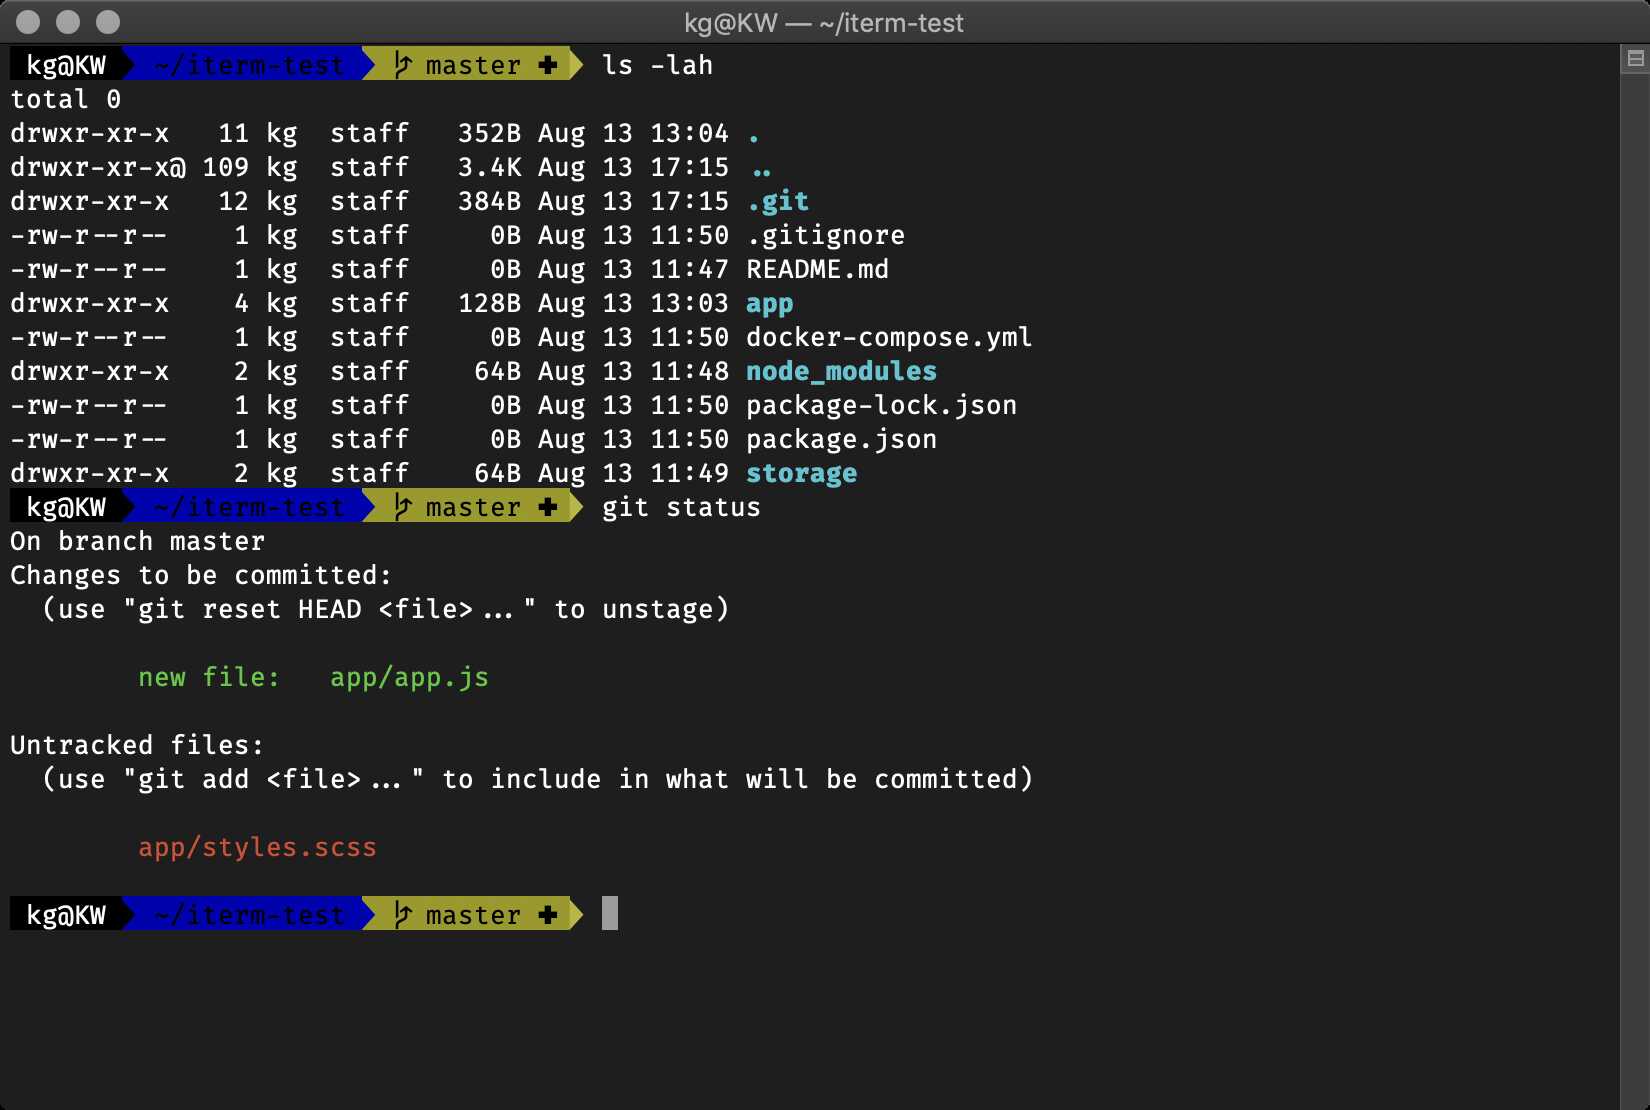
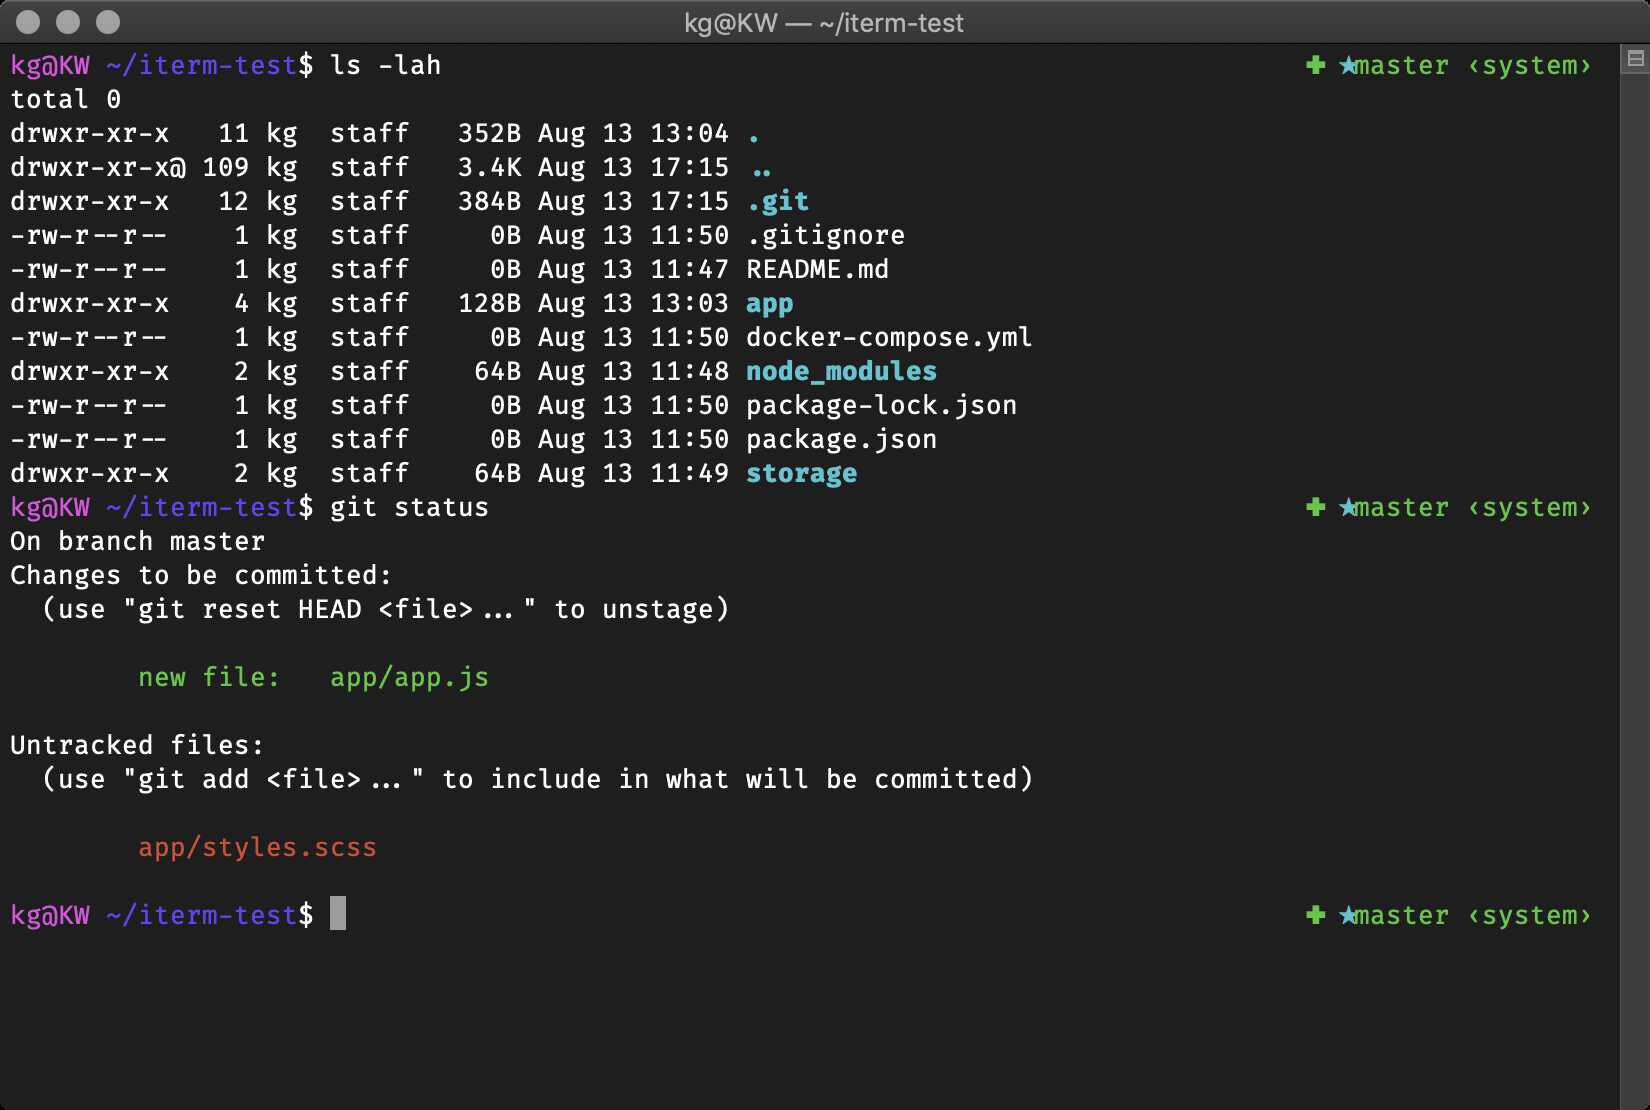
Here is a collection of screenshots and descriptions of themes that have been contributed to Oh My Zsh. There are some missing from this page. If you want to add or edit descriptions, see the format description at the bottom of this page.
Note
You will many times see screenshots for a zsh theme, and try it out, and find that it doesn't look the same for you.
This is because many themes require installing a Powerline Font or a Nerd Font in order to render properly. Without them, these themes will render weird prompt symbols. Check out the FAQ for more information.
Also, beware that themes only control what your prompt looks like. This is, the text you see before or after your cursor, where you'll type your commands. Themes don't control things such as the colors of your terminal window (known as color scheme) or the font of your terminal. These are settings that you can change in your terminal emulator. For more information, see what is a zsh theme.
The default that Robby Russell uses.
The rest of the themes, in alphabetical order:
Additional setup:
- Install one of the patched fonts from Vim-Powerline or patch your own for the special characters.
- Optionally set
DEFAULT_USERto your regular username to hide the “user@hostname” info when you’re logged in as yourself on your local machine. Or addprompt_context(){}to~/.zshrcto always hide the “user@hostname” info.
(You might need to install one of the patched powerline fonts for it to look the same)
To use: In the right prompt you see git status and (if you use nvm) the Node.js version.
The fish shell prompt with git support
Has git and vi-command mode support (when enabled)
It’s funky…
Totally ripped off Dallas theme
(As the name states, this only works on Linux)
Also tells you when logged in over ssh
Exit status if nonzero, status & branch if git, pwd always.
Lightweight prompt with exit status and git status consistent mode line.
Git status, git branch, and ruby, all in a no muss, no fuss prompt! Works with RVM, chruby, and rbenv (just activate the corresponding plugin).
Username, host, directory, git branch and rvm gemset
There is a party every day.
Minimal, informative when it needs to be.
Based on dst, plus a lightning bolt and return codes.
Instructions to further customize the theme are available as comments in the theme file.
Clean, simple, compatible and meaningful.Tested on Linux, Unix and Windows under ANSI colors. It is recommended to use with a dark background.
You can find more themes here.
We have enough themes for the time being. Please fork the project and add on in there, you can let people know how to grab it from there.
Or put into a Gist and add it to the External Themes list.
The theme descriptions in this page should contain:
- The name of the theme
- A screenshot
- (Preferably in PNG format, and hosted on a GitHub issue)
- Instructions for any configuration besides setting
ZSH_THEMEin~/.zshrc- For example, font installation, terminal color scheme configuration, or optional environment variables that affect the theme
- Any dependencies outside Oh My Zsh
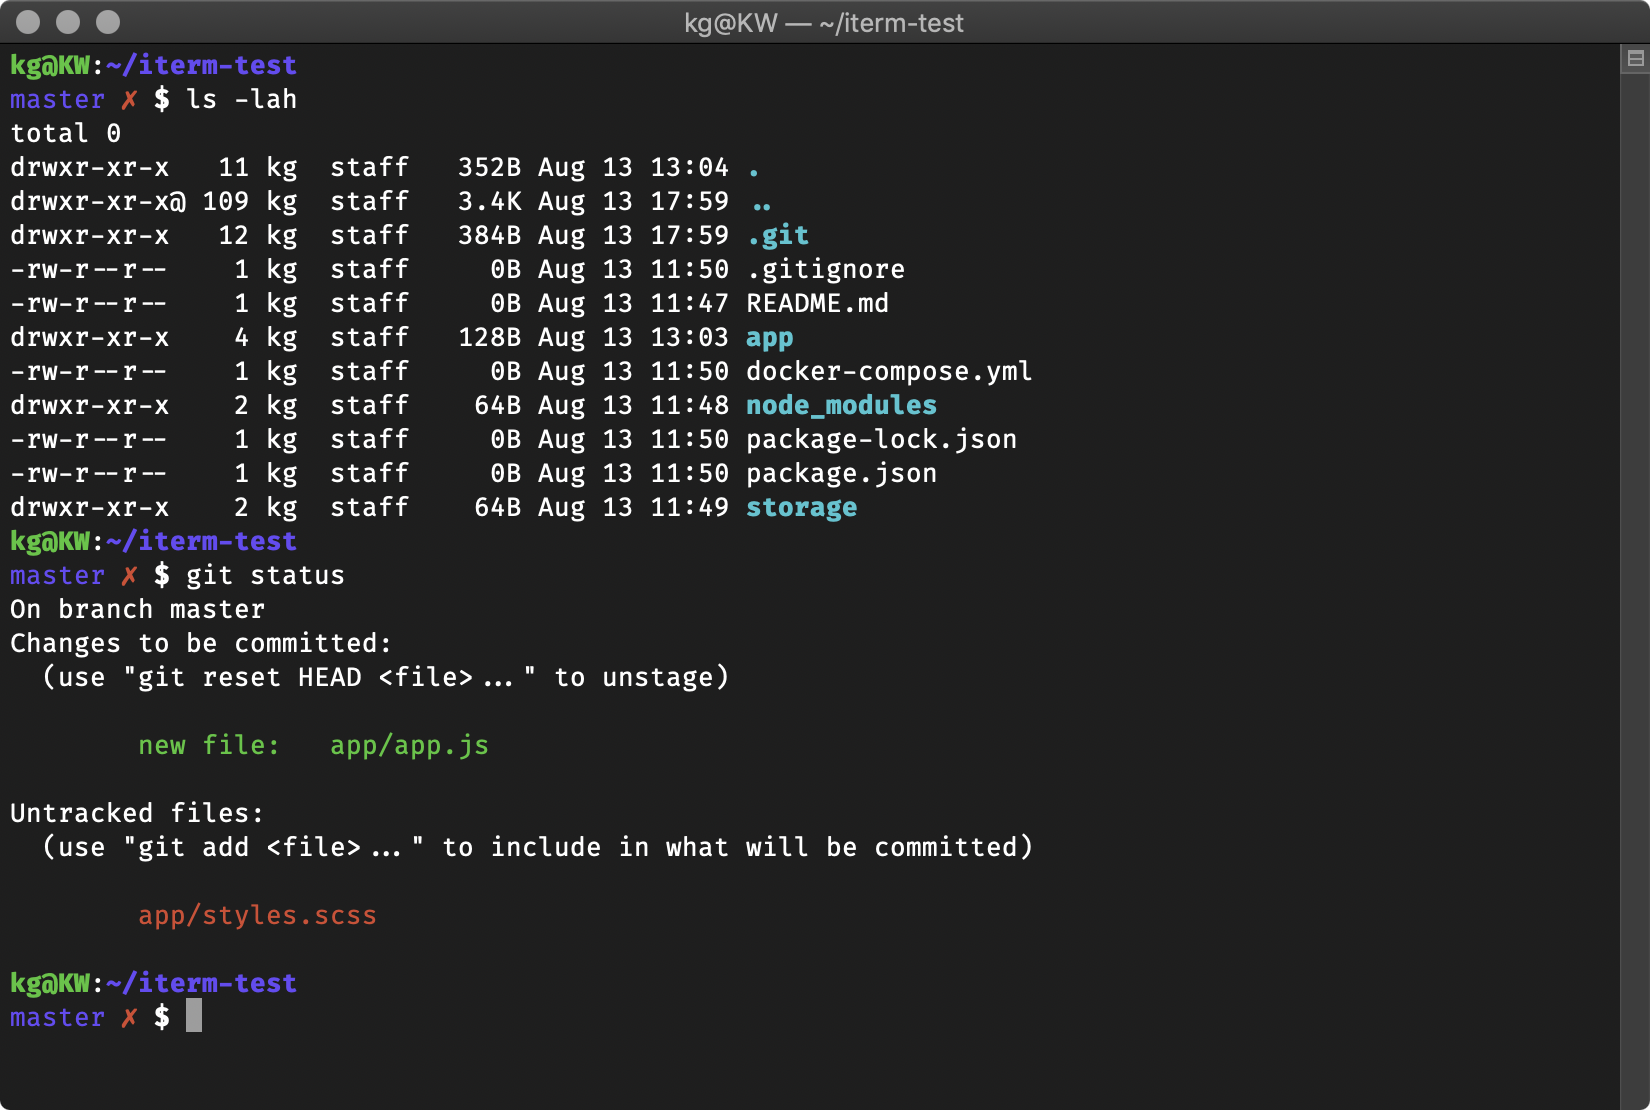
We use manually-constructed screenshots because some of the themes require additional terminal configuration to look their best, and so the code in example shell sessions can showcase the theme's features. There is also a separate collection of automatically-generated screenshots linked at the bottom of this page.
We host all the screenshot images on GitHub itself, to avoid external dependencies on other hosting services or URLs that might break.Please, compress images before. We use issue attachments which will get them in to githubusercontent.com. (It's also possible to store image files in a GitHub wiki itself, but this requires you to have Contributor permissions for the repo whose Wiki you're editing. The issue-attachment method can be done by anybody.)
To upload an image to GitHub, just drag and drop it into the text area on an issue you're editing. You can use issue #3619 for this to avoid spamming people with notifications about new issues. The uploaded image will turn in to an image in Markdown format. Edit that to use the special [](image-url) syntax to make the image link to itself, so people can open the image in a new tab to view it full size. (Images inside a wiki page may be displayed scaled down.)
For example:
[](https://cloud.githubusercontent.com/assets/1441704/6315419/915f6ca6-ba01-11e4-95b3-2c98114b5e5c.png)If you have several uploaded screenshot links you need to convert to that self-linked syntax, you can use this sed command on the markdown file to programmatically convert them.
sed 's/^!\[[a-zA-Z0-9 -]*\](\([^)]*\)) *$/[&](\1)/'The current set of theme screenshots was generated automatically by @Kovah's Oh My Zsh-screenshot-generation tool, using on macOS Mojave (10.14.5) with the macOS Terminal app. The used theme is Basic with the default settings and colors. The font was switched to Fira Code at 13 pt to enable some special characters in certain themes. All terminal windows have a size of 100x31.
