Let's learn how to run your scraper in a Kubernetes cluster with Continuous Deployment (CD) using GitHub Actions.
With GitHub Actions, whenever you push your code to GitHub, the scraper will be automatically deployed to the Kubernetes cluster with the latest changes.
To achieve this, we will:
- Create a Kubernetes cluster in Google Cloud
- Create a GitHub repository
- Add deployment secrets like Google Cloud access keys to the GitHub repository
- Run the GitHub Workflow to deploy the scraper
-
If you don't have a Google Cloud account, create one. You'll receive a $300 credit to use over 3 months.
-
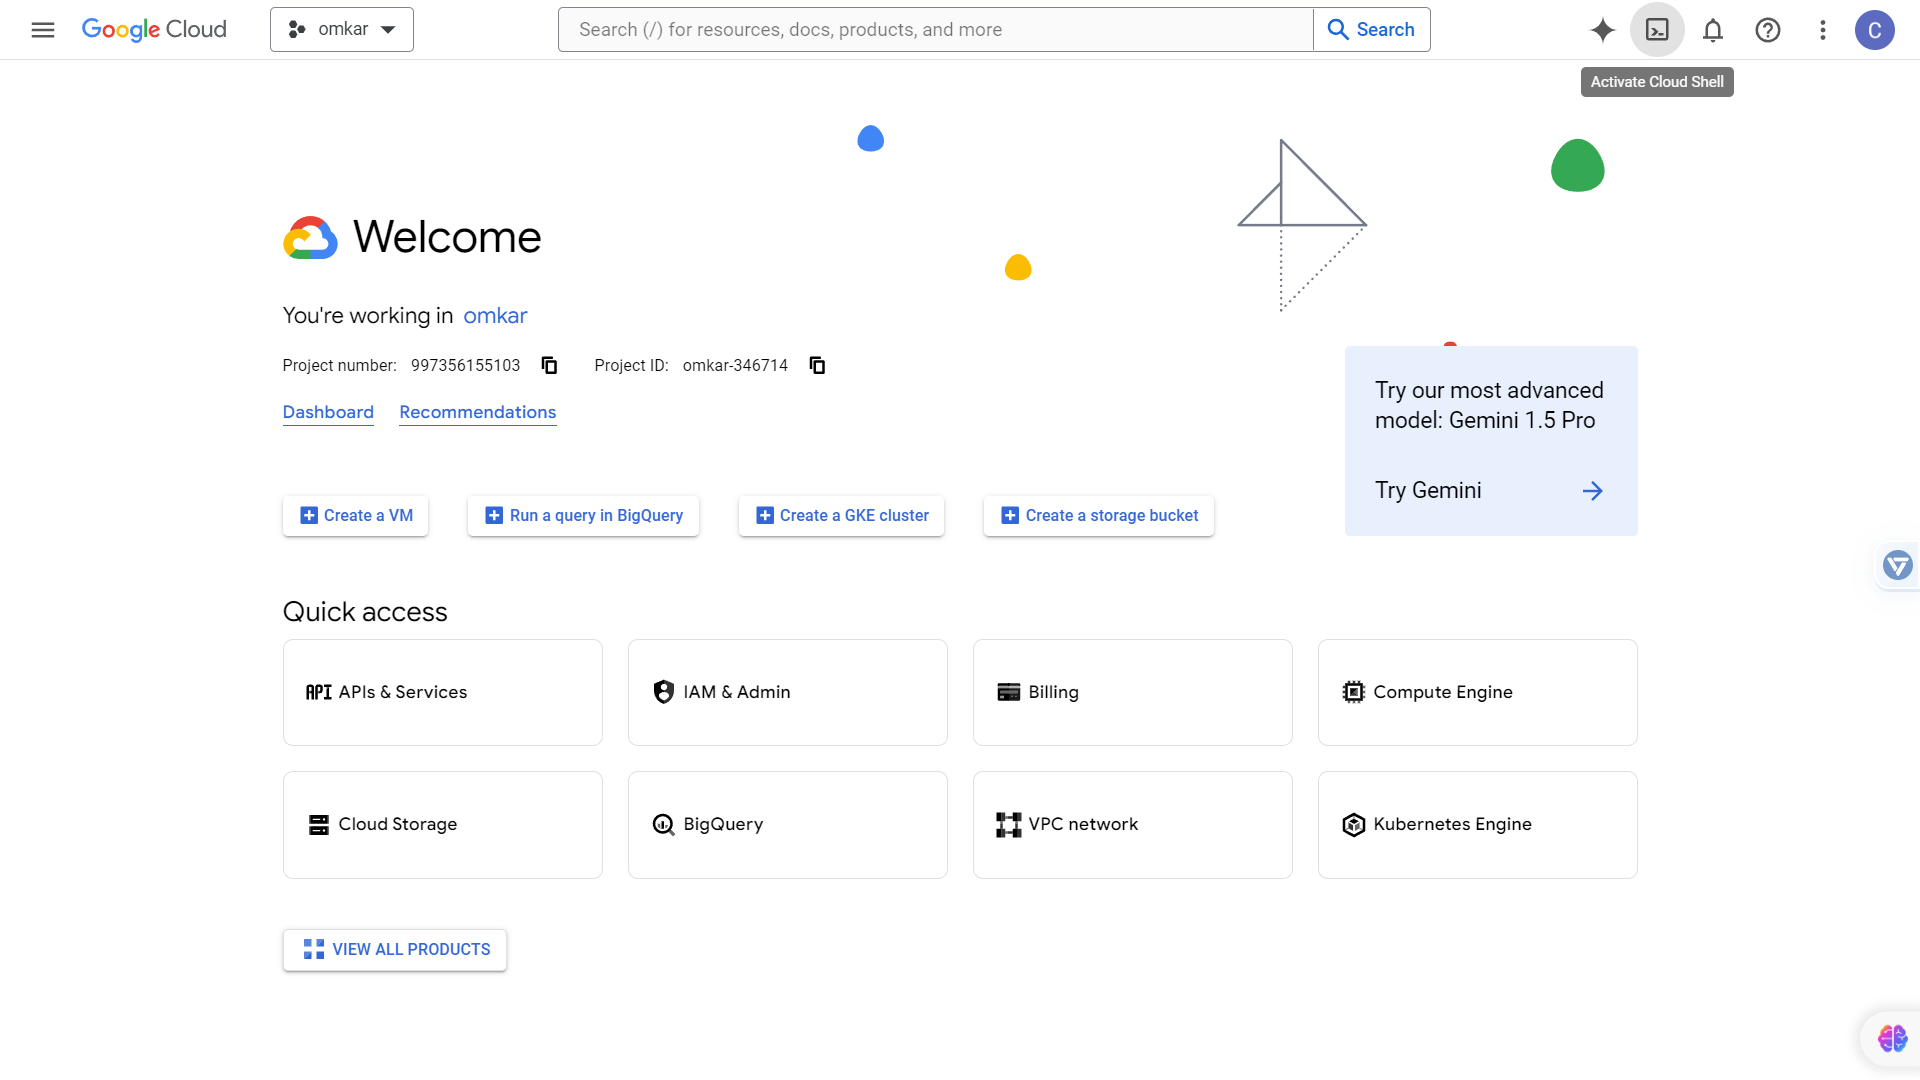
Visit the Google Cloud Console and click the Cloud Shell button. A terminal will open up.
-
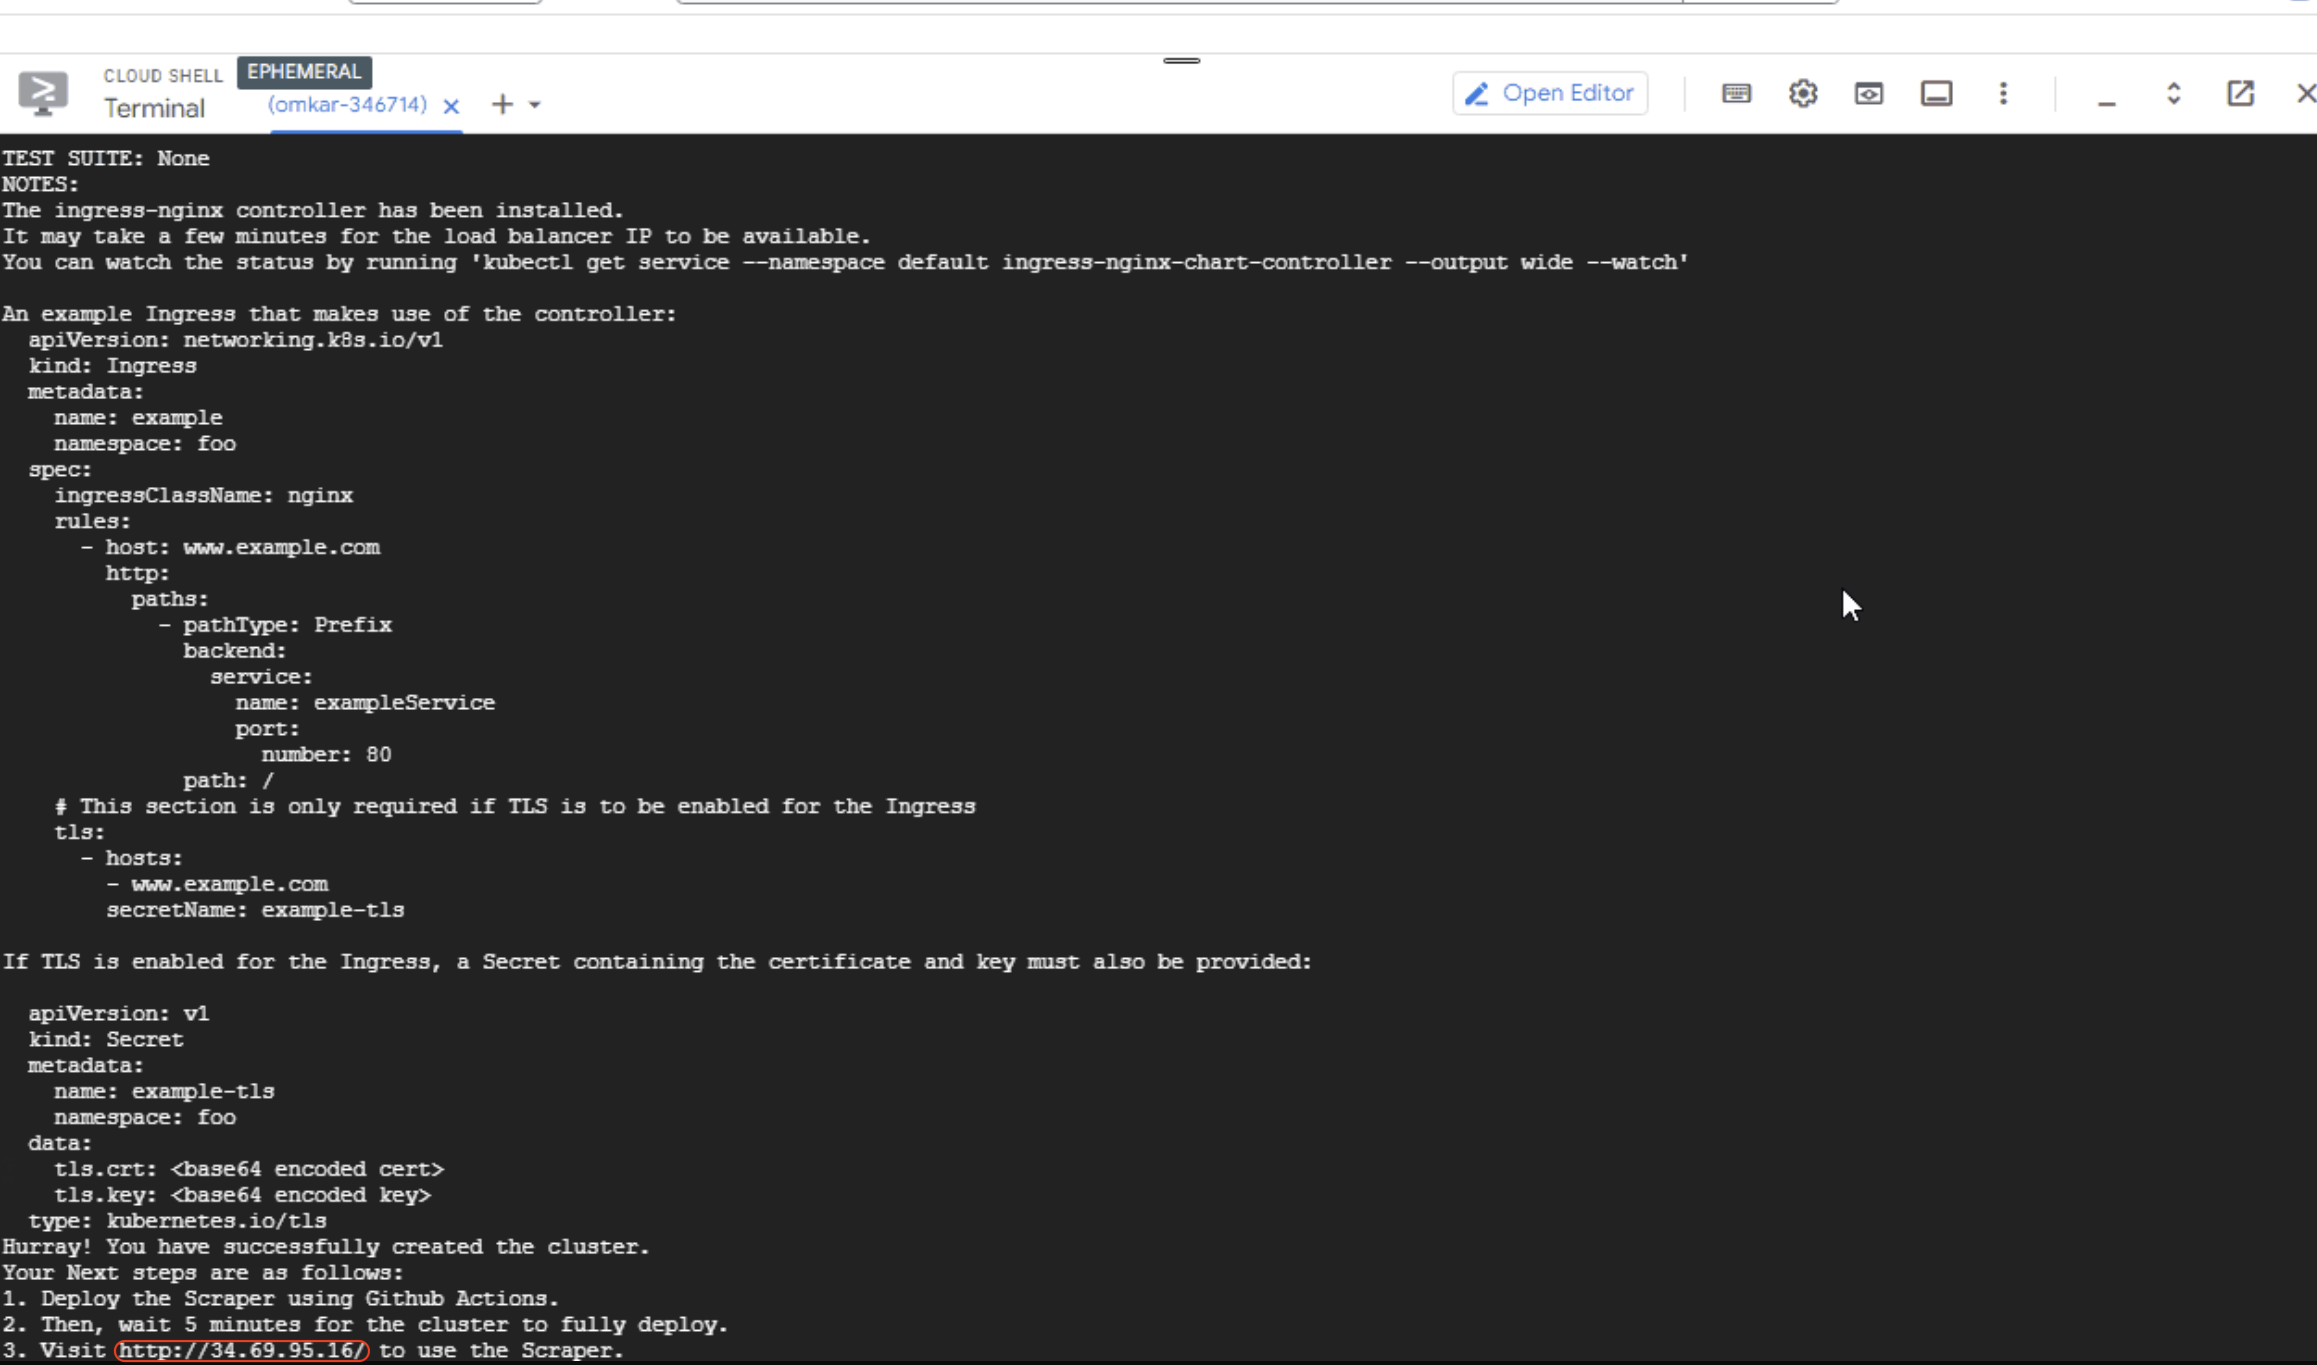
Run the following commands in the terminal to create the Kubernetes cluster:
python -m pip install bota
python -m bota create-cluster
You will be prompted for the following information:
name: Enter a cluster name of your choice, for example, "pikachu".
machine: Press Enter to accept the default machine type, which is "us-central1".
number of machines: Press Enter to accept the default number of machines, which is 2.
region: Press Enter to accept the default region, which is "us-central1". (This is asked the first time only)
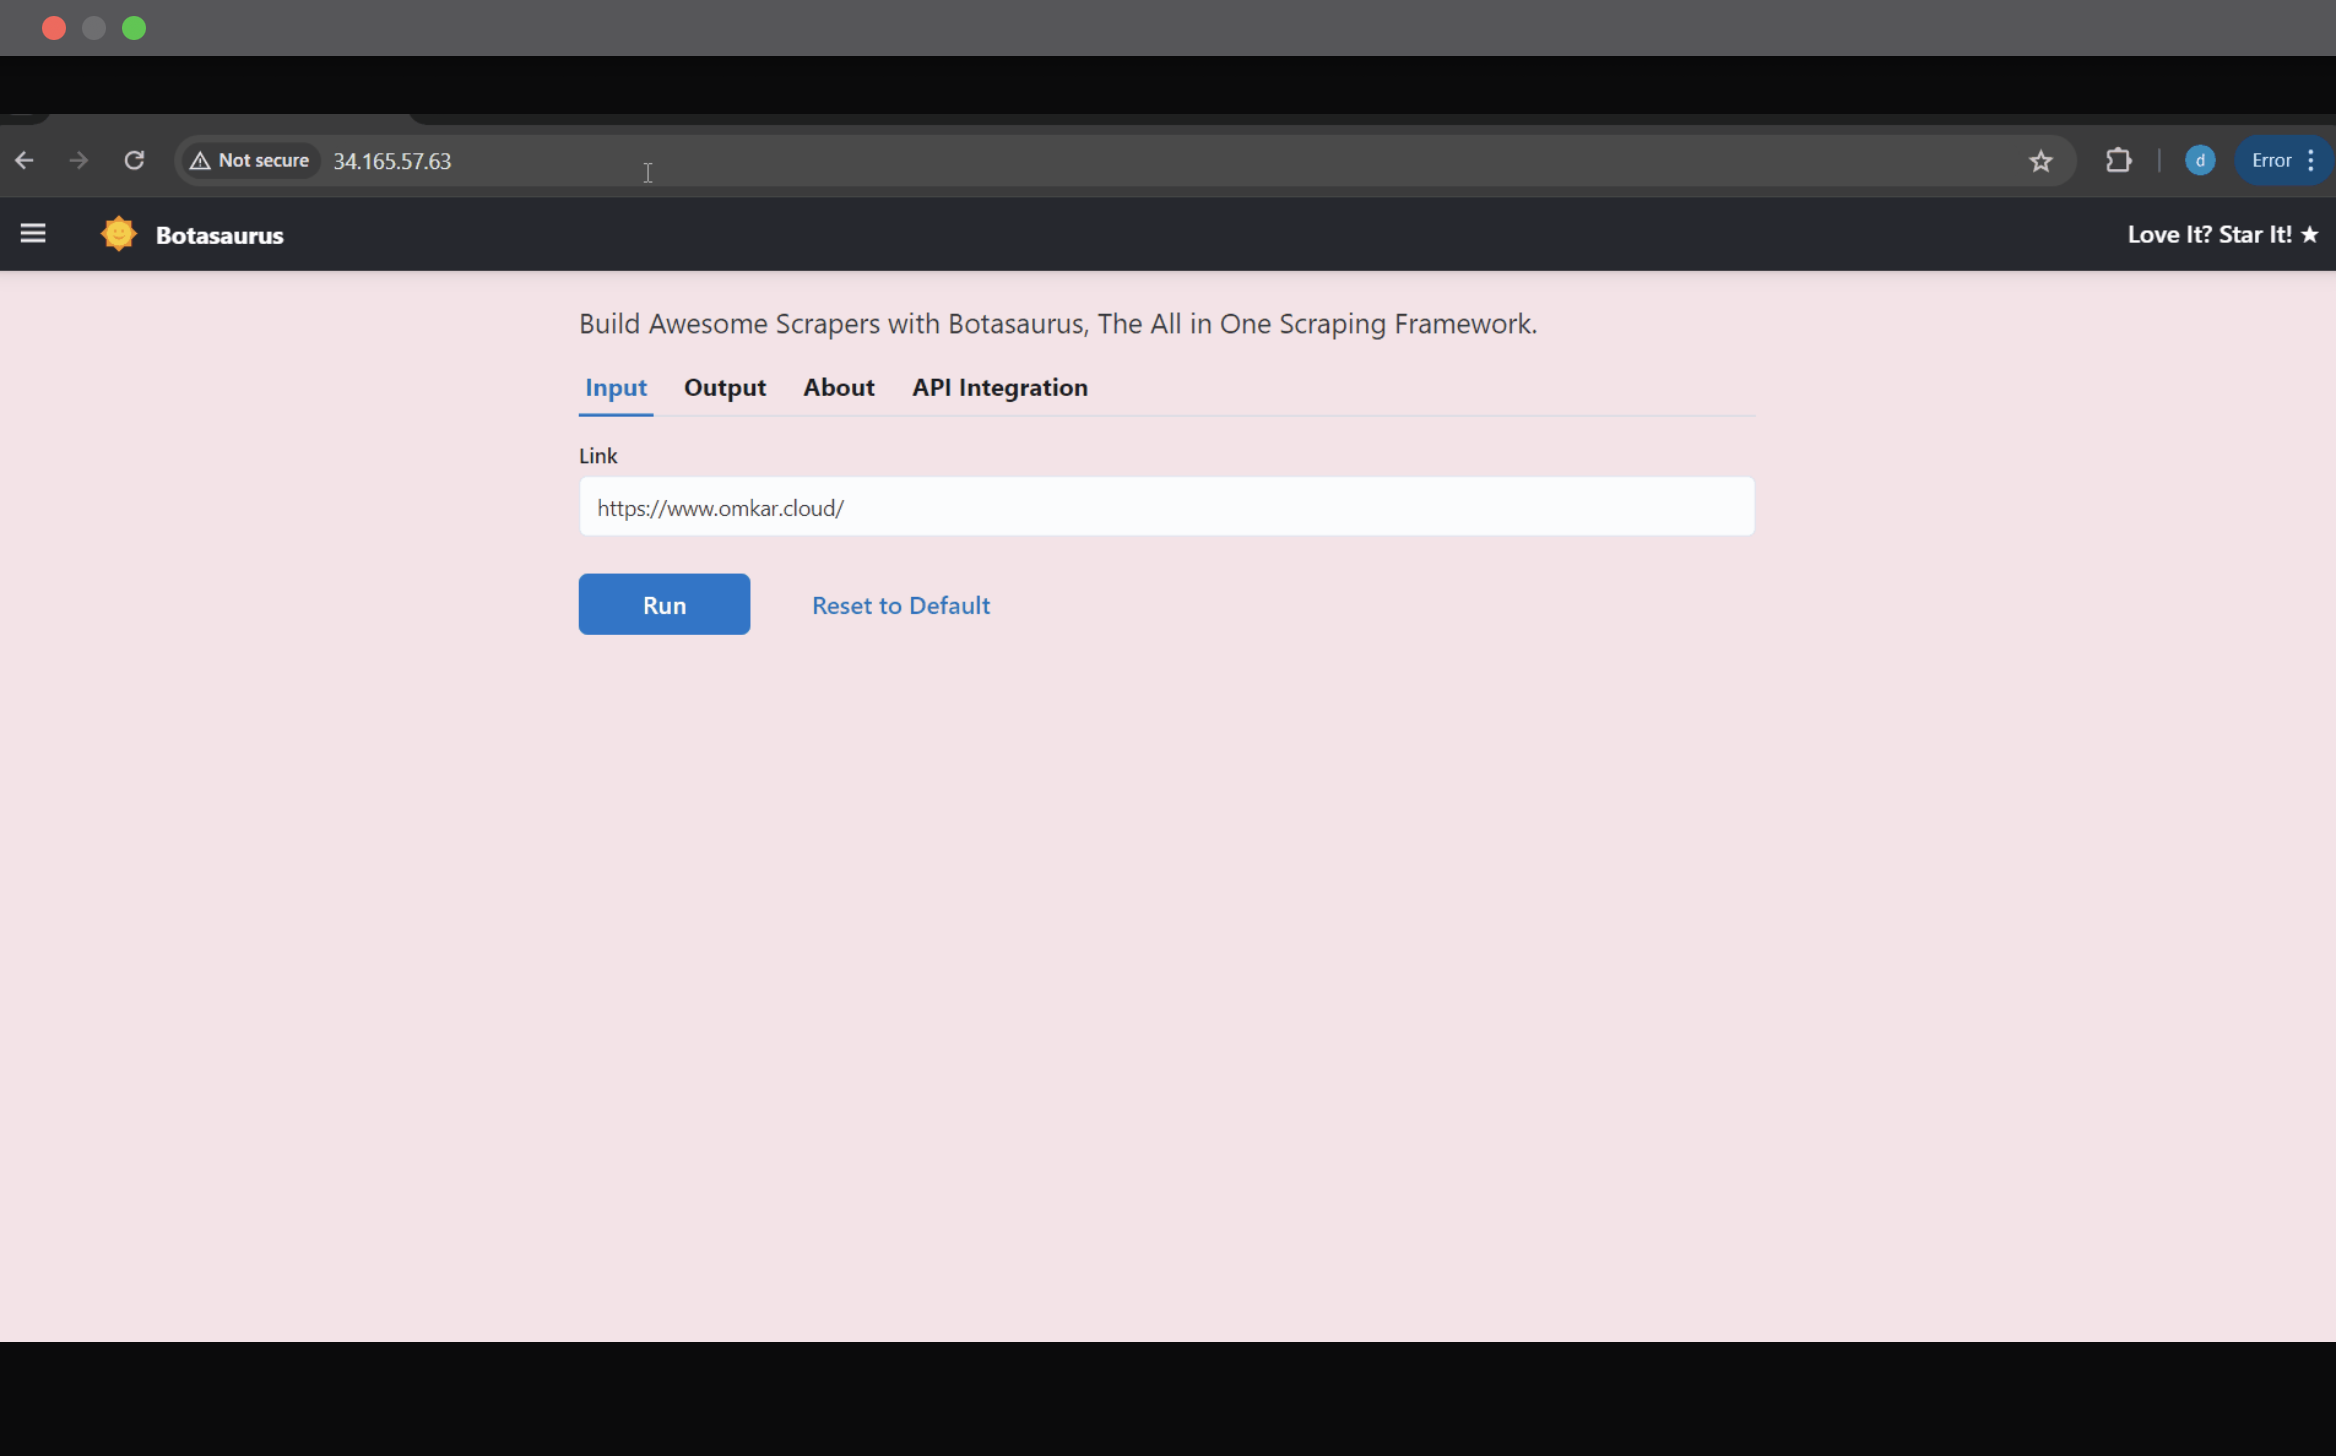
After the command completes, note the IP of the Kubernetes Cluster, as we will later visit this IP to use the scraper.
-
Clone the Botasaurus starter template to your machine by running the following commands:
git clone https://github.com/omkarcloud/botasaurus-starter kubernetes-scraper
cd kubernetes-scraper
code .
-
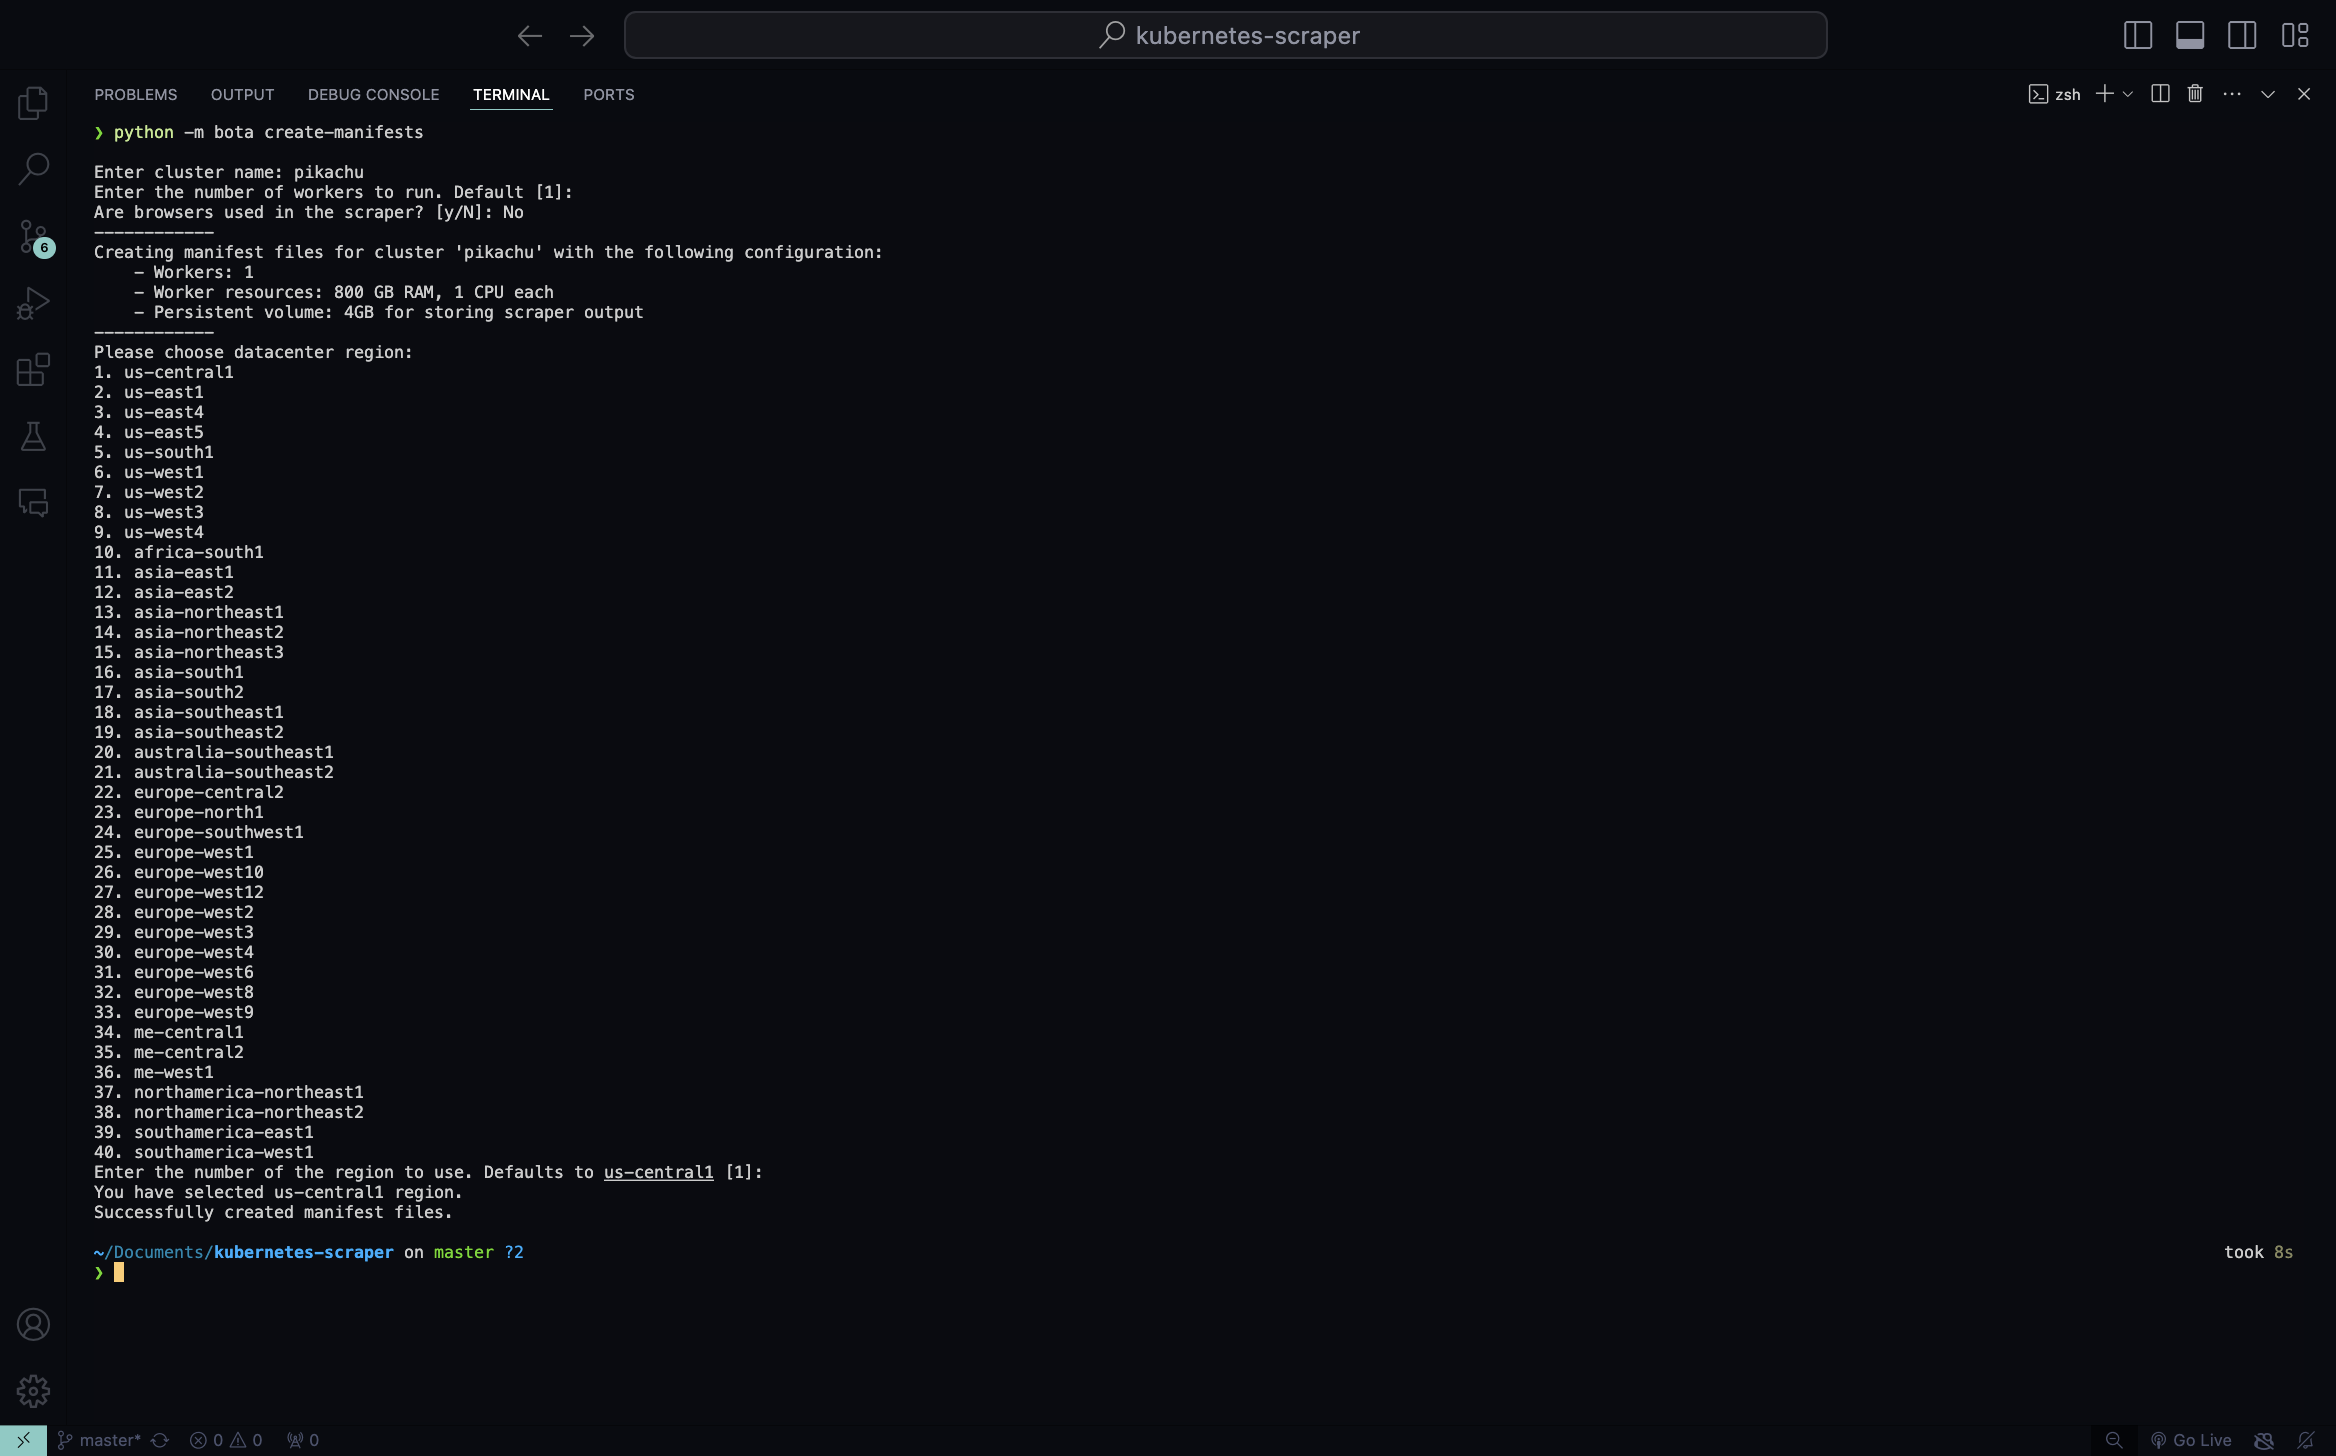
Create Github Actions Workflow YAML and Kubernetes deployment YAML files by running the following command:
python -m bota create-manifests
You will be prompted for the following information:
Enter cluster name: Enter the exact same name you used earlier for the cluster (e.g., pikachu).
number of workers to run: Press Enter to accept the default number of workers, which is 1.
Are browsers used in the scraper: Enter "Yes" if the scraper uses a browser, as this will increase the CPU and RAM allocation for the scraper because browser-based scrapers need more resources. Since the Botasaurus Starter Templates do not use a browser, enter "No".
region: Enter the exact same region you used earlier in the Google Cloud Shell (e.g., us-central1). (This is asked the first time only)
-
Next, Create a new private repository on GitHub named
kubernetes-scraper.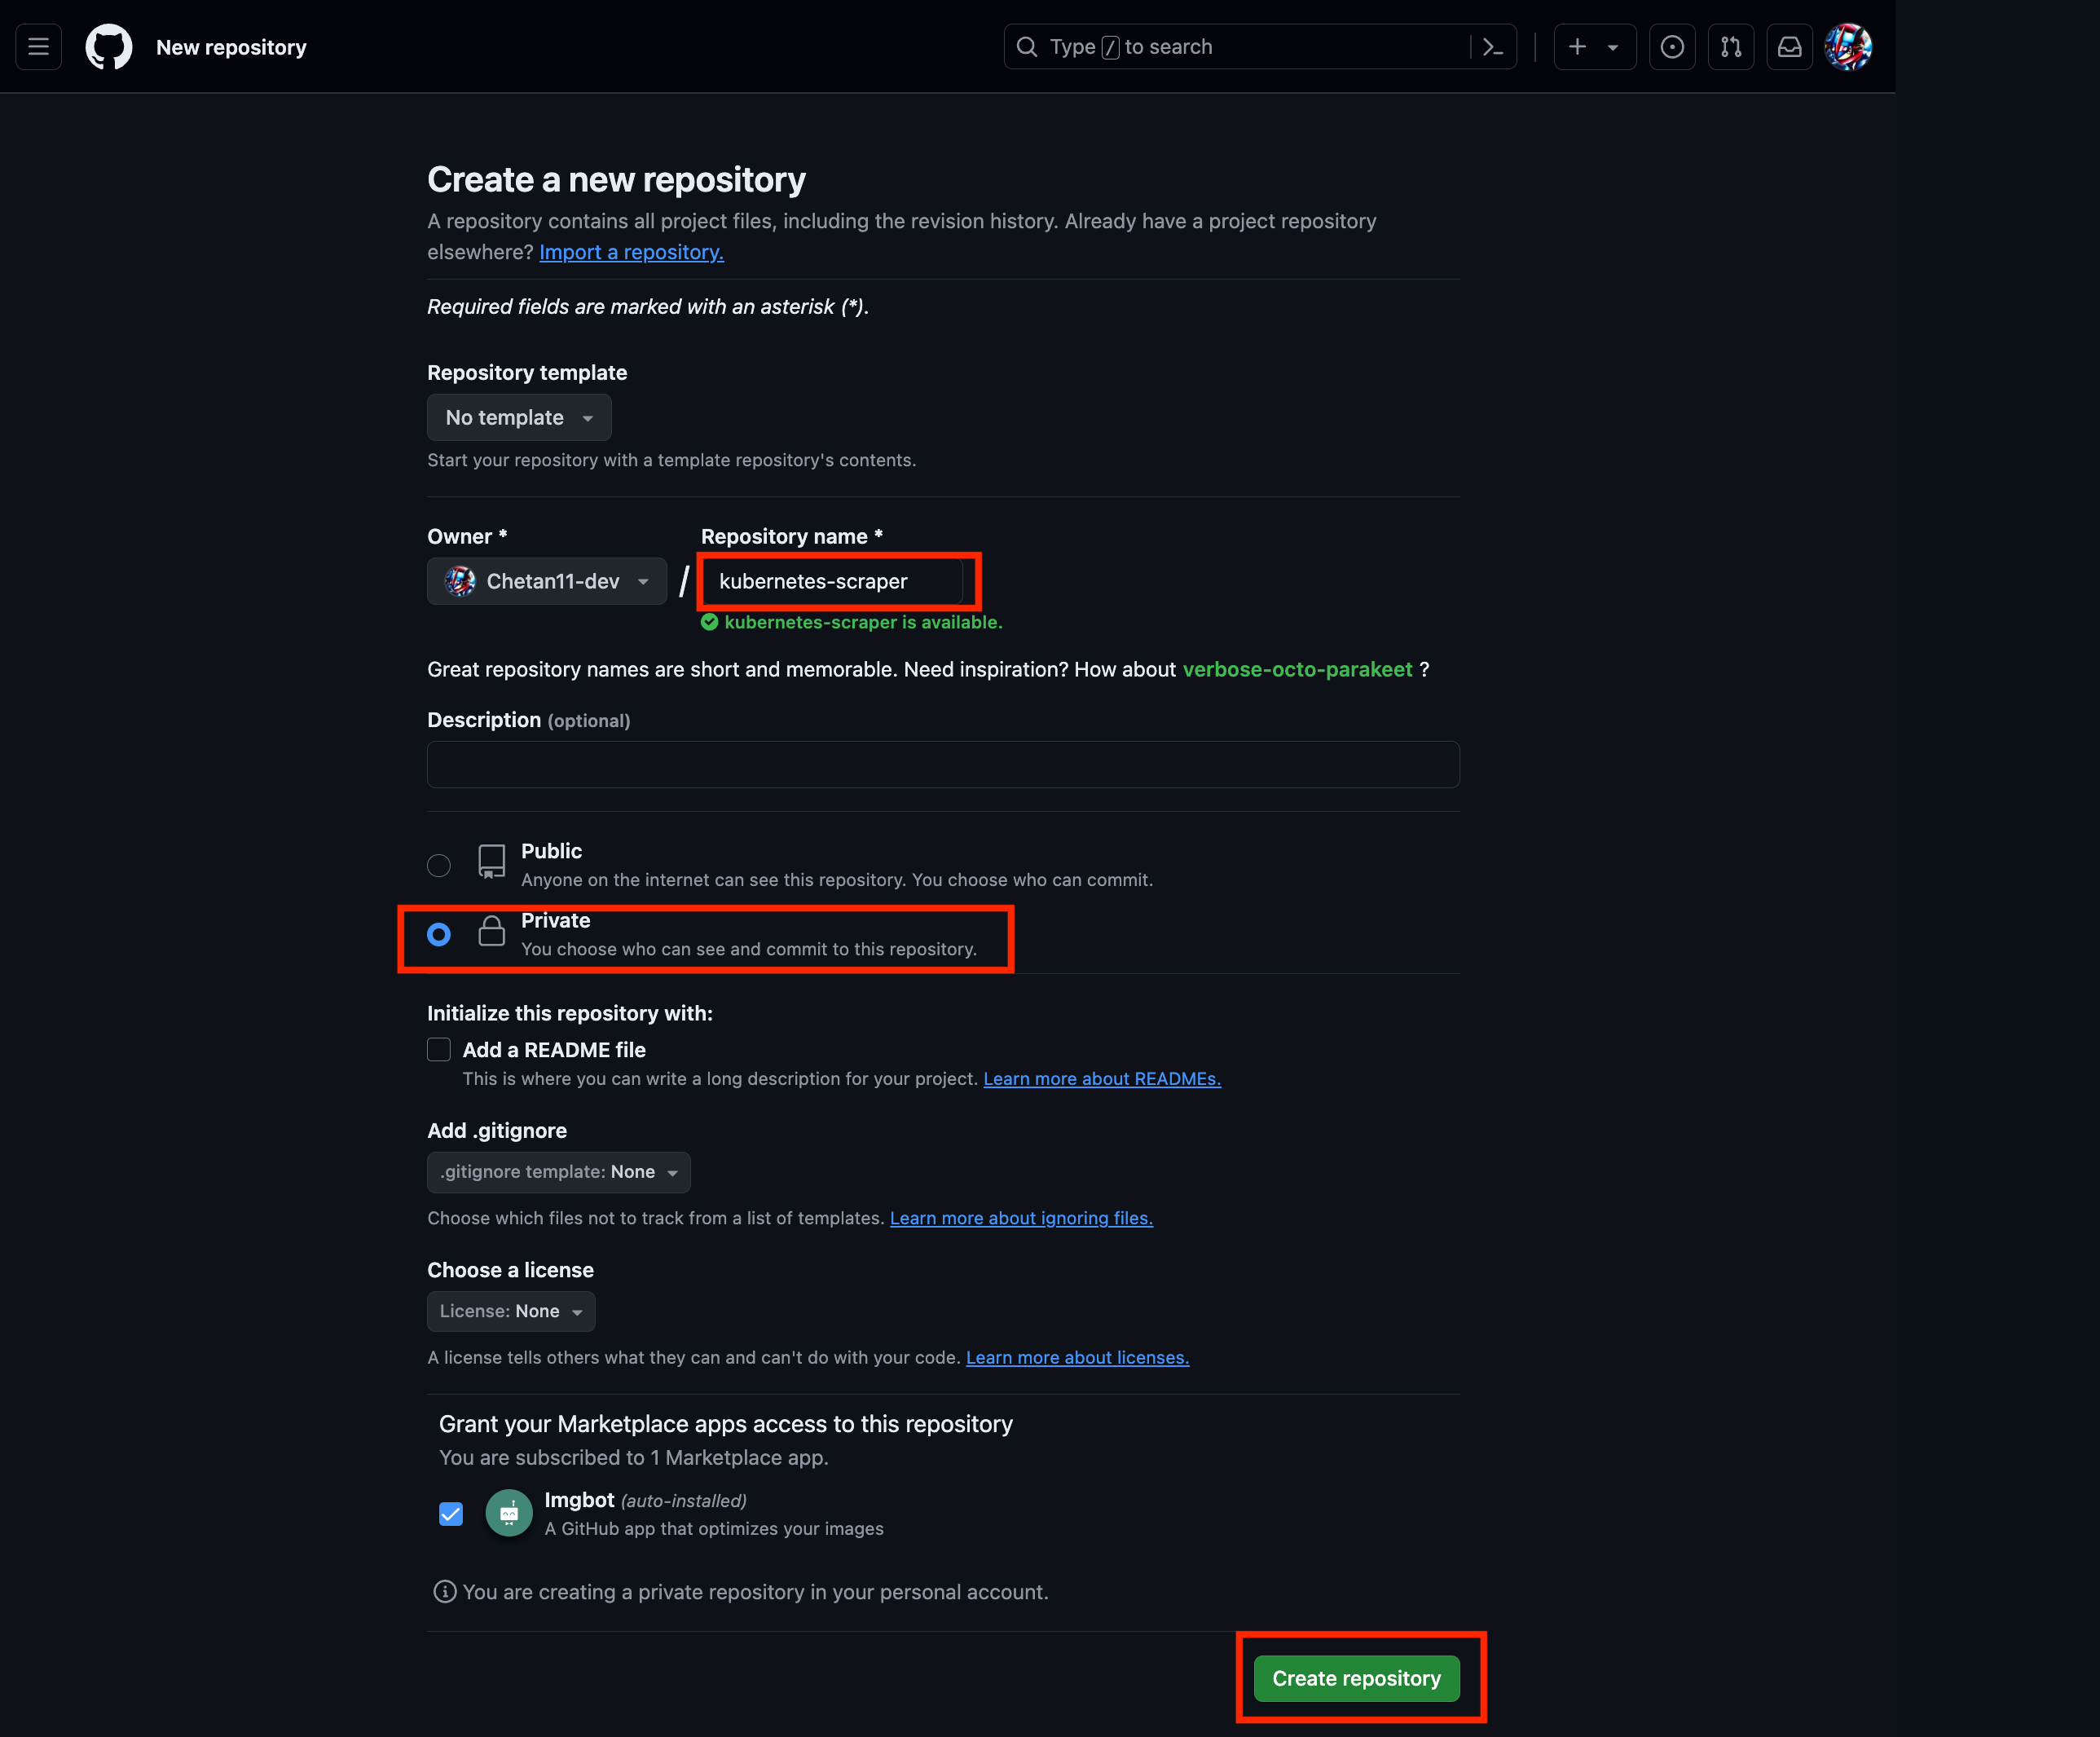
-
In your local machine, run the following commands to push the code to GitHub, remember to replace
USERNAMEwith your GitHub username:rm -rf .git # remove the existing git repository git init git add . git commit -m "Initial Commit" git remote add origin https://github.com/USERNAME/kubernetes-scraper # TODO: replace USERNAME with your GitHub username git branch -M main git push -u origin main
-
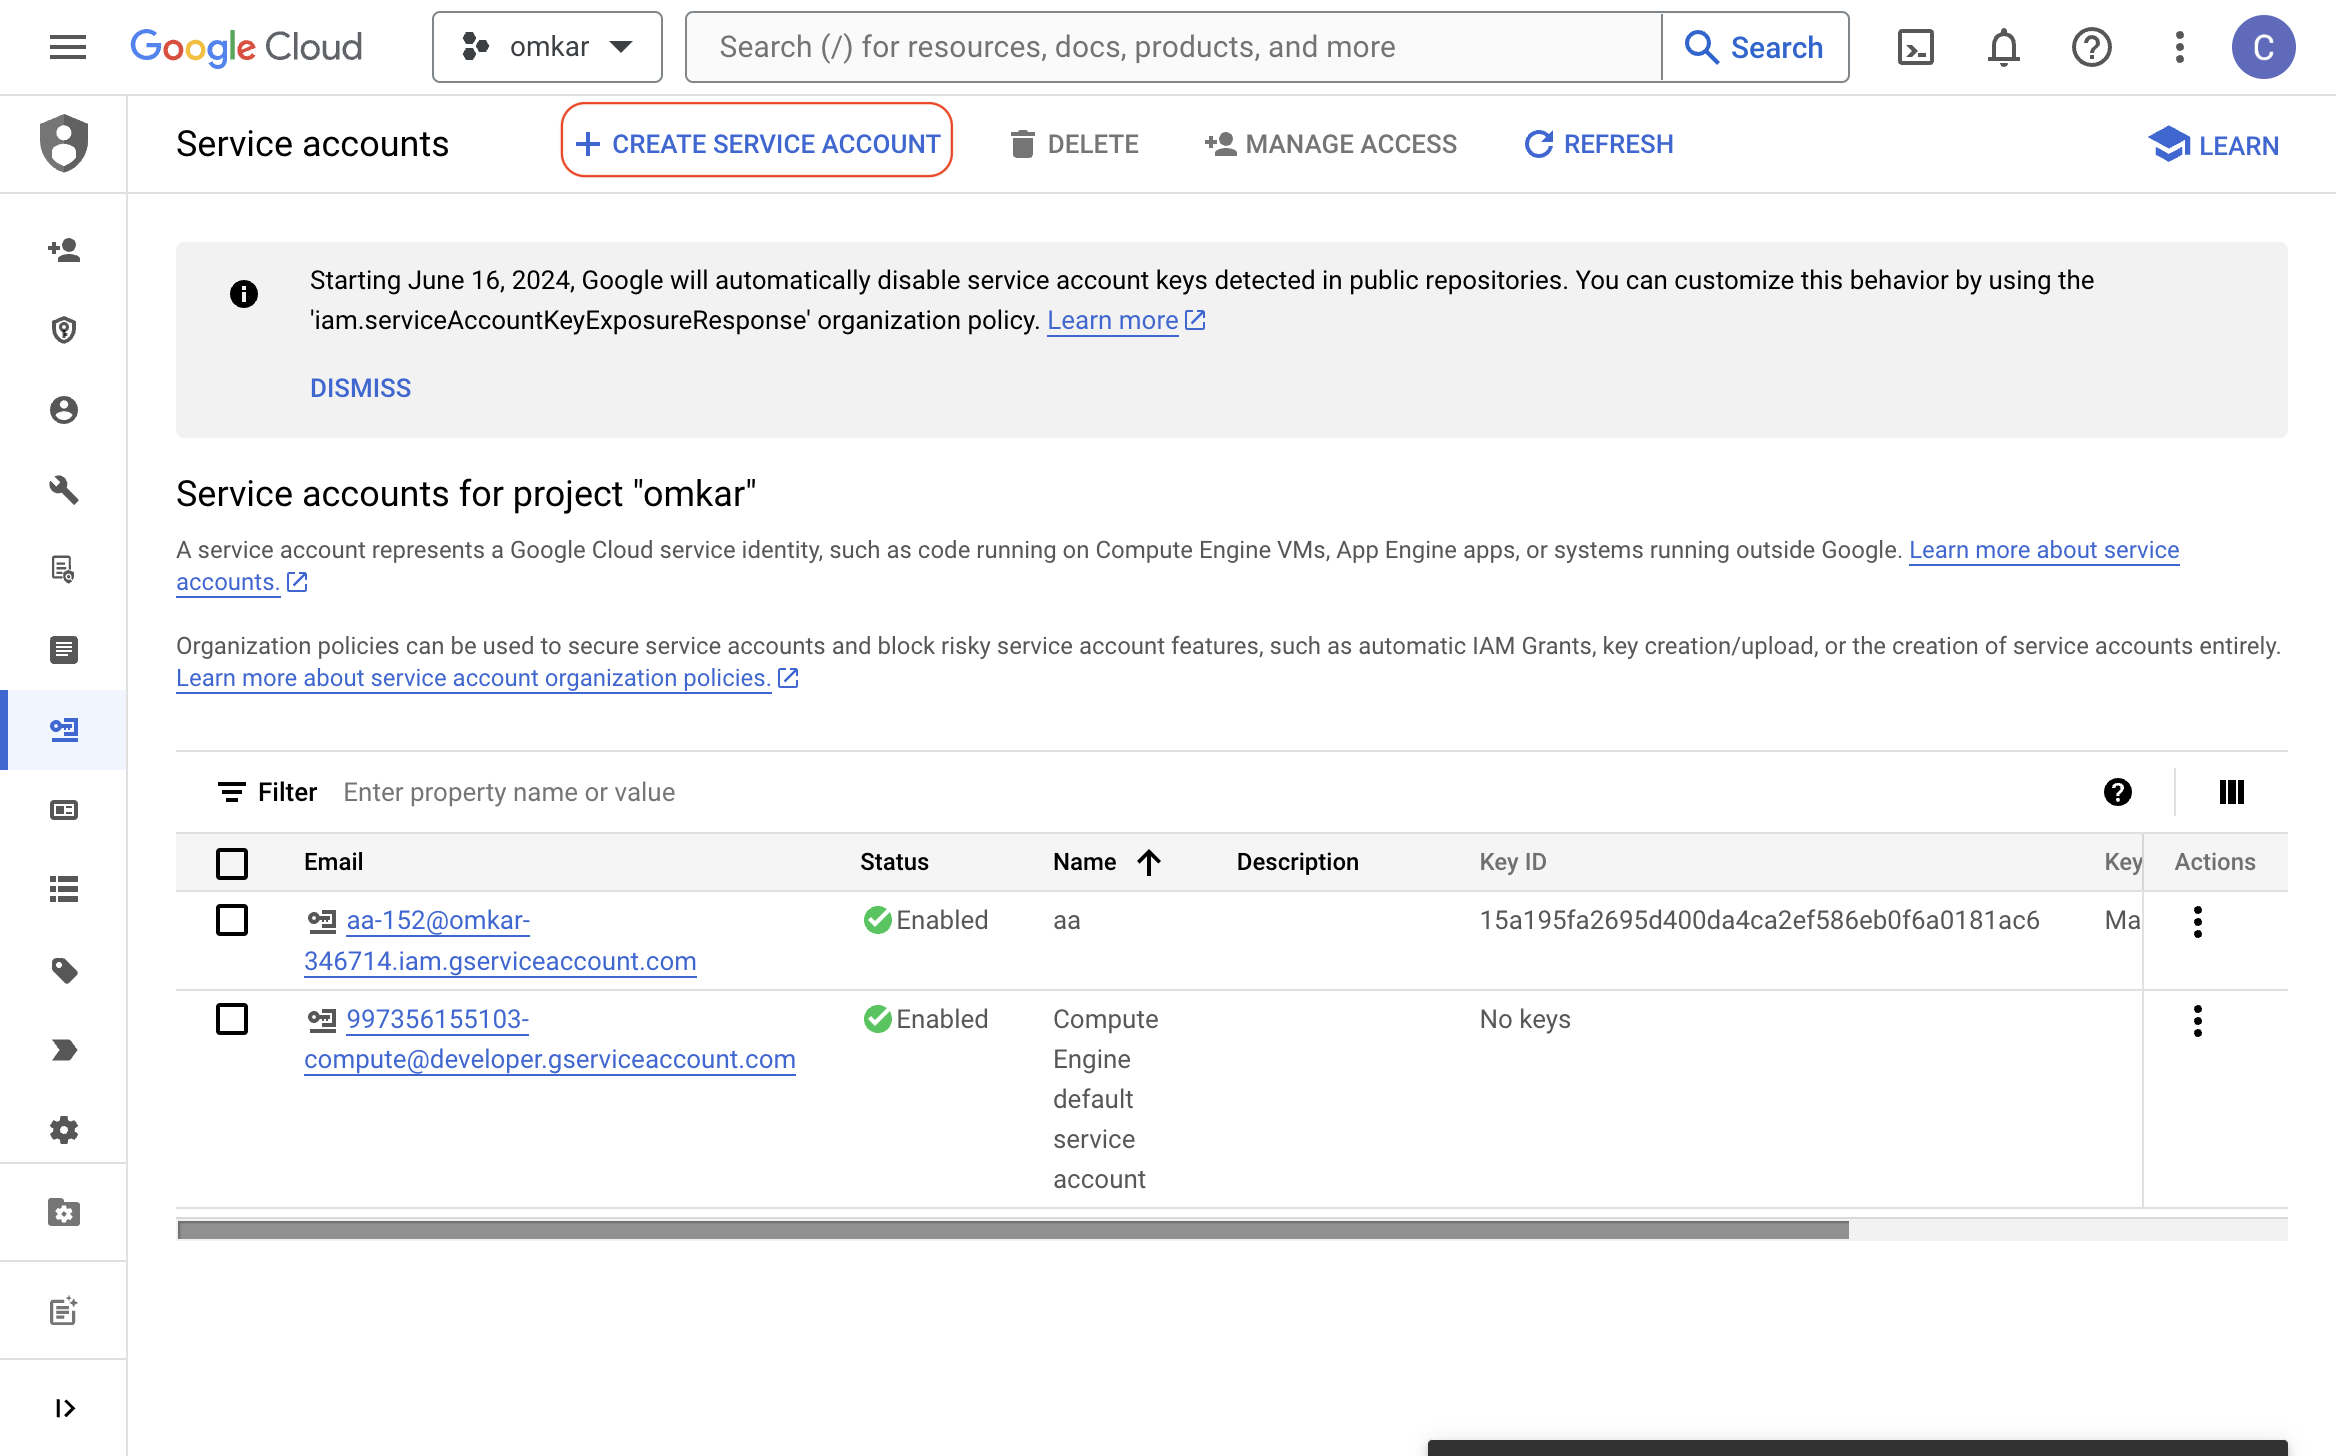
Visit this link and click the "CREATE SERVICE ACCOUNT" button.
-
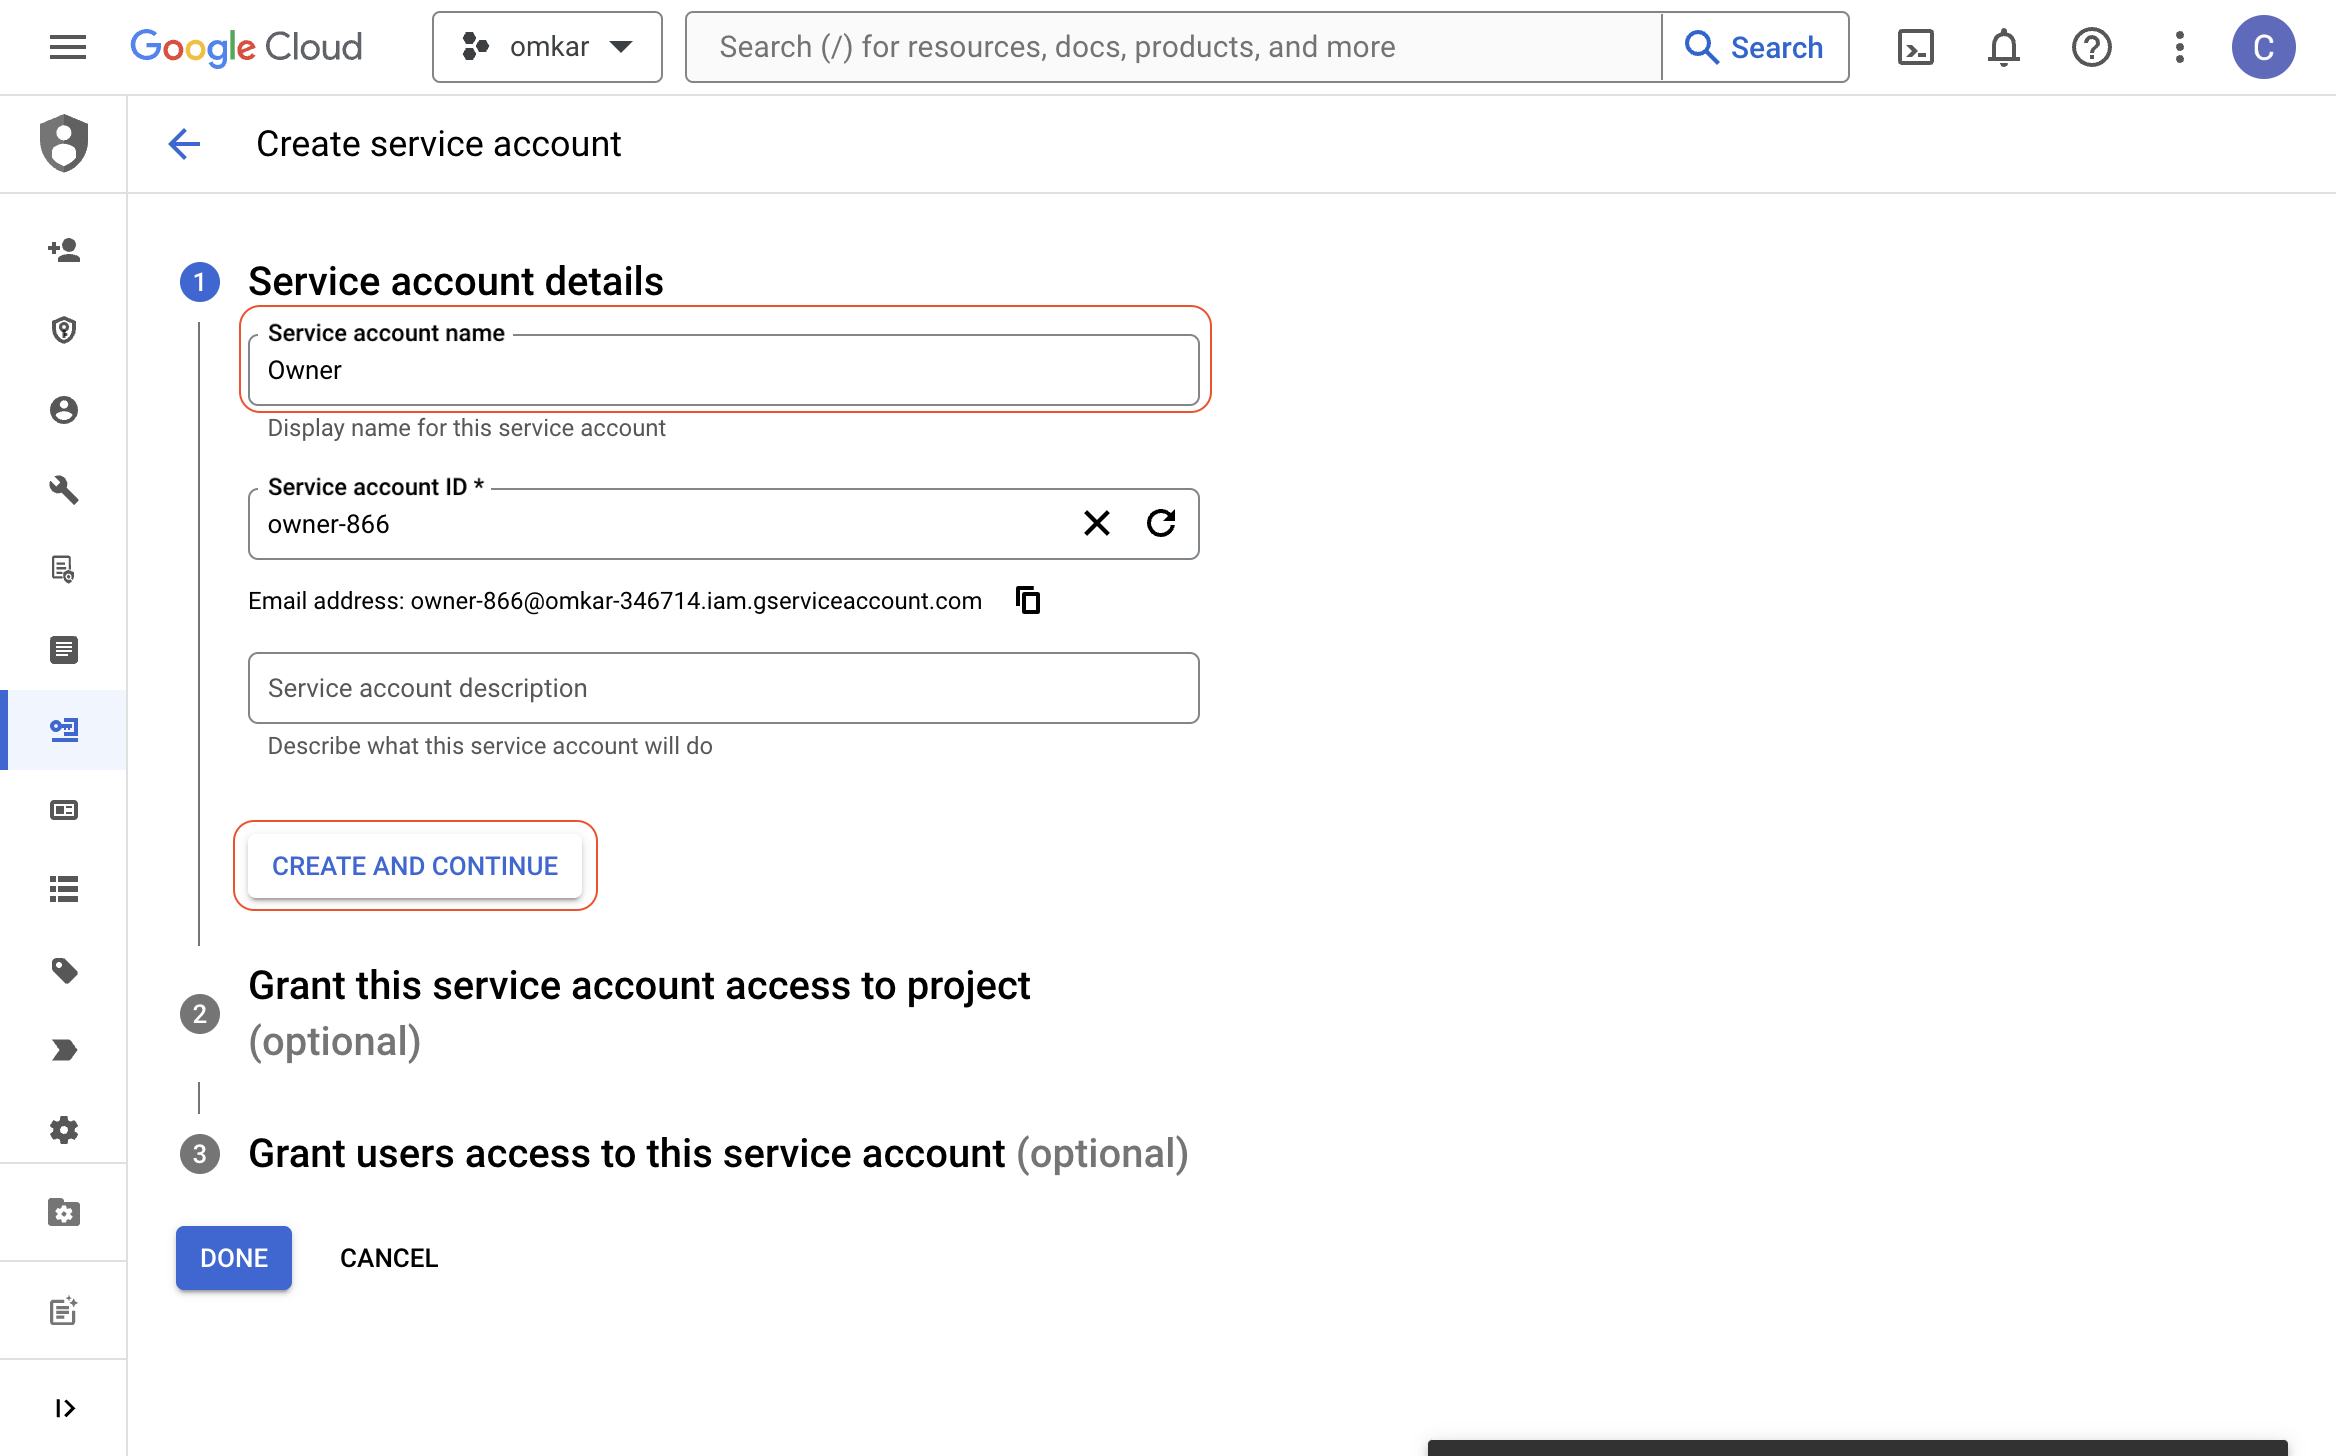
Enter a name like "Owner" in the "Service account name" textbox and click the "CREATE AND CONTINUE" button.
-
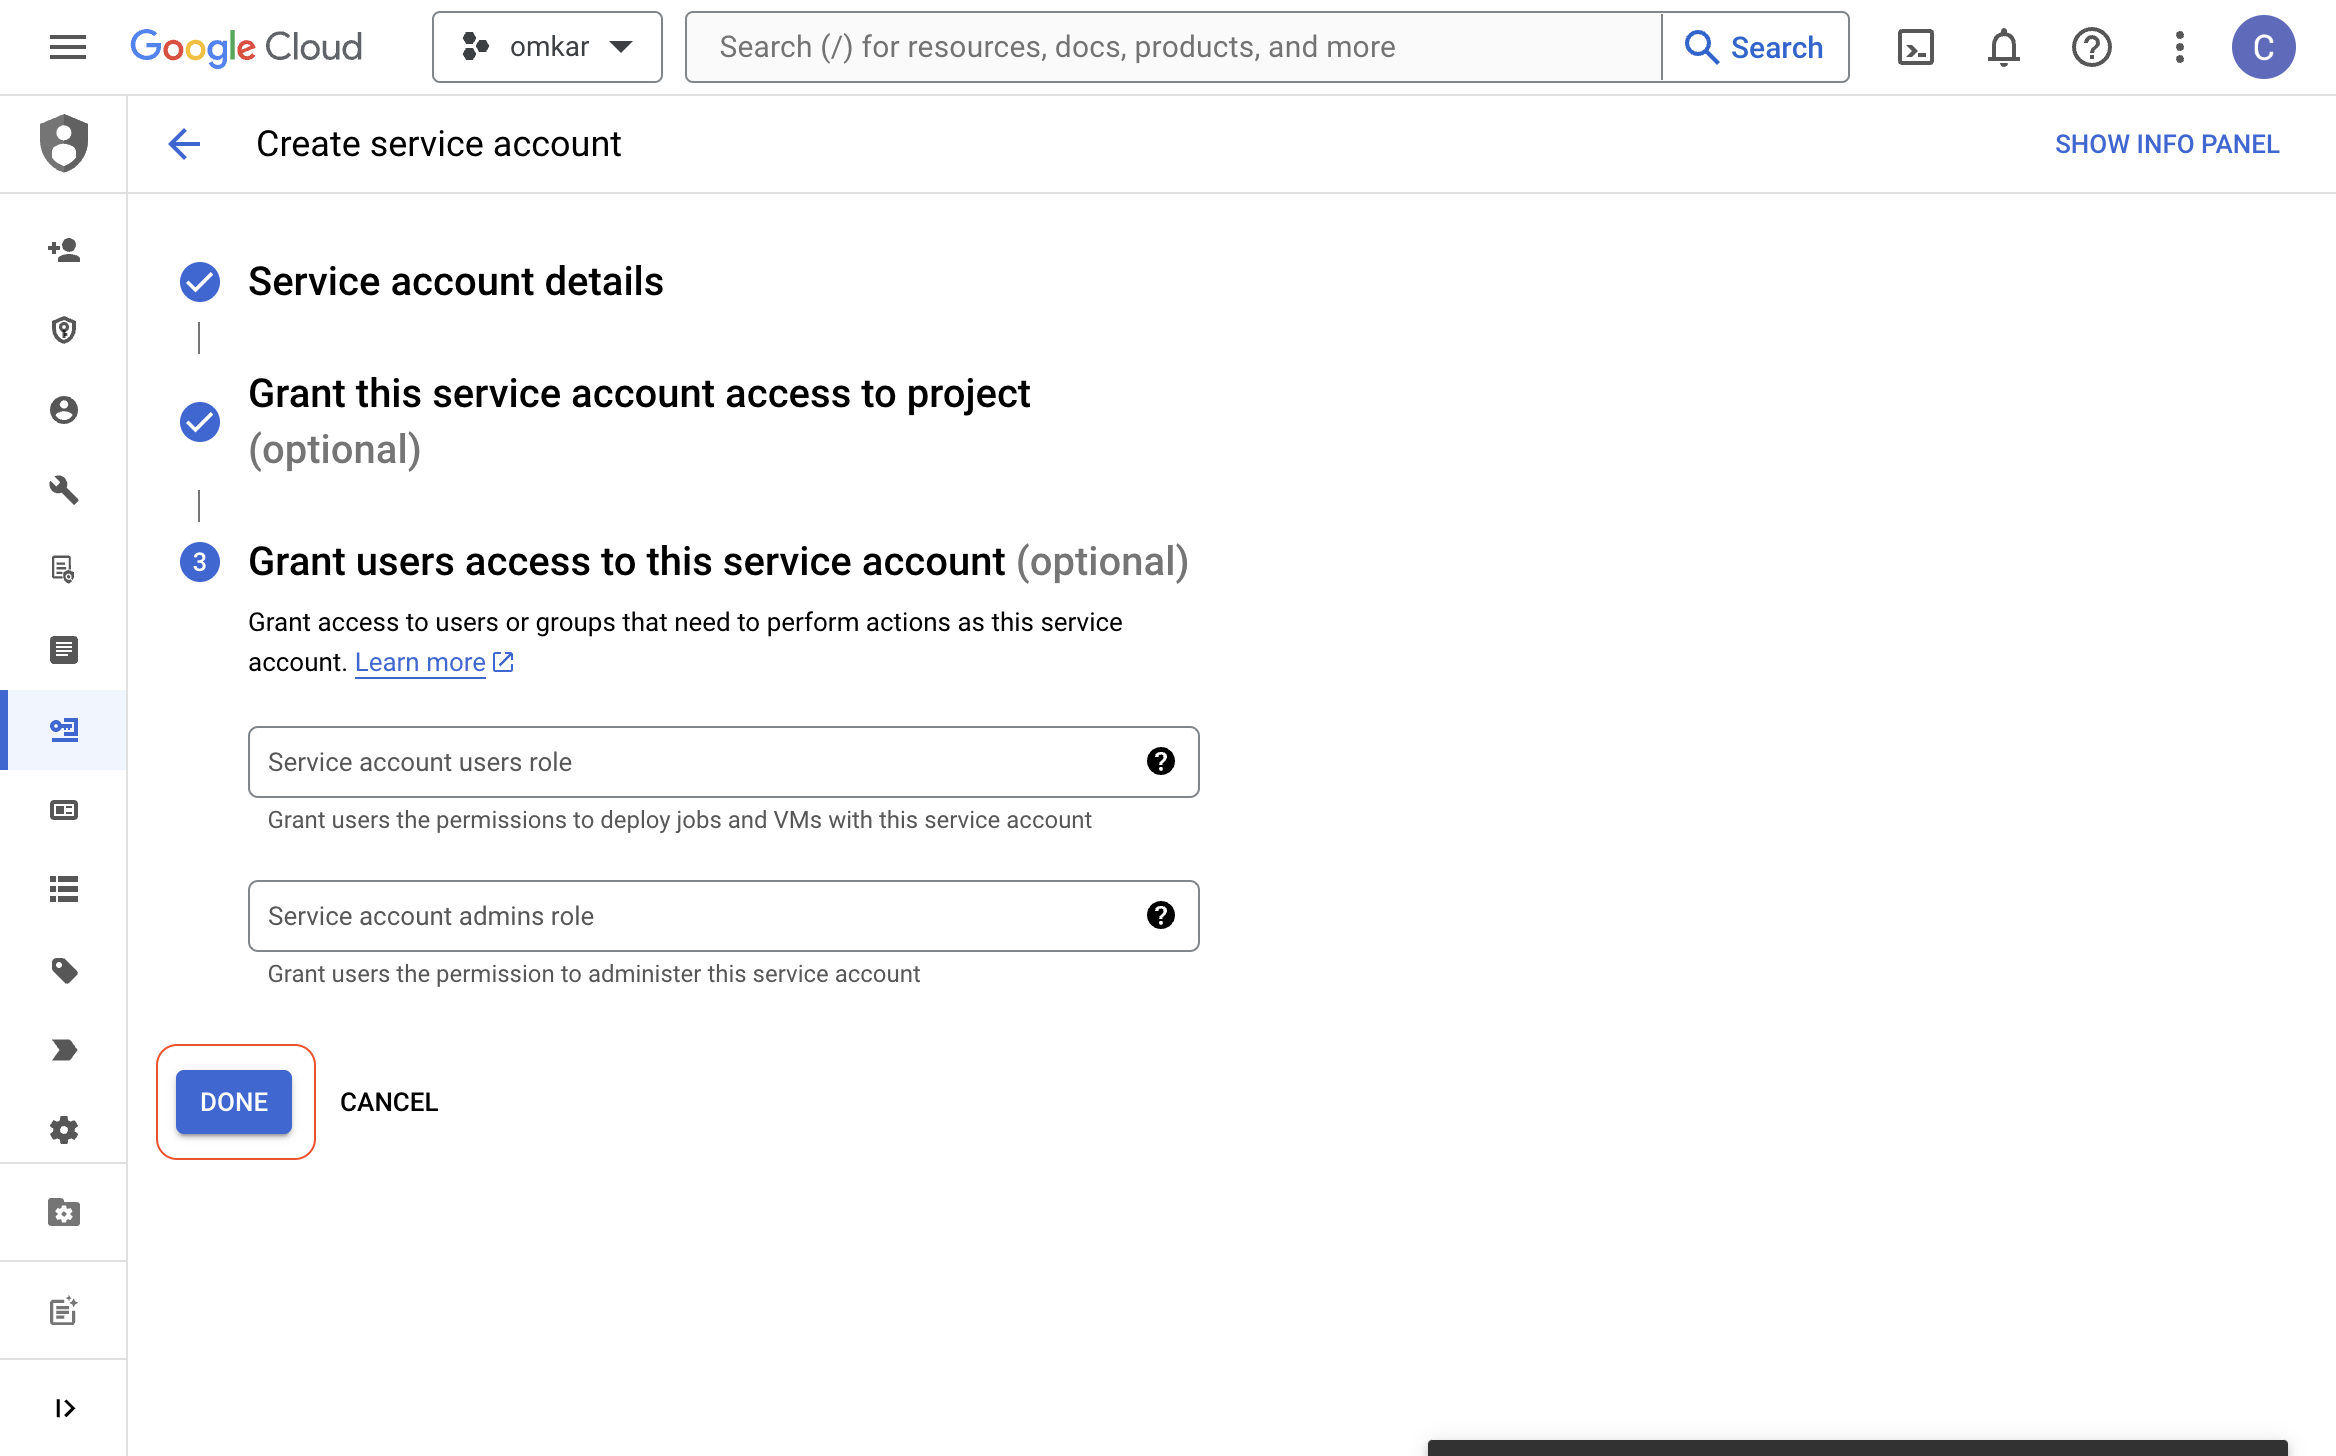
Click on the "Select a role" dropdown, select "Project" > "Owner" role, and click the "CONTINUE" button.

-
Click on the "DONE" button.
-
Download the JSON key for the service account by following the GIF below.
-
Go to base64encode.org, paste the service account key's JSON contents, and encode it to base64.

-
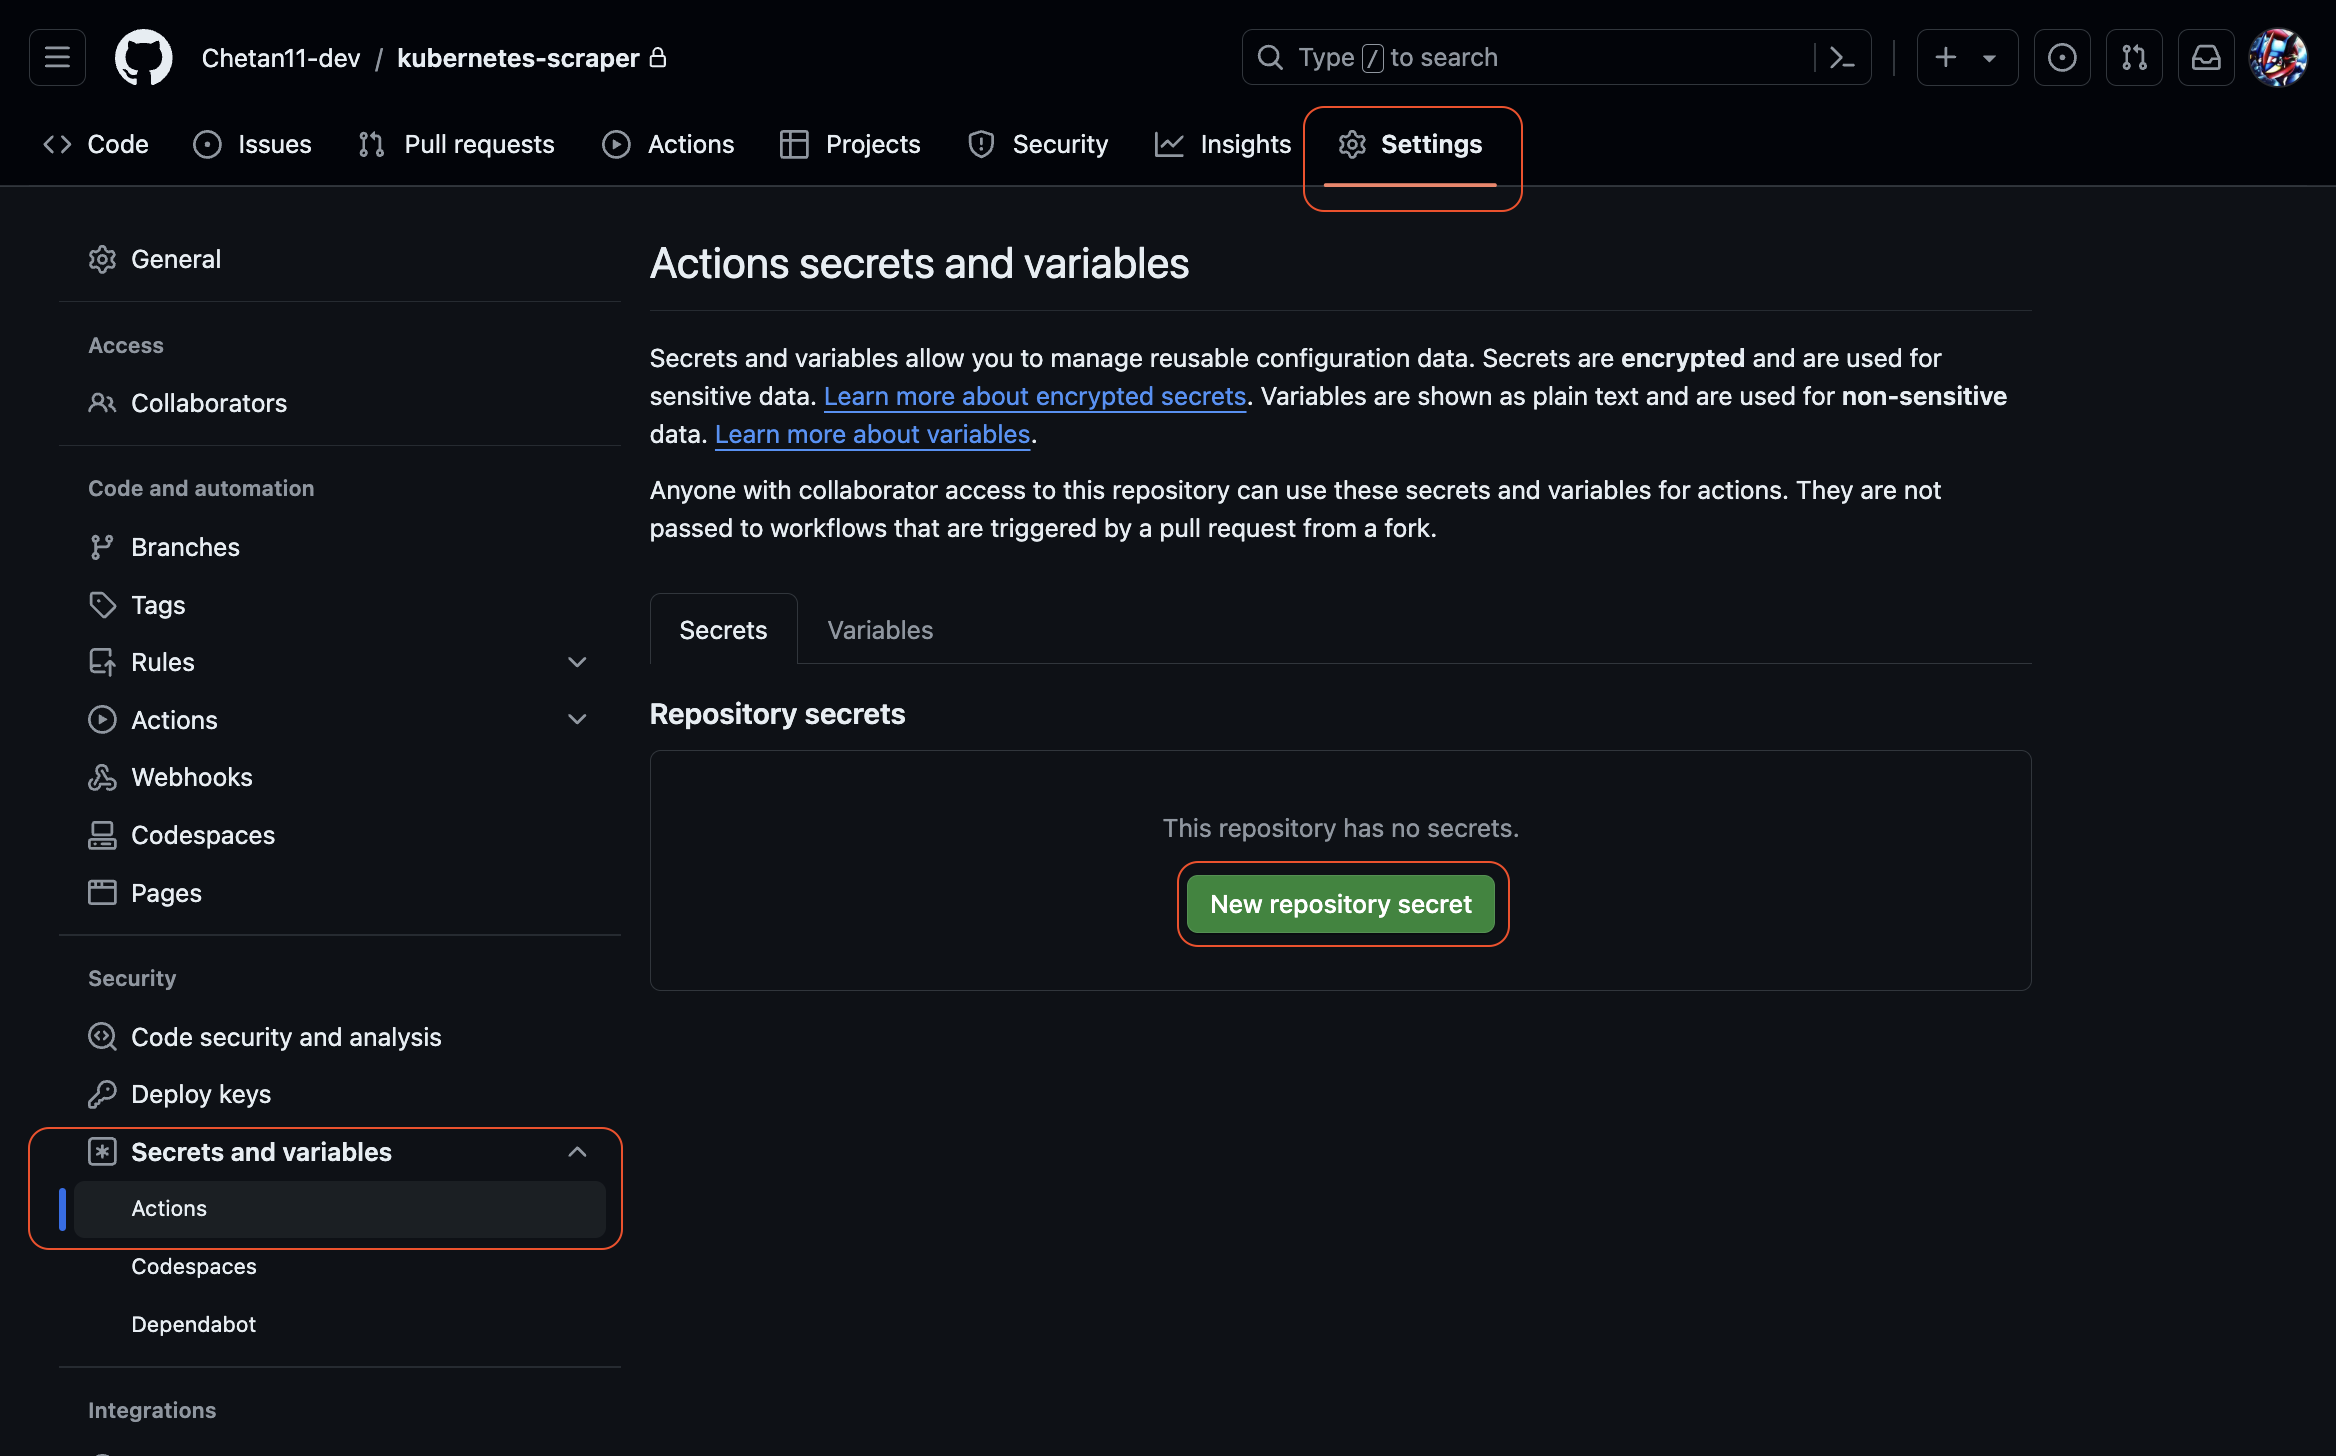
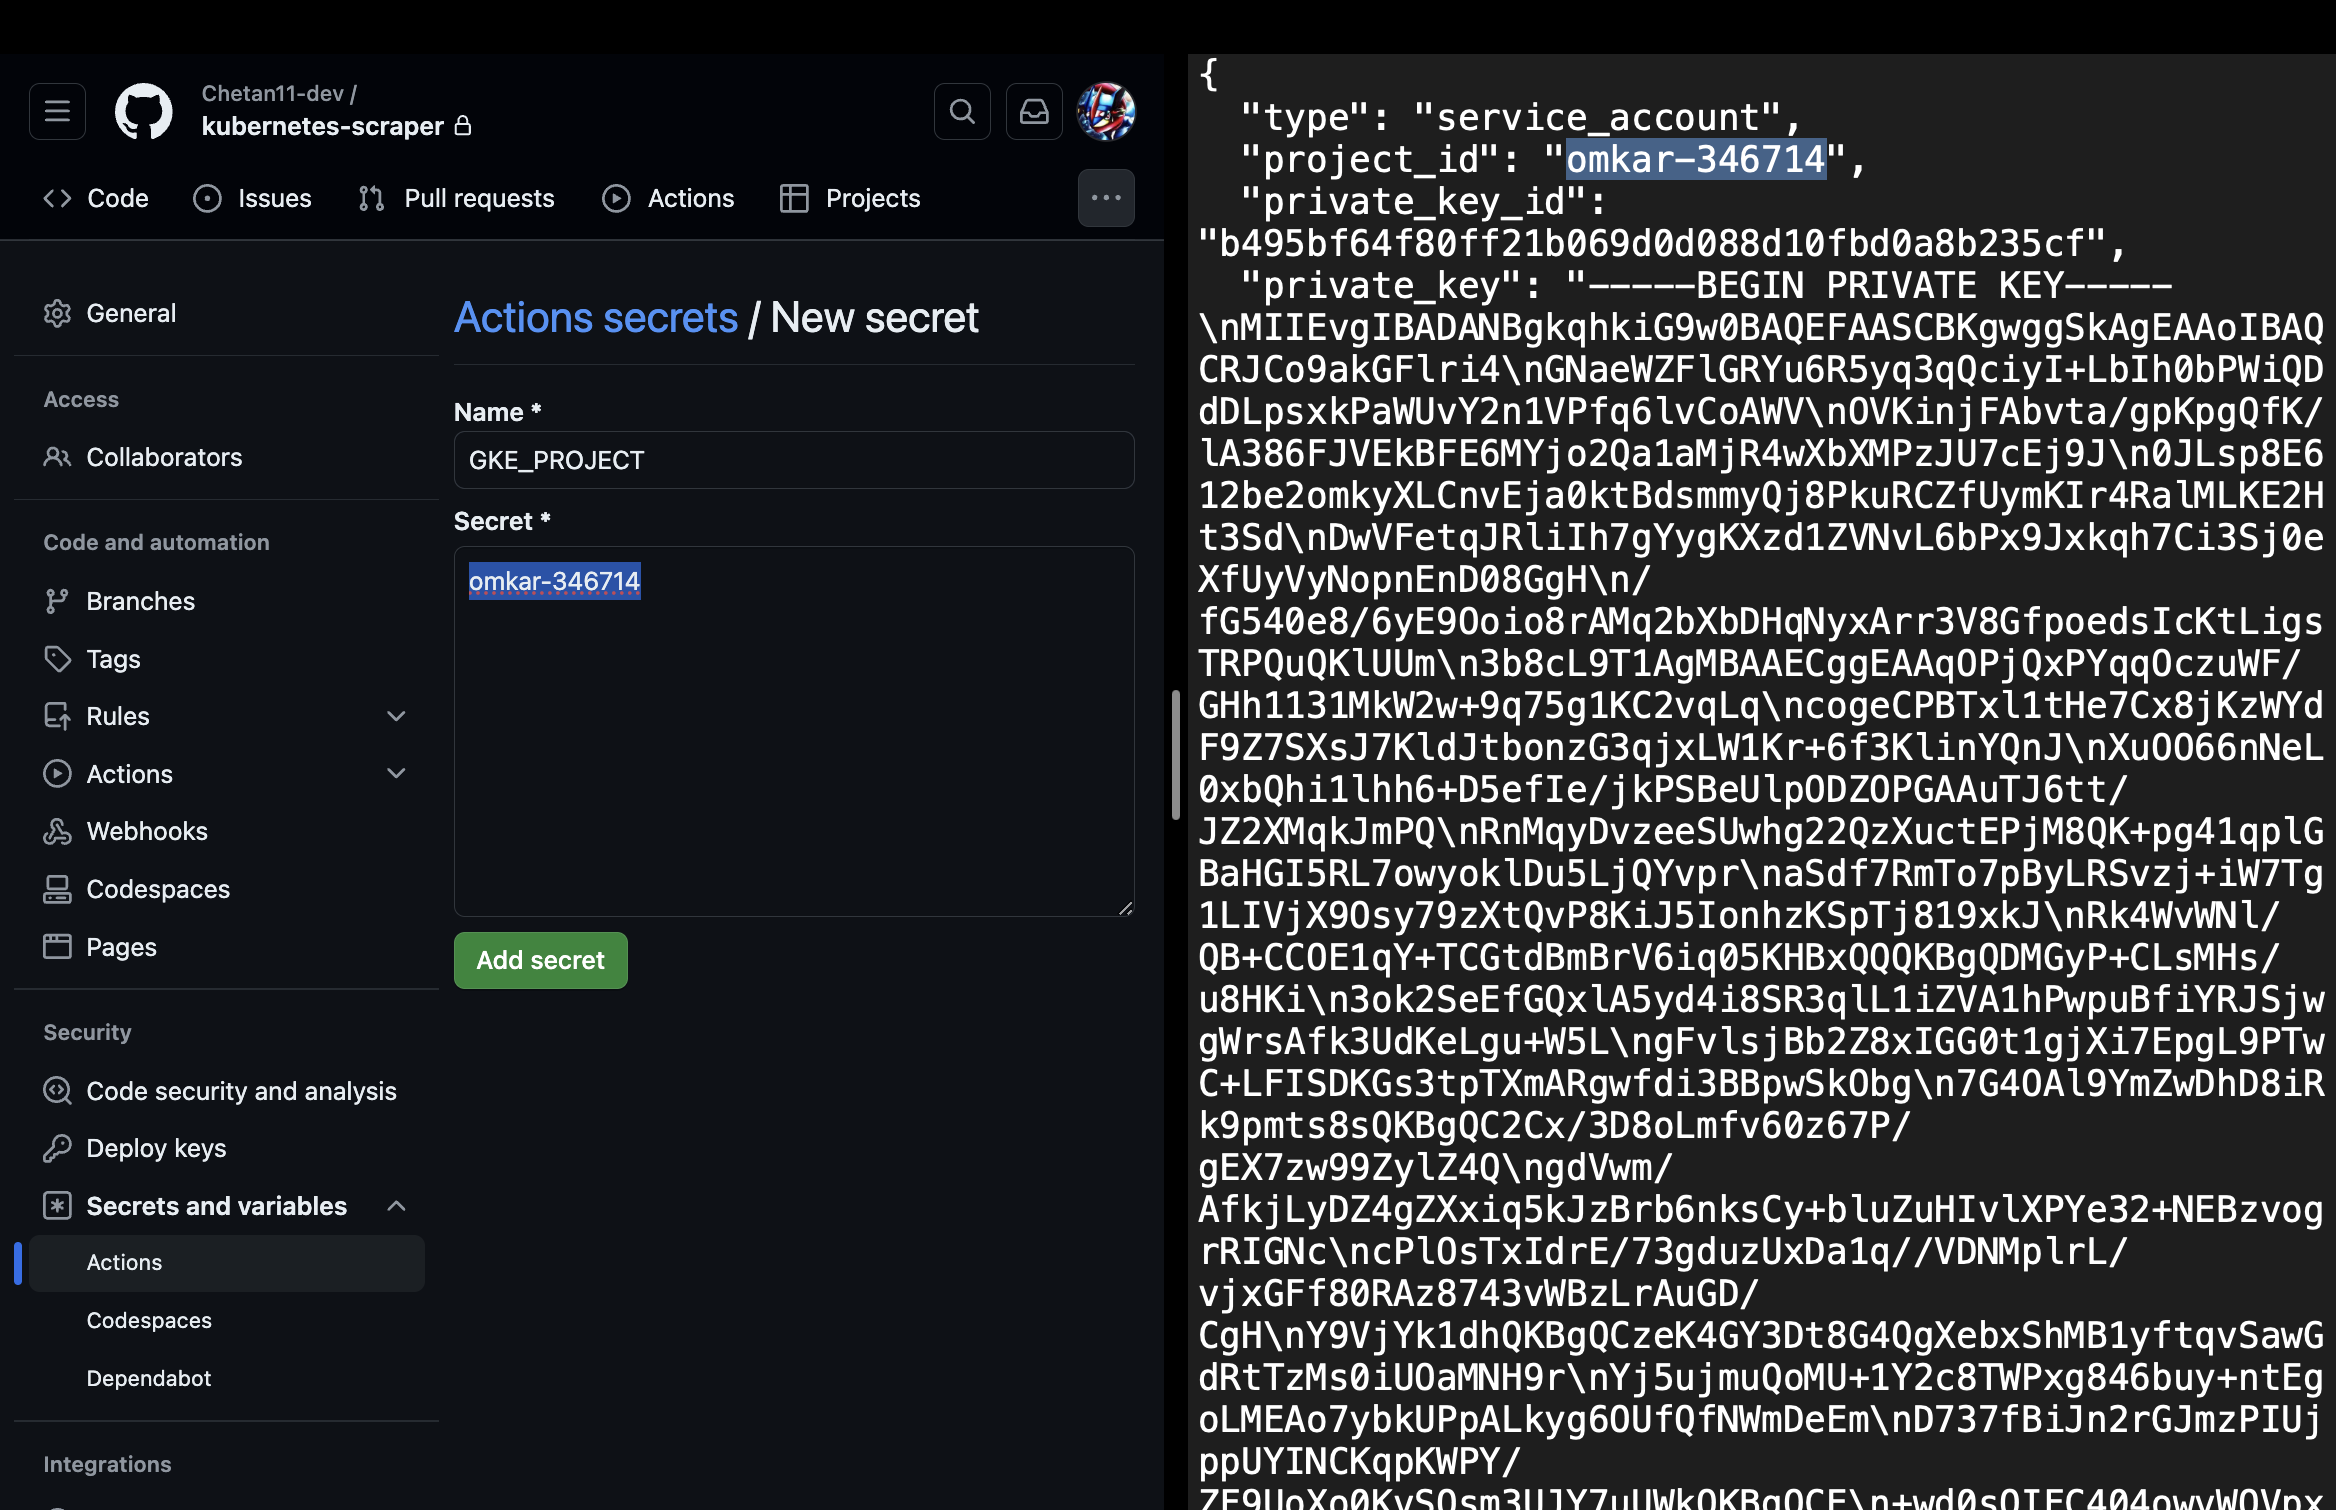
Go to the GitHub repository you just created, click on "Settings" > "Secrets and variables" > "Actions", and click on the "New repository secret" button.
-
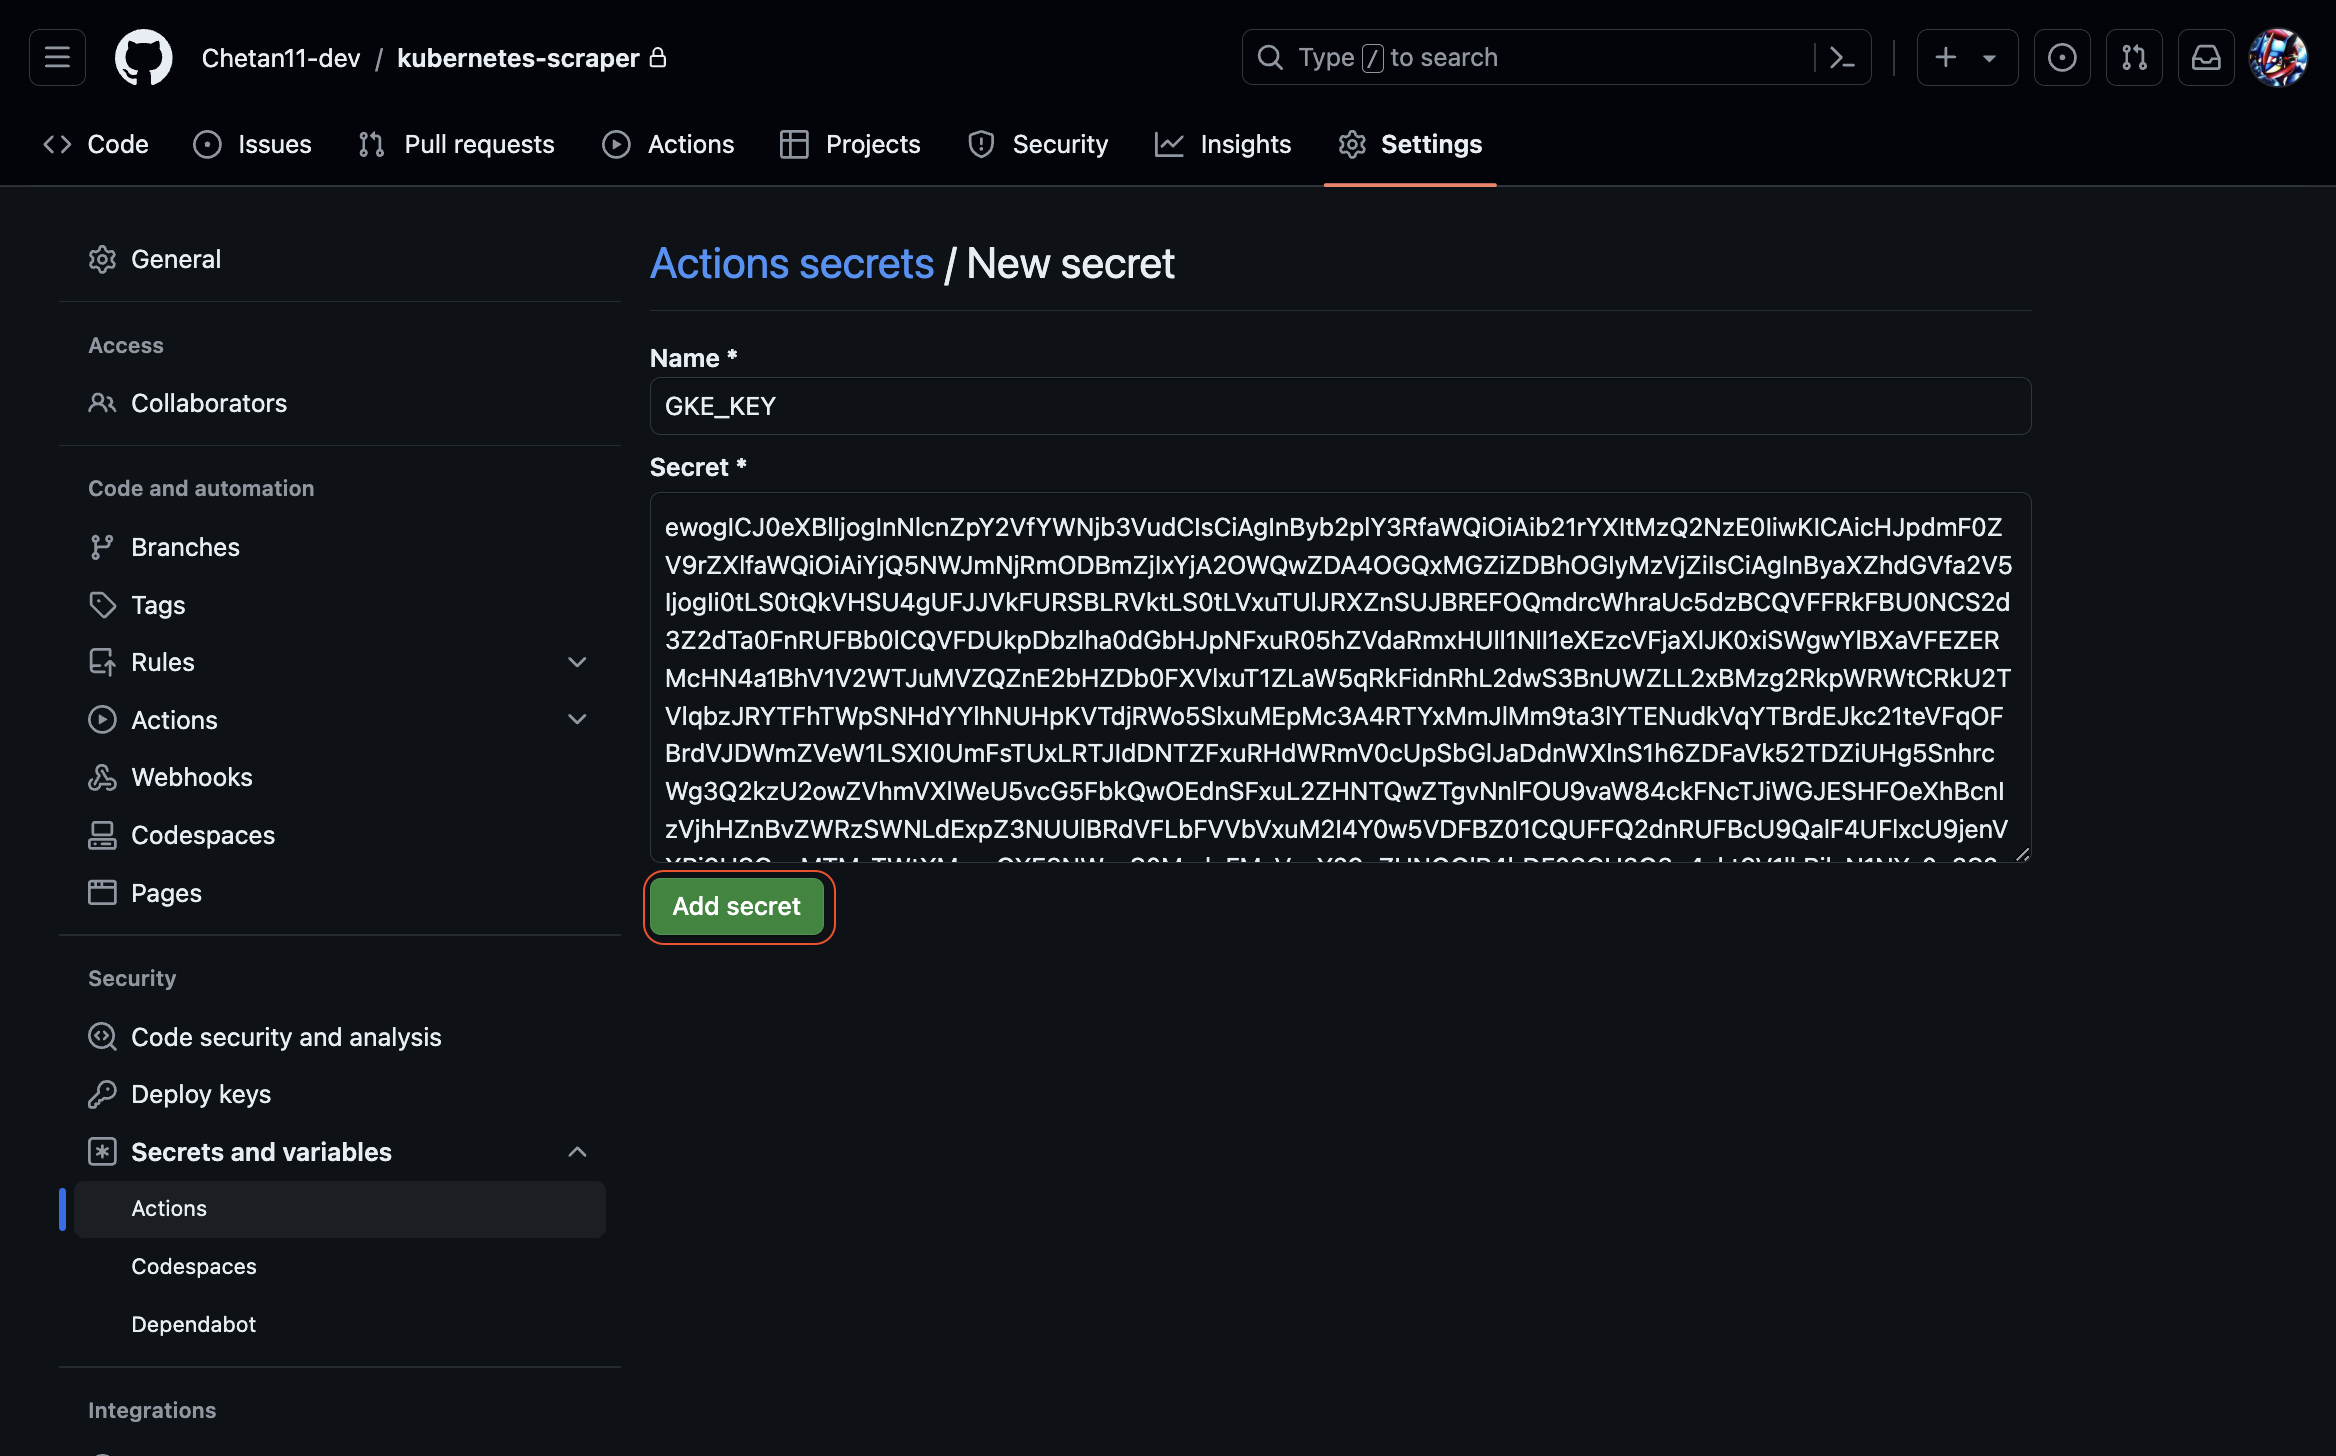
Enter "GKE_KEY" as the name and paste the base64-encoded GKE_KEY as the value. Then click the "Add secret" button.
-
Add a new secret with the name "GKE_PROJECT" and enter the project ID (found in the service account's 'project_id' field) as the value.
-
Go to the "Actions" tab in your GitHub repository, click on the workflow tab, and re-run the workflow.
-
That's it, Once the workflow is completed, visit the IP you copied earlier to use the scraper.
If you are deleting a custom scraper you deployed, ensure you have downloaded the results from it.
Next, in the Cloud Shell, run the following command to delete the Kubernetes scraper:
python -m bota delete-clusterWhen prompted for cluster name, enter the exact same cluster name you used earlier (e.g., "pikachu").
That's it! You have successfully deleted the Kubernetes cluster and all associated resources. You will not incur any further charges.