Skip to content
New issue

Have a question about this project? Sign up for a free GitHub account to open an issue and contact its maintainers and the community.

By clicking “Sign up for GitHub”, you agree to our terms of service and privacy statement. We’ll occasionally send you account related emails.

Already on GitHub? Sign in to your account

add_volume results in a blank image #175

Open
samarthswarup opened this issue Jun 8, 2020 · 11 comments
Open

add_volume results in a blank image #175

samarthswarup opened this issue Jun 8, 2020 · 11 comments
Labels
plotting General plotting/rendering topics

Comments

@samarthswarup
Copy link

Description

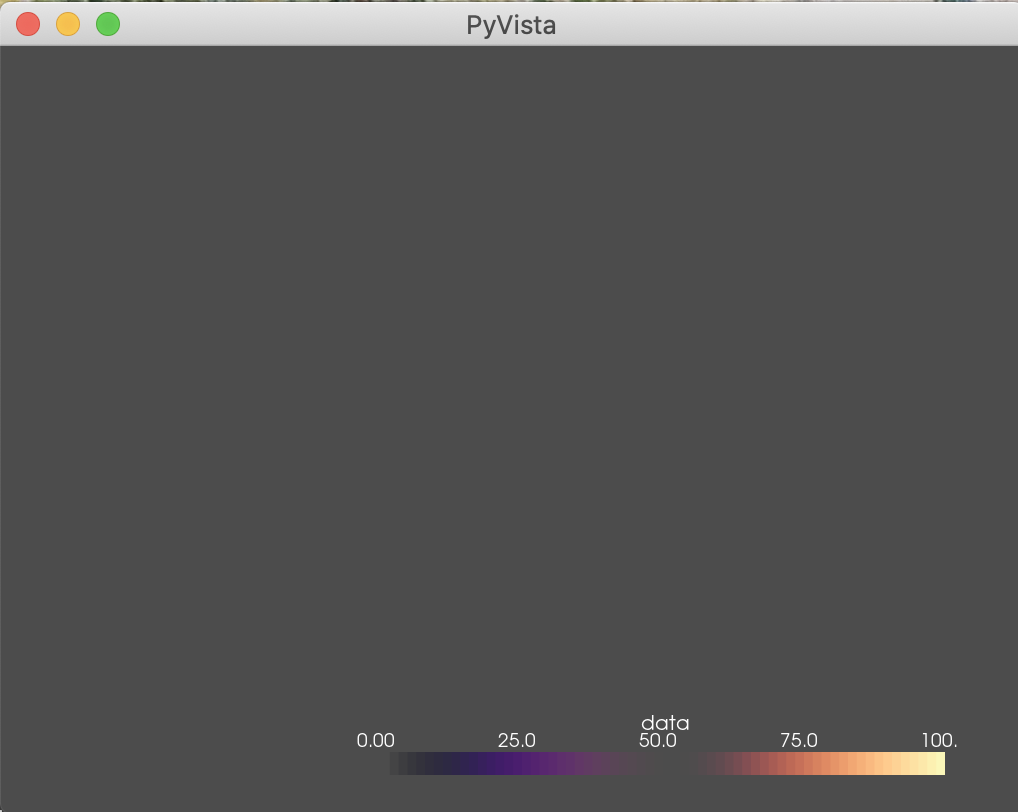
I am trying a very simple add_volume example:

import pyvista as pv
from pyvista import examples

model = examples.download_damavand_volcano()
opacity = [0, 0.75, 0, 0.75, 1.0]
clim = [0, 100]

p = pv.Plotter()
p.add_volume(model, cmap="magma", clim=clim,
             opacity=opacity, opacity_unit_distance=6000,)
p.show()
print(pv.Report())

When I run this, a window pops up, but it only displays a blank image:
blank_output

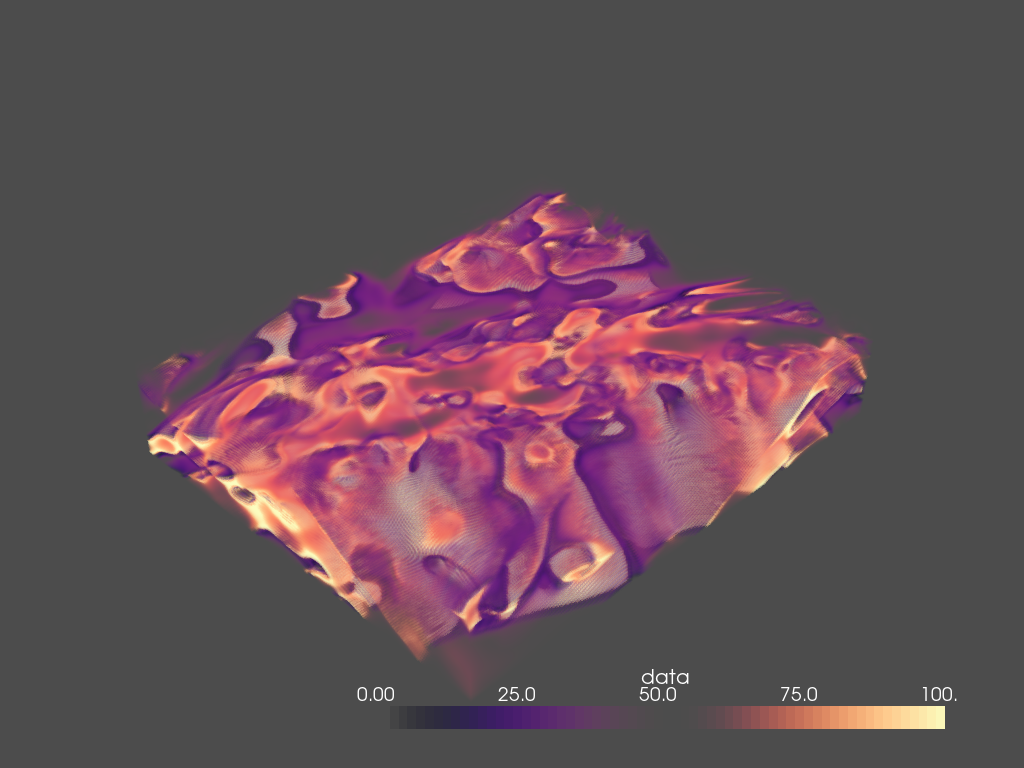
On the other hand, if I try to save the image to file, like so:

import pyvista as pv
from pyvista import examples

model = examples.download_damavand_volcano()
opacity = [0, 0.75, 0, 0.75, 1.0]
clim = [0, 100]

p = pv.Plotter(off_screen=True)
p.add_volume(model, cmap="magma", clim=clim,
             opacity=opacity, opacity_unit_distance=6000,)
p.show(screenshot='volcano.png')
print(pv.Report())

then it saves an image:
volcano

Here is the output of pv.Report():

--------------------------------------------------------------------------------
  Date: Mon Jun 08 15:16:14 2020 EDT

                OS : Darwin
            CPU(s) : 12
           Machine : x86_64
      Architecture : 64bit
               RAM : 16.0 GB
       Environment : Python
        GPU Vendor : ATI Technologies Inc.
      GPU Renderer : AMD Radeon Pro 560X OpenGL Engine
       GPU Version : 4.1 ATI-3.5.5

  Python 3.7.4 (default, Aug 13 2019, 15:17:50)  [Clang 4.0.1
  (tags/RELEASE_401/final)]

           pyvista : 0.25.1
               vtk : 8.2.0
             numpy : 1.16.6
           imageio : 2.6.0
           appdirs : 1.4.3
            scooby : 0.5.4
            meshio : 4.0.13
        matplotlib : 3.1.3
             PyQt5 : 5.9.2
           IPython : 7.8.0
             scipy : 1.3.1
              tqdm : 4.36.1

  Intel(R) Math Kernel Library Version 2019.0.4 Product Build 20190411 for
  Intel(R) 64 architecture applications
--------------------------------------------------------------------------------

Example Data

@banesullivan
Copy link
Member

Very strange... I have similar hardware but not exactly the same. I cannot reproduce this at the moment

Are you using an external monitor?


FYI: originally posted on https://stackoverflow.com/questions/62250320/pyvista-add-volume-shows-a-blank-image

it appears add_mesh is okay but add_volume is not showing.

@banesullivan
Copy link
Member

Can you also try this simpler example:

import pyvista as pv

model = pv.Wavelet()

p = pv.Plotter(notebook=False)
p.add_volume(model)
p.show()

@samarthswarup
Copy link
Author

I am using an external monitor (LG 27MD5KA), but the same problem happens even if I don't use it. I also tried the simpler example above, but that also shows a blank image.

@banesullivan
Copy link
Member

This is very, very odd behavior. Let's do some debugging... use this snippet with a box in there so we can see where the volume should be:

import pyvista as pv

model = pv.Wavelet()

p = pv.Plotter(notebook=False)
p.add_volume(model)
p.add_mesh(model.outline(), color='white')
p.show()

Can you try clicking the scene to move the camera a bit? Also, can you hit the r and v keys a few times to see if those reset the camera and cause the volume to appear?

If those two things fail, can you try passing differing arguments of mapper to add_volume to see if any of these make a difference? Choices are: 'fixed_point', 'gpu', 'open_gl', and 'smart'. Then do the same thing of clicking the scene trying to move the camera around.

E.g.

import pyvista as pv

model = pv.Wavelet()

p = pv.Plotter(notebook=False)
p.add_volume(model, mapper='fixed_point')
p.add_mesh(model.outline(), color='white')
p.show()

@samarthswarup
Copy link
Author

Here is the output for the first snippet. I clicked on it and moved the camera a bit (that's the image below). I also tried hitting r and v a few times, but the volume did not show up.

Screen Shot 2020-06-08 at 4 33 48 PM

However, the second snippet does result in the volume showing up. It only works for fixed_point. For gpu, open_gl, and smart, it looks like the output above.

Screen Shot 2020-06-08 at 4 34 43 PM

@banesullivan
Copy link
Member

Aha, then you need to use the 'fixed_point' mapper for volume rendering from now on (this is the default mapper for windows, and Mac uses 'smart' by default). There are a few issues in the main PyVista repo detailing how defaults for the volume mapper were chosen and we tried to use something that works for most people as the different mappers can have issues with specific hardware. To get around this, we have a way to set a default for the volume mapper. After you import pyvista, set 'fixed_point' as the default mapper in rcParams so that you no longer have to specify it:

import pyvista as pv
pv.rcParams['volume_mapper'] = 'fixed_point'

model = pv.Wavelet()

p = pv.Plotter(notebook=False)
p.add_volume(model) # Note you do not need to specify mapper now
p.add_mesh(model.outline(), color='white')
p.show()

@banesullivan banesullivan added plotting General plotting/rendering topics and removed bug labels Jun 8, 2020
@banesullivan
Copy link
Member

So set pv.rcParams['volume_mapper'] = 'fixed_point' then run your original workflow

@samarthswarup
Copy link
Author

Thanks. I tried the damavand volcano example again, with and without fixed_point for the volume mapper. For completeness, here's the code again:

import pyvista as pv
from pyvista import examples
pv.rcParams['volume_mapper'] = 'fixed_point'

model = examples.download_damavand_volcano()
opacity = [0, 0.75, 0, 0.75, 1.0]
clim = [0, 100]

p = pv.Plotter(off_screen=True)
p.add_volume(model, cmap="magma", clim=clim,
             opacity=opacity, opacity_unit_distance=6000,)
p.show(screenshot='volcano.png')

This takes about 2 minutes to run and produces the following image:
volcano

If I comment out the line pv.rcParams['volume_mapper'] = 'fixed_point', it takes about 2 seconds to run and produces the following image:
volcano1

Any idea what might be causing this difference?

@banesullivan
Copy link
Member

If I comment out the line pv.rcParams['volume_mapper'] = 'fixed_point', it takes about 2 seconds to run and produces the following image:

huh, I thought you said the default mapper doesn't work for you? I'm not following which mappers work for you and which don't...

However, it doesn't surprise me that the 'fixed_point' mapper has poor performance for these data.

@samarthswarup
Copy link
Author

Hi Bane:

I am able to save the image to file using the default mapper, as I had mentioned in my original post, but not able to display it on screen.

@jpmorr
Copy link

jpmorr commented Dec 14, 2020

Hi, I've been having a similar issue today but I'm using Windows and found that the volume is only rendered with the mapper='smart' option for my own small dataset. When I run any of the examples from the website I don't specify anything extra and they always plot. I've no idea why I need to use smart especially for my own small dataset (30-50K points).

Sign up for free to join this conversation on GitHub. Already have an account? Sign in to comment
Labels
plotting General plotting/rendering topics
Projects
None yet
Development

No branches or pull requests

3 participants