- Introduction
- Configuration Options
- Managing Mail Notifications
- Usage and Automation
- Additional Configurations Walkthrough
After installation, there are three basic ways to invoke CodiumAI PR-Agent:
- Locally running a CLI command
- Online usage - by commenting on a PR
- Enabling PR-Agent tools to run automatically when a new PR is opened
Specifically, CLI commands can be issued by invoking a pre-built docker image, or by invoking a locally cloned repo. For online usage, you will need to setup either a GitHub App, or a GitHub Action. GitHub App and GitHub Action also enable to run PR-Agent specific tool automatically when a new PR is opened.
The git_provider field in the configuration file determines the GIT provider that will be used by PR-Agent. Currently, the following providers are supported:
"github", "gitlab", "bitbucket", "azure", "codecommit", "local", "gerrit"
The different tools and sub-tools used by CodiumAI PR-Agent are adjustable via the configuration file.
In addition to general configuration options, each tool has its own configurations. For example, the review tool will use parameters from the pr_reviewer section in the configuration file.
See the Tools Guide for a detailed description of the different tools and their configurations.
There are three ways to set persistent configurations:
- Wiki configuration page 💎
- Local configuration file
- Global configuration file 💎
In terms of precedence, wiki configurations will override local configurations, and local configurations will override global configurations.
Specifically for GitHub, with PR-Agent-Pro you can set configurations by creating a page called .pr_agent.toml in the wiki of the repo.
The advantage of this method is that it allows to set configurations without needing to commit new content to the repo - just edit the wiki page and save.
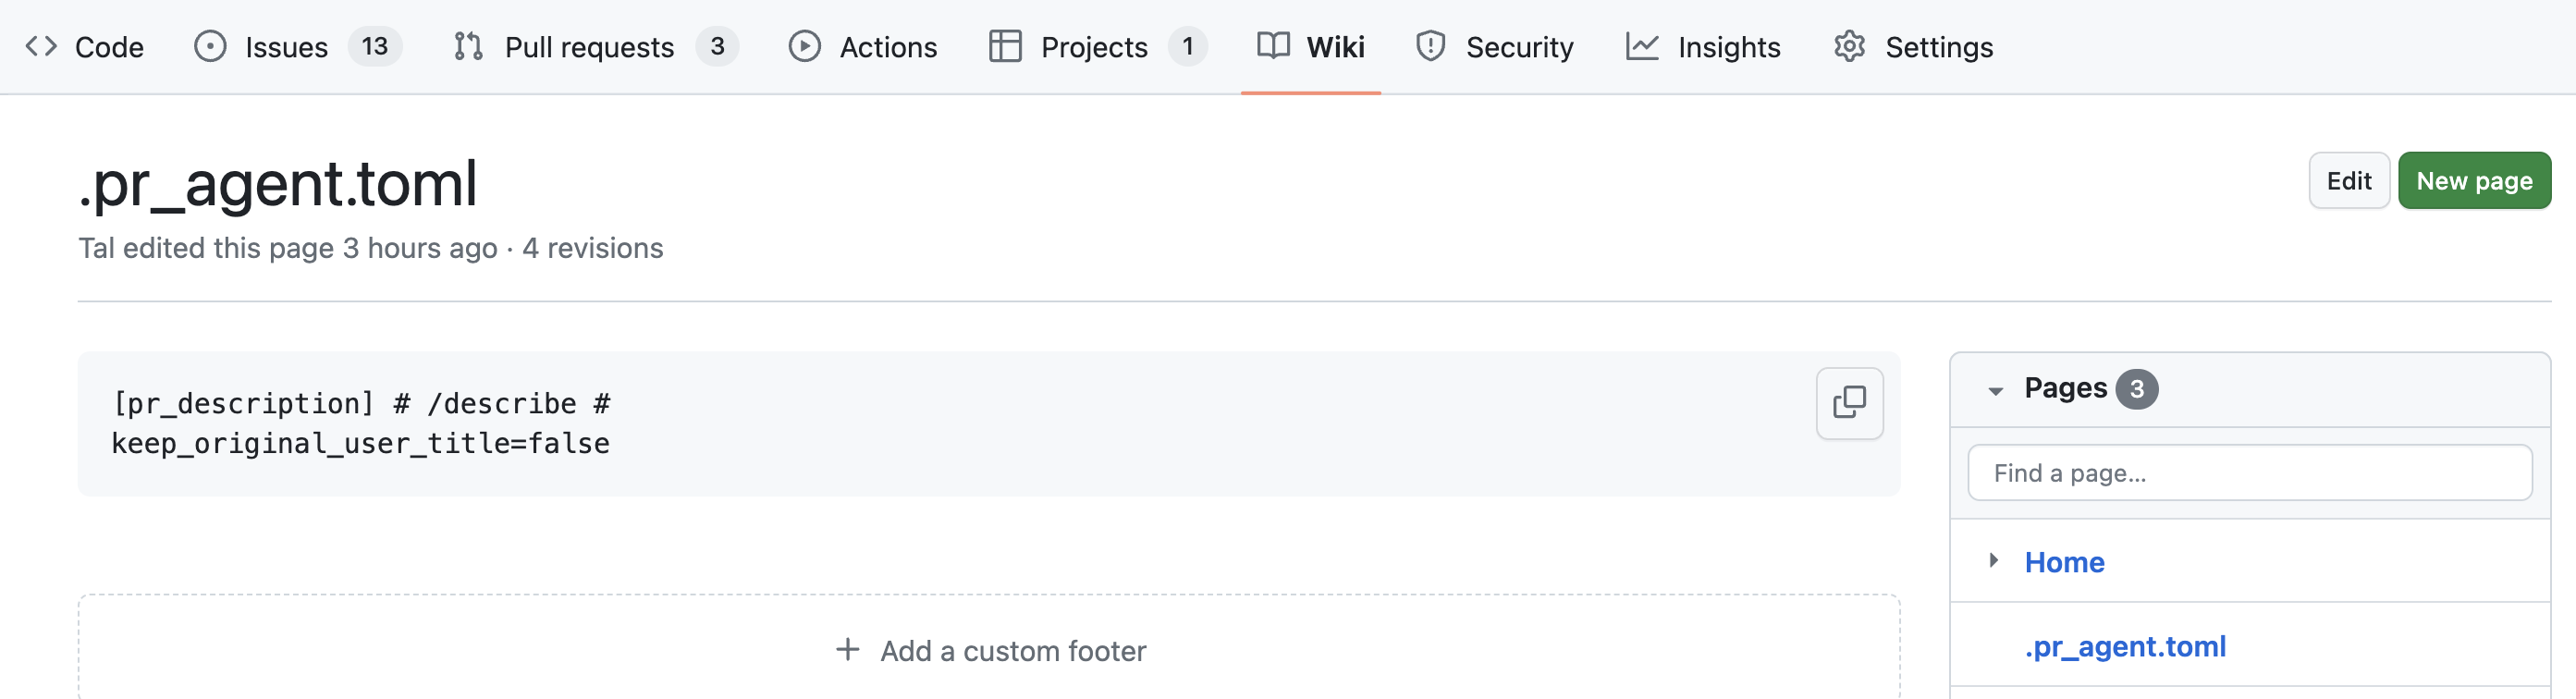
Click here to see a short instructional video. We recommend surrounding the configuration content with triple-quotes, to allow better presentation when displayed in the wiki as markdown. An example content:
```
[pr_description] # /describe #
keep_original_user_title=false
```
PR-Agent will know to remove the triple-quotes when reading the configuration content.
By uploading a local .pr_agent.toml file to the root of the repo's main branch, you can edit and customize any configuration parameter. Note that you need to upload .pr_agent.toml prior to creating a PR, in order for the configuration to take effect.
For example, if you set in .pr_agent.toml:
[pr_reviewer]
extra_instructions="""\
- instruction a
- instruction b
...
"""
Then you can give a list of extra instructions to the review tool.
If you create a repo called pr-agent-settings in your organization, it's configuration file .pr_agent.toml will be used as a global configuration file for any other repo that belongs to the same organization.
Parameters from a local .pr_agent.toml file, in a specific repo, will override the global configuration parameters.
For example, in the GitHub organization Codium-ai:
- The repo
https://github.com/Codium-ai/pr-agent-settingscontains a.pr_agent.tomlfile that serves as a global configuration file for all the repos in the GitHub organizationCodium-ai. - The repo
https://github.com/Codium-ai/pr-agentinherits the global configuration file frompr-agent-settings.
Unfortunately, it is not possible in GitHub to disable mail notifications from a specific user. If you are subscribed to notifications for a repo with PR-Agent, we recommend turning off notifications for PR comments, to avoid lengthy emails:

As an alternative, you can filter in your mail provider the notifications specifically from the PR-Agent bot: https://www.quora.com/How-can-you-filter-emails-for-specific-people-in-Gmail#:~:text=On%20the%20Filters%20and%20Blocked,the%20body%20of%20the%20email

When running from your local repo (CLI), your local configuration file will be used. Examples of invoking the different tools via the CLI:
- Review:
python -m pr_agent.cli --pr_url=<pr_url> review - Describe:
python -m pr_agent.cli --pr_url=<pr_url> describe - Improve:
python -m pr_agent.cli --pr_url=<pr_url> improve - Ask:
python -m pr_agent.cli --pr_url=<pr_url> ask "Write me a poem about this PR" - Reflect:
python -m pr_agent.cli --pr_url=<pr_url> reflect - Update Changelog:
python -m pr_agent.cli --pr_url=<pr_url> update_changelog
<pr_url> is the url of the relevant PR (for example: #50).
Notes:
(1) in addition to editing your local configuration file, you can also change any configuration value by adding it to the command line:
python -m pr_agent.cli --pr_url=<pr_url> /review --pr_reviewer.extra_instructions="focus on the file: ..."
(2) You can print results locally, without publishing them, by setting in configuration.toml:
[config]
publish_output=false
verbosity_level=2
This is useful for debugging or experimenting with different tools.
Online usage means invoking PR-Agent tools by comments on a PR. Commands for invoking the different tools via comments:
- Review:
/review - Describe:
/describe - Improve:
/improve - Ask:
/ask "..." - Reflect:
/reflect - Update Changelog:
/update_changelog
To edit a specific configuration value, just add --config_path=<value> to any command.
For example, if you want to edit the review tool configurations, you can run:
/review --pr_reviewer.extra_instructions="..." --pr_reviewer.require_score_review=false
Any configuration value in configuration file file can be similarly edited. Comment /config to see the list of available configurations.
The github_app section defines GitHub app specific configurations.
The configuration parameter pr_commands defines the list of tools that will be run automatically when a new PR is opened.
[github_app]
pr_commands = [
    "/describe --pr_description.add_original_user_description=true --pr_description.keep_original_user_title=true",
    "/review --pr_reviewer.num_code_suggestions=0",
    "/improve",
]
This means that when a new PR is opened/reopened or marked as ready for review, PR-Agent will run the describe, review and improve tools.
For the describe tool, for example, the add_original_user_description and keep_original_user_title parameters will be set to true.
You can override the default tool parameters by using one the three options for a configuration file: wiki, local, or global.
For example, if your local .pr_agent.toml file contains:
[pr_description]
add_original_user_description = false
keep_original_user_title = false
When a new PR is opened, PR-Agent will run the describe tool with the above parameters.
To cancel the automatic run of all the tools, set:
[github_app]
handle_pr_actions = []
You can also disable automatic runs for PRs with specific titles, by setting the ignore_pr_titles parameter with the relevant regex. For example:
[github_app]
ignore_pr_title = ["^[Auto]", ".*ignore.*"]
will ignore PRs with titles that start with "Auto" or contain the word "ignore".
In addition to running automatic tools when a PR is opened, the GitHub app can also respond to new code that is pushed to an open PR.
The configuration toggle handle_push_trigger can be used to enable this feature.
The configuration parameter push_commands defines the list of tools that will be run automatically when new code is pushed to the PR.
[github_app]
handle_push_trigger = true
push_commands = [
    "/describe --pr_description.add_original_user_description=true --pr_description.keep_original_user_title=true --pr_description.final_update_message=false",
    "/review  --pr_reviewer.num_code_suggestions=0 --pr_reviewer.final_update_message=false",
]
This means that when new code is pushed to the PR, the PR-Agent will run the describe and review tools, with the specified parameters.
GitHub Action is a different way to trigger PR-Agent tools, and uses a different configuration mechanism than GitHub App.
You can configure settings for GitHub Action by adding environment variables under the env section in .github/workflows/pr_agent.yml file.
Specifically, start by setting the following environment variables:
      env:
        OPENAI_KEY: ${{ secrets.OPENAI_KEY }} # Make sure to add your OpenAI key to your repo secrets
        GITHUB_TOKEN: ${{ secrets.GITHUB_TOKEN }} # Make sure to add your GitHub token to your repo secrets
        github_action_config.auto_review: "true" # enable\disable auto review
        github_action_config.auto_describe: "true" # enable\disable auto describe
github_action_config.auto_improve: "true" # enable\disable auto improvegithub_action_config.auto_review, github_action_config.auto_describe and github_action_config.auto_improve are used to enable/disable automatic tools that run when a new PR is opened.
If not set, the default configuration is for all three tools to run automatically when a new PR is opened.
Note that you can give additional config parameters by adding environment variables to .github/workflows/pr_agent.yml, or by using a .pr_agent.toml file in the root of your repo, similar to the GitHub App usage.
For example, you can set an environment variable: pr_description.add_original_user_description=false, or add a .pr_agent.toml file with the following content:
[pr_description]
add_original_user_description = false
After setting up a GitLab webhook, to control which commands will run automatically when a new PR is opened, you can set the pr_commands parameter in the configuration file, similar to the GitHub App:
[gitlab]
pr_commands = [
    "/describe --pr_description.add_original_user_description=true --pr_description.keep_original_user_title=true",
    "/review --pr_reviewer.num_code_suggestions=0",
    "/improve",
]
Similar to GitHub app, when running PR-Agent from BitBucket App, the default configuration file from a pre-built docker will be initially loaded.
By uploading a local .pr_agent.toml file to the root of the repo's main branch, you can edit and customize any configuration parameter. Note that you need to upload .pr_agent.toml prior to creating a PR, in order for the configuration to take effect.
For example, if your local .pr_agent.toml file contains:
[pr_reviewer]
inline_code_comments = true
Each time you invoke a /review tool, it will use inline code comments.
You can configure in your local .pr_agent.toml file which tools will run automatically when a new PR is opened.
Specifically, set the following values:
[bitbucket_app]
auto_review = true    # set as config var in .pr_agent.toml
auto_describe = true  # set as config var in .pr_agent.toml
auto_improve = true # set as config var in .pr_agent.tomlbitbucket_app.auto_review, bitbucket_app.auto_describe and bitbucket_app.auto_improve are used to enable/disable automatic tools.
If not set, the default option is that only the review tool will run automatically when a new PR is opened.
Note that due to limitations of the bitbucket platform, the auto_describe tool will be able to publish a PR description only as a comment.
In addition, some subsections like PR changes walkthrough will not appear, since they require the usage of collapsible sections, which are not supported by bitbucket.
To use Azure DevOps provider use the following settings in configuration.toml:
[config]
git_provider="azure"
use_repo_settings_file=false
Azure DevOps provider supports PAT token or DefaultAzureCredential authentication. PAT is faster to create, but has build in experation date, and will use the user identity for API calls. Using DefaultAzureCredential you can use managed identity or Service principle, which are more secure and will create seperate ADO user identity (via AAD) to the agent.
If PAT was choosen, you can assign the value in .secrets.toml. If DefaultAzureCredential was choosen, you can assigned the additional env vars like AZURE_CLIENT_SECRET directly, or use managed identity/az cli (for local develpment) without any additional configuration. in any case, 'org' value must be assigned in .secrets.toml:
[azure_devops]
org = "https://dev.azure.com/YOUR_ORGANIZATION/"
# pat = "YOUR_PAT_TOKEN" needed only if using PAT for authentication
To trigger from an Azure webhook, you need to manually add a webhook. Use the "Pull request created" type to trigger a review, or "Pull request commented on" to trigger any supported comment with / comment on the relevant PR. Note that for the "Pull request commented on" trigger, only API v2.0 is supported.
To control which commands will run automatically when a new PR is opened, you can set the pr_commands parameter in the configuration file, similar to the GitHub App:
[azure_devops_server]
pr_commands = [
    "/describe --pr_description.add_original_user_description=true --pr_description.keep_original_user_title=true",
    "/review --pr_reviewer.num_code_suggestions=0",
    "/improve",
]
For webhook security, create a sporadic username/password pair and configure the webhook username and password on both the server and Azure DevOps webhook. These will be sent as basic Auth data by the webhook with each request:
[azure_devops_server]
webhook_username = "<basic auth user>"
webhook_password = "<basic auth password>"
⚠️ Ensure that the webhook endpoint is only accessible over HTTPS to mitigate the risk of credential interception when using basic authentication.
In some cases, you may want to exclude specific files or directories from the analysis performed by CodiumAI PR-Agent. This can be useful, for example, when you have files that are generated automatically or files that shouldn't be reviewed, like vendored code.
To ignore files or directories, edit the ignore.toml configuration file. This setting also exposes the following environment variables:
IGNORE.GLOBIGNORE.REGEX
For example, to ignore python files in a PR with online usage, comment on a PR:
/review --ignore.glob=['*.py']
To ignore python files in all PRs, set in a configuration file:
[ignore]
glob = ['*.py']
All PR-Agent tools have a parameter called extra_instructions, that enables to add free-text extra instructions. Example usage:
/update_changelog --pr_update_changelog.extra_instructions="Make sure to update also the version ..."
The default mode of CodiumAI is to have a single call per tool, using GPT-4, which has a token limit of 8000 tokens. This mode provide a very good speed-quality-cost tradeoff, and can handle most PRs successfully. When the PR is above the token limit, it employs a PR Compression strategy.
However, for very large PRs, or in case you want to emphasize quality over speed and cost, there are 2 possible solutions:
- Use a model with larger context, like GPT-32K, or claude-100K. This solution will be applicable for all the tools.
- For the
/improvetool, there is an 'extended' mode (/improve --extended), which divides the PR to chunks, and process each chunk separately. With this mode, regardless of the model, no compression will be done (but for large PRs, multiple model calls may occur)
See here for the list of available models. To use a different model than the default (GPT-4), you need to edit configuration file. For models and environments not from OPENAI, you might need to provide additional keys and other parameters. See below for instructions.
To use Azure, set in your .secrets.toml (working from CLI), or in the GitHub Settings > Secrets and variables (working from GitHub App or GitHub Action):
[openai]
key = "" # your azure api key
api_type = "azure"
api_version = '2023-05-15'  # Check Azure documentation for the current API version
api_base = ""  # The base URL for your Azure OpenAI resource. e.g. "https://<your resource name>.openai.azure.com"
deployment_id = ""  # The deployment name you chose when you deployed the engine
and set in your configuration file:
[config]
model="" # the OpenAI model you've deployed on Azure (e.g. gpt-3.5-turbo)
Local You can run Huggingface models locally through either VLLM or Ollama
E.g. to use a new Huggingface model locally via Ollama, set:
[__init__.py]
MAX_TOKENS = {
    "model-name-on-ollama": <max_tokens>
}
e.g.
MAX_TOKENS={
    ...,
    "ollama/llama2": 4096
}


[config] # in configuration.toml
model = "ollama/llama2"

[ollama] # in .secrets.toml
api_base = ... # the base url for your huggingface inference endpoint
# e.g. if running Ollama locally, you may use:
api_base = "http://localhost:11434/"
Inference Endpoints
To use a new model with Huggingface Inference Endpoints, for example, set:
[__init__.py]
MAX_TOKENS = {
    "model-name-on-huggingface": <max_tokens>
}
e.g.
MAX_TOKENS={
    ...,
    "meta-llama/Llama-2-7b-chat-hf": 4096
}
[config] # in configuration.toml
model = "huggingface/meta-llama/Llama-2-7b-chat-hf"

[huggingface] # in .secrets.toml
key = ... # your huggingface api key
api_base = ... # the base url for your huggingface inference endpoint
(you can obtain a Llama2 key from here)
To use Llama2 model with Replicate, for example, set:
[config] # in configuration.toml
model = "replicate/llama-2-70b-chat:2c1608e18606fad2812020dc541930f2d0495ce32eee50074220b87300bc16e1"
[replicate] # in .secrets.toml
key = ...
(you can obtain a Llama2 key from here)
Also review the AiHandler file for instruction how to set keys for other models.
To use Google's Vertex AI platform and its associated models (chat-bison/codechat-bison) set:
[config] # in configuration.toml
model = "vertex_ai/codechat-bison"
fallback_models="vertex_ai/codechat-bison"

[vertexai] # in .secrets.toml
vertex_project = "my-google-cloud-project"
vertex_location = ""
Your application default credentials will be used for authentication so there is no need to set explicit credentials in most environments.
If you do want to set explicit credentials then you can use the GOOGLE_APPLICATION_CREDENTIALS environment variable set to a path to a json credentials file.
To use Amazon Bedrock and its foundational models, add the below configuration:
[config] # in configuration.toml
model = "anthropic.claude-v2"
fallback_models="anthropic.claude-instant-v1"

[aws] # in .secrets.toml
bedrock_region = "us-east-1"
Note that you have to add access to foundational models before using them. Please refer to this document for more details.
AWS session is automatically authenticated from your environment, but you can also explicitly set AWS_ACCESS_KEY_ID and AWS_SECRET_ACCESS_KEY environment variables.
By default, around any change in your PR, git patch provides 3 lines of context above and below the change.
@@ -12,5 +12,5 @@ def func1():
 code line that already existed in the file...
 code line that already existed in the file...
 code line that already existed in the file....
-code line that was removed in the PR
+new code line added in the PR
 code line that already existed in the file...
 code line that already existed in the file...
 code line that already existed in the file...
For the review, describe, ask and add_docs tools, if the token budget allows, PR-Agent tries to increase the number of lines of context, via the parameter:
[config]
patch_extra_lines=3
Increasing this number provides more context to the model, but will also increase the token budget. If the PR is too large (see PR Compression strategy), PR-Agent automatically sets this number to 0, using the original git patch.
The prompts for the various PR-Agent tools are defined in the pr_agent/settings folder.
In practice, the prompts are loaded and stored as a standard setting object.
Hence, editing them is similar to editing any other configuration value - just place the relevant key in .pr_agent.tomlfile, and override the default value.
For example, if you want to edit the prompts of the describe tool, you can add the following to your .pr_agent.toml file:
[pr_description_prompt]
system="""
...
"""
user="""
...
"""
Note that the new prompt will need to generate an output compatible with the relevant post-process function.