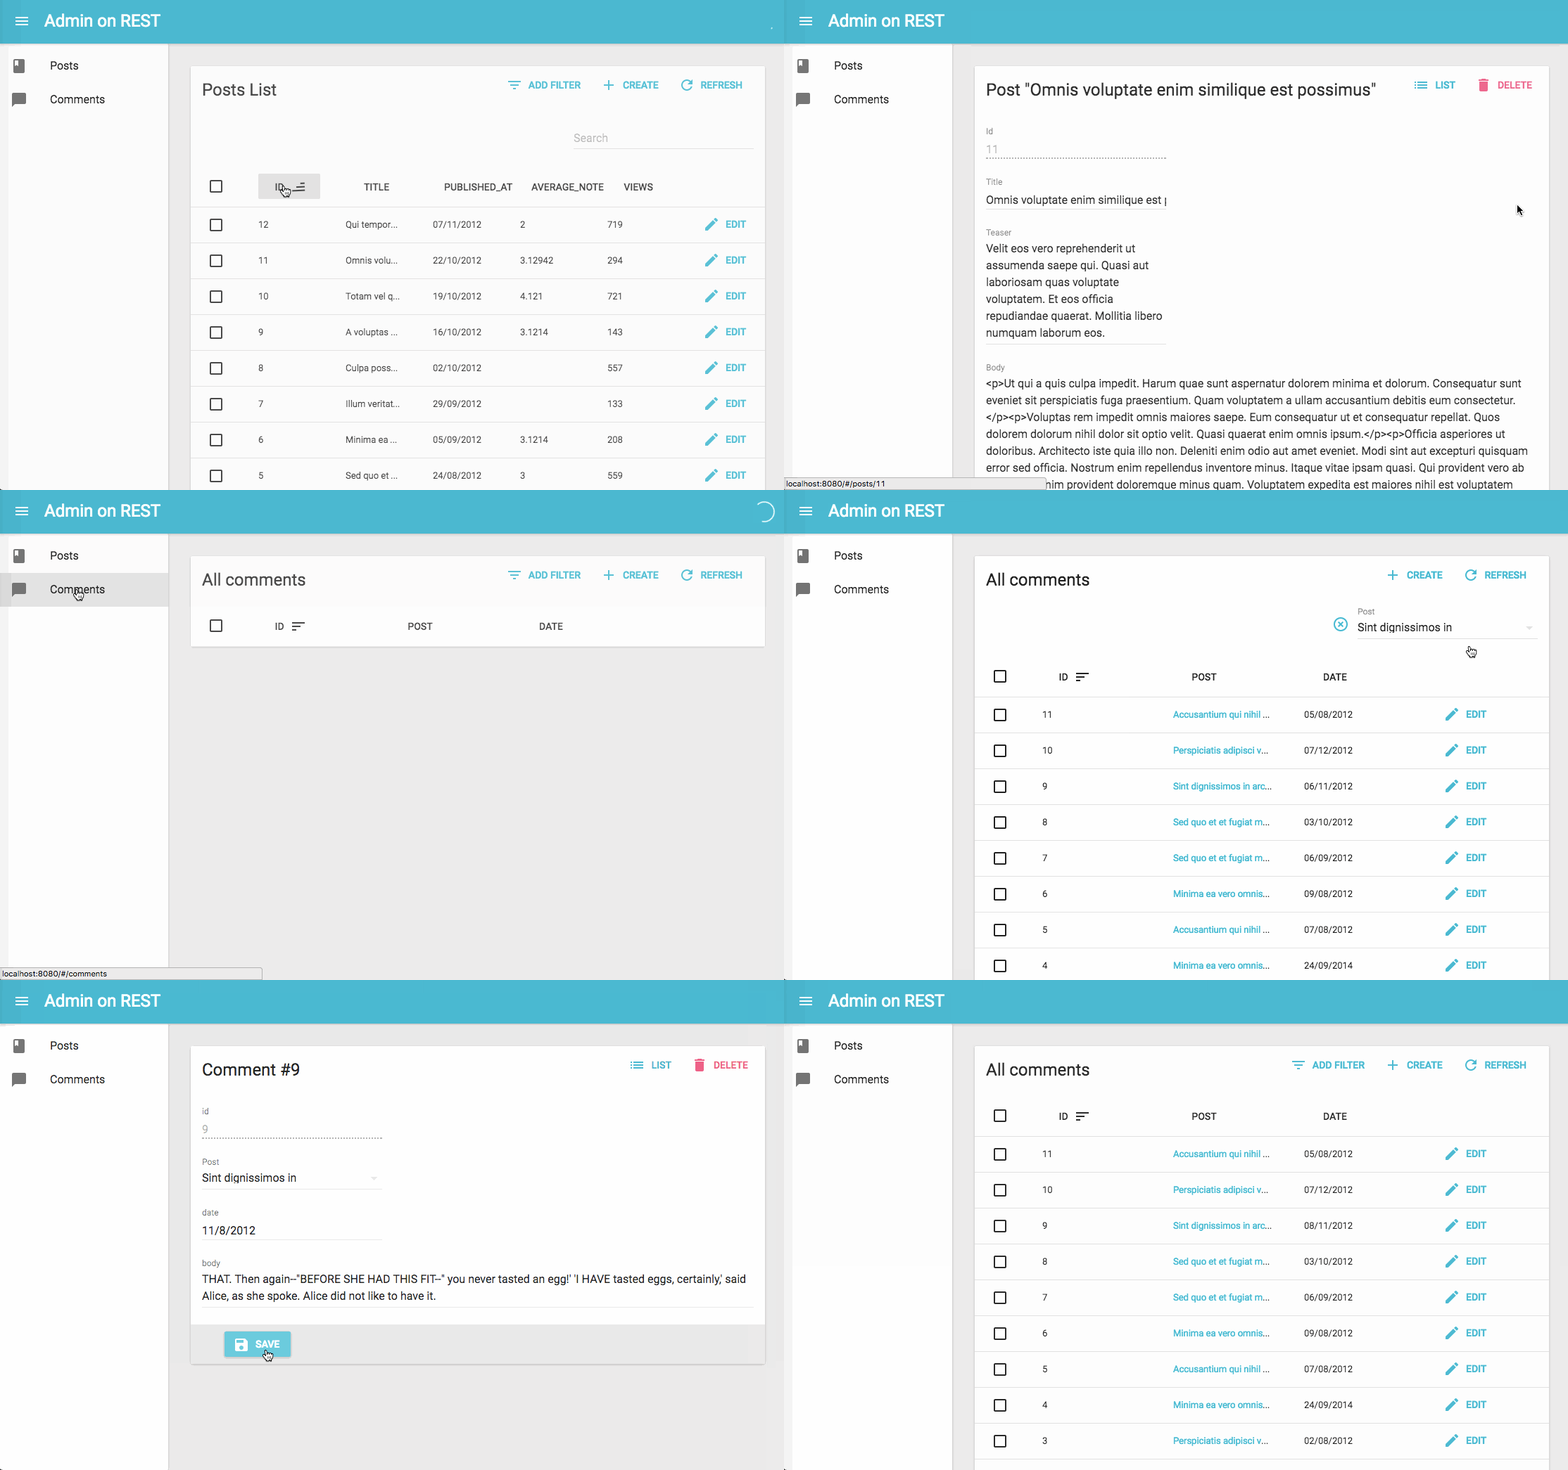
A frontend Framework for building admin applications on top of REST services, using ES6, React and Material UI.
Admin-on-rest is available from npm. You can install it (and its required dependencies) using:
npm install --save-dev admin-on-restHead to http://marmelab.com/admin-on-rest/ for a complete documentation. If you installed the library via npm, it's also available offline, under the node_modules/admin-on-rest/docs/ directory.
// in app.js
import React from 'react';
import { render } from 'react-dom';
import { simpleRestClient, Admin, Resource } from 'admin-on-rest';

import { PostList, PostEdit, PostCreate, PostIcon } from './posts';

render(
    <Admin restClient={simpleRestClient('http://localhost:3000')}>
        <Resource name="posts" list={PostList} edit={PostEdit} create={PostCreate} icon={PostIcon}/>
    </Admin>,
    document.getElementById('root')
);
The <Resource> component is a configuration component that allows to define sub components for each of the admin view: list, edit, and create. These components use Material UI and custom components from admin-on-rest:
// in posts.js
import React from 'react';
import { List, Edit, Create, Datagrid, DateField, TextField, EditButton, DisabledInput, TextInput, LongTextInput, DateInput } from 'admin-on-rest/lib/mui';
export PostIcon from 'material-ui/svg-icons/action/book';

export const PostList = (props) => (
    <List {...props}>
        <Datagrid>
            <TextField source="id" />
            <TextField source="title" />
            <DateField source="published_at" />
            <TextField source="average_note" />
            <TextField source="views" />
            <EditButton basePath="/posts" />
        </Datagrid>
    </List>
);

const PostTitle = ({ record }) => {
    return <span>Post {record ? `"${record.title}"` : ''}</span>;
};

export const PostEdit = (props) => (
    <Edit title={PostTitle} {...props}>
        <DisabledInput source="id" />
        <TextInput source="title" />
        <TextInput source="teaser" options={{ multiLine: true }} />
        <LongTextInput source="body" />
        <DateInput label="Publication date" source="published_at" />
        <TextInput source="average_note" />
        <DisabledInput label="Nb views" source="views" />
    </Edit>
);

export const PostCreate = (props) => (
    <Create title="Create a Post" {...props}>
        <TextInput source="title" />
        <TextInput source="teaser" options={{ multiLine: true }} />
        <LongTextInput source="body" />
        <TextInput label="Publication date" source="published_at" />
        <TextInput source="average_note" />
    </Create>
);REST isn't a standard, so it's impossible to make a REST client library that will work for all REST backends. Admin-on-rest deals with this problem by letting you provide a REST client function. This is the place to translate REST requests to HTTP requests, and HTTP responses to REST responses.
The <Admin> component expects a restClient parameter, which is a function with the following signature:
/**
 * Execute the REST request and return a promise for a REST response
 *
 * @example
 * restClient(GET_ONE, 'posts', { id: 123 })
 *  => new Promise(resolve => resolve({ data: { id: 123, title: "hello, world" } }))
 *
 * @param {string} type Request type, e.g GET_LIST
 * @param {string} resource Resource name, e.g. "posts"
 * @param {Object} payload Request parameters. Depends on the action type
 * @returns {Promise} the Promise for a REST response
 */
const restClient = (type, resource, params) => new Promise();
The expected format for REST requests and responses is documented in src/rest/README.md; you can find an example in src/rest/simple.js;
The restClient is also the ideal place to add custom HTTP headers, authentication, etc.
You can run the example app by calling
make runAnd then browse to http://localhost:8080/.
If you want to contribute to the documentation, install jekyll, then call
make docAnd then browse to http://localhost:4000/
You can run the unit tests by calling
make testIf you are using admin-on-rest as a dependency, and if you want to try and hack it, here is the advised process:
# in myapp
# install admin-on-rest from GitHub in another directory
$ cd ..
$ git clone git@github.com:marmelab/admin-on-rest.git && cd admin-on-rest && make install
# replace your node_modules/admin-on-rest by a symbolic link to the github checkout
$ cd ../myapp
$ npm link ../admin-on-rest
# go back to the checkout, and replace the version of react by the one in your app
$ cd ../admin-on-rest
$ npm link ../myapp/node_modules/react
$ make watch
# in another terminal, go back to your app, and start it as usual
$ cd ../myapp
$ npm run
Pull requests are welcome. Try to follow the coding style of the existing files, and to add unit tests to prove that your patch does what it says.
Admin-on-rest is licensed under the MIT Licence, and sponsored by marmelab.
