Accounting System built on .net core, opensource and cross platform (ASP.NET Core MVC + ReactJS on the Frontend). This is useful if you have a requirement to develop accounting system. Although it's still in early stage and still have lots of work to do but happy to share it to anyone. It is designed for small size businesses and the idea is to help them run efficient business by using Accounting System fit to them.
- Make sure you have the latest .net7.0 sdk and runtime installed. Go to https://dotnet.microsoft.com/download/dotnet-core/7.0 to download the installer. Verify you have .net 7.0 (* means the latest) sdk:
% dotnet --list-sdks
7.0.103 [/usr/share/dotnet/sdk]
If you install your .net runtime to other location other than default installation directory, you need to set the environment variable DOTNET_ROOT to the installation directory of your dotnet. For example, I installed my dotnet sdk to /usr/bin/dotnet so I will set the env variable to:
% export DOTNET_ROOT=/usr/bin/dotnet
- You can use MacOS, Linux, Windows to develop and deploy this project.
- We are also experimenting F# + microservice on some parts.
- Due to time availability constraint, this project is not in active development.
On a high level, this solution will provide modules including but not limited to
- Accounts Receivable
- Accounts Payable
- Inventory Control
- Financial/Accounting
- Download and install Visual Studio Code from https://code.visualstudio.com/ based on your Operating System
- Clone or fork the latest repository in
https://github.com/AccountGo/accountgo
AccountGoWeb project requires webpack, webpack-cli, gulp and typescript installed and if you wish to install these globally you can proceed on these below steps. Otherwise you can skip these steps and proceed to Project Builds
- Open Visual Studio Code terminal, change to directory
src/accountgoweband install all npm packages by callingnpm install
NOTE: If you encounter error on npm install in AccountGoWeb project, try to delete the package_lock.json file and run npm install again.
- Install typescript globally by executing
npm install -g typescript - Install webpack-cli globally by executing
npm install -g webpack-cli - Install webpack globally by executing
npm install -g webpack - Install gulp globally by executing
npm install -g gulp
Normal project build steps that you need to go through:
- Open a new Visual Studio Code terminal
- Navigate directory to
src/Coreand executedotnet restorethendotnet build - Do the same for
Services,Dto,ApiandAccountGoWebrespectively and make sure all projects build successfully - Alternatively, use accountgo.sln file to use by
dotnet build. To do this change directory tosrcfolder, executedotnet restore, thendotnet build
Preceding steps confirms all projects can build successfully using dotnet build. Succeeding steps will provide specific instructions to :
- Build and Run "Api" (Back-end)
- Build and Run "AccountGoWeb" (Front-end)
- Database Server Setup
Let's start with database setup first.
You can opt to install your local SQL Server instance or you can use docker image (like we do). Feel free to choose what suits you best:
Assuming you have docker installed (make sure to use linux container), follow the steps below. (Install docker if you haven't done so.)
- Open command prompt (terminal for MacOS).
- Execute
docker pull microsoft/mssql-server-linux. We prefer to use SQL Server for Linux for lightweight. - Run sql server for linux. Execute
docker run -e 'ACCEPT_EULA=Y' -e 'SA_PASSWORD=Str0ngPassword' -p 1433:1433 -d --name=local-mssql microsoft/mssql-server-linux. The default database user here issaNote: If you are encountering issue where the docker container close immediately, try to usedocker-compose upbut be sure to comment outwebandapiservices so thatdbservice is the only service that will be configured to run.
If you are using Mac M1 or higher, you can use Azure SQL Edge which can support arm64 architecture.
- Azure SQL Edge on Mac M1
docker run -e "ACCEPT_EULA=1" -e "MSSQL_SA_PASSWORD=Str0ngPassword" -e "MSSQL_PID=Developer" -e "MSSQL_USER=SA" -p 1433:1433 -d --name=sql mcr.microsoft.com/azure-sql-edge
Checking docker connection using SQL Operation Studio:
- Download SQL Operation Studio or Azure Data Studio by Microsoft to manage the SQL Server. https://docs.microsoft.com/en-us/sql/sql-operations-studio/download?view=sql-server-2017
- Open SQL Operation Studio and connect to your running SQL Server docker container.
If you have an existing SQL Server either from your local machine or remotely, you can opt to create your own accountgo database instance:
- Login to SQL Server Management Studio using your existing database account
- Create blank database instance by executing
CREATE DATABASE accountgodbNOTE: This is optional. EF Migration script will auto create database if not exist.
Using EntityFrameworkCore CLI database migration will create and migrate the accountgodb database to the current version. Make sure you have dotnet ef tool.
% dotnet tool list -g
Package Id      Version      Commands
--------------------------------------
dotnet-ef       3.1.6        dotnet-ef

% dotnet tool install --global dotnet-ef
If publishing database for the first time or there are changes made to the models, use EntityFrameworkCore CLI database migration to create an update migration to keep the accountgodb database updated.
In root folder accountgo run the following command using a terminal, command prompt, or package manager console:
dotnet ef migrations add {Name} --project ./src/Api/ --startup-project ./src/Api/Api.csproj --msbuildprojectextensionspath .build/obj/Api/ --context ApplicationIdentityDbContext --output-dir Data/Migrations/IdentityDbdotnet ef migrations add {Name} --project ./src/Api/ --startup-project ./src/Api/Api.csproj --msbuildprojectextensionspath .build/obj/Api/ --context ApiDbContext --output-dir Data/Migrations/ApiDb
Note: {Name} must be provided. For example the name can be "InitialMigration". The above command will create migration scripts. Obviously, if you are doing this for the first time, the migration scripts contains all tables. Make you can connect to your database since the EF will connect to that and check for existing database and tables.
Then to actually publish, In root folder accountgo run the following command using a terminal, command prompt, or package manager console:
dotnet ef database update --project ./src/Api/ --msbuildprojectextensionspath .build/obj/Api/ --context ApplicationIdentityDbContextdotnet ef database update --project ./src/Api/ --msbuildprojectextensionspath .build/obj/Api/ --context ApiDbContext
At this point, your database has no data on it. But there is already an initial username and password (admin@accountgo.ph/P@ssword1) and you can logon to the UI. Now lets, create some initial data that would populate the following models.
- Company
- Chart of accounts/account classes
- Financial year
- Payment terms
- GL setting
- Tax
- Vendor
- Customer
- Items
- Banks
To initialize a company, call the api endpoint directly http://localhost:8001/api/administration/setup from the browser or by using curl e.g. curl http://localhost:8001/api/administration/setup. If you encounter some issues, the easy way for now is recreate your database and repeat the Publish Database section.
- Navigate directory to
src/Apiproject - Build the project
dotnet build - Under
Propertiesfolder Use thelaunchsettings.jsonto change database connectionDBSERVER,DBUSERIDandDBPASSWORD. Theappsettings.jsoncontain connectionstring but need to supply some values. - Run the api, execute
dotnet run.- To run in development mode, execute
dotnet run --environment Development - To change it to specific port, execute
dotnet run --environment Development server.urls=http://+:8001. It could be any port as you like, but the front-end is hard-coded to call api on port http://localhost:8001. So change the front-end as too. By default, port is open to 5000 and 5001 (http and https respectively).
- To run in development mode, execute
- To test if Api is running correctly, you can simply call one GET endpoint. e.g. http://localhost:8001/api/sales/customers. This will return list of customers in JSON format.
AccountGoWeb require more steps to completely build the front-end artifacts. To do this, follow the succeeding steps:
- Change directory to
src/AccountGoWeband open a new Visual Studio Code terminal - If gulp is installed globally, run
gulp(This will run the gulpfile.js). Else runnpm run gulp - If typescript is installed globally, run
tsc(This will run the tsconfig.json). Else runnpm run tsc - If webpack and webpack-cli are installed globally, run
webpack(This will run the webpack.config.js). Else, runnpm run webpack - And lastly, in
src/AccountGoWebterminal, executedotnet build
Note: If you encounter this error below, then run dotnet restore on SampleModule project.
/usr/local/share/dotnet/sdk/2.1.401/Sdks/Microsoft.NET.Sdk/targets/Microsoft.PackageDependencyResolution.targets(198,5): error NETSDK1004: Assets file '/Users/Marvs/source/accountgo/.build/obj/SampleModule/project.assets.json' not found. Run a NuGet package restore to generate this file.
[/Users/Marvs/source/accountgo/src/Modules/SampleModule/SampleModule.csproj]
6 Warning(s)
1 Error(s)
- Run the AccoungGoWeb project, execute
dotnet run. Iflaunchsettings.jsonommitted, thus, the following points are important.- To run in development mode, execute
dotnet run --environment Development - To change it to specific port, execute
dotnet run --environment Development server.urls=http://+:8000. It could be any port as you like. By default, port is open to 5000 and 5001 (http and https respectively). dotnet runwill uselaunchsettings.jsonby default if exist.
- To run in development mode, execute
- To test if AccountGoWeb UI is running correctly, open your browser to http://localhost:8000
UPDATE: Above steps are still valid, however, dotnet run --environment Development server.urls=http://+:8000 will automatically execute gulp, tsc, and webpack commands. Changes to the styles must be done inside the Scss folder as any modifications in the css files inside wwwroot/css folder will only be overriden if a sass compilation is done using npm run css. Everytime, you change the source scss files, run npm run css first before dotnet build to ensure that the latest style modifications are being used
Your wwwroot folder should be look like this if you correctly followed the steps above.
To run everything (database, api, web) in docker container you can use docker-compose.yml
- Make sure to change directory to the root folder
accountgo - Execute
docker-compose upordocker-compose up --build - Create database, tables, foreign keys, and some initial data. To do this go to
Publish Database (Create Tables, Foreign Keys, and some Initial Data)above. - Initialize data by calling a special api endpoint directly from the browser or curl. e.g.
curl http://localhost:8001/api/administration/initializedcompany
- Database instance running in docker container and you can connect to it
- You should have a running "Api" and can test it by getting the list of customers e.g. http://localhost:8001/api/sales customers
- You can browse the UI from http://localhost:8000 and able to login to the system using initial username/password: admin@accountgo.ph/P@ssword1
- Initialize data by calling a special api endpoint directly: http://localhost:8001/api/administration/setup
- ASP.NET Core 3.1
- ReactJS
- MobX, React-MobX
- Axios
- Bootstrap
- D3
- React-router (on some pages)
- Typescript
Demo site (new UI) : http://accountgo.net
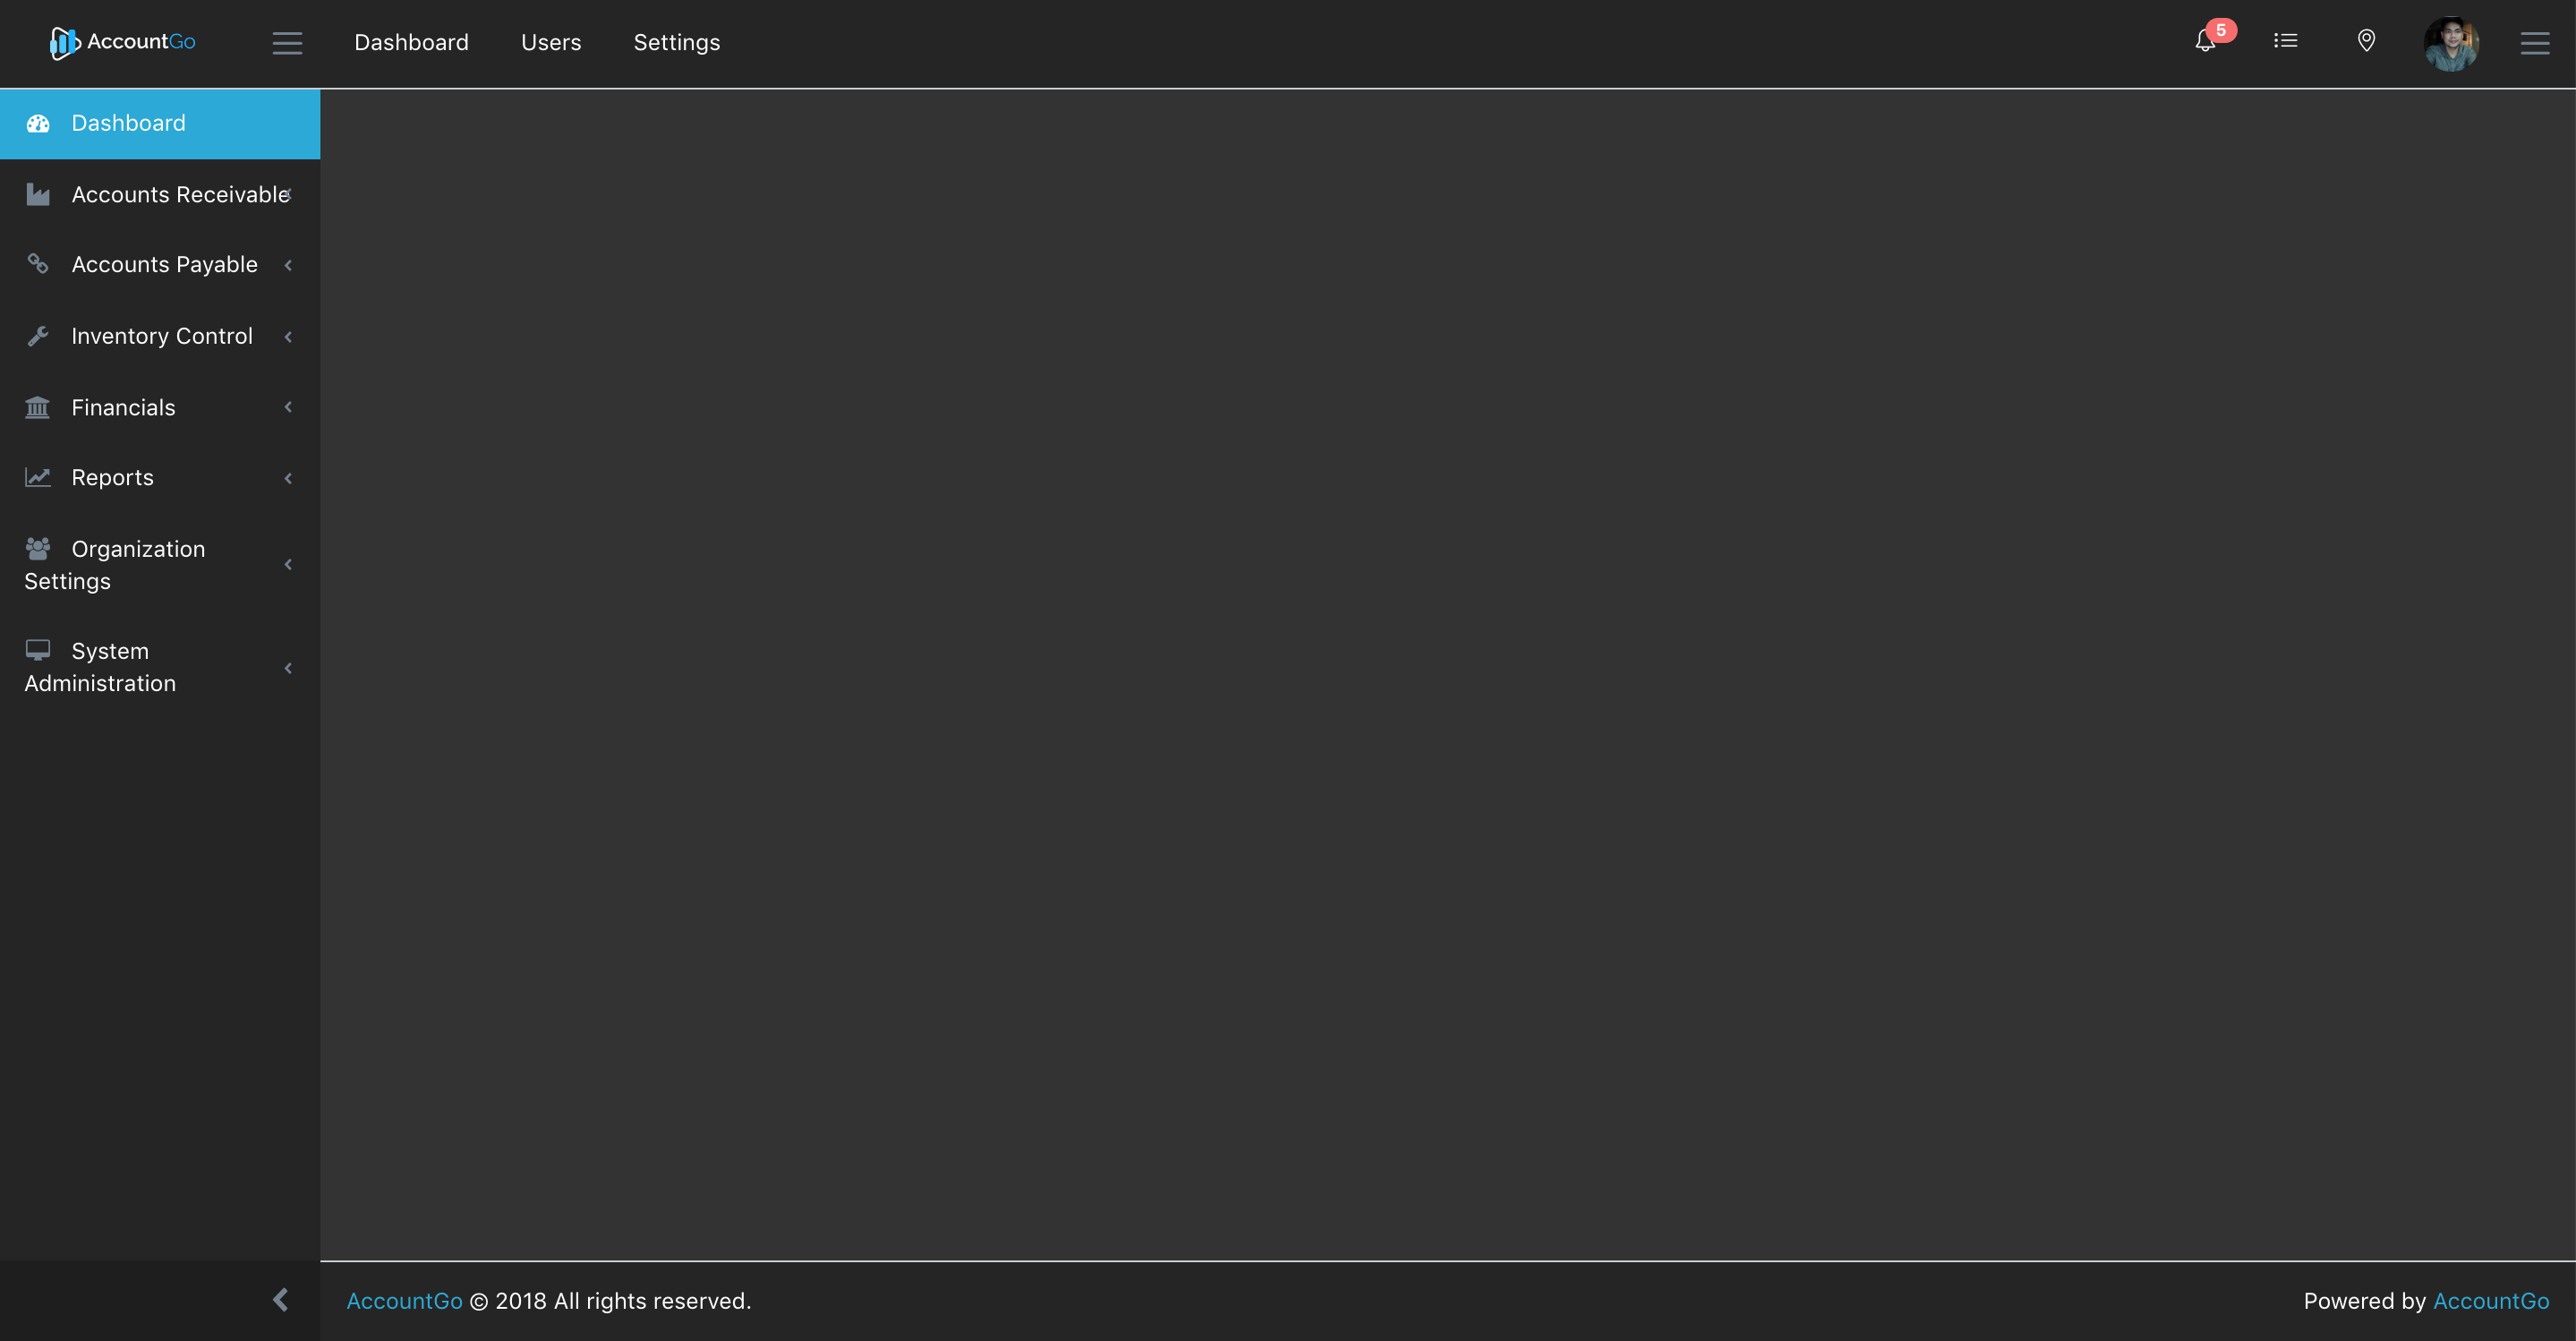
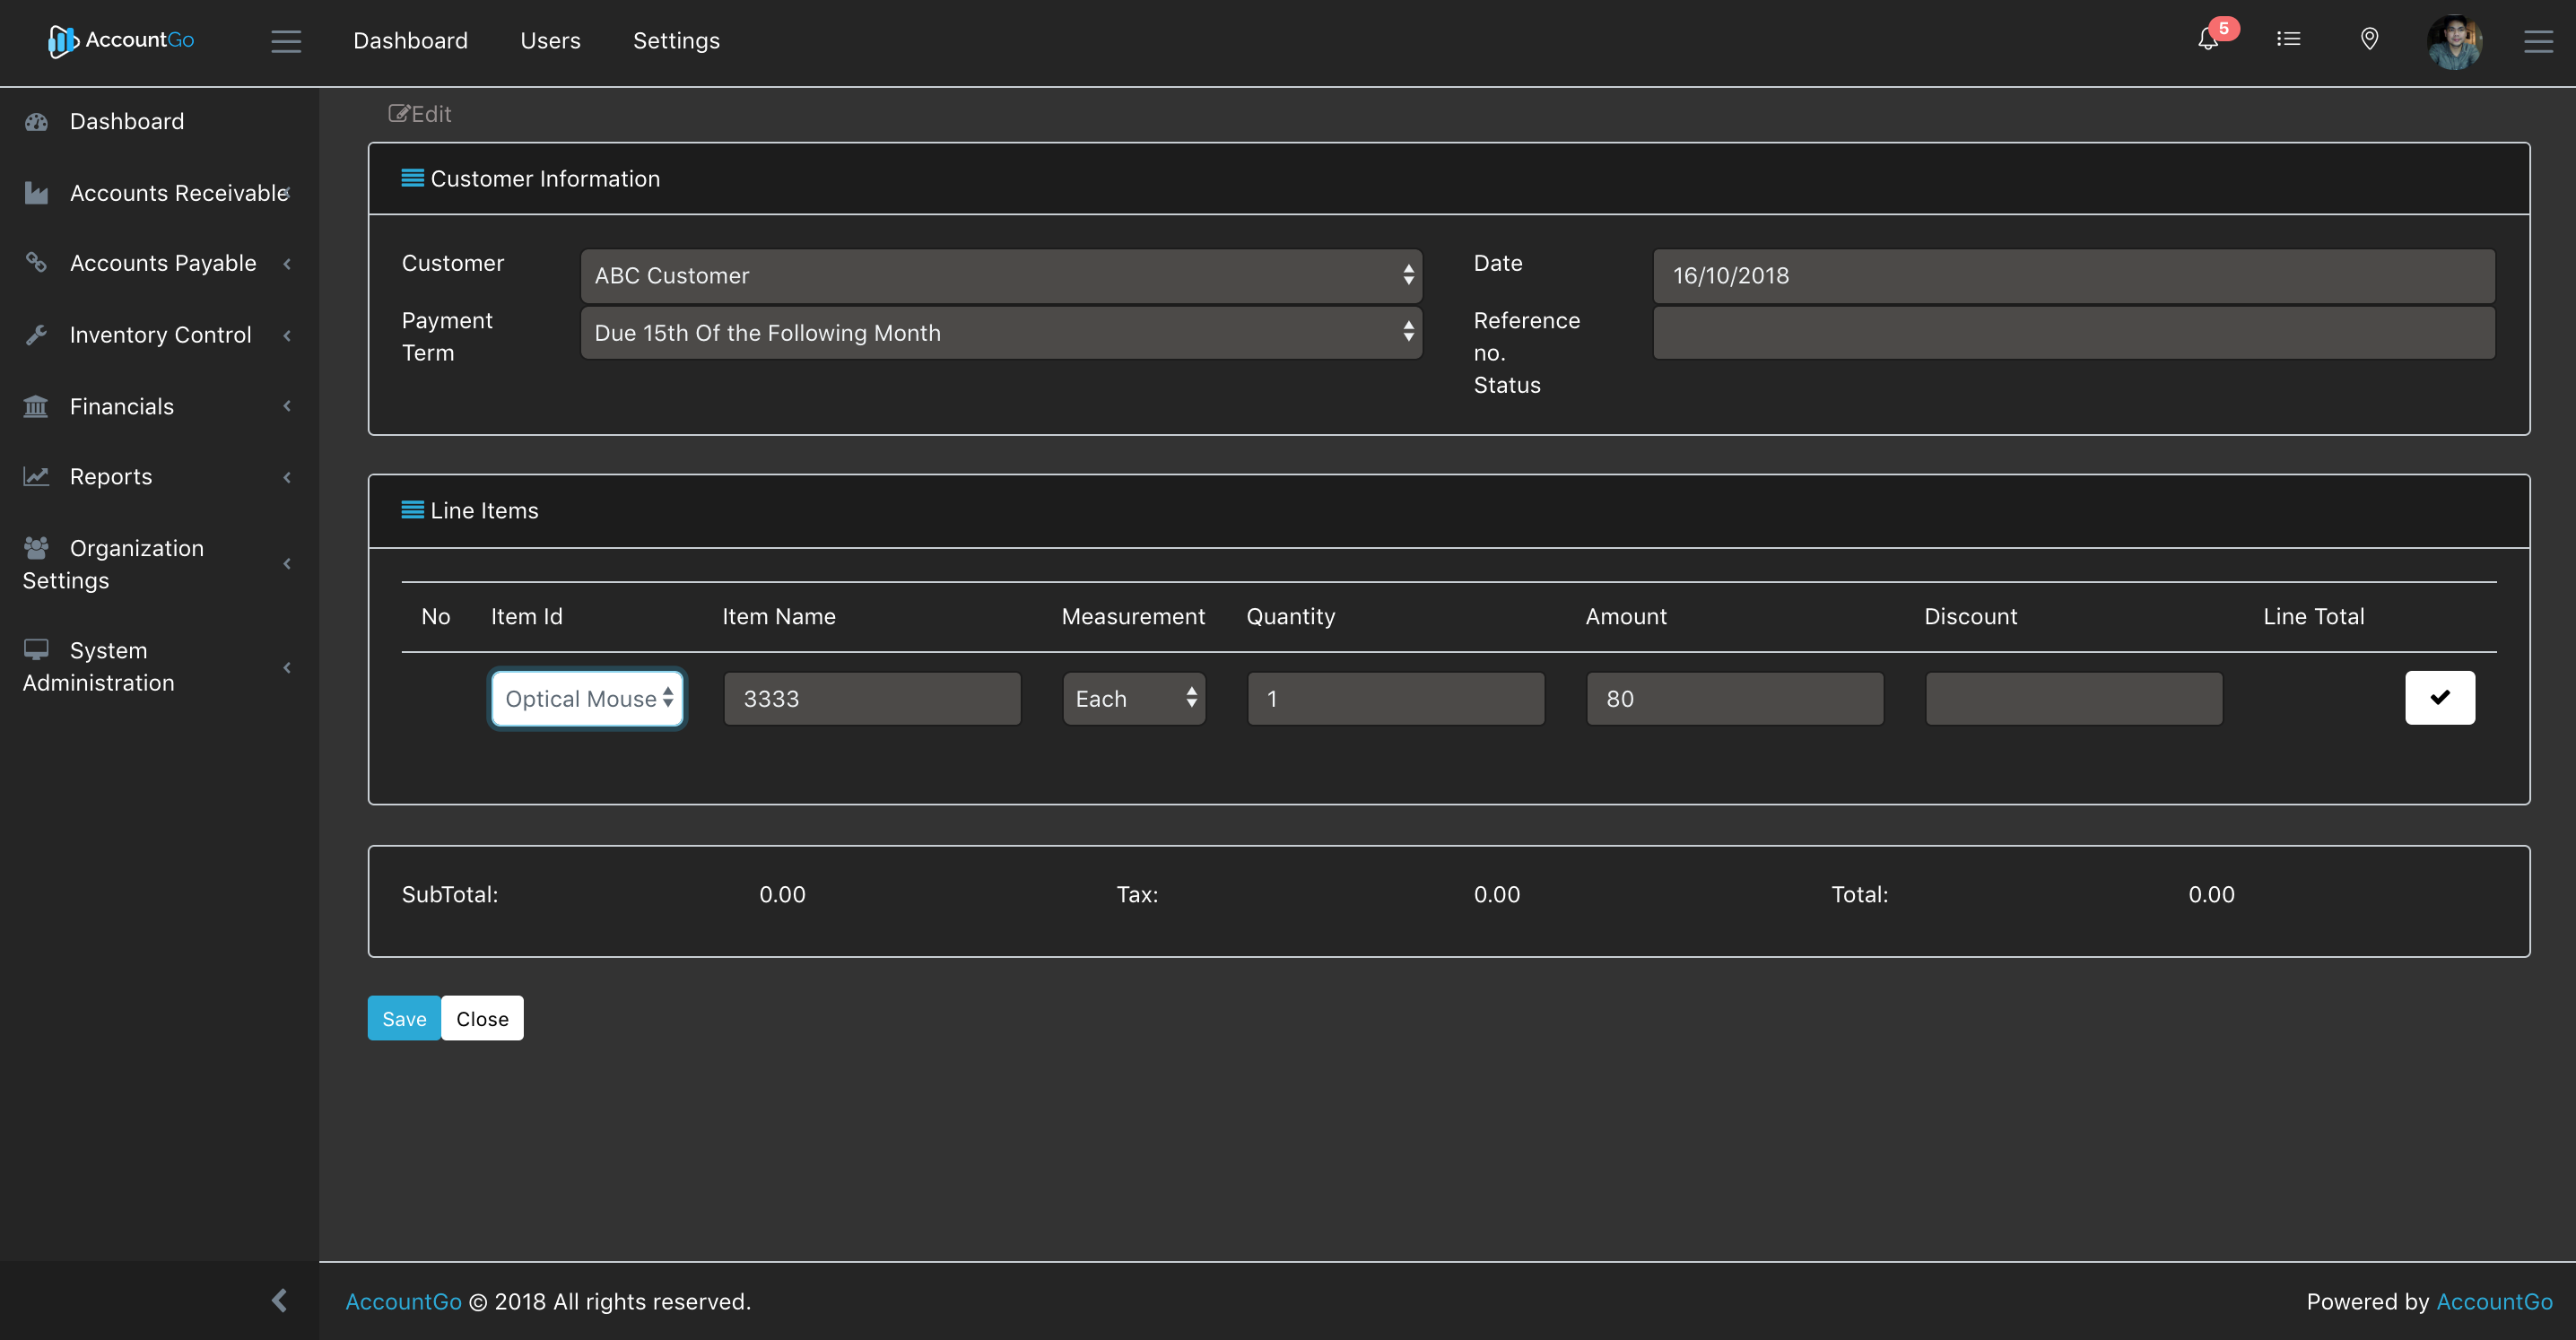
Dark theme
If you are a developer and wanted to take part as contributor/collaborator we are happy to welcome you! To start with, you can visit the issues page and pick an issue that you would like to work on.
So go ahead, add your code and make your first pull request.
Feel free to email mvpsolution@gmail.com of any questions.


