-
Notifications
You must be signed in to change notification settings - Fork 2
Using OpenHexa legacy version
Once you or someone in your organization has gone through the installation process, you need to complete a few simple steps before being able to use OpenHEXA:
- Create a team
- Invite a few users
- Add your first data sources
Let's go through the process.
First, log-in as the root user created during the installation process.
Then, log in to OpenHEXA, and using the user dropdown menu, go to the Admin section.
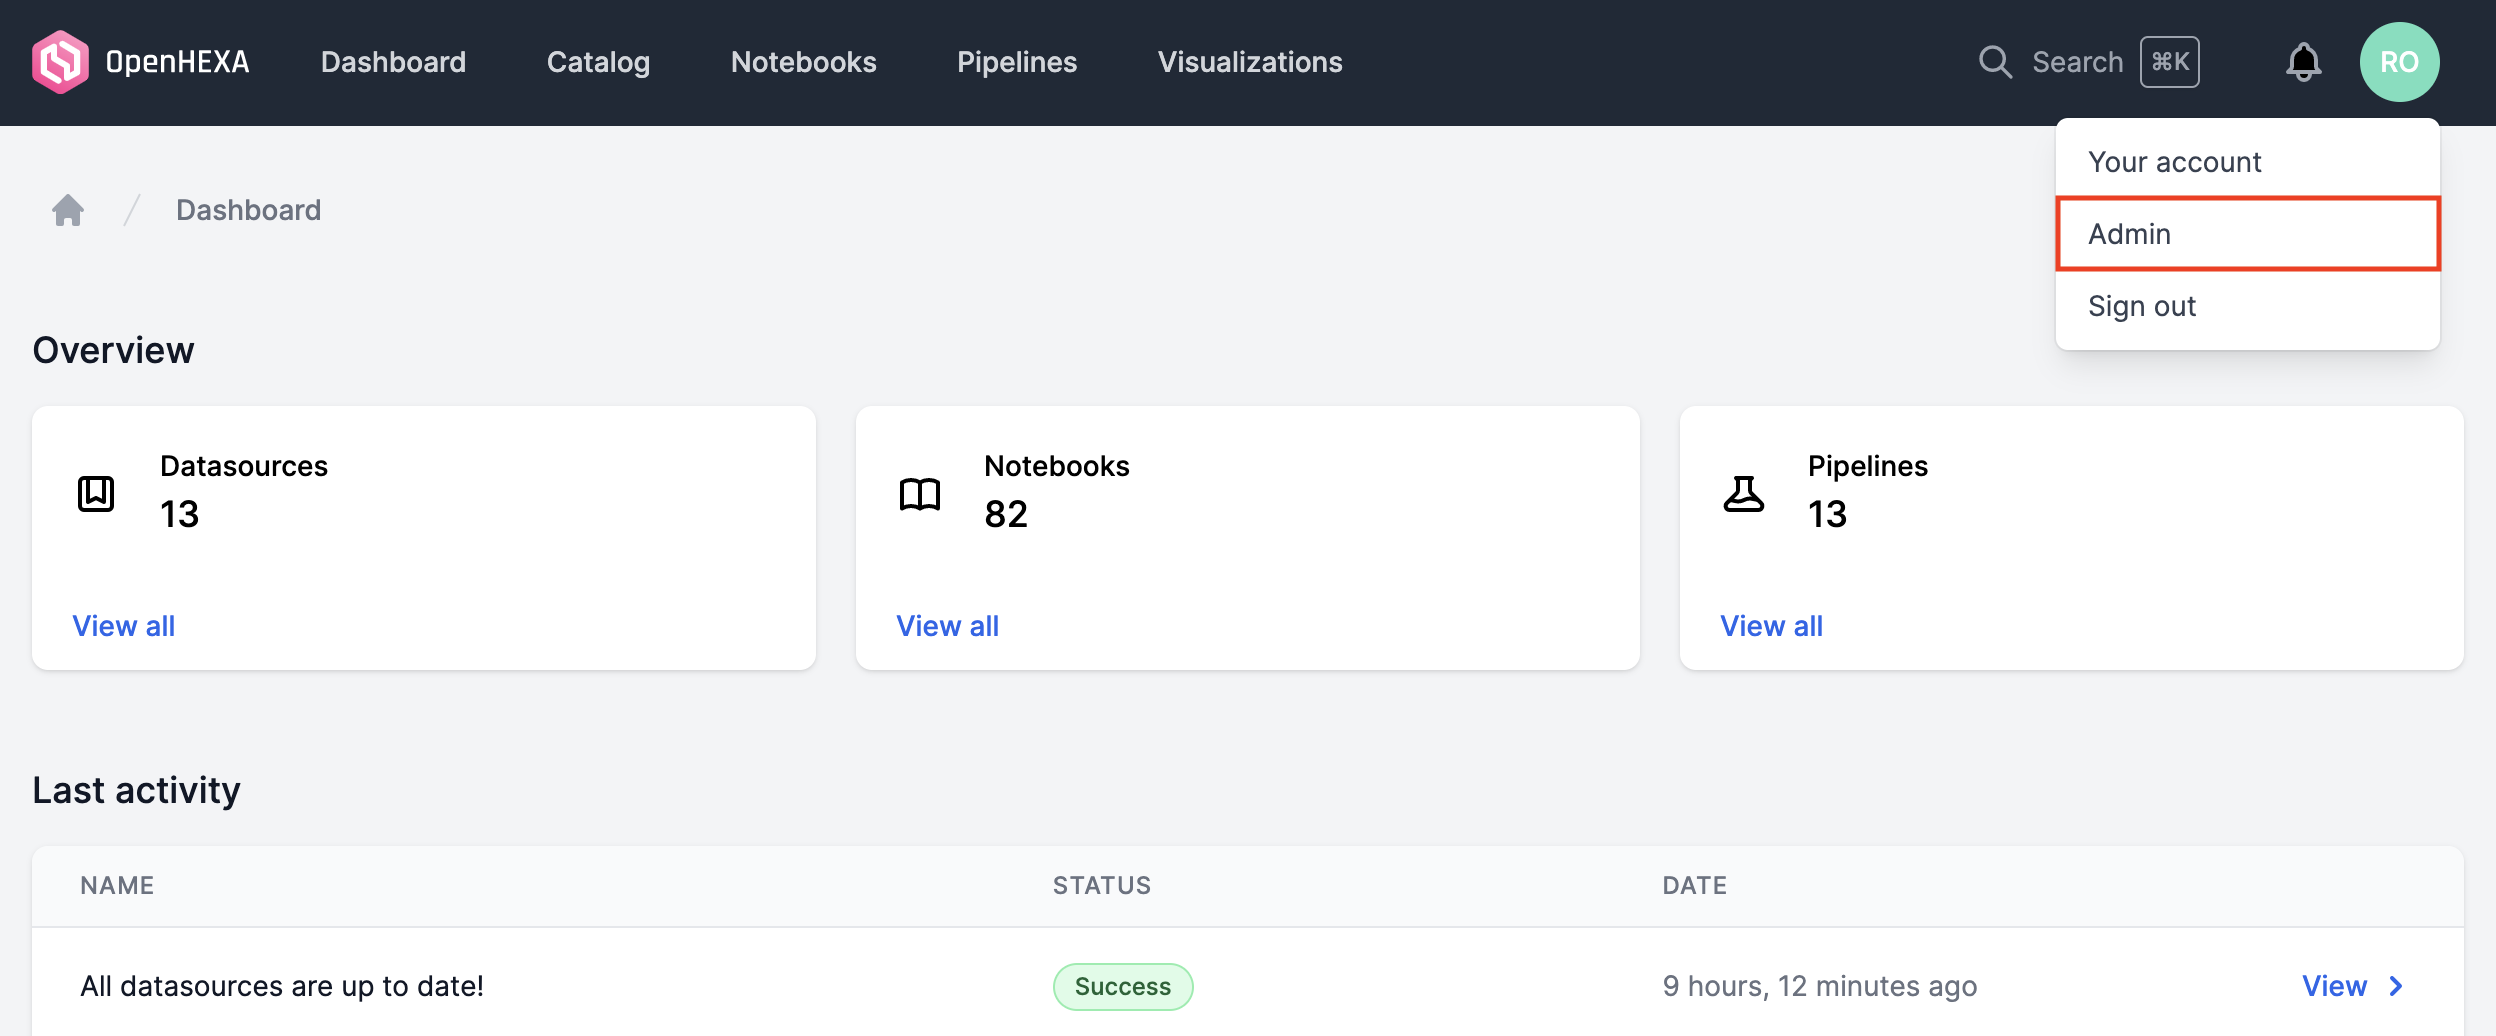
You can then go to the User management > Teams section and add a new team :
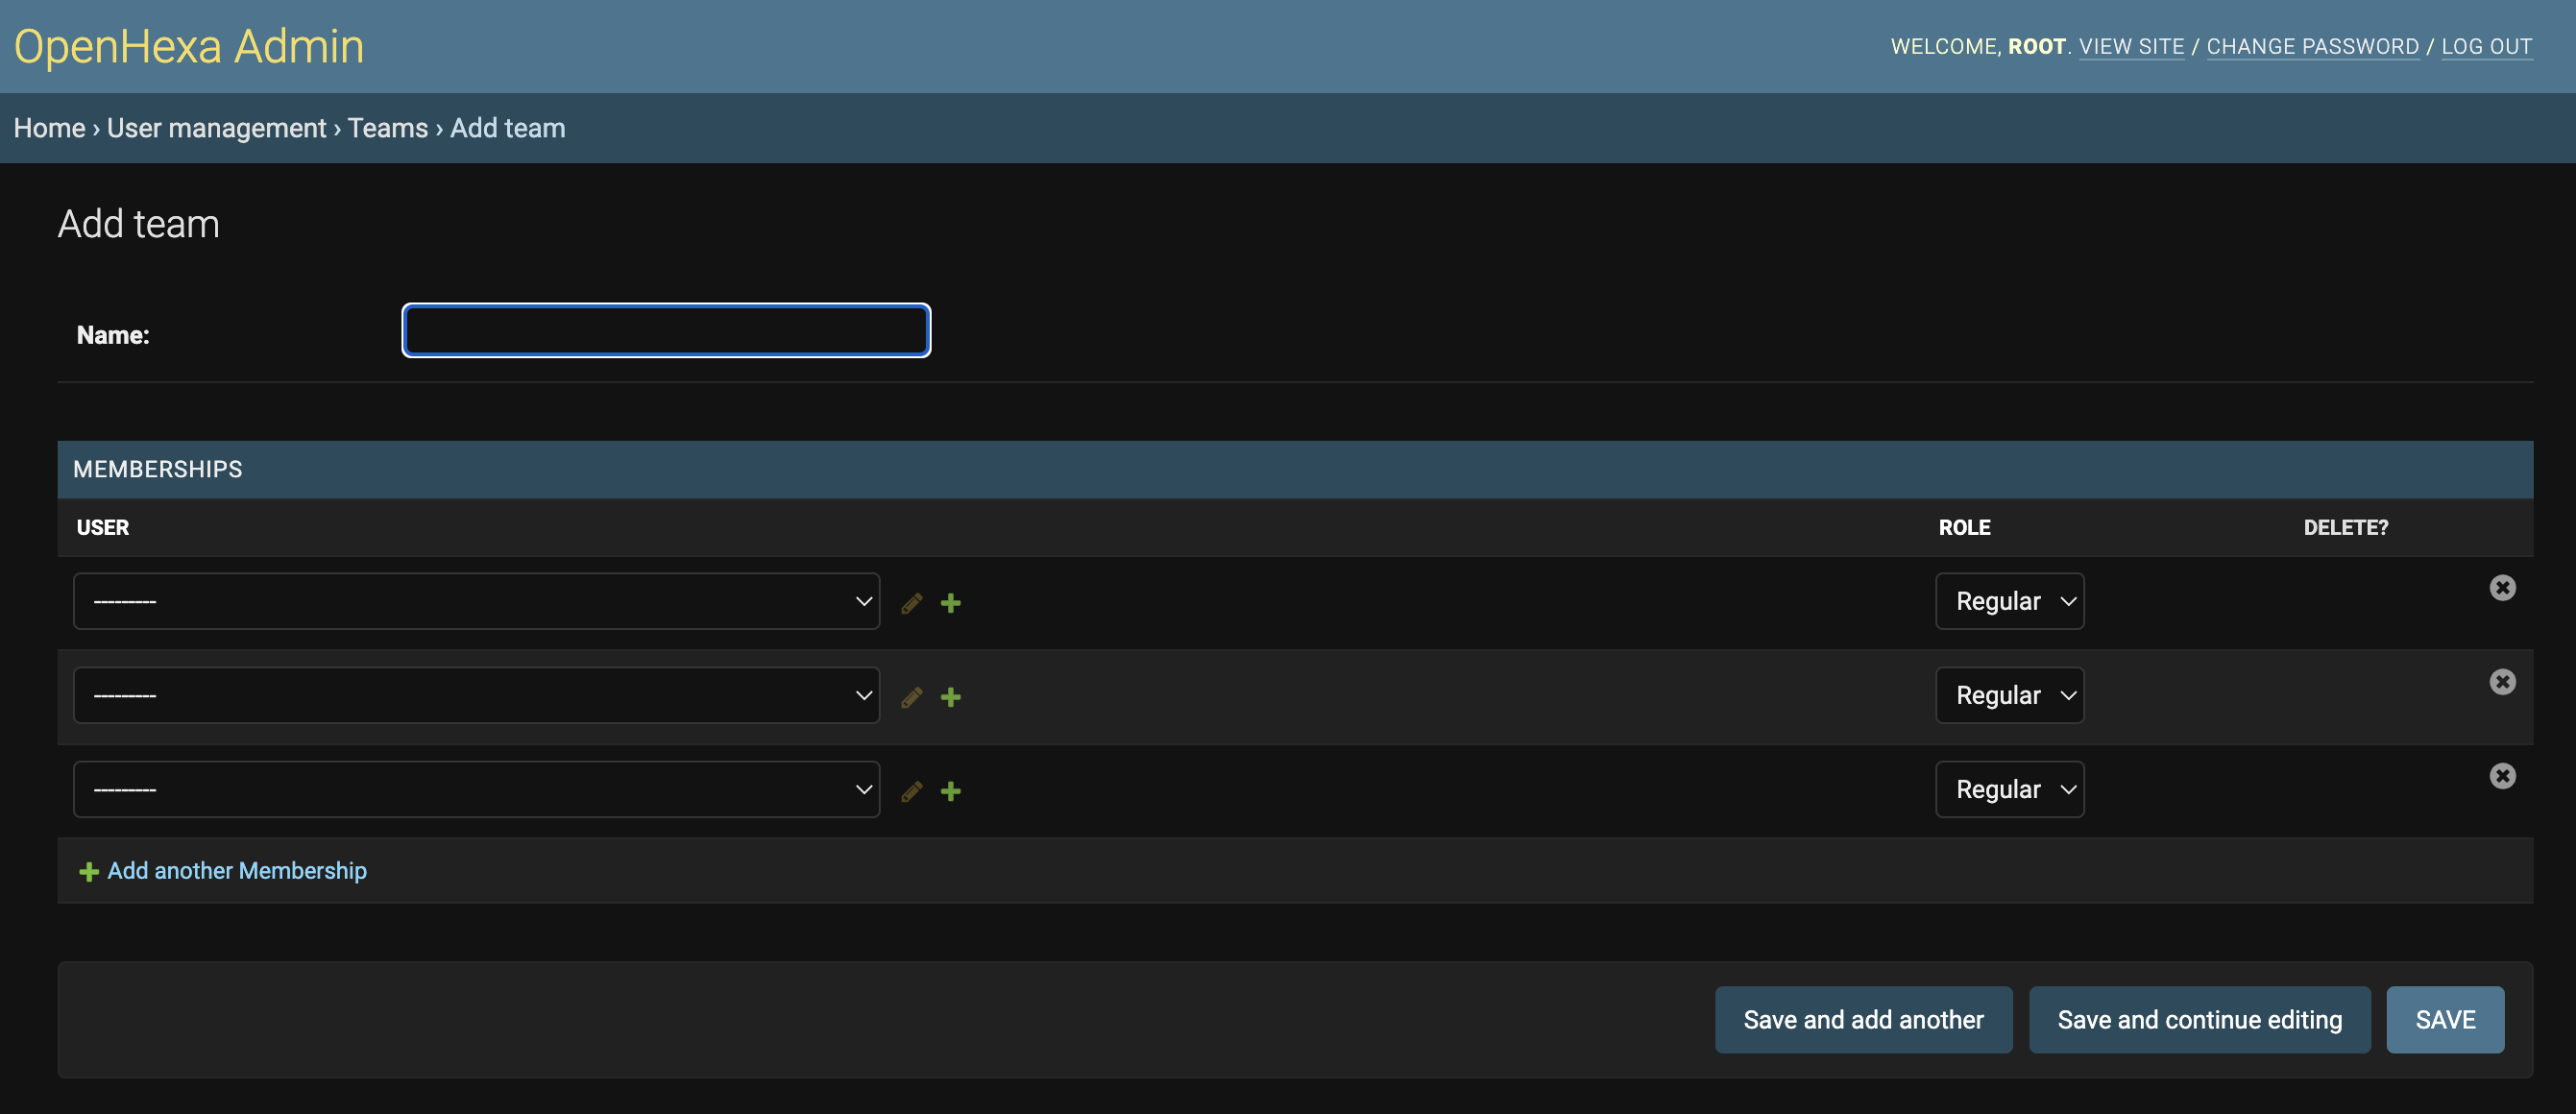
You only need to provide a name for now, you will assign users to the team later on.
Now that your team is created, you can invite users. Simply go to the User management > Users section in the admin panel and add a user :
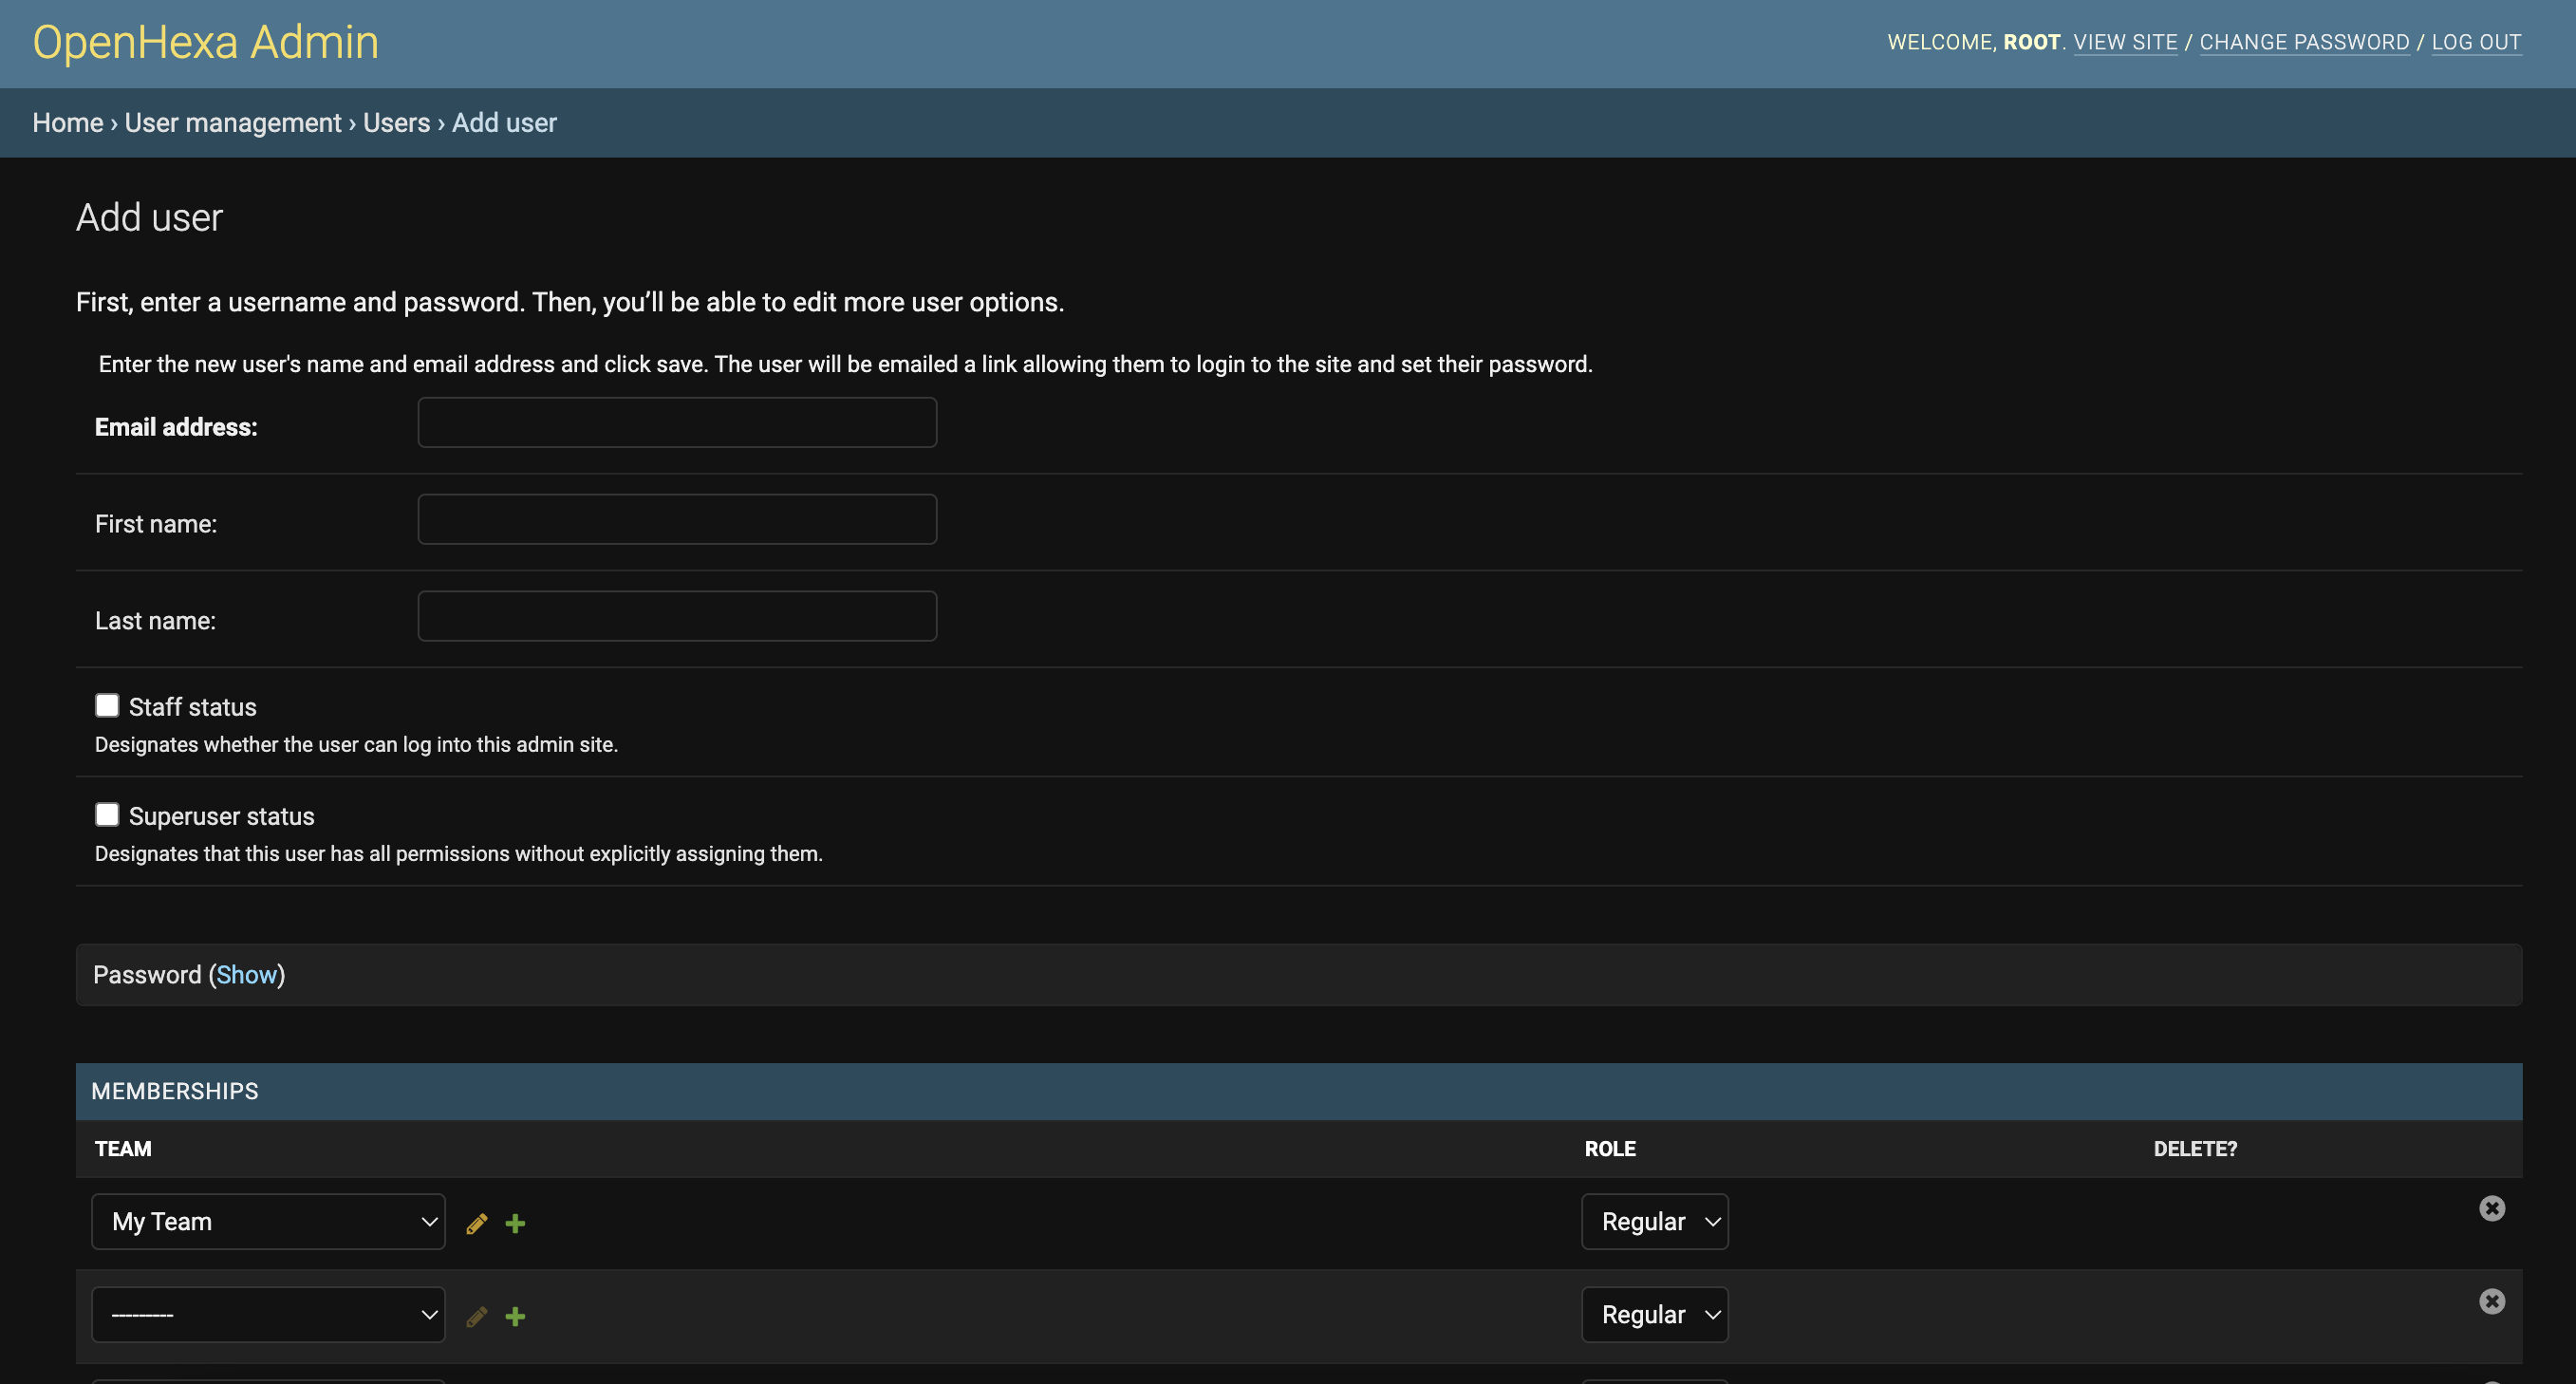
At this step, unless you really need to chose the password yourself, you should skip the password form: when you submit the user creation form, the system will send an invitation email to the user containing a link that will allow her to chose her own password.
Now that we have a team and a few users, let's add a datasource. We'll use the DHIS2 connector as an example, the process is almost identical for other datasources. We'll use the official DHIS2 demo instance.
The process is as follows:
First, go to DHIS2 connector > DHIS2 API Credentials in the admin panel and click on Add DHIS2 API Credentials.
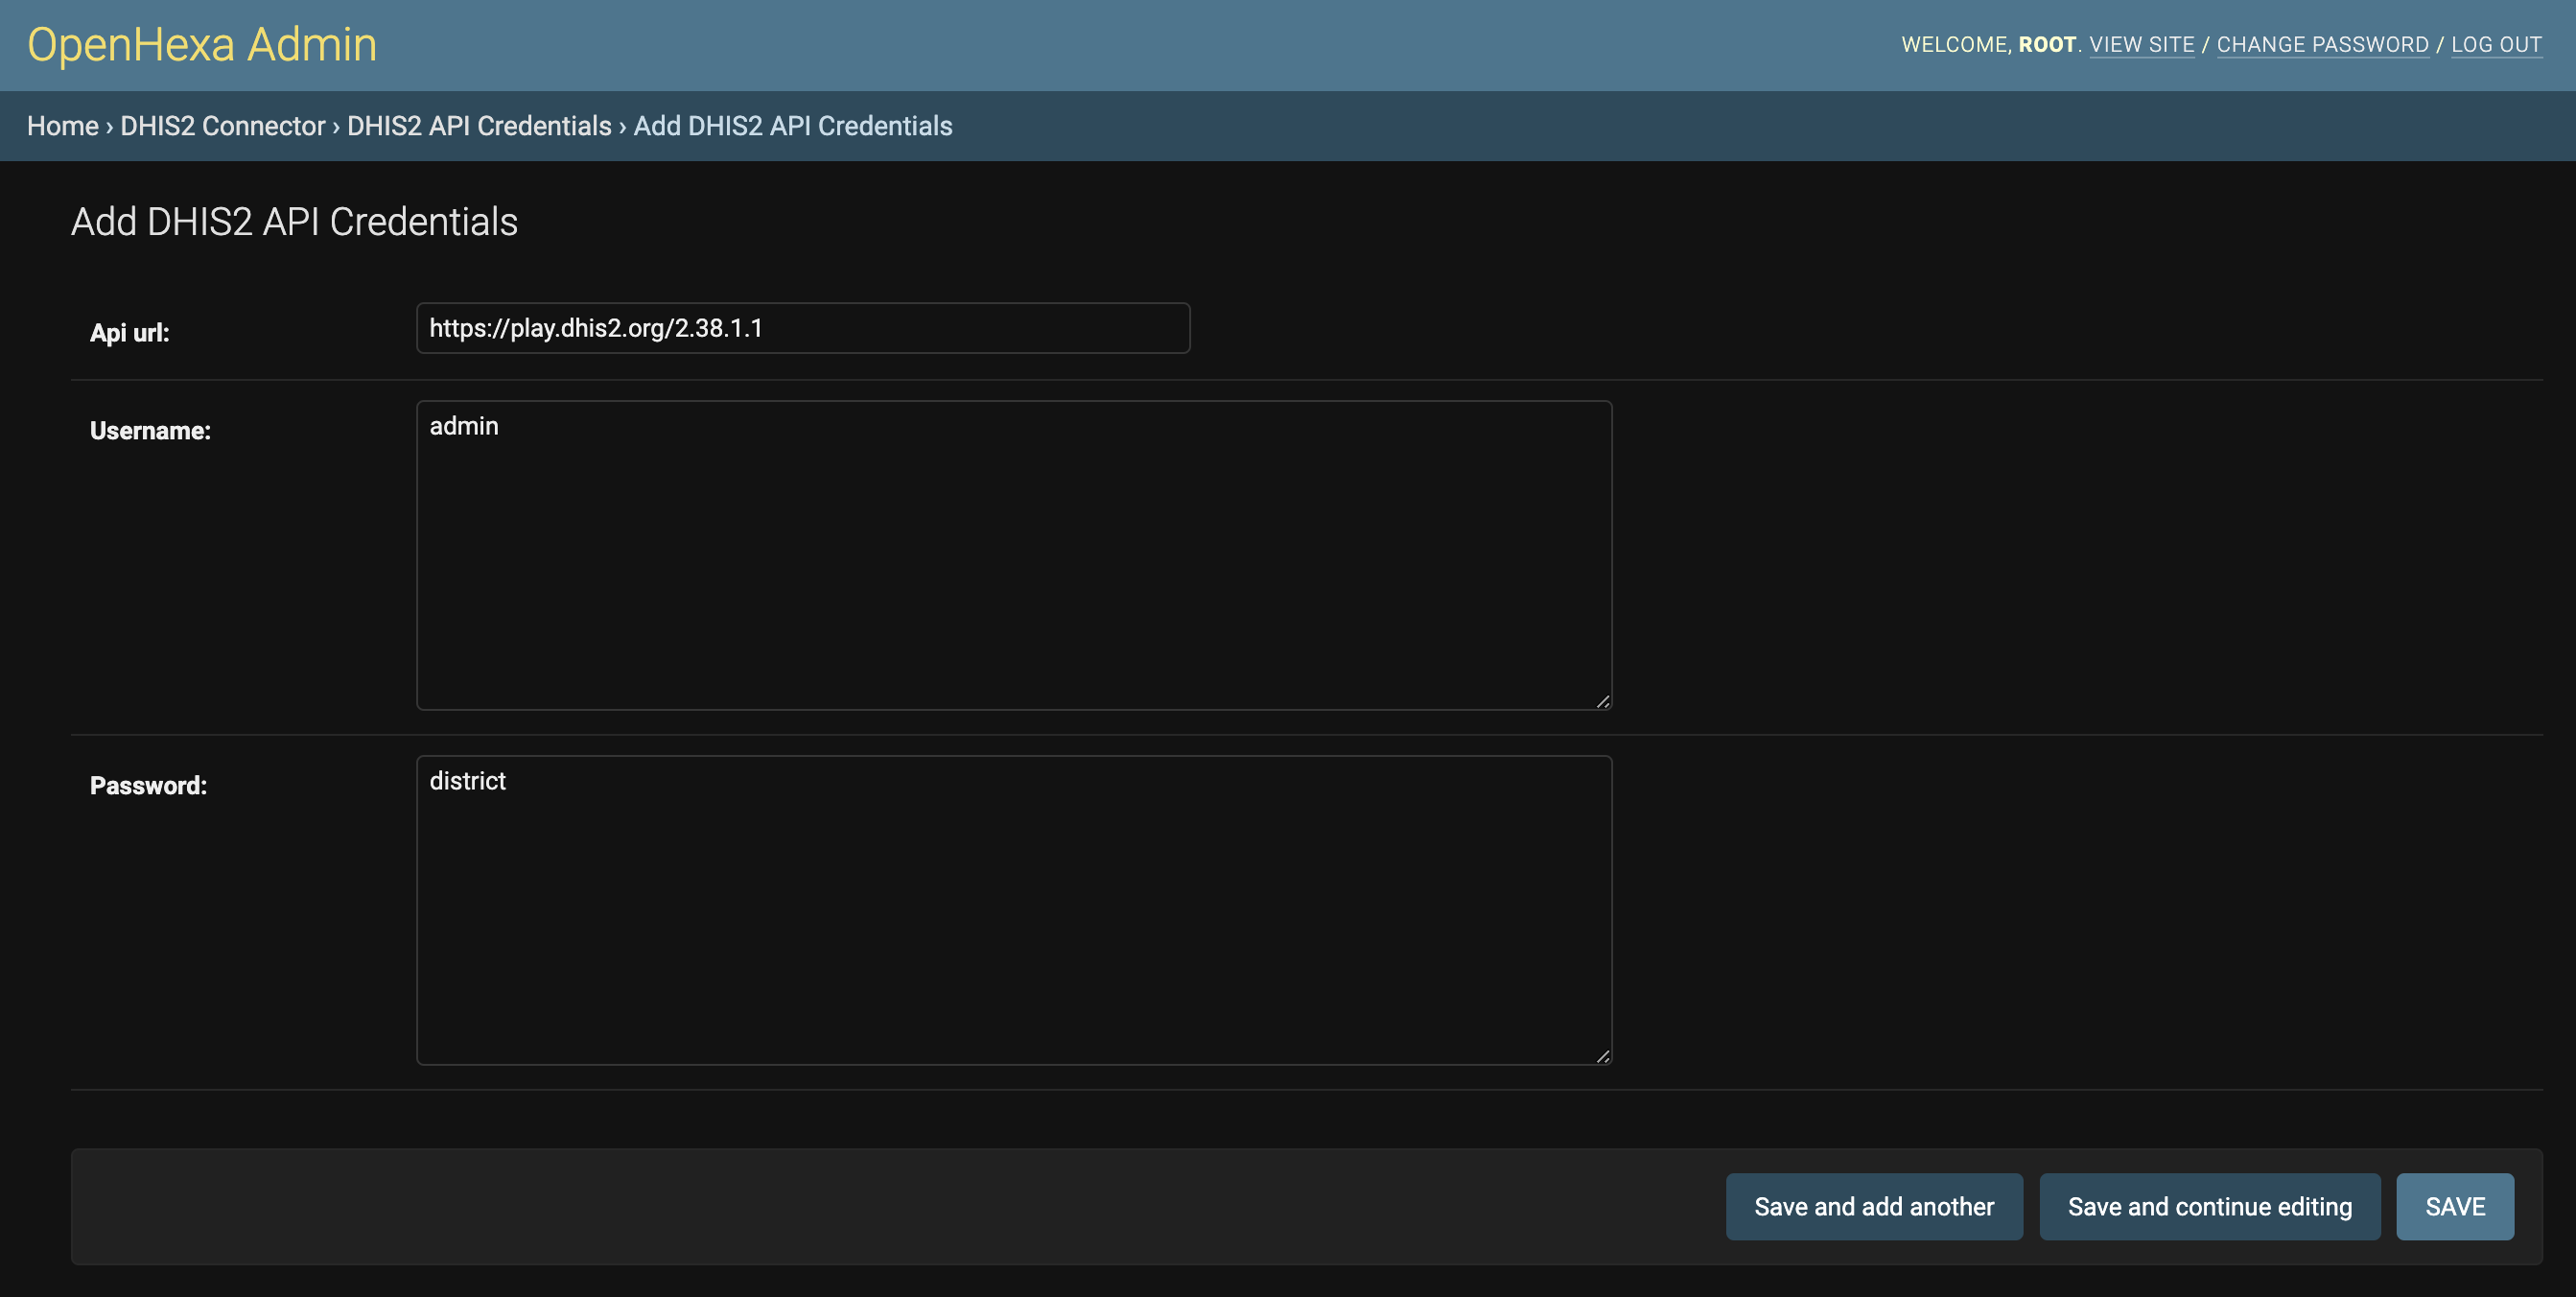
After saving the credentials, go to DHIS2 connector > DHIS2 Instances and click on Add DHIS2 instance.
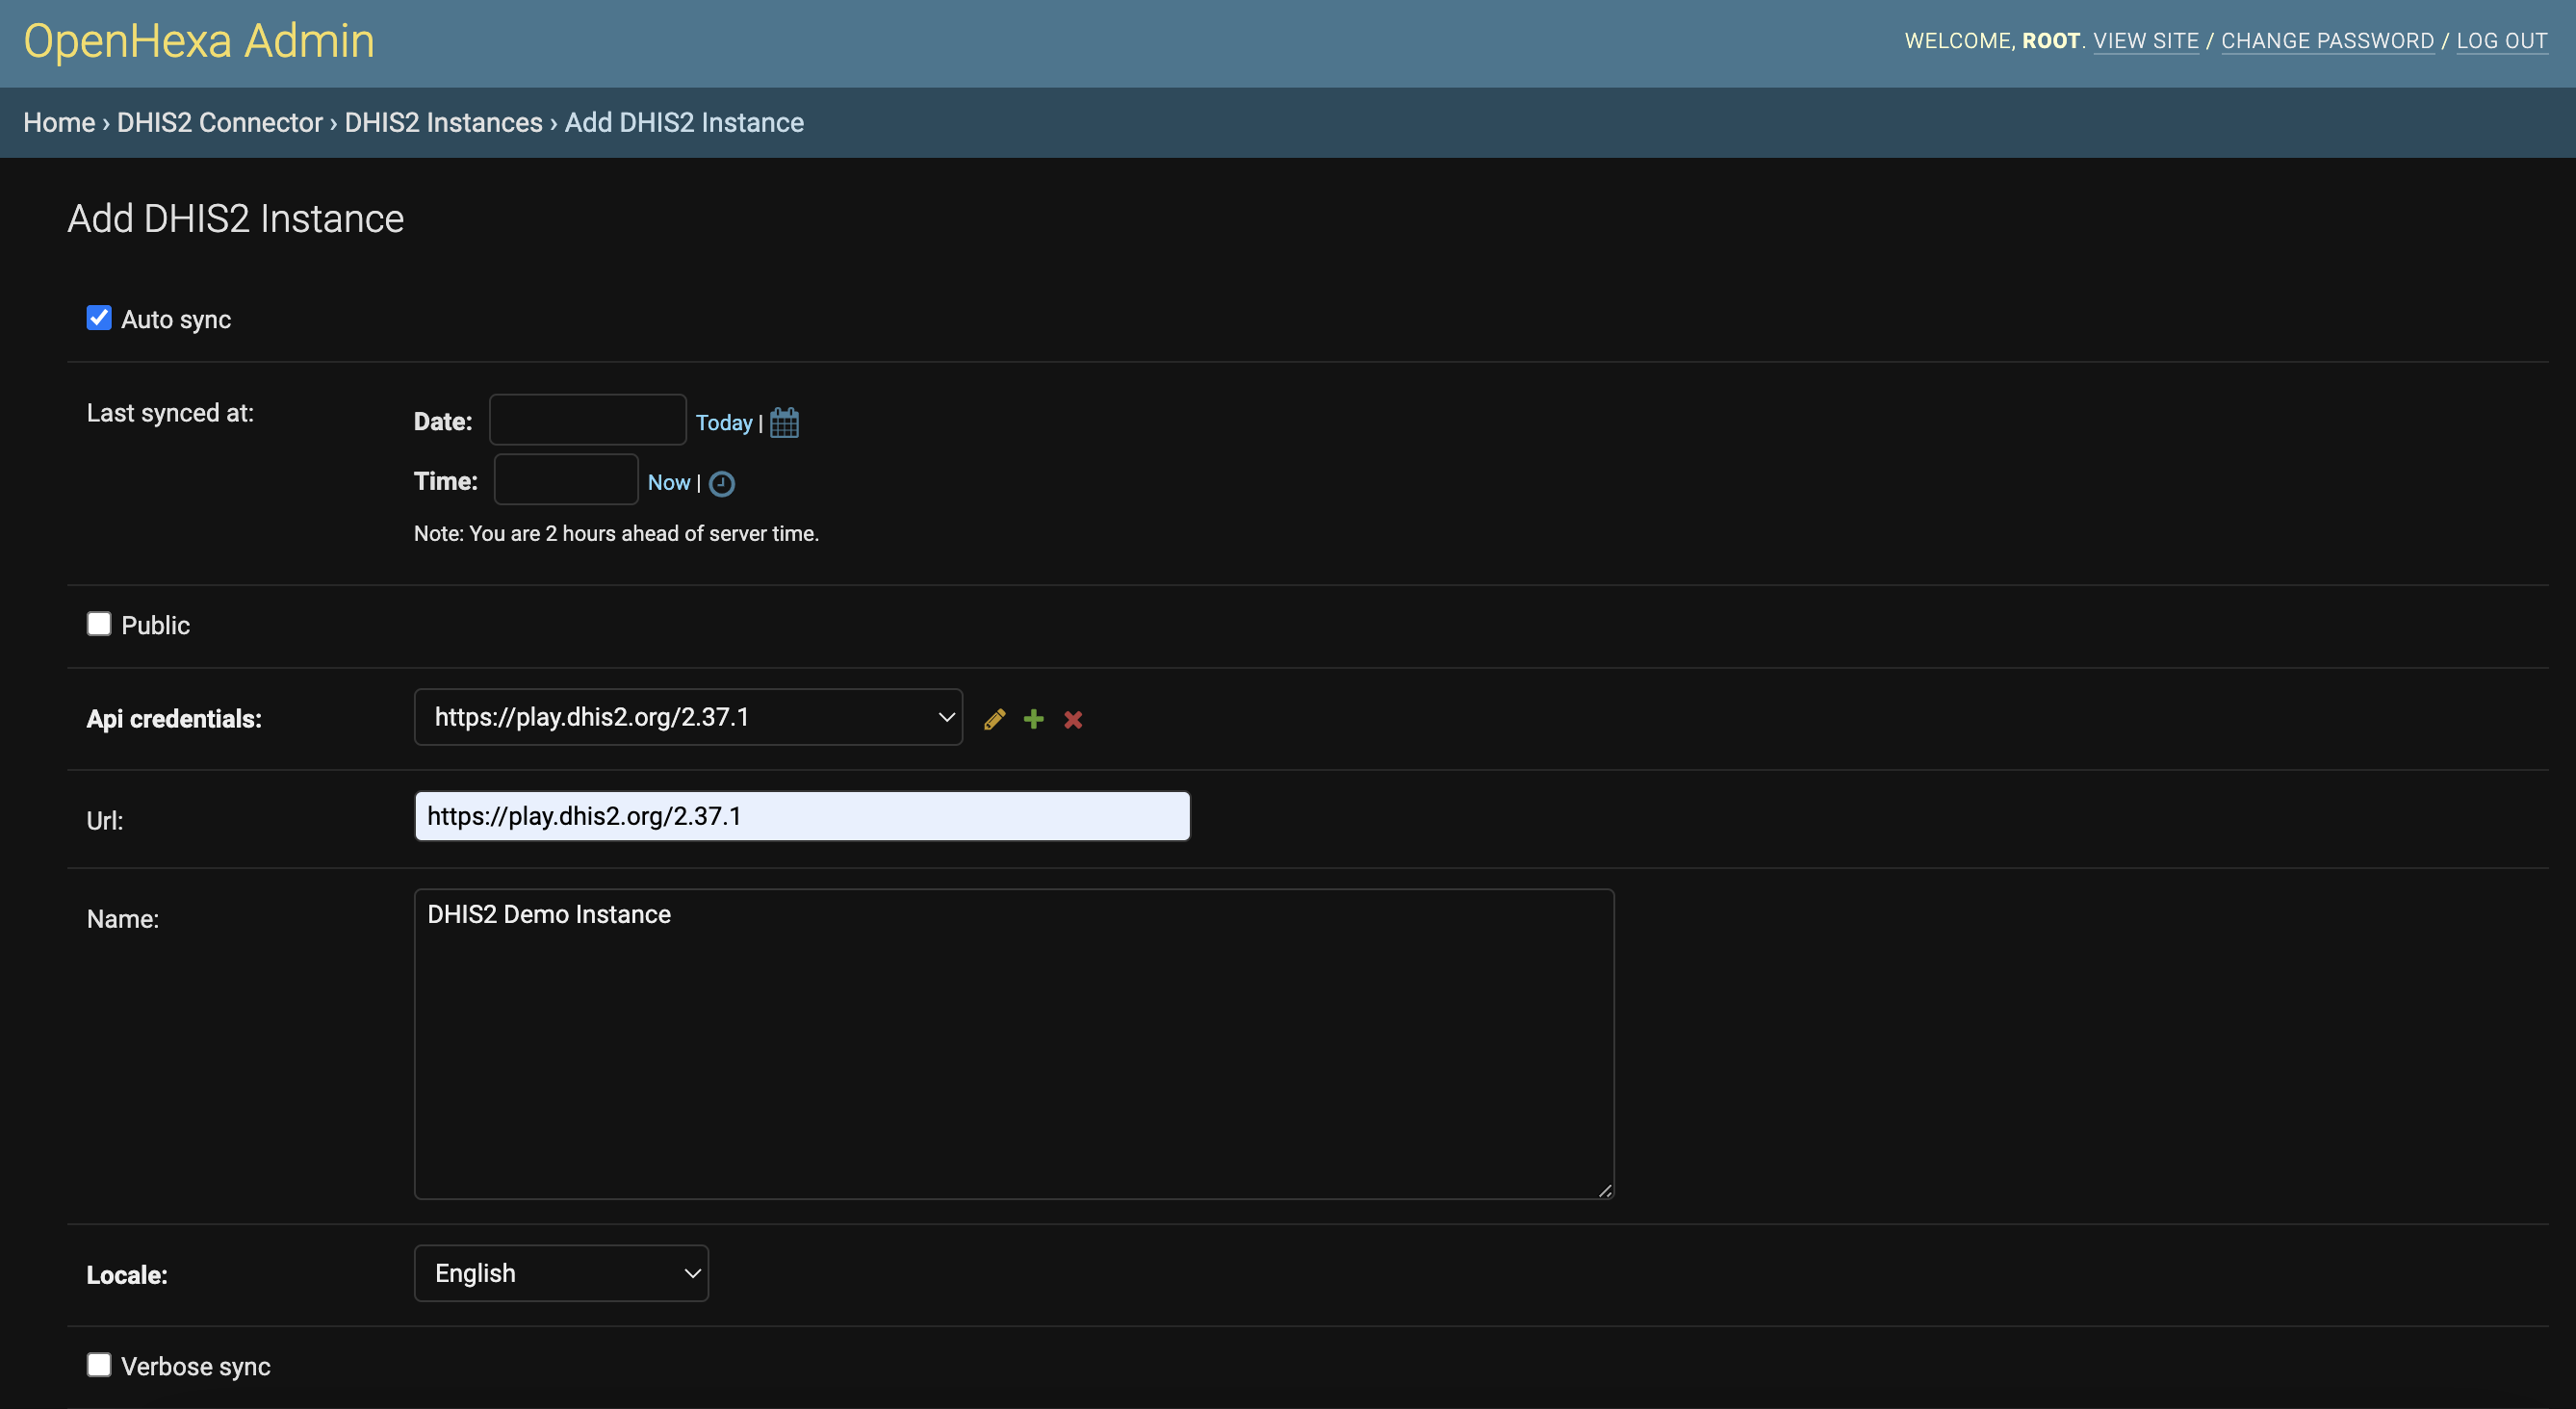
You just need to select the API credentials created above, provide the API URL and a name for the instance. Save the form and you are done : you have added your first datasources in OpenHEXA.
You may want to add other data sources at this point, for example an AWS S3 bucket - the process is almost the same as for a DHIS2 instance, except for the credentials part.
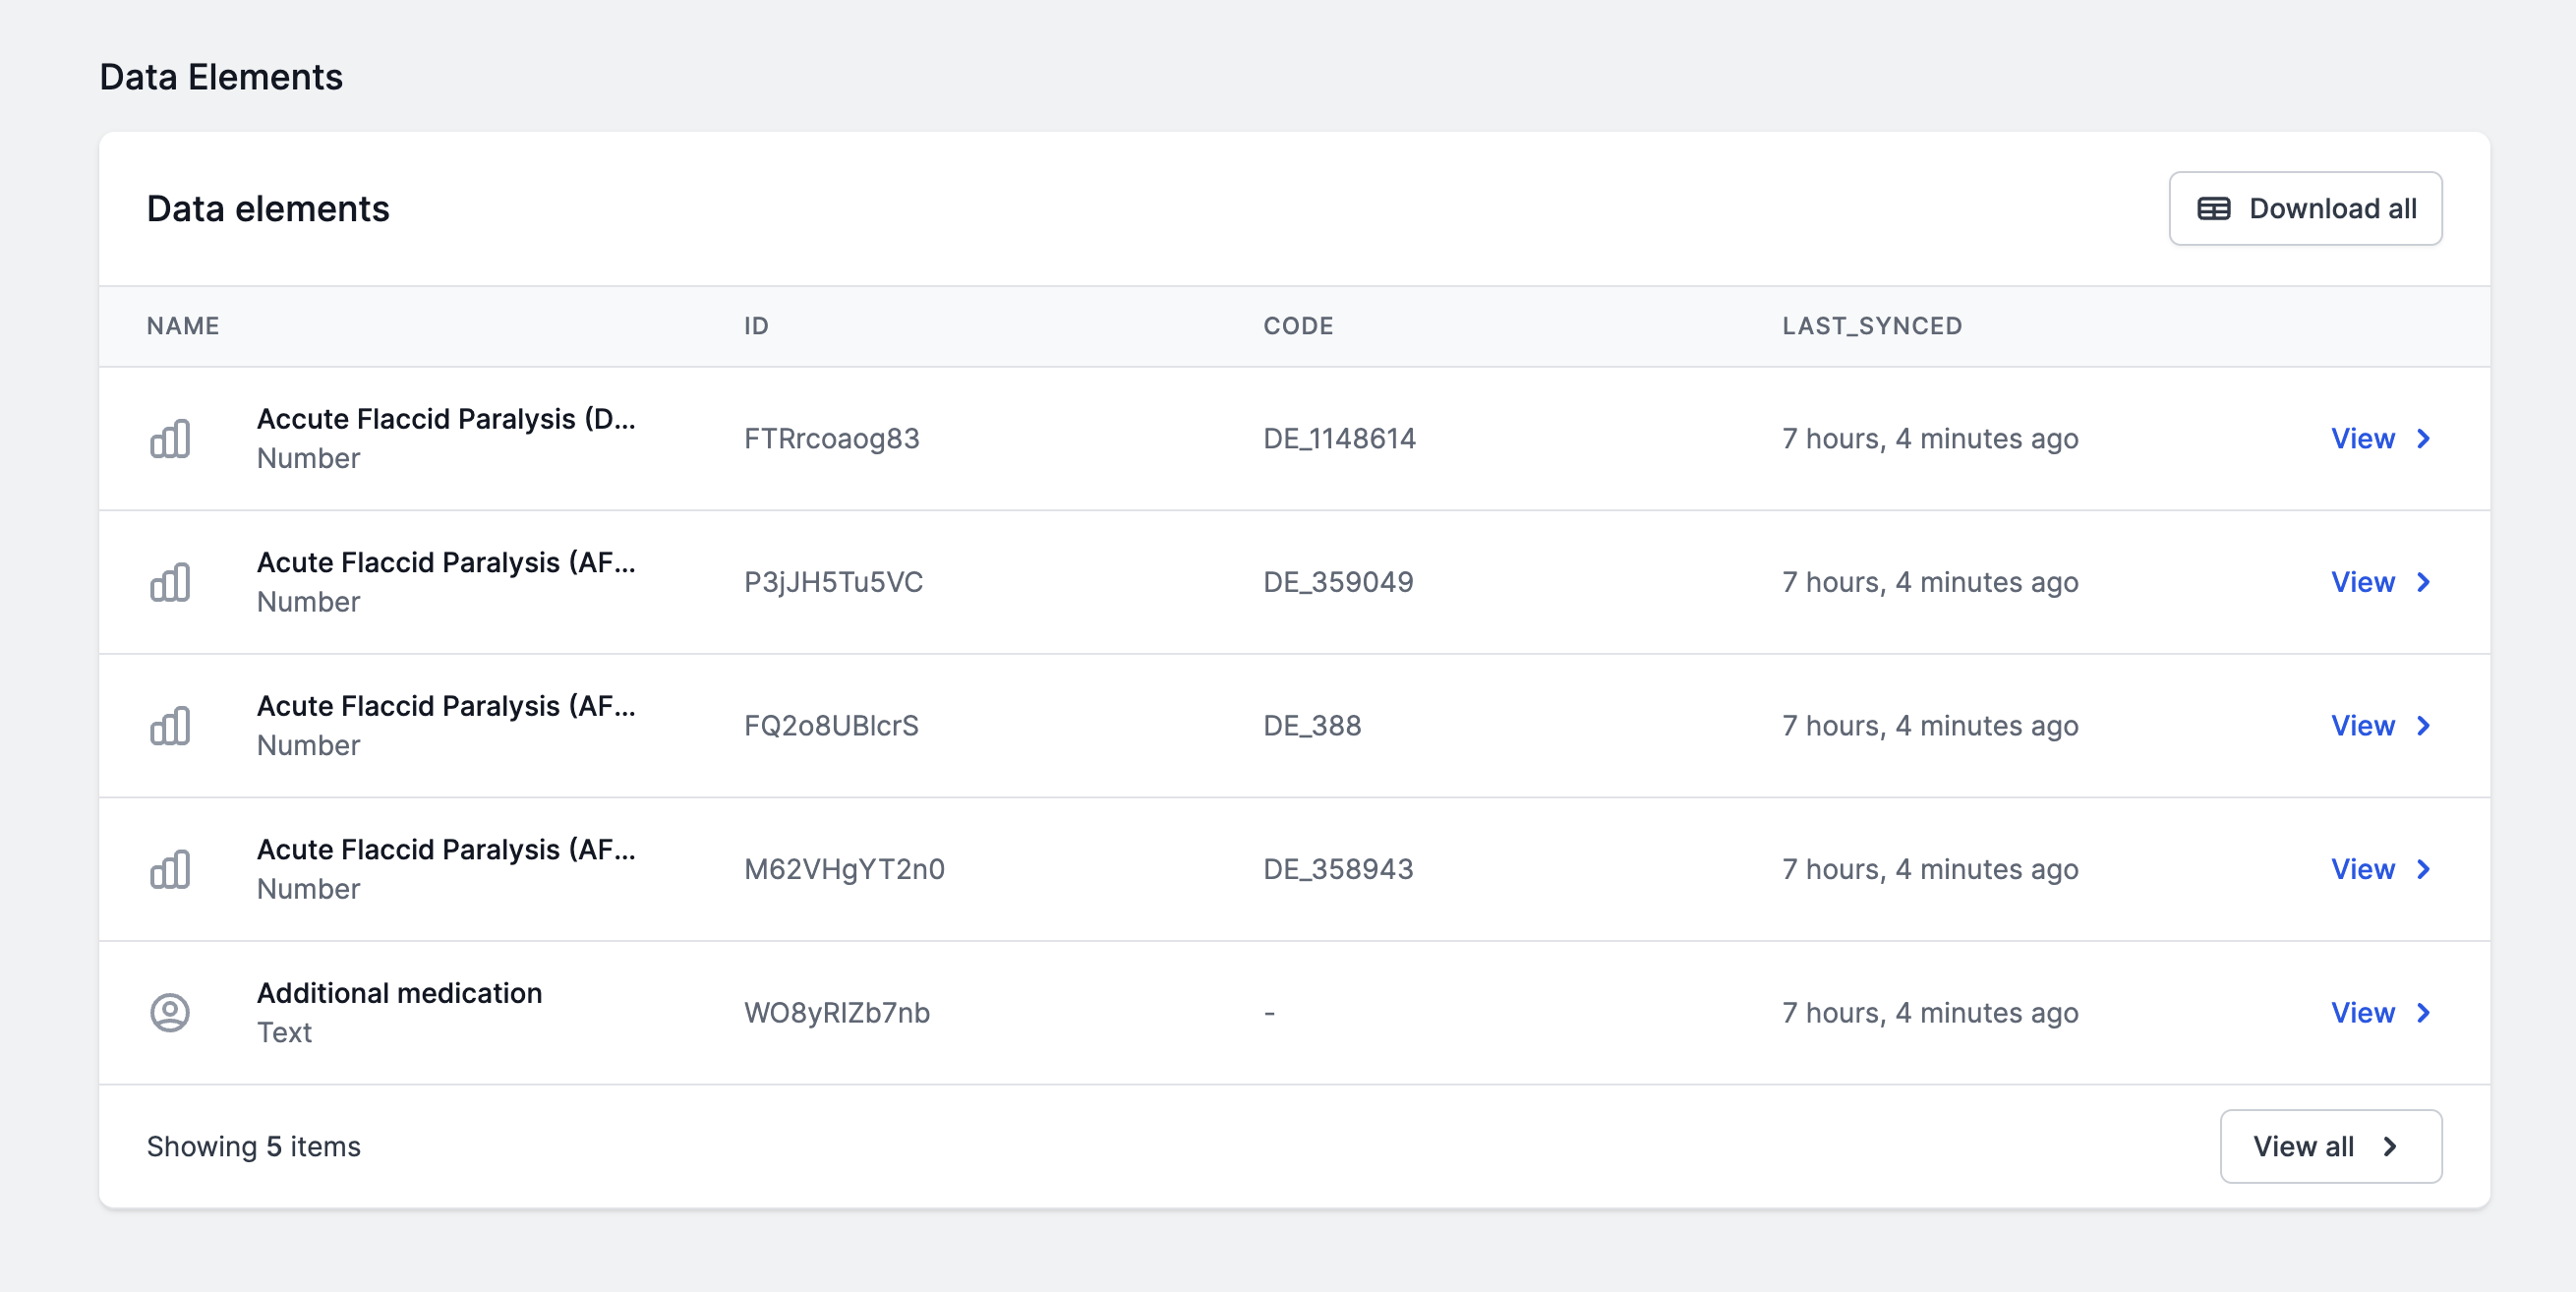
The data catalog can be used to explore and search for data across your datasources.
Simply go to the main OpenHEXA interface (i.e leave the admin panel if you are still there) and go to Catalog.
From then, you can see the list of connected datasources, and explore them in a drill-down fashion.
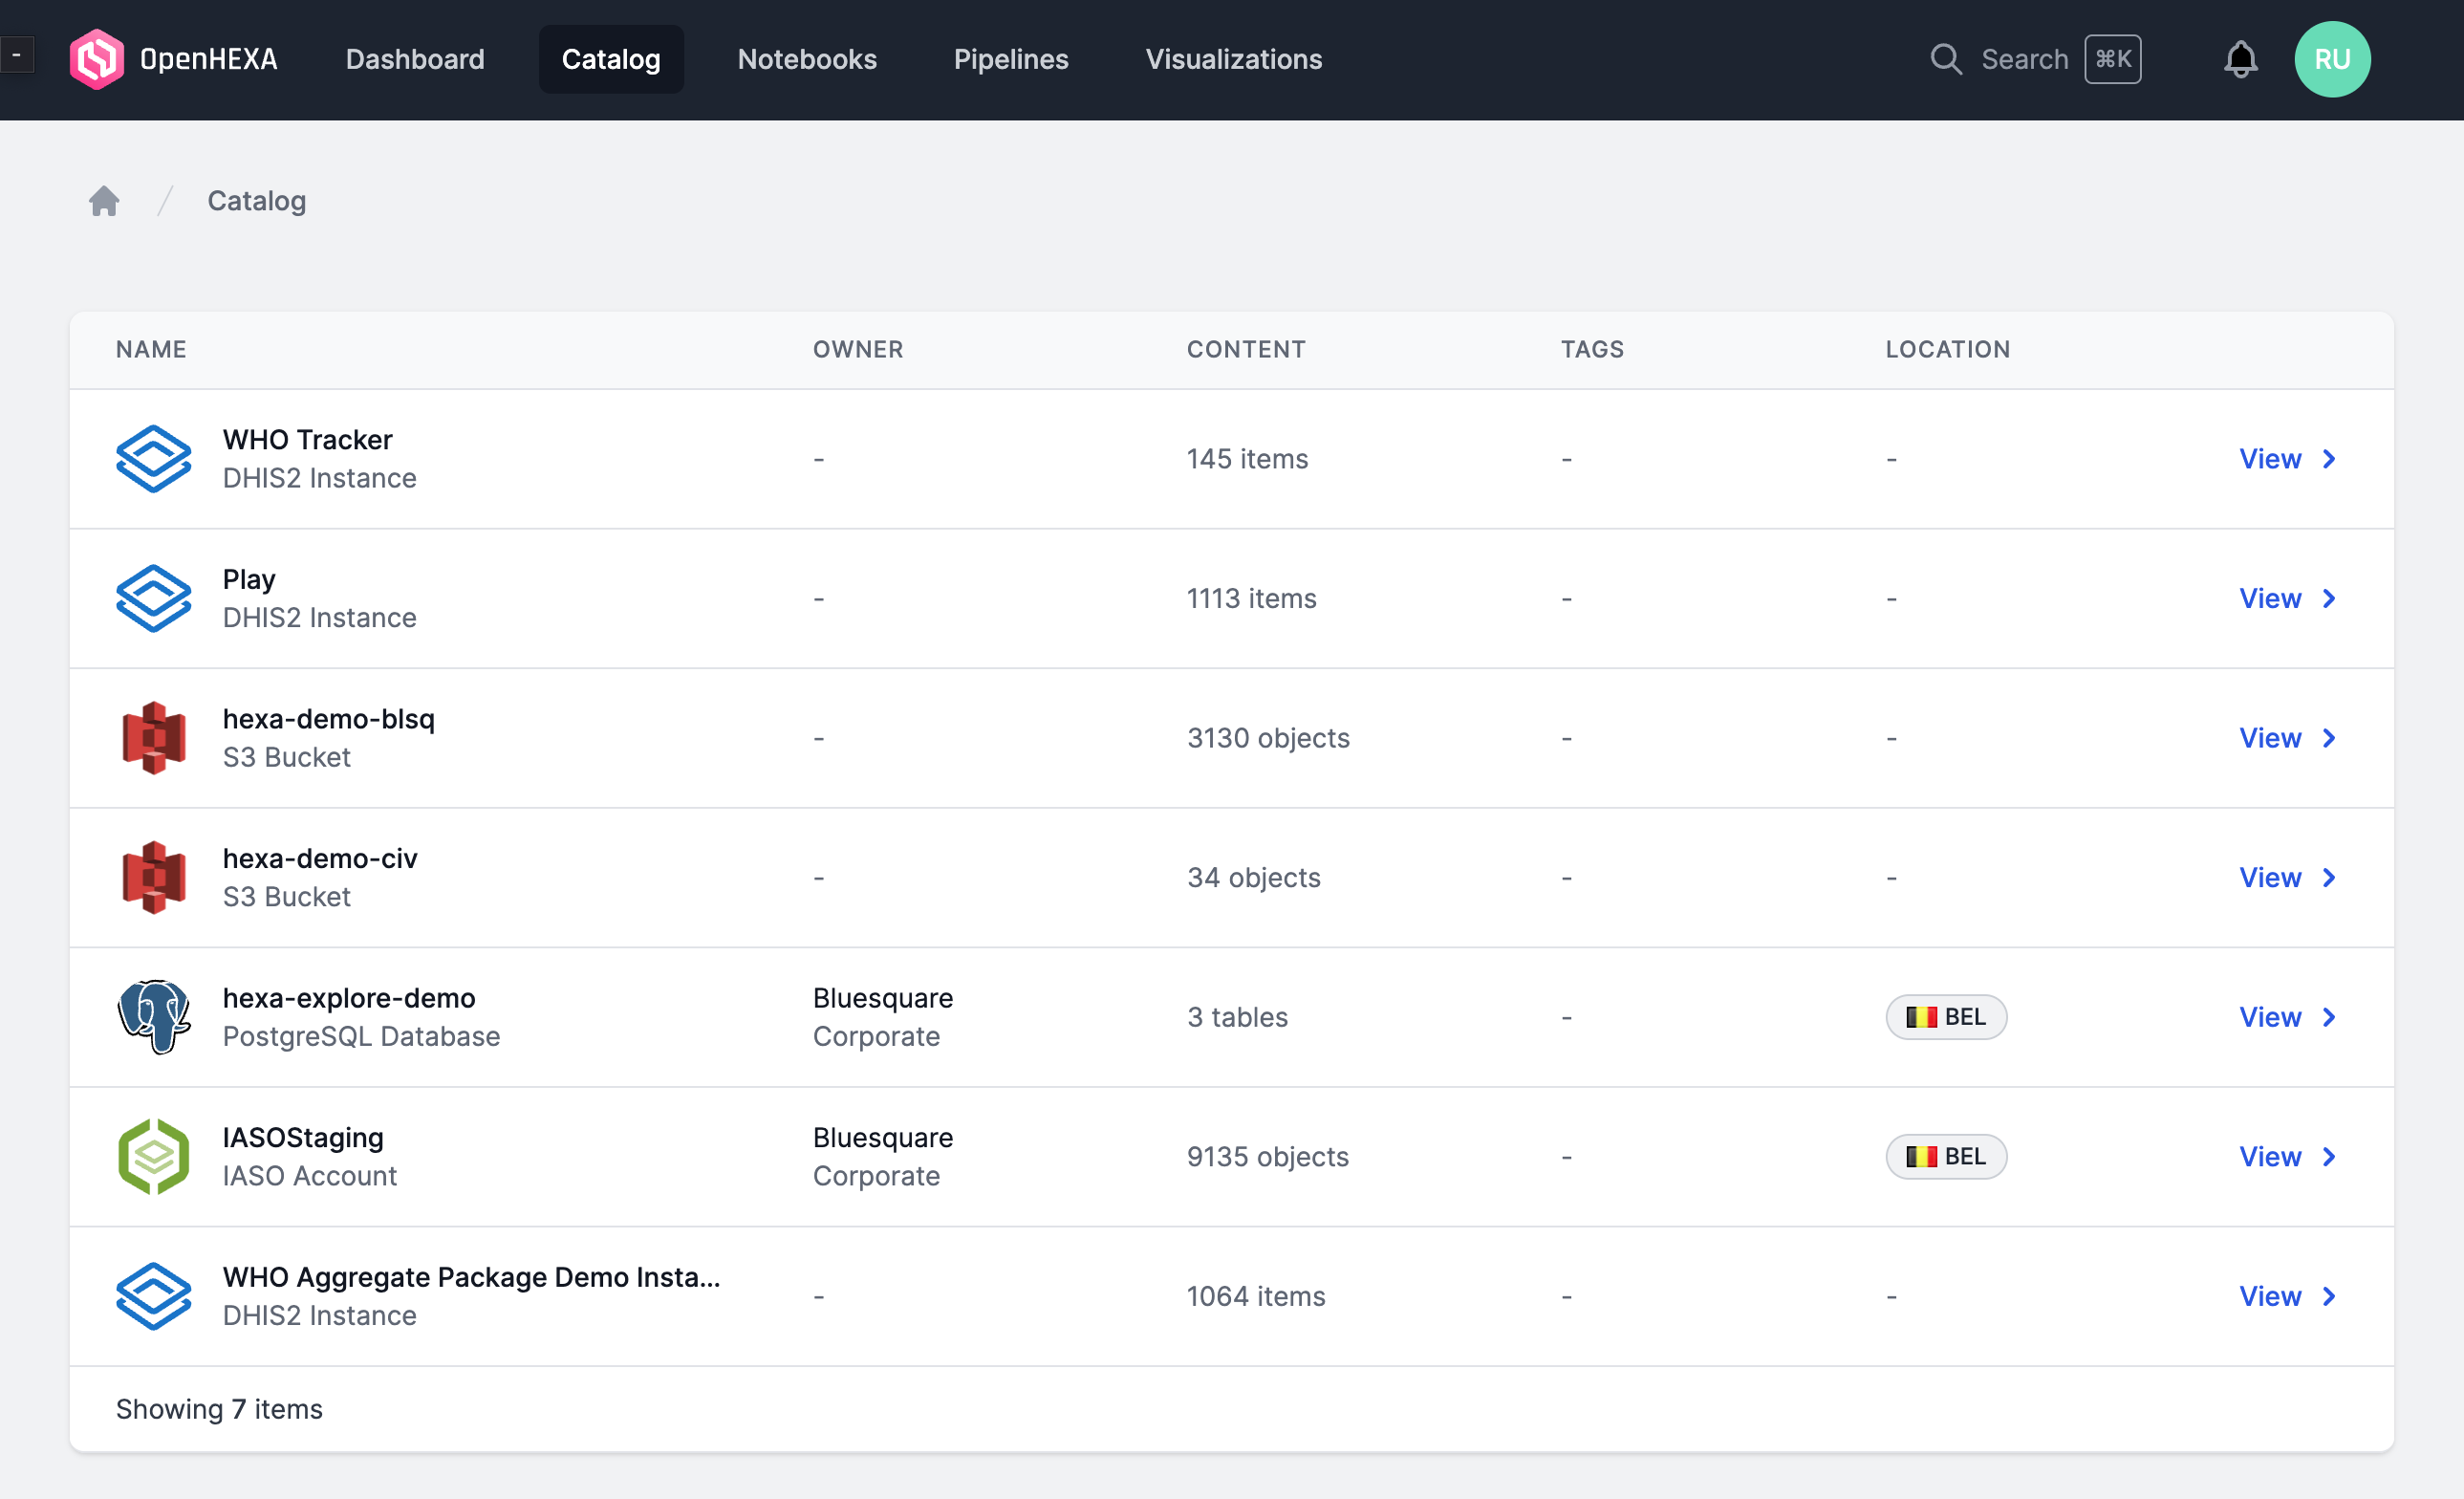
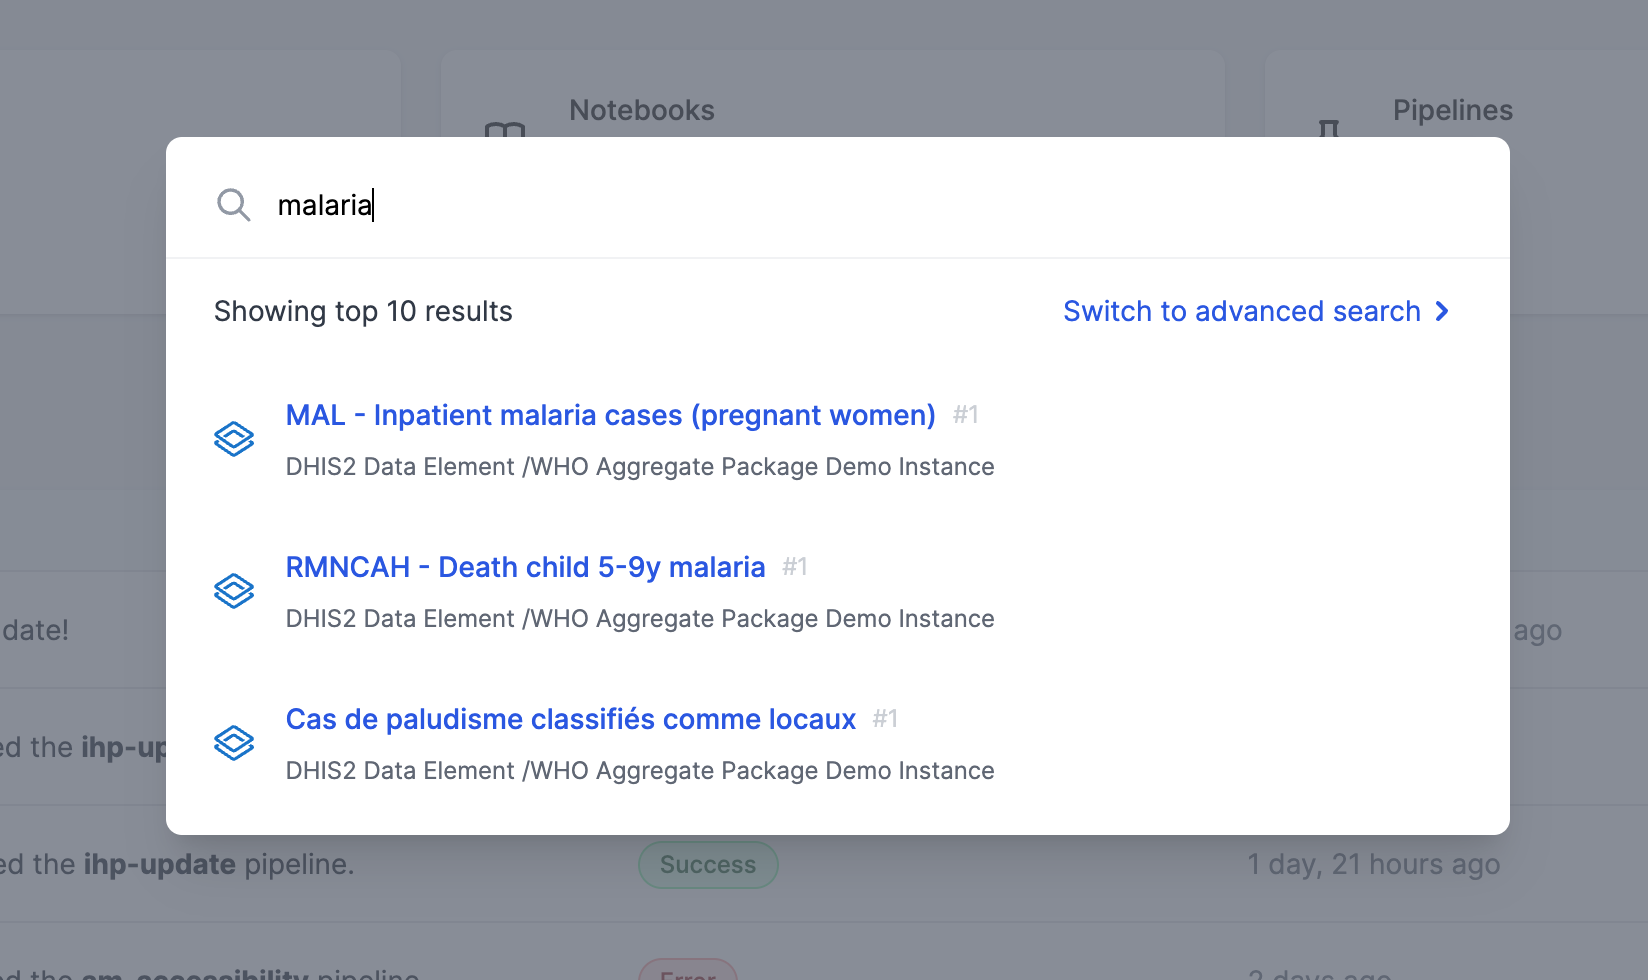
To use the OpenHEXA search engine, simply click on search in the main menu or press CMD-K, which will open the quick search modal. From there, you can either:
- Enter a search term and browse the results within the search modal
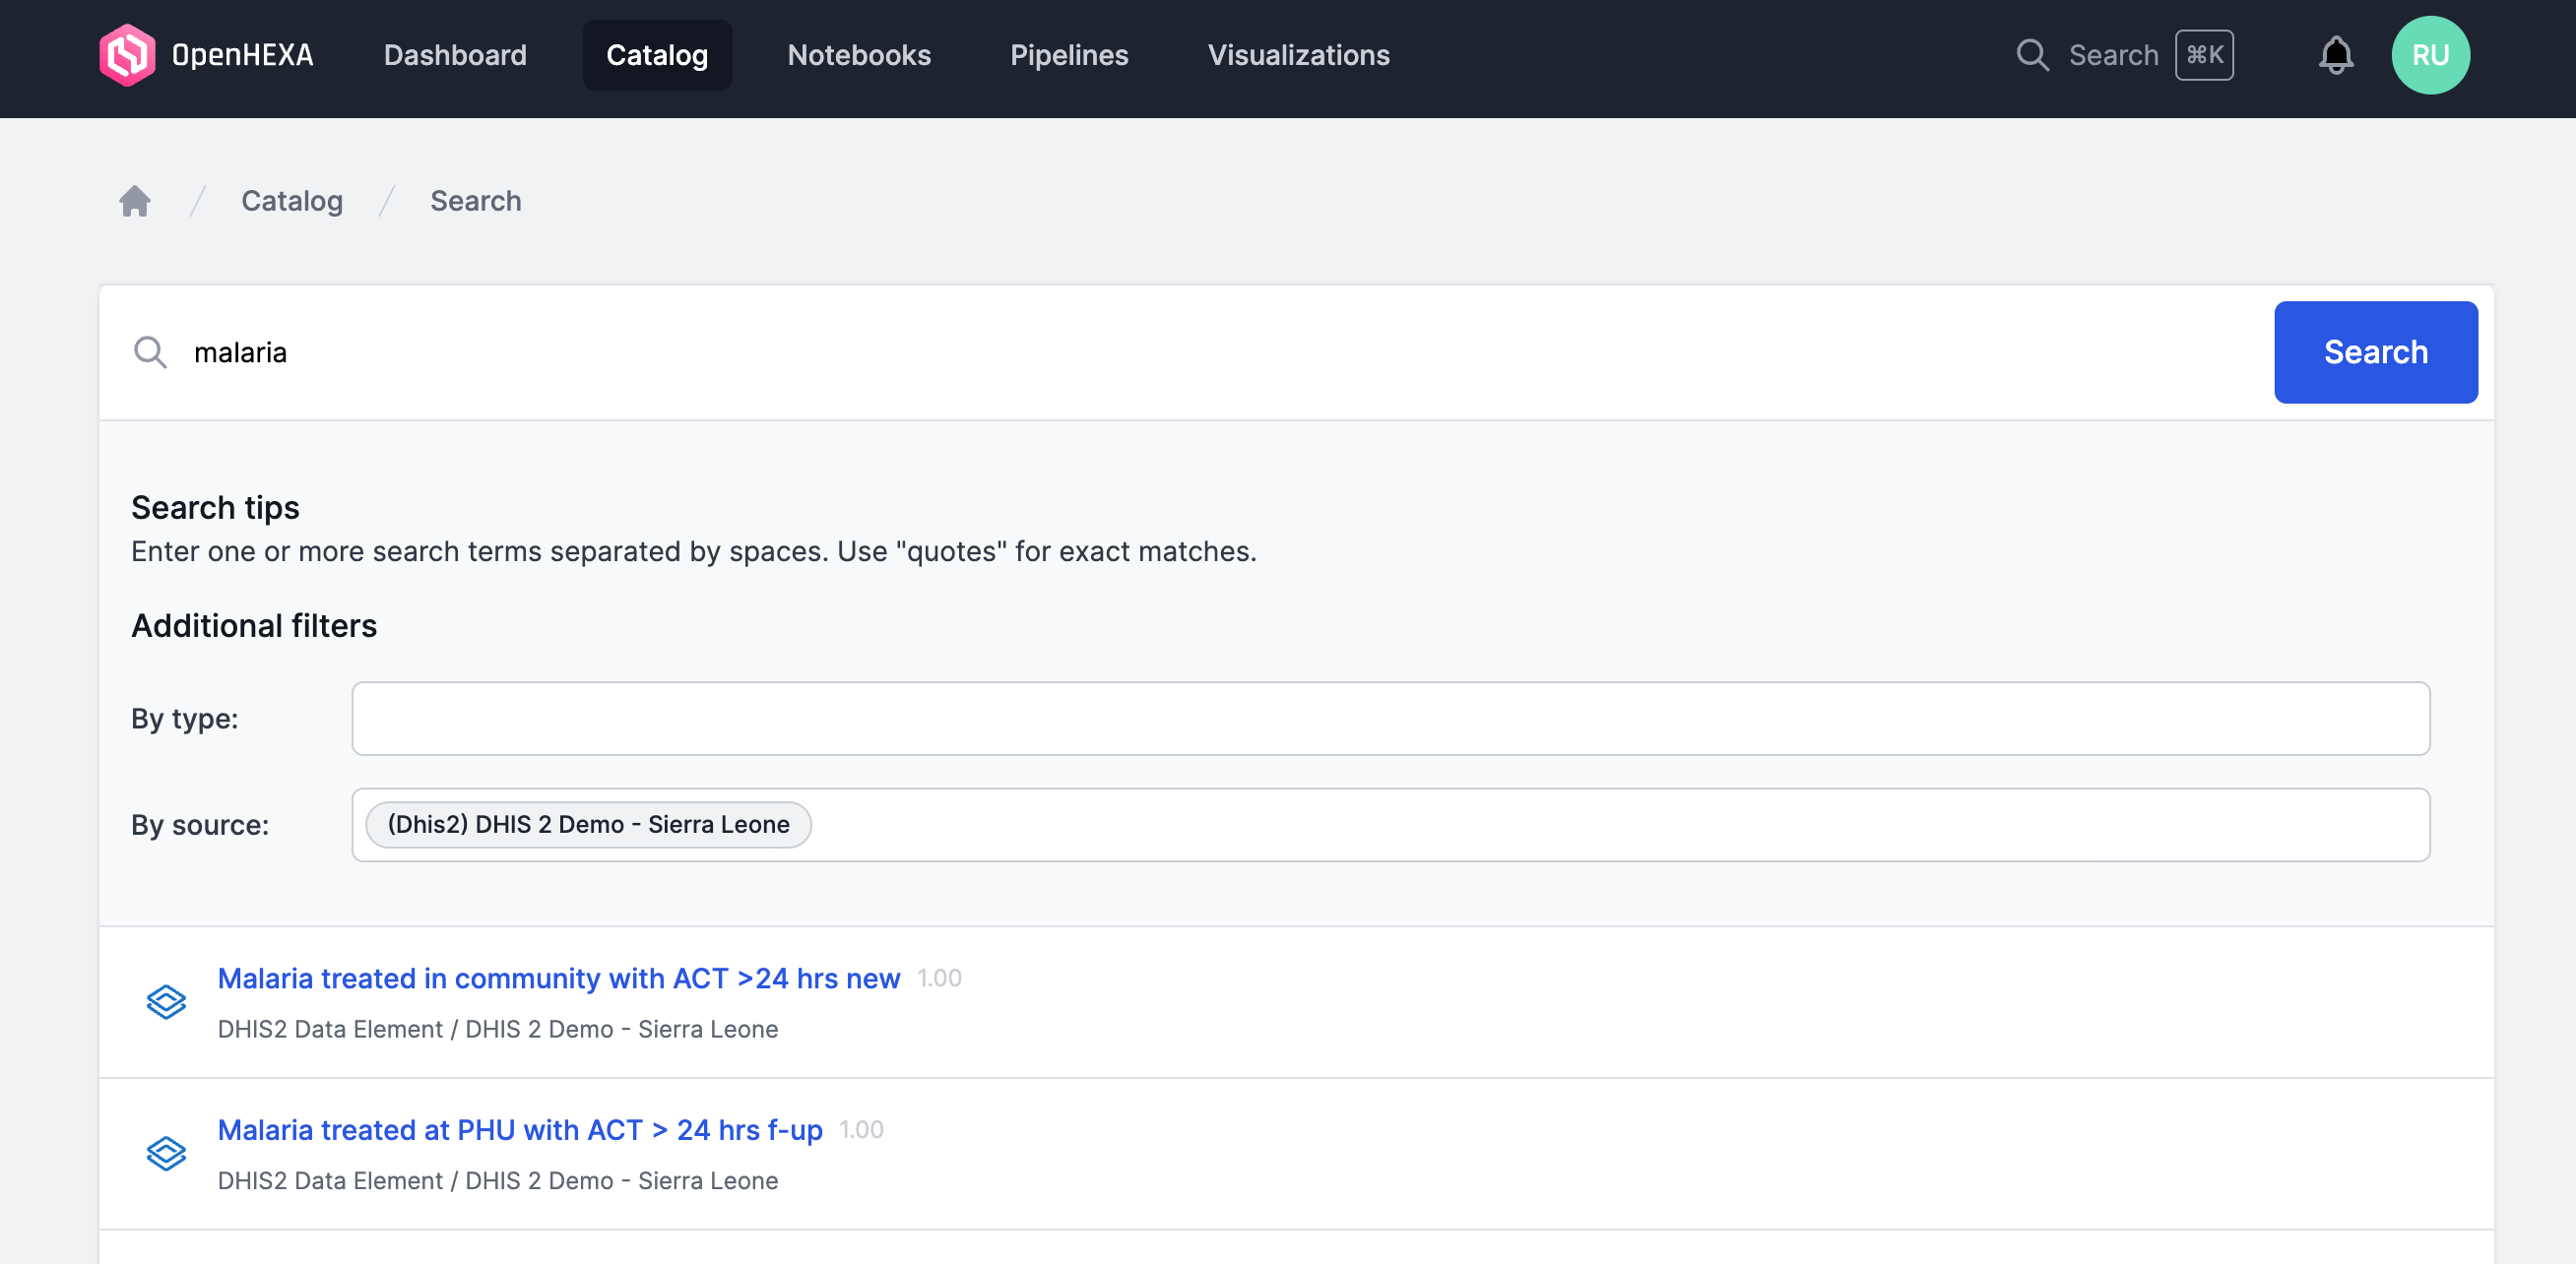
- Switch to advanced search
The advanced search feature will allow you to filter your search result by content type and/or by data source.
The notebooks environment is a customized Jupyter environment.
For most of the features, you can refer to the official Jupyterlab documentation.
OpenHEXA brings a few useful additions to the standard Jupyter features:
- Mounting of S3 / GCS buckets in your Jupyter server filesystem for easier data access
- Provisioning of environment variables for the credentials of your datasources
- Pre-installation of a series of interesting Python & R libraries
Additionally, the datasource pages in the data catalog usually provide code samples illustrating how you can use the datasource in a notebook.

🚧 This section is still a work in progress
OpenHEXA uses Apache Airflow to run data pipelines behind the scenes.
Before being able to use a data pipeline, you need :
- To provision an Airflow instance and to connect a Git repository for DAGs (see installation instructions)
- To configure a DAG Template and one or more DAGs using the admin panel in the
Airflow Connectorsection - To configure the datasources that the pipeline can access (in
Airflow Connector > Dag authorized datasources)
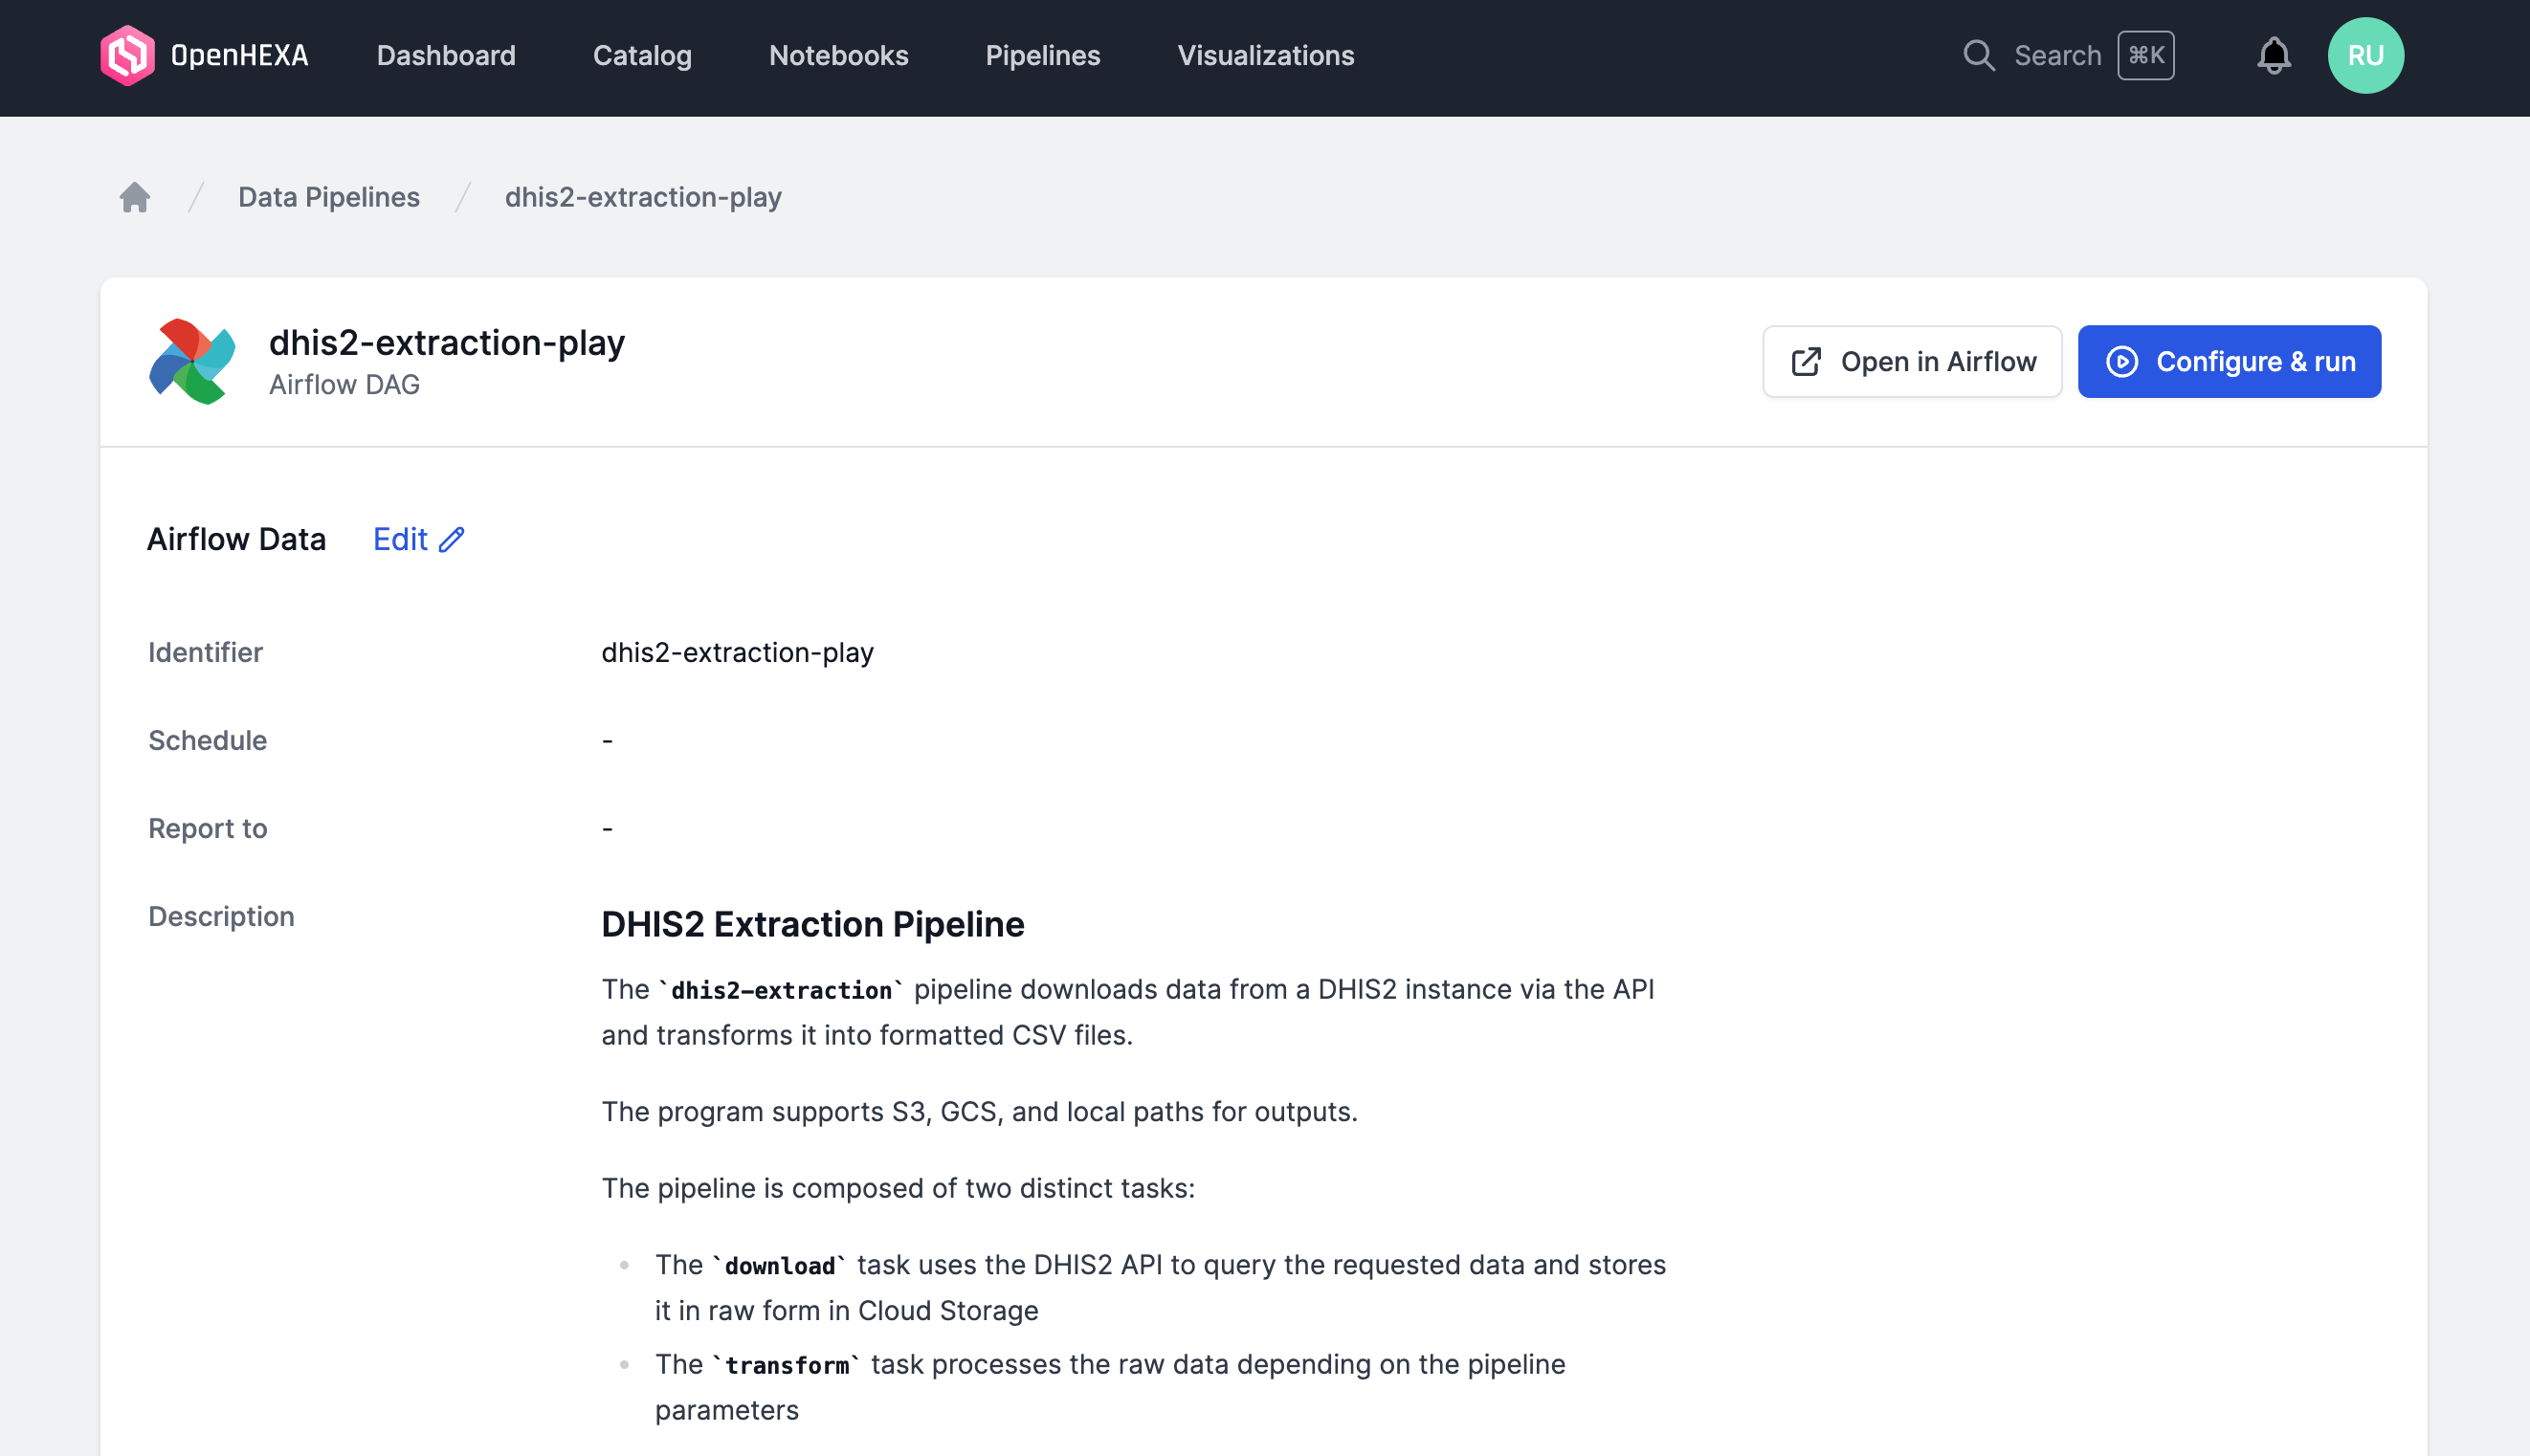
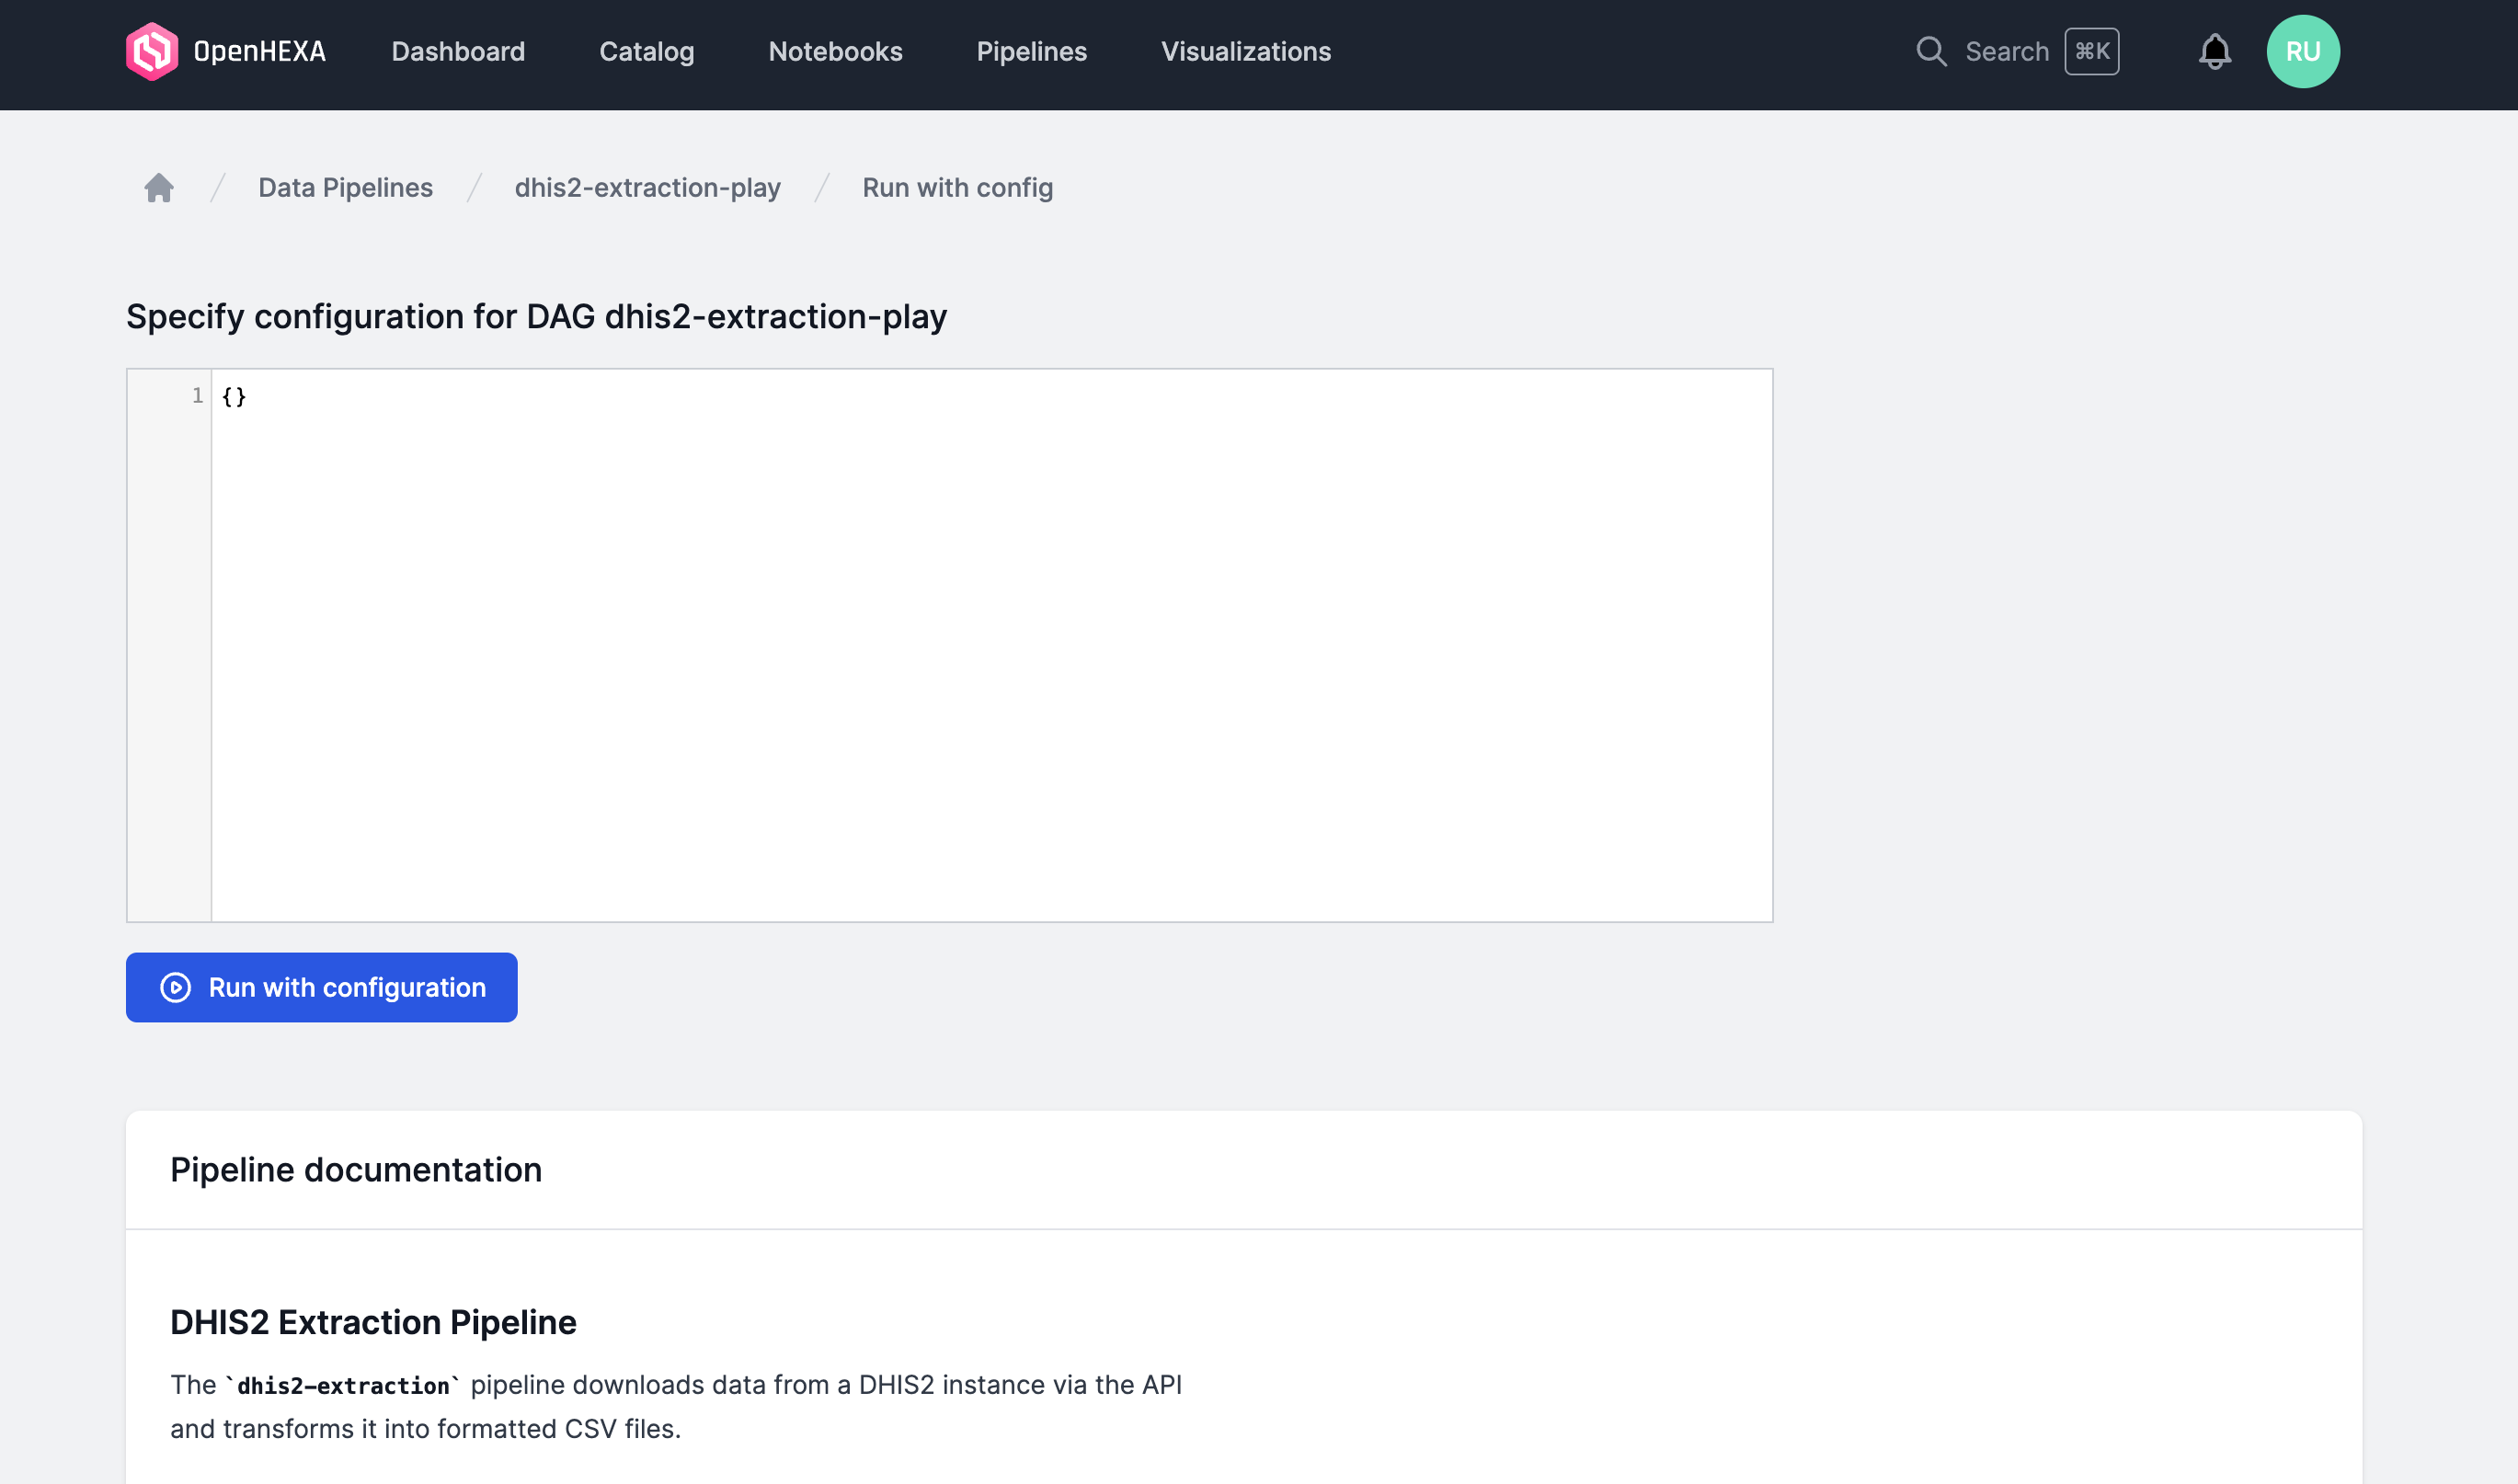
One your DAG has been configured properly, you can view the corresponding pipeline in the main OpenHEXA interface and run it with the desired configuration.
