-
Notifications
You must be signed in to change notification settings - Fork 25
Getting Started
- Prerequisites
- Quick Start (with a project)
- Manual Setup (with global install)
- Creating a Handler
- Using Swagger
Node.js v4 or v5 is recommended. Consider using a tool like nvm to install and manage Node installations.
To get the basic structure of a project in place, you can use the template (follow the instructions in it's README).
With that done, you can jump ahead to Creating a Handler.
The easiest way to get started with BlueOak Server is to install it globally through NPM.
$ npm install -g blueoak-server
You can test your installation by running the blueoak-server command in a shell.
$ blueoak-server
info: index.js - Starting blueoak-server v2.0.0 in development mode using Node.js v4.2.4
info: index.js - Clustering is disabled
info: monitor - Monitoring is disabled.
info: auth - Starting auth services
info: express - App is listening on http://:::3000
info: blueoak-server.js - Server started
A server is now running on port 3000. However, since you haven't yet defined any content, you'll get an error message if browsing to http://localhost:3000.
Hit Ctrl+C at any time to stop the server.
With blueoak-server installed globally, create a directory to host your app:
$ mkdir myapp
$ cd myapp
Following the remaining steps of this guide will get you to build out a project structure in this new directory.
The first thing we want to do is create a config file. From the config, we can control things like which port the app runs on, or which middleware to load.
Let's create some config and change the port from the default of 3000 to 8080.
$ mkdir config
$ touch config/default.json
Configuration in default.json will always be loaded regardless of the environment.
Open the default.json and set the content as follows:
{
  "express": {
    "port": 8080
  }
}
Run the blueoak-server command again and see that the server is now listening on port 8080.
$ blueoak-server
info: index.js - Starting blueoak-server v2.0.0 in development mode using Node.js v4.2.4
info: index.js - Clustering is disabled
info: monitor - Monitoring is disabled.
info: auth - Starting auth services
info: express - App is listening on http://:::8080
info: blueoak-server.js - Server started
Handlers are used to create REST endpoints for the application. While we encourage the use of Swagger to define endpoints, it is possible to create endpoints in a typical Express fashion.
First create a handlers directory and a handler file.
$ mkdir handlers
$ touch handlers/myhandler.js
Set the content of myhandler.js as follows:
exports.init = function(app) {
        app.get('/', function(req, res) {
                res.send('Hello World!');
        });
}
Start the server again. Now if you browse to http://localhost:8080/, you'll be greeted with the text "Hello World!".
If you've used Express before, this will seem familiar. However, let's examine what's different. First, rather than having to explicitly require the express and initialize the app, blueoak-server did this for you.
The init module that your handler exports tells the server to run the code at startup. The app parameter is a reference to the Express app which is dependency-injected into the function. The app isn't the only parameter you can inject into your function. BlueOak has the concept of a service, and any service that exists can be injected. You can create your own services, or use a built-in service like the logger.
You also didn't have to call app.listen. BlueOak starts listening for you. And instead of having to hardcode a port value into your code, it's configured through the config file you created earlier.
The Swagger example provides an two sample specs. One is the classic pet store example, as-is, and the other is the Uber sample broken into several files.
The Uber example shows a patern of work that we've found to make iterative development of Swagger specs efficient. Instead of having the entire spec in one file, multiple files are used, referenced by relative paths, and consolidated into a single spec by BlueOak server.
The files and directory structure model that of the Swagger spec being defined, so that the outline of the document is readily available from your editor's tree view.
Here is an example tree structure:
├── swagger/
│   ├── my-spec_v1.yaml <-- top-level spec definition
|   ├── v1-assets/      <-- versioning directory in preparation for future APIs
│   │   ├── definitions/
│   │   │   ├── Error.yaml
│   │   │   ├── Person.yaml
│   │   │   ├── Place.yaml
│   │   │   ├── Thing.yaml
│   │   ├── parameters/
│   │   │   ├── PathId.yaml
│   │   │   ├── QueryName.yaml
│   │   ├── paths/
│   │   │   ├── People.yaml
│   │   │   ├── People.id.yaml
│   │   │   ├── Places.yaml
│   │   │   ├── Places.id.yaml
│   │   │   ├── Things.yaml
│   │   │   ├── Things.id.yaml
│   │   ├── responses/
│   │   │   ├── BadRequest.yaml
│   │   │   ├── Created.yaml
│   │   │   ├── NotFound.yaml
│   │   │   ├── Success.yaml
│   │   │   ├── Unauthorized.yaml
│   │   │   ├── ValidationError.yaml
│   │   ├── SecurityDefinitions.yaml
│   │   ├── Tags.yaml
If you want to try the Swagger example and having Swagger UI render your API as you go, do the following (on OSX with nodemon installed globally):
# clone BlueOakJS/blueoak-server
git clone https://github.com/BlueOakJS/blueoak-server.git --depth 1

# clone swagger-api/swagger-ui
git clone https://github.com/swagger-api/swagger-ui.git --depth 1

# open Swagger UI in your browser ... we'll come back to that later
open swagger-ui/dist/index.html

# install the blueoak-server dependencies
cd blueoak-server && npm i

# start the Swagger Example using nodemon (`npm i -g nodemon` if you don't already have it)
cd examples/swagger && nodemon
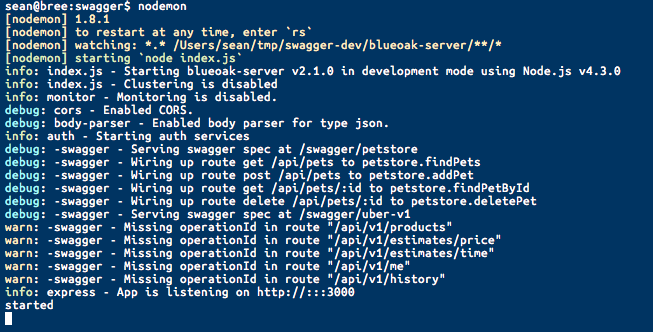
You'll even notice in the output from BlueOak server startup, that there's no implementation for the /api/v1 routes in the sample. This is really handy when you're iterating on API with stakeholders and aren't ready to implement yet.

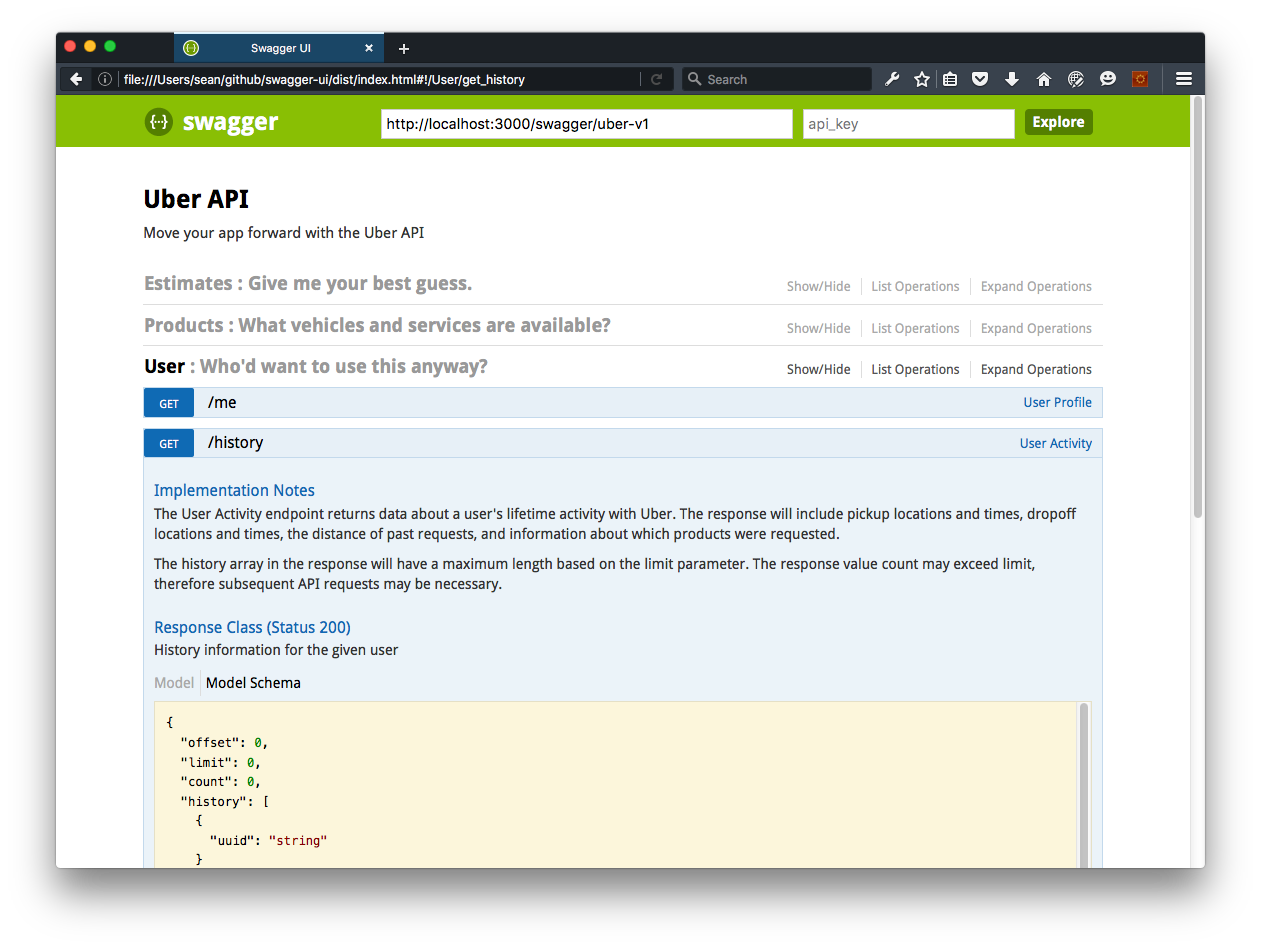
Now, you can view the Uber sample by returning to the browser window with Swagger UI and setting the spec URL to http://localhost:3000/swagger/uber-v1.

Since we've started the example using nodemon, as you iterate on the specs, BlueOak server restarts every time you save them. To update your view of them in Swagger UI, simply hit in the spec URL box.
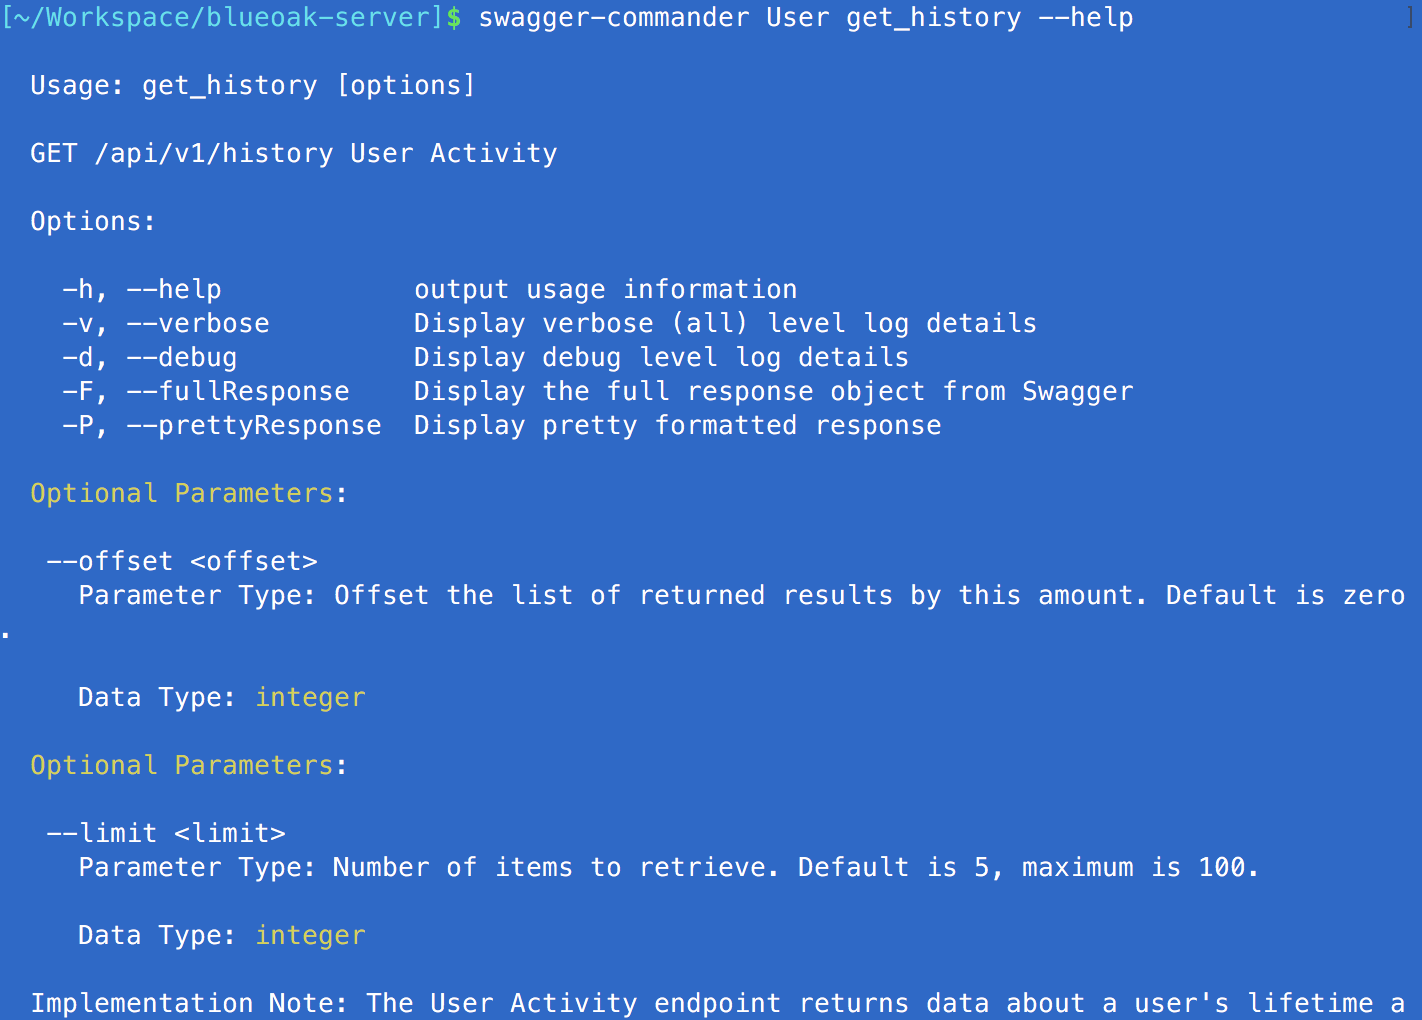
Similar to Swagger-UI, you can also view/use your API from the command line.
# install swagger-commander globally
sudo npm install -g swagger-commander

# point swagger-commander to the API
swagger-commander set-swagger-url http://localhost:3000/swagger/uber-v1

# example command to view/use API
swagger-commander User get_history --help