-
Notifications
You must be signed in to change notification settings - Fork 1
Using createtrainingmrcstack with configuration to specify tiles to extract
createtrainingmrcstack.py has an option --useconfig that allows caller to dictate the location on parent images where to extract tiles. This page contains a tutorial on how to alter a configuration file and use it to select certain tiles.
Example:
createtrainingmrcstack.py ./images 2 result.mrc --useconfig tileconfig.configImage to use:

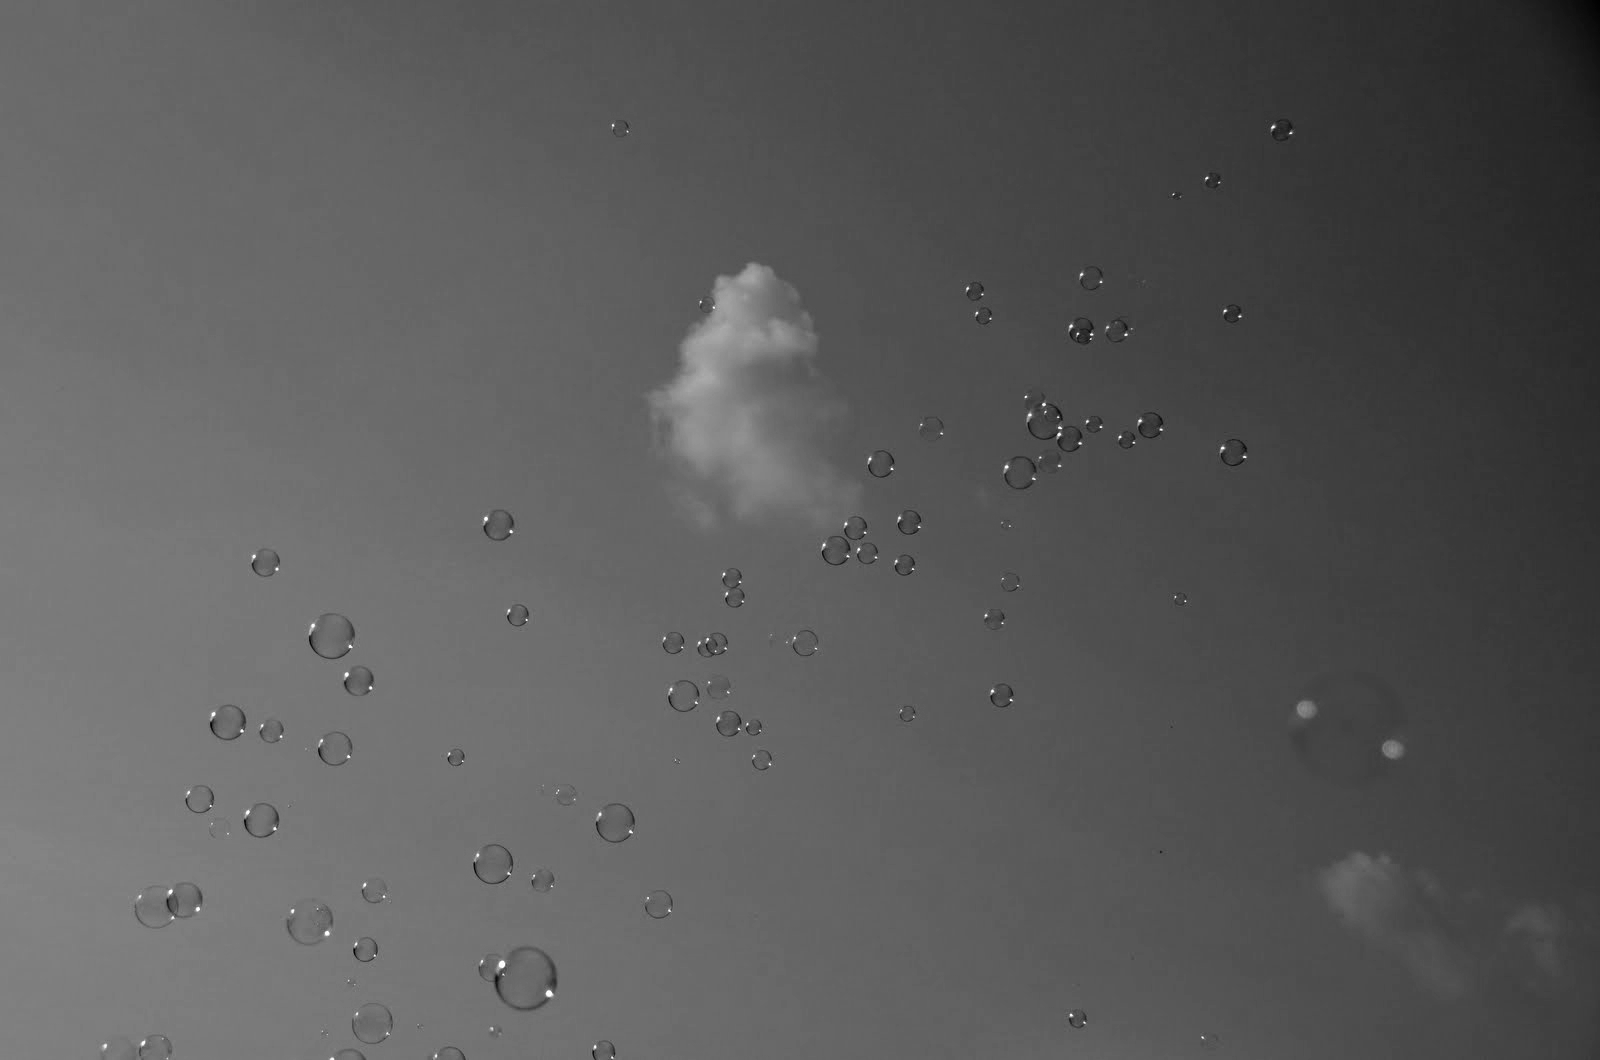
In this step we download an image file
mkdir images
cd images
wget https://raw.githubusercontent.com/wiki/CRBS/chmutil/images/bubbles_gray.png
cd ..When running createtrainingmrcstack.py in default mode, as seen below, the tool randomly picks tiles and outputs an MRC file and a tile configuration file. In the case below they will be named result.mrc and result.mrc.tile.list.config
createtrainingmrcstack.py ./images 2 result.mrcOpen the result.mrc.tile.config in an editor,
The contents will look similar to the following:
NOTE: The imagedir path will be different.
[DEFAULT]
imagedir = /home/foo/tests/customtile/images

[bubbles_gray.png]
1 = 44,435,556,947
2 = 911,339,1423,851
Lets switch the coordinates of both tiles, edit the file replacing the
1 = line with 1 = 0,0,512,512
and the
2 = line with 2 = 600,400,1112,912
like shown below:
[DEFAULT]
imagedir = /home/foo/tests/customtile/images

[bubbles_gray.png]
1 = 0,0,512,512
2 = 600,400,1112,912
Save the above file as my.tileconfig
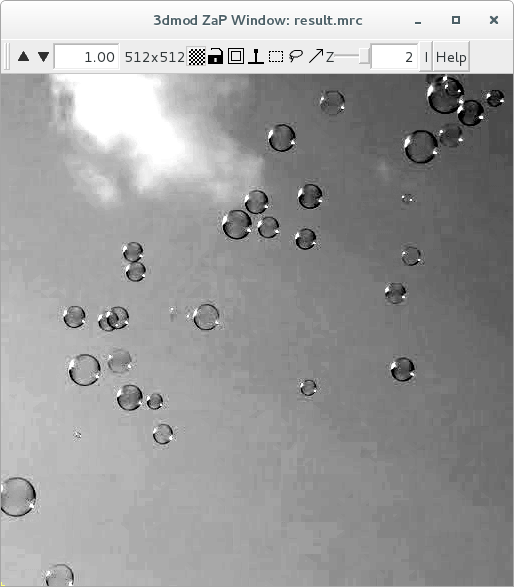
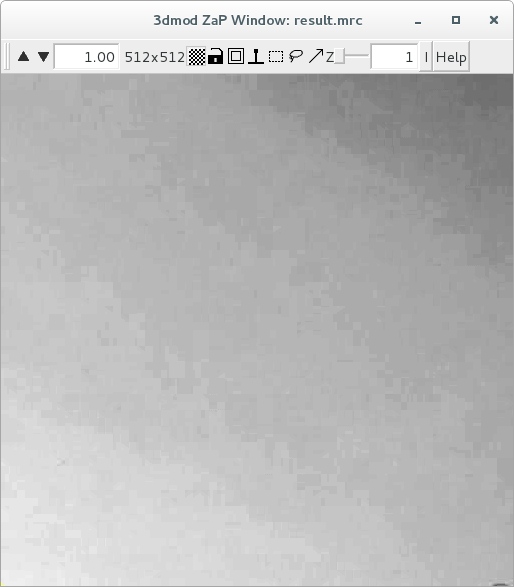
createtrainingmrcstack.py ./images 1 result.mrc --useconfig my.tileconfigRun 3dmod on result.mrc with command below and the tool should show the 2 tiles as seen in screenshot below:
3dmod result.mrc
