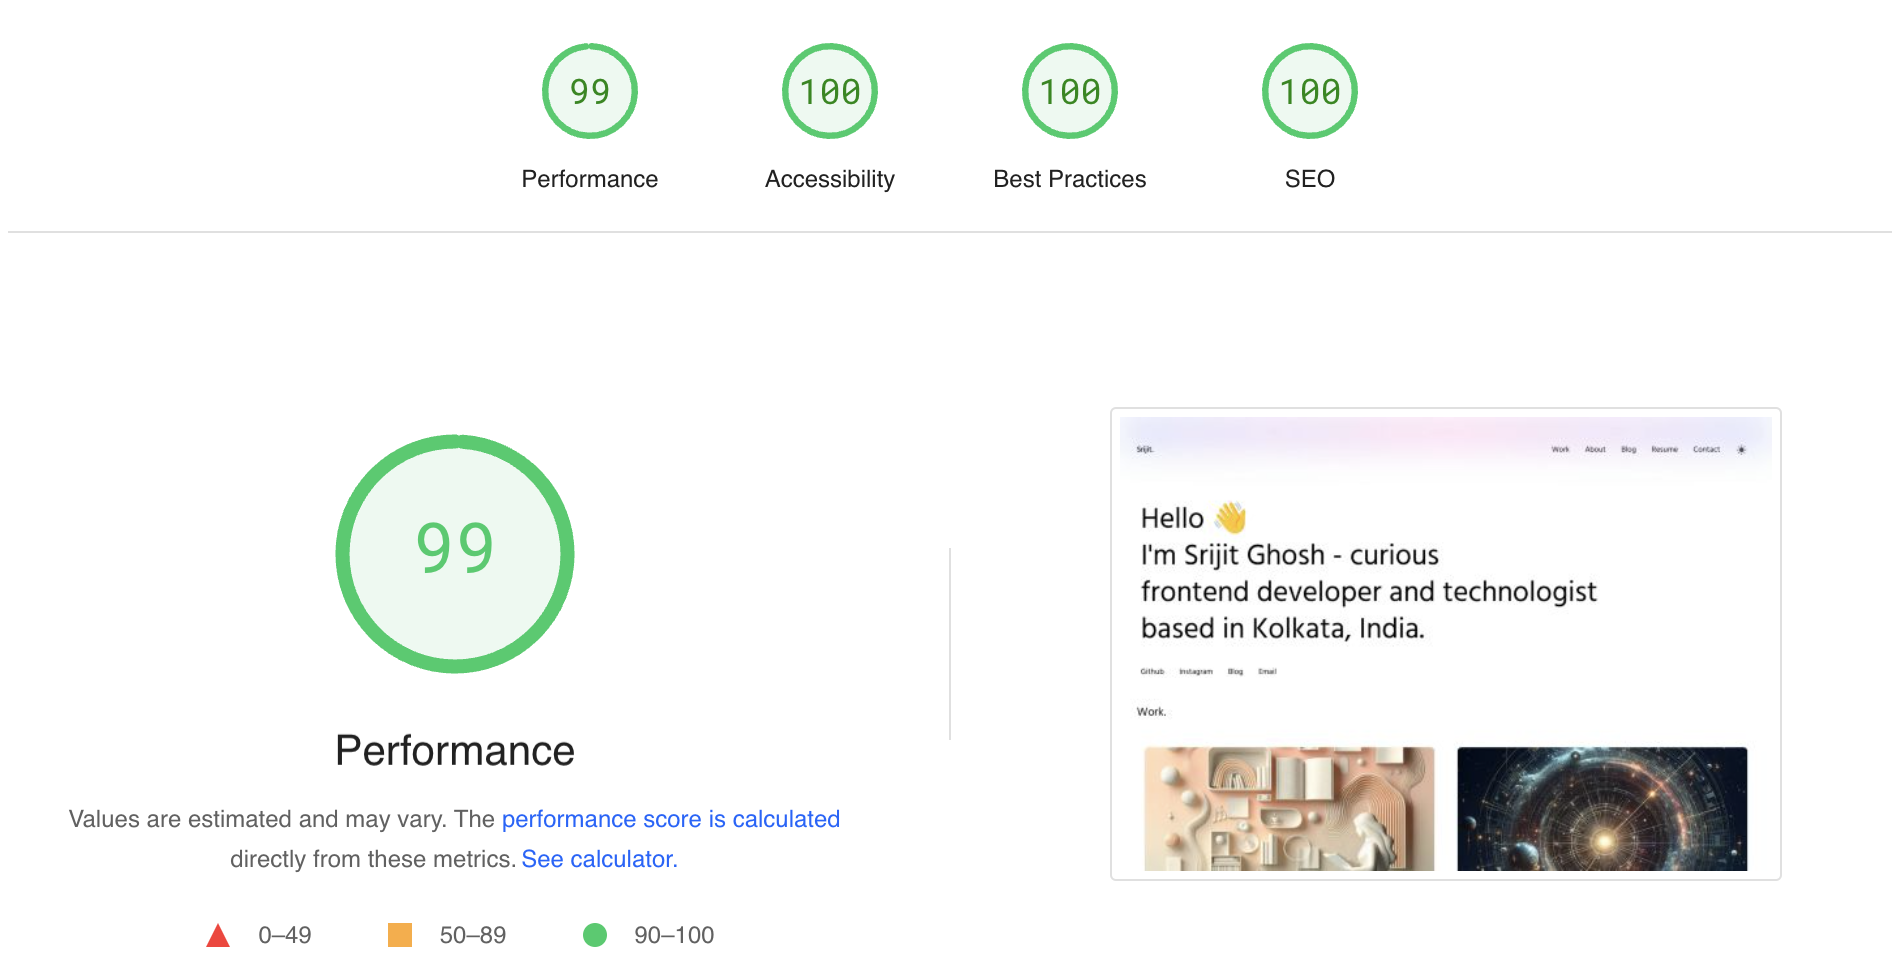
This is a personal website built using Next.js, a React framework for building server-side rendered and static websites. The site includes features like a blog and resume section. It dynamically fetches data from data/portfolio.json to populate the content. It is designed to be easy to edit and customize. It is heavily SEO optimized and almost has a 100% score on core web vitals and lighthouse for all of the 4 criterias (Performance 99%, Accessibility 100%, Best Practices 100% & SEO 100%).
- Server-side rendering: The site is built using Next.js, which enables server-side rendering for improved performance and SEO.
- Dynamic routing: The site uses dynamic routing to generate pages for each blog post based on the slug.
- Markdown support: The blog posts are written in Markdown format, making it easy to write and format content.
- API routes: The site includes API routes for creating, editing, and deleting blog posts. These routes are only accessible in the development environment.
- Image handling: The site uses the Next.js
Imagecomponent to handle image optimization and lazy loading. - Animation: The site includes animations using the
framer-motionlibrary to create smooth transitions and effects. - Cursor: The site includes a custom cursor that adds a unique visual element.
- Social media integration: The site includes social media icons for easy sharing and following on various platforms.
- Responsive design: The site is designed to be responsive and optimized for different screen sizes.
- Dark mode: The site includes a dark mode toggle that can be used to switch between light and dark themes.
- Calendly Integration: The site includes a Calendly button that can be used to schedule meetings.
- Clone the repository:
git clone https://github.com/devsrijit/personal-website-2.git - Navigate to the project directory:
cd personal-website-2 - Install dependencies:
npm install - Start the development server:
npm run dev - Open your browser and visit
http://localhost:3000to view the site. - Edit
data/portfolio.jsonto add your own content. - Put your own calendly URL in
components/Footer/index.jsto enable the Calendly button. - Edit
public/sitemap.xmlto add your own domain. - Create an environment variable called
NEXT_PUBLIC_GA_IDin.env.localand set it to your Google Analytics Measurement ID to enable Google Analytics.
- To create a new blog post, click on the "Add New Post +" button in the bottom right corner of the page. This feature is only available in the development environment.
- To edit a blog post, click on the "Edit this blog" button at the bottom of the blog post page. This feature is only available in the development environment.
- To delete a blog post, click on the "Delete" button at the bottom of the blog post page. This feature is only available in the development environment.
- Apart from the blogs, all of the data on the website can be edited through the edit data button on the pages when in development mode.
Contributions are welcome! If you find any issues or have suggestions for improvements, please create a new issue or submit a pull request.
This project is licensed under the MIT License.


