(A native UI for your CaSSAndRA instances)
CaSSAndRA native is a UI for your CaSSAndRA instances that allows you to manage multiple CaSSAndRA instances from a single app.
- You have at least one CaSSAndRA instance successfully running.
- You have an MQTT server running in your local network (if not, you can use this guide to install a Mosquitto server, e.g., on your CaSSAndRA hardware).
- You have an iOS or Android device (Windows, Linux, and macOS support coming soon).
Go to /builds/Android download for your device compatible apk file and install it.
Use the sideloading method of your choice (e.g., AltStore). You can find the IPA file under /builds/iOS. If you choose AltStore (not AltStore PAL!!!), it makes installing and updating the app especially easy.
To do this, go to Sources in AltStore and add my app store as a possible app source. Simply use this link as the source: https://eineinfach.github.io/CaSSAndRA_native/builds/iOS/AltStore/altstore.json
From there, you can install the app and will be notified whenever a new version is available.
To control your CaSSAndRA instance with CaSSAndRA native, you need to enable the API in the settings.
To do this, go to your CaSSAndRA interface and enable the MQTT API under Settings. Enter the details of your MQTT server.
- For Client ID, enter any name you like, but make sure it is unique within your environment.
- For Cassandra server name with prefix, also choose any unique name. Make sure to remember these.
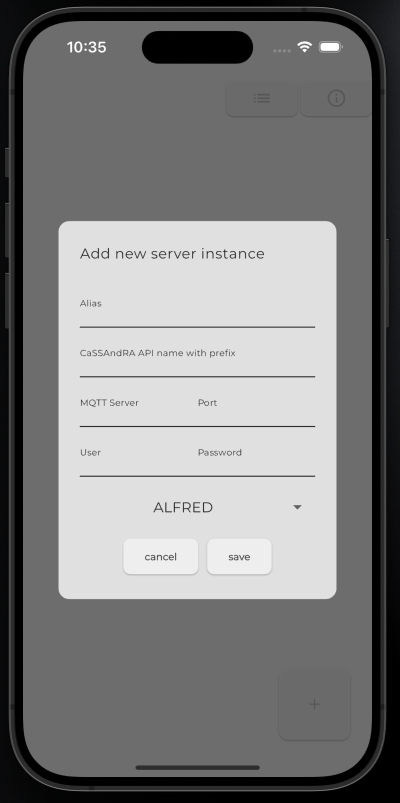
Switch to Cassandra Native and press the plus button at the bottom right. An input form will appear.
- For Alias, enter any name that best describes your robot/server for you.
- Under Cassandra API name with prefix, enter the data you noted down in the previous step.
- Select your robot type in dropdown menu.
- Finally, add your MQTT server details and press save.
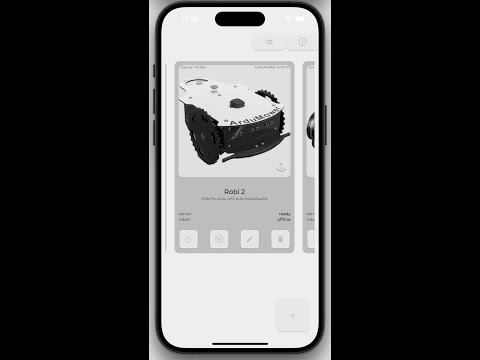
A successful connection is indicated by a neutral color on the dashboard.
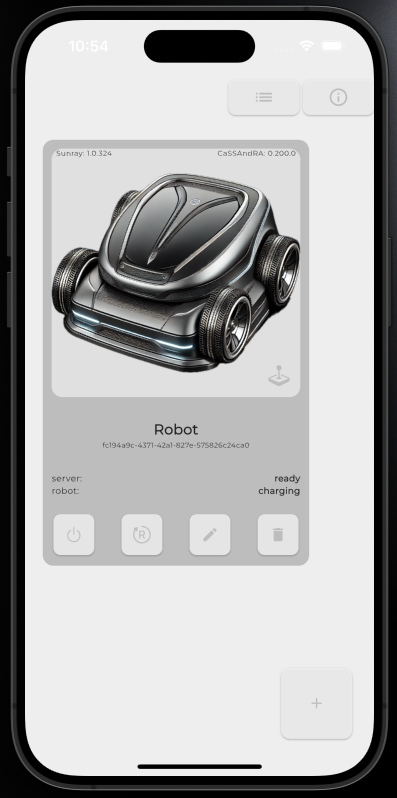
The following functions are available to you on the dashboard:
- At the top right of the screen, you can switch between the card view and list view. Next to it, there is an Info button. Pressing the Info button opens a dialog with some useful information and an option to toggle between light and dark mode.
This view is preferred when there aren’t too many server instances to manage.
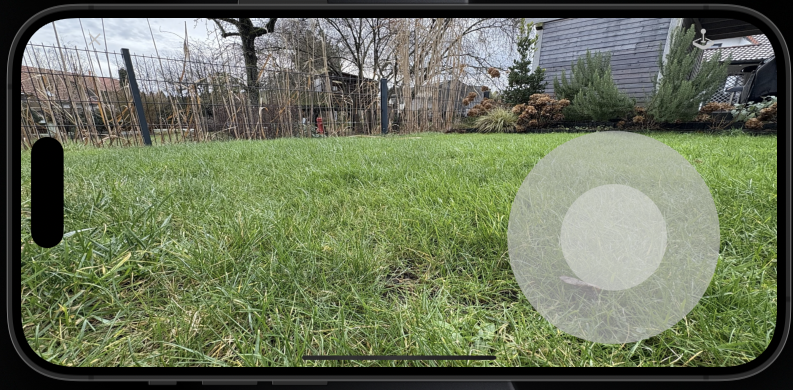
The robot image will be replaced by the FPV stream if an FPV stream URL is defined in the settings for this serever instance.
A short click on the robot image or FPV stream redirects you to that server instance. A long press on the FPV stream switches to FPV fullscreen mode.
If you have many server instances, you can get a better overview by switching to the list view.
A short click on the robot logo opens remote control. If you have defined a FPV URL for selected server instance you can switch to FPV fullscreen video mode by long pressing of robot logo.
To navigate to the overview page of a specific instance, click on the robot image in the card view or on the robot name in the list view.
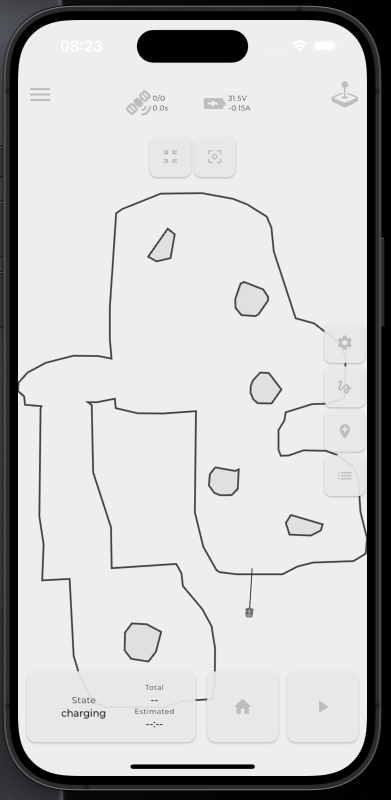
At the top of the screen, from left to right, you can see:
- Navigation menu button (On click a drawer will be opened and you can go back by pressing exit or switch to each other page of selected server instance)
- A satellite symbol (neutral color indicates fix, orange indicates float, red indicates invalid), the numbers to the right indicate the satellite count and the time since the last correction message
- A battery symbol (neutral color indicates a charge level above 30%, orange indicates a charge level between 20% and 30%, and red indicates a charge level below 20%). The numbers to the right represent the battery’s voltage and current
- A joystick symbol opens remote control panel
At the top of the map overview, from left to right, you can see:
- Autoscale button (reset current zoom level and pan offset to the defaults)
- Focus on mower button (current zoom level is focused on mower)
At the right side of the map overview, from top to down, you can see:
- Mow parameters settings button
- Selection tool buton:
When the selection tool is active, any area within the perimeter can be selected for mowing. The individual points of the selection can be moved or deleted
- To select a point, long press on it. Once the selection’s color changes, you can move the point to the desired position
- A double-click deletes the point
- To move the entire selection, long press in the center of the selection until its background color changes. Once the background color changes, you can move the whole selection. Similarly, the selection can be deleted with a double-click.
- Go to button: When the Go To button is active, any target within the perimeter can be selected as the destination coordinate. Similar to the selection tool, the point can be moved or deleted
- Tasks button: opens a dropdown menu where you can select your saved tasks
At the bottomof the screen, from left to right, you can see:
- Status window: on small screens it could be expanded by clicking on that)
- Home button: triggers go home action
- Play button: A short press starts the selected action (e.g., mow everything, mow selection, etc.). A long press resumes the last task
General: A double-click always triggers a delete action, even during mowing.
- If there are obstacles on the map, they can be deleted with a double-click.
- If there are no obstacles or selections on the map, a double-click deletes the current route and sends a stop command to the robot.
If you enjoyed CaSSAndRA native project — or just feeling generous, consider buying me a beer. Cheers!
