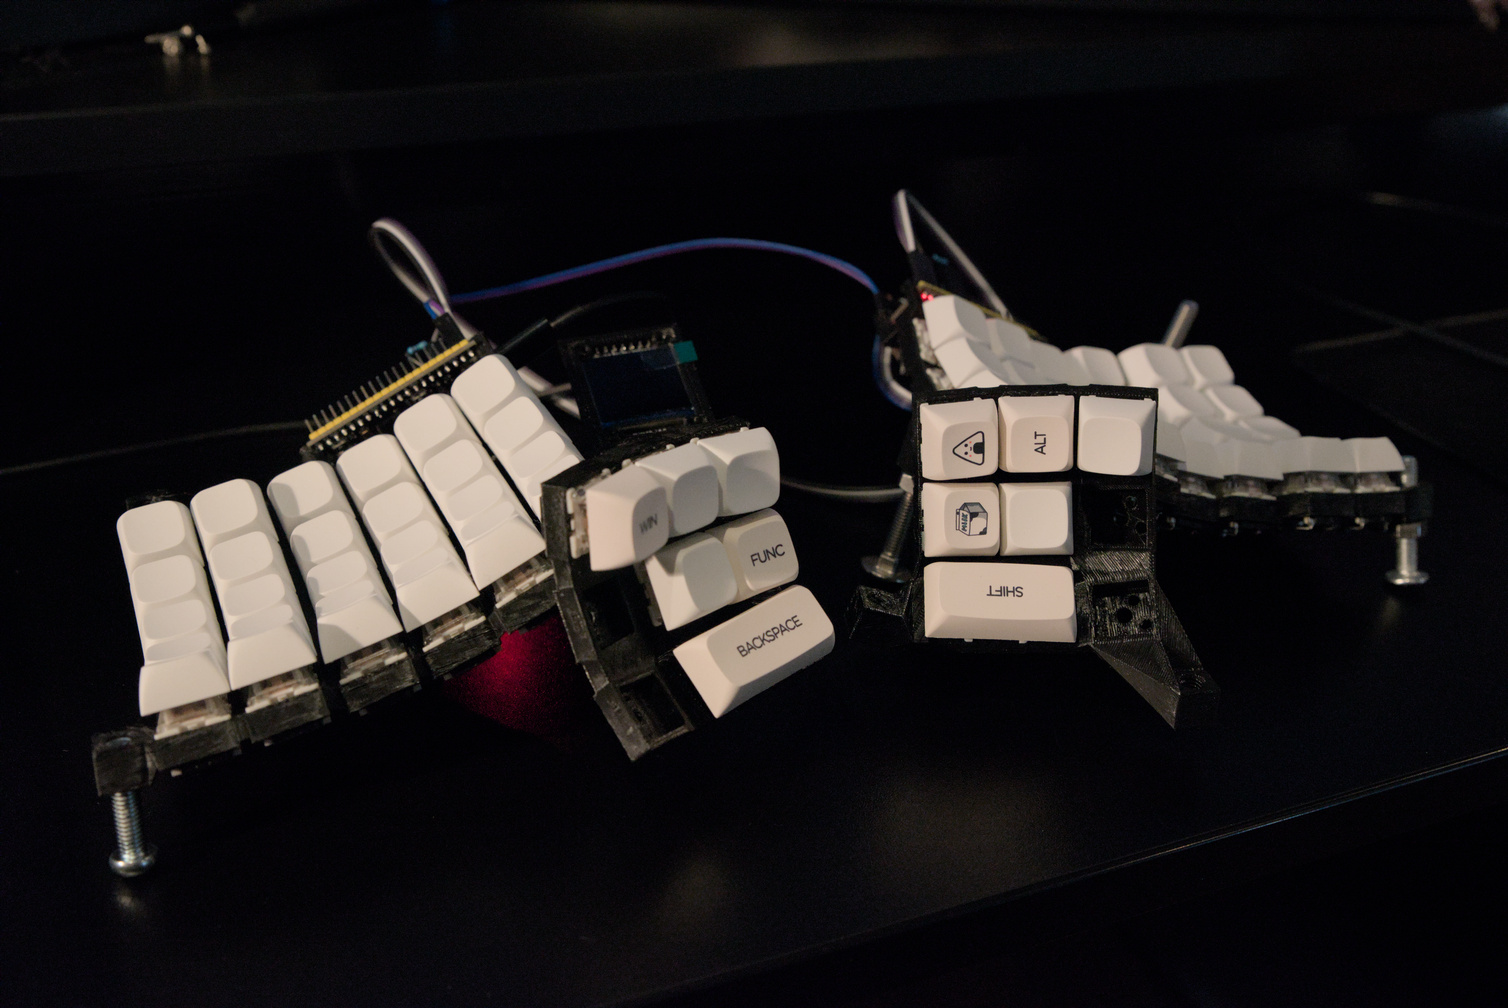
A feature-rich Rust keyboard firmware.


👉 Join our Discord server if you have anything to discuss!
- Support a wide range of microcontrollers: Powered by embassy, RMK supports a wide range of microcontrollers, such as stm32/nRF/rp2040/esp32
- Real-time keymap editing: RMK has built-in Vial support, the keymap can be changed on-the-fly. You can even use Vial to edit keymap over BLE directly
- Advanced keyboard features: Many advanced keyboard features are available by default in RMK, such as layer switch, media control, system control, mouse control, etc
- Wireless: BLE wireless support with auto-reconnection/multiple devices feature for nRF52 and esp32 microcontrollers, tested on nRF52840, esp32c3 and esp32s3
- Easy configuration: RMK provides a simple way to build your keyboard: a
keyboard.tomlis all you need! For experienced Rust user, you can still customize your firmware easily using RMK - Low latency and low-power ready: RMK has a typical 2 ms latency in wired mode and 10 ms latency in wireless mode. By enabling
async_matrixfeature, RMK has very low power consumption, with a 2000mah battery, RMK can provide several months battery life
You can use rmk-template to initialize your project.
cargo install cargo-generate flip-link
cargo generate --git https://github.com/HaoboGu/rmk-template
Then follow the steps in generated README.md. Check RMK's User Guide for details.
Example can be found at examples. The following is a simple step-to-step instruction for rp2040. For other microcontrollers, the steps should be identical with a debug probe.
-
Install probe-rs
curl --proto '=https' --tlsv1.2 -LsSf https://github.com/probe-rs/probe-rs/releases/latest/download/probe-rs-tools-installer.sh | sh
-
Build the firmware
cd examples/use_rust/rp2040 cargo build -
Flash using debug probe
If you have a debug probe connected to your rp2040 board, flashing is quite simple: run the following command to automatically compile and flash RMK firmware to the board:
cd examples/use_rust/rp2040 cargo run -
(Optional) Flash using USB
If you don't have a debug probe, you can use
elf2uf2-rsto flash your rp2040 firmware via USB. There are several additional steps you have to do:- Install
elf2uf2-rs:cargo install elf2uf2-rs - Update
examples/use_rust/rp2040/.cargo/config.toml, useelf2uf2as the flashing tool- runner = "probe-rs run --chip RP2040" + runner = "elf2uf2-rs -d"
- Connect your rp2040 board holding the BOOTSEL key, ensure that rp's USB drive appears
- Flash
Then, you will see logs like if everything goes right:
cd examples/use_rust/rp2040 cargo runFinished release [optimized + debuginfo] target(s) in 0.21s Running `elf2uf2-rs -d 'target\thumbv6m-none-eabi\release\rmk-rp2040'` Found pico uf2 disk G:\ Transfering program to pico 173.00 KB / 173.00 KB [=======================] 100.00 % 193.64 KB/s
- Install
Current roadmap of RMK can be found here.
This crate uses latest stable. Other versions should work, but they're not tested.
RMK is licensed under either of
- Apache License, Version 2.0 (LICENSE-APACHE or http://www.apache.org/licenses/LICENSE-2.0)
- MIT license (LICENSE-MIT or http://opensource.org/licenses/MIT)
at your option.


