-
Notifications
You must be signed in to change notification settings - Fork 56
Preface
It looks like you're wanting to know more about the Web Clipper.
It has been more than two years since we first released the OneNote Web Clipper in early 2014. When it first started out, the Web Clipper had only one function, that is, to take a full-page screenshot of the user's current web page.

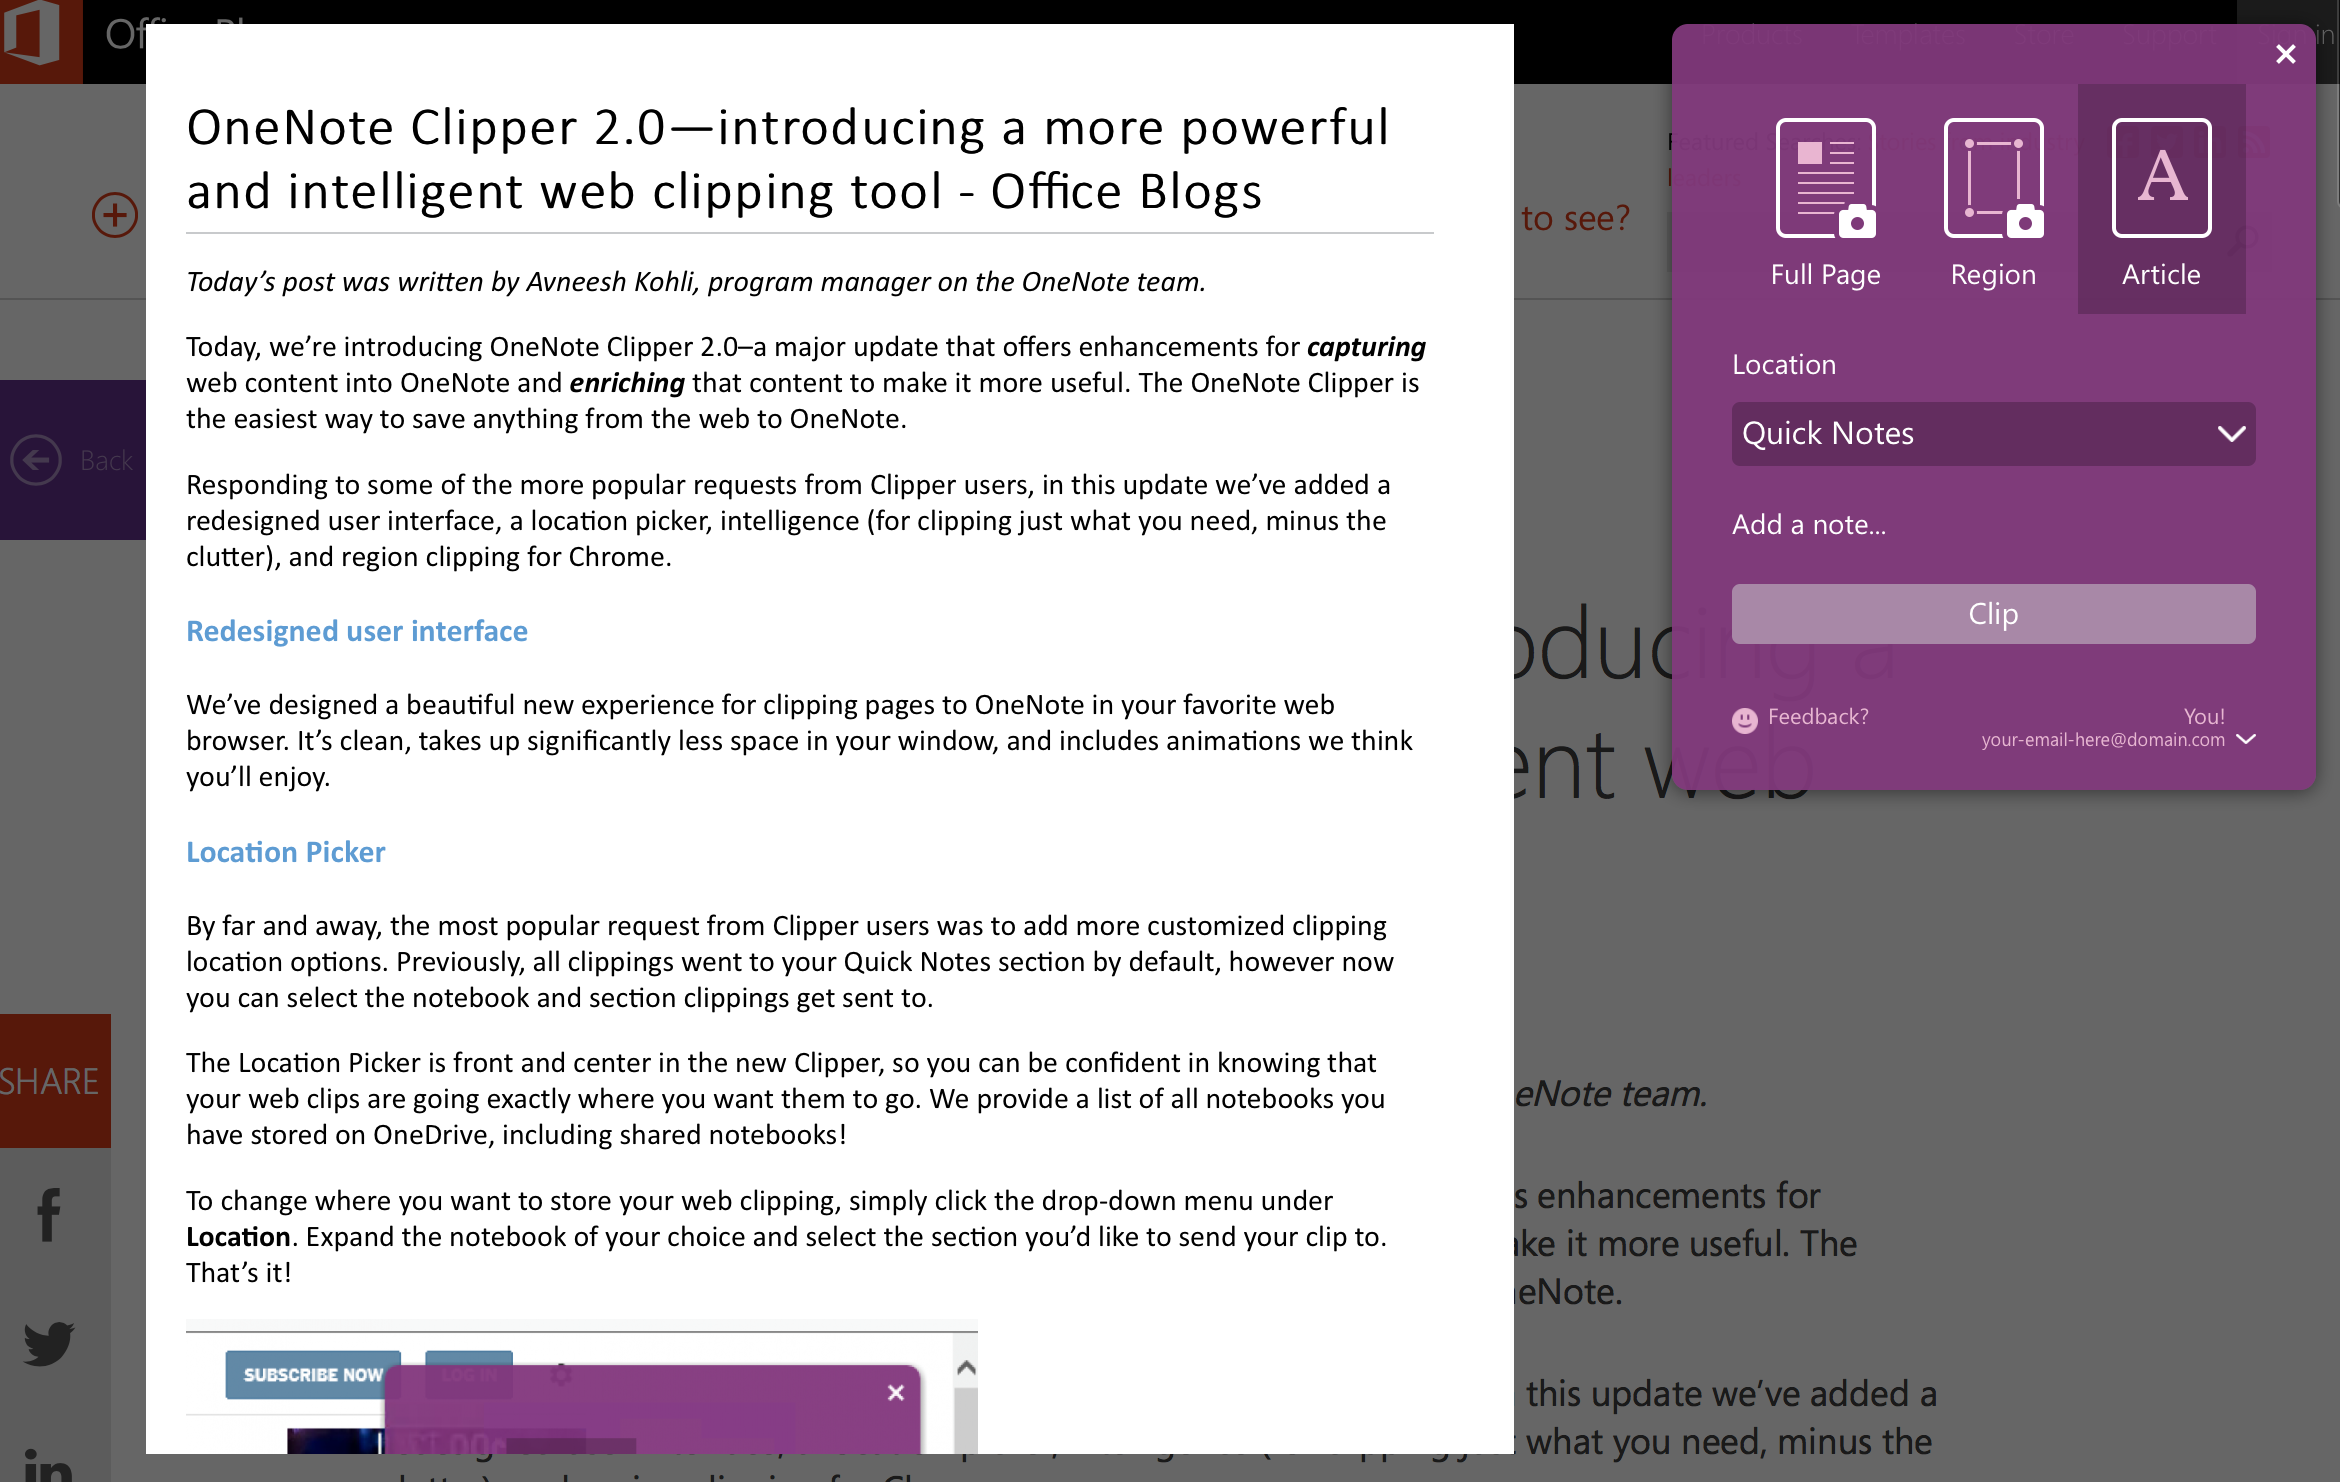
While this was a decent first start, we quickly learned that users wanted more tools to extract meaningful content from web pages. Less than a year later, we began work on what we dubbed Web Clipper v2. With this version, we added the ability for users to select and clip a partial screenshot of the current web page - known as 'Region' mode. We also added the ability for the Web Clipper to determine if a page can be best described as an article, product, or recipe. The extension would then extract out the content of the page minus all the elements we thought the user wouldn't want, such as adverts, and format the content in a meaningful way. For example, if we detected that the page was a recipe, we would extract the ingredients and steps and format it nicely for the user to add to their notebook. Finally, we added the simple but highly-requested ability for the user to save the clip to any section in their notebooks.

First of all, v1 and v2 were written from scratch without leveraging libraries or frameworks that would have made our development lives easier. Shortly after the release of v2, our next task was to simply “allow the user to change the title of the page before submitting it to OneNote”. What was originally thought to be a simple change became an exercise in futility as we recognized that even the smallest changes would require re-writing large portions of the Web Clipper due to all the codebase’s interlocking dependencies. The primary reason for this was the fact that we had tried to reinvent the wheel for just about everything – UI, animations, the works. In particular, most of the UI was declared in a single, monolithic .cshtml file that brought about huge extensibility and scalability issues. Rather than looking to the outside world to find solutions to our problems, we (ironically) created more problems by trying to reinvent existing solutions.
Another symptom of our software’s design choices was the lack of testability. The old codebase was by no means modular in nature, and in order to execute a section of the code, you essentially had to invoke the extension in its entirety. Unit-testing was near-impossible, and we had to rely on archaic methods of testing involving lots of checkboxes and time spent running the Web Clipper through different use-case scenarios. We investigated using end-to-end test frameworks to automate these scenarios, but we realized that with every new feature that we wanted to add, we’d be increasing the number of test scenarios exponentially.
Finally, Web Clipper v2 suffered from performance issues as the result of a design decision we made early on in our development process. Originally, Web Clipper v1 was a bookmarklet. Bookmarklets did not support auto-updates of any sort like extensions do, so we decided that bookmarklets should download the latest Web Clipper scripts from our servers on each invocation. As we moved on with Web Clipper v2, we wanted to build the Web Clipper as an extension across all the major browsers. However, rather than leveraging the extensions’ ability to self-update, we wrote the extensions as wrappers for the bookmarklet. This was a major source of the performance issues (in the form of a noticeable delay on every invocation of the Web Clipper), and also exposed us to other problems because of more prevalent Content Security Policies and content blockers. As a result, many of our users were frustrated.
We knew we had to re-write the Web Clipper, so later that year, we said goodbye to the old way of doing things, and started anew.
If we could choose three words to describe Web Clipper v3’s new architectural goals, they would be “modifiability“, “performance“, and “testability“. We knew that without all three, it would be difficult to iterate quickly on new features and delight users.
Over the course of several months, we broke apart the old code base and cobbled it back together in a different form. We had to rethink about how we were to rewrite the Web Clipper, and we figured that it boiled down to a few key principles:
-
Plan for the quality attributes you care about right from the beginning. Don’t be afraid to commit the time necessary to come up with a software design that meets your goals. The days you put into this will pay dividends for the years to come.
-
Leverage open-source projects where appropriate to solve problems you run into. Especially so in the world of web, if you want to get something done, somebody might have already come up with a tried and tested solution. Do not be afraid to use it.
-
Use the right tool for the job. You probably heard this one before, but it's always worth reiterating. For example, you can use ASP.NET Razor to write the UI for your web extension, but chances are, it's going to be really, really painful.
-
Test aggressively. Before writing anything, ask yourself if your design is testable. Don’t limit yourself to just writing unit tests for pure functions. Plan tests for things like UI component rendering logic and HTTP responses too!
First of all, we took extra care to ensure that everything, especially our UI, was modular. We investigated a selection of different UI frameworks, and we made the decision to use a UI framework called Mithril. Using the framework, we enforced a strict tree-like structure for our rendering logic, allowing us to drill down and test individual components in isolation, as well as write tests for multiple components working together at higher levels of the tree. This also meant that we were able to easily replace UI components as we continued iterating on our interface designs.
Additionally, we took full advantage of auto-updating extensions and modified our code to treat the bookmarklet and extensions differently, while sharing our code across the different platforms as much as possible. This meant that extensions would now update by themselves, rather than them having to query our servers for the latest scripts on every invocation. In March of 2016, a user posted a review on the Chrome Web Store complaining that our extension was slow to start up. Coincidentally, a day later, we shipped Web Clipper v3. The user returned to the Chrome Web Store shortly after to update his rating, praising the team for the performance improvement, and funnily enough, our ‘urgency’ in addressing his issue. While the user thought we fixed his concerns in just a day, it actually took us months of work and planning, and his comment made it loud and clear that it was all worth it.
Finally, we looked to keep technical debt at reasonable levels. In addition to traditional unit testing and the component-level testing that I mentioned above, we strived to learn new ways to test our code. We made use of a library called sinon to ensure that our code could react to the different ways our remote endpoints could respond. Sinon also enabled us to shave off a lot of boilerplate code in our tests by providing stubbing/mocking functionalities. Using mocking and dependency injection, we were able to test how different components integrated together. Now that we had a solid test suite up and running, we knew (with high confidence) if we broke something in one of our changes as soon as we ran the build command. Tests even included the 'smaller cases' such as ensuring that the tab index ordering of interactable elements in our UI was exactly the way we wanted it.
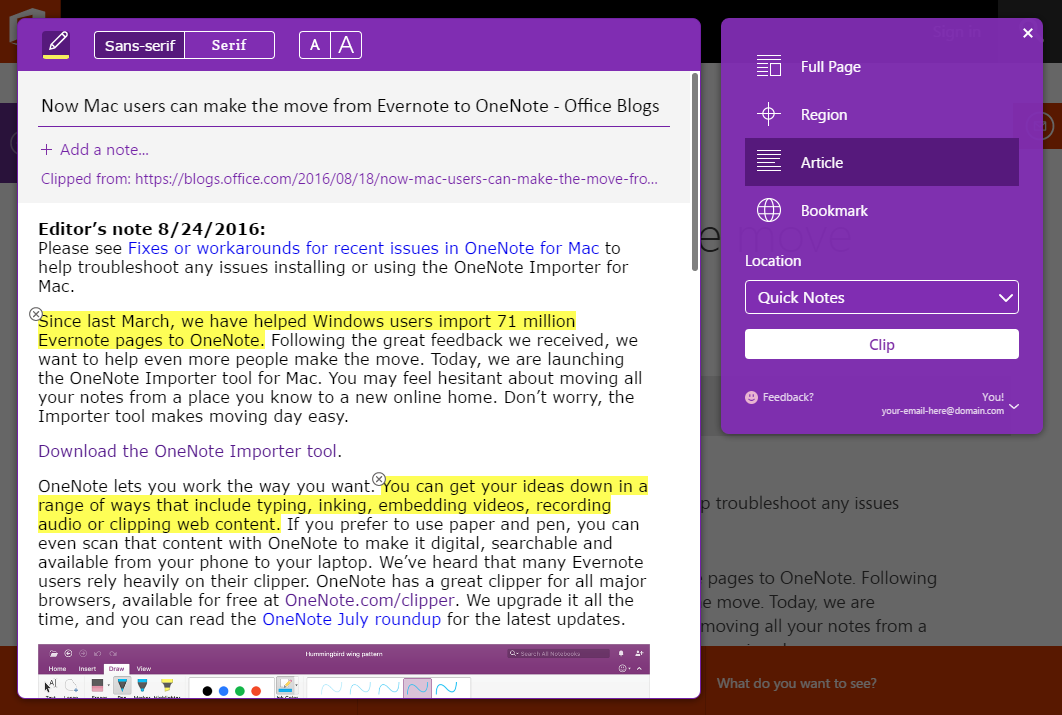
While we did not release any new features with Web Clipper v3, we quickly started to work through the backlog of features that we created for ourselves in the past. We began by starting where we left off – “allow the user to change the title of the page before submitting it to OneNote”. A few days later, a couple of our team’s engineers excitedly demonstrated not only an editable title, but highlightable content and modifiable font-family and font-sizes. Another engineer had successfully ported the page preview to all the clipping modes, allowing the user to see exactly what is being saved to OneNote. He had also added the ability for the user to save multiple partial-screenshots of the page all in one go. We moved quickly, and we were excited.

It’s been several months since we shipped Web Clipper v3, and since then we overhauled the interface, added the preview-viewer across all modes, the ability to clip the page as a ‘bookmark’, selections (through the browser’s context menu), font tweaking, highlighting, multiple region-screenshot selections, changelog notifications, and of course, an editable title. Our users have finer control over what they choose to clip to OneNote, but that doesn’t mean the work is over. Recognizing the benefits of ‘free’ software, we have decided to open-source the Web Clipper, knowing that we have much to learn from the developer community around us.
From now on, all our work on the extension will be open for everyone to see and participate in. You will be able to use the Issues tool to submit feedback, questions, suggestions, and bug reports. If you want to get your hands dirty and submit code of your own, feel free to submit a Pull Request. The team will be more than happy to have a look!
Over the past couple of years, we have learned a lot, and we continue to do so today. Our code still isn’t perfect, but we’re constantly reminding ourselves to be open to new technologies and processes. We are extremely excited to begin this new journey in the development of the Web Clipper, and we hope you can join us in building an extension that note-takers everywhere can be excited about. If you have any questions, feedback, or if you just want to say hi, feel free to send us an email at onewebclipper@microsoft.com