-
Notifications
You must be signed in to change notification settings - Fork 15
Home


- Select an imagery
- Download data in your area
- Add an object
- Show your location
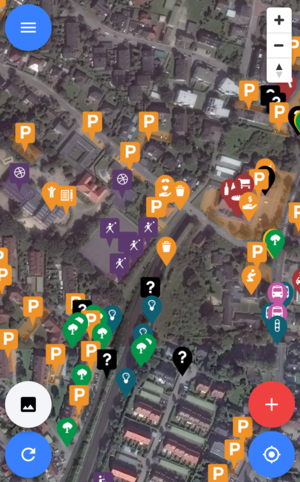
On the right upper screen there are three buttons. One is for zooming in and the other for zooming out. The last one toggles the functionality that the top of your screen points always to the geographical north.

Three different looking markers represent the three different objects we have in OpenStreetMap: Point, line and area.
The area inside a polygon is clickable. The borders of the area represent the real objects' border.

In the menu you have following options:
- Tweak settings
- About the map (version etc.)
- Connect / Disconnect with your OpenStreetMap account
- Delete the data you've downloaded before.
- Close the app
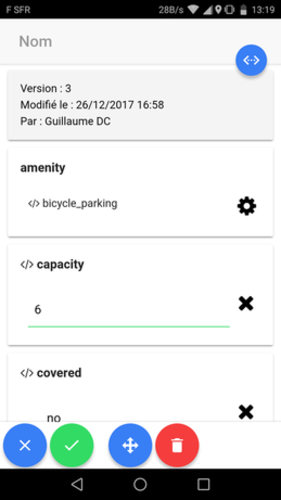
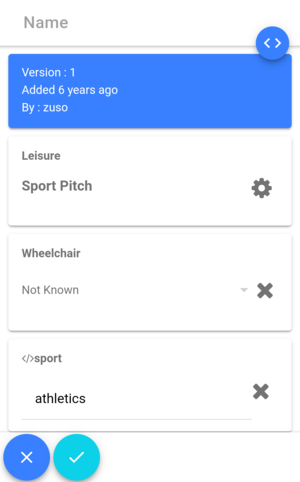
A click of a marker opens the POI view. From here you can view or change tags, add new ones etc.

This overview of the POI shows the name of the POI, changeset version, who edited last and when. It shows all tags in the OpenStreetMap database for this POI.
The buttons there enable you
-
to switch between a more human readable version of the data (button on the top right of the screen)
-
to close the POI view
-
to go into editing mode
-
This let you add the "survey_data" tag to let other mappers know that this POI has been checked at
<timestamp>


