ECE 4180 Final Project Spring 2024
Project Members: Nihit Agarwal, Shriyanshu Kode, Nidhish Shanmugasundaram, Mark Jang
A security camera system that will use a Raspberry Pi 3 and an mbed to send video data to an online server when an object is within a certain distance of the system. A speaker will also sound an alarm when this occurs. We will use the sonar sensor to determine the proximity of the object/person to the system. Finally, we will use a capacitive sensor that when a specific code is entered, the system will be overridden to reset.
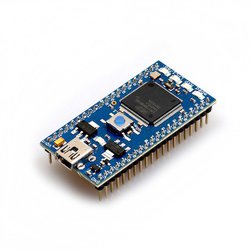
- Mbed LPC1768: https://os.mbed.com/platforms/mbed-LPC1768/
- Raspberry Pi 3: https://www.raspberrypi.com/products/raspberry-pi-3-model-b/
- Raspberry Pi Camera Module 2: https://www.raspberrypi.com/products/camera-module-v2/
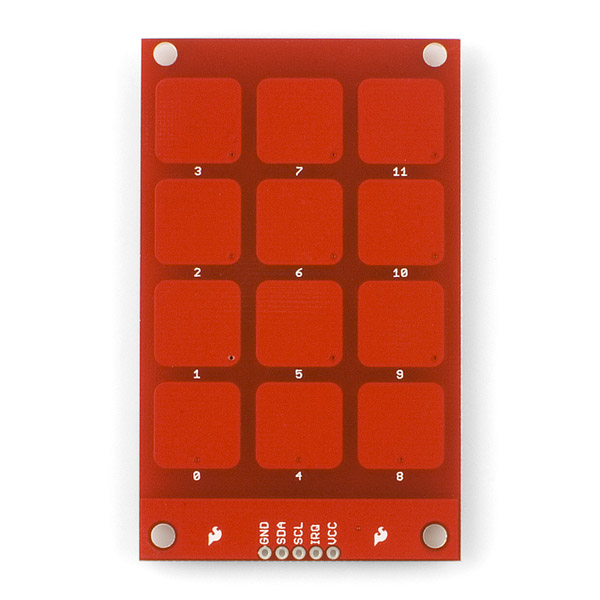
- MPR121 I2C Capacitive Touch Sensor: https://os.mbed.com/users/4180_1/notebook/mpr121-i2c-capacitive-touch-sensor/
- Speaker: https://os.mbed.com/users/4180_1/notebook/using-a-speaker-for-audio-output/
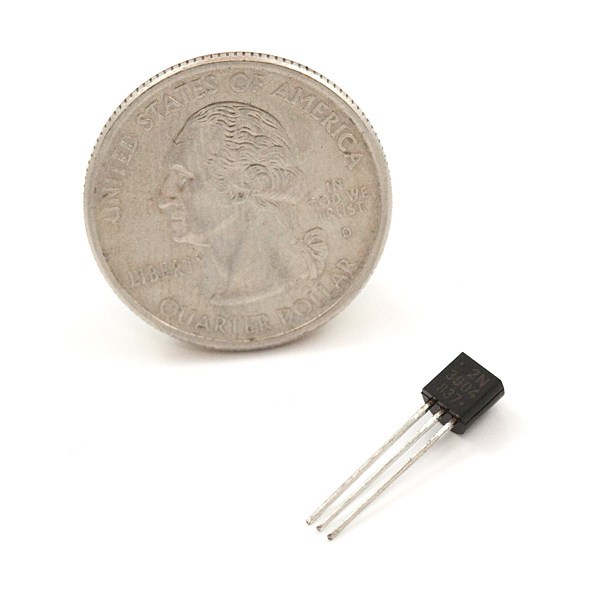
- 2N3904 NPN BJT
- Pushbuttons x 3: https://os.mbed.com/users/4180_1/notebook/pushbuttons/
- Ultrasonic Distance Sensor

- Setup all the components as shown in the schematic.
- OS Setup
- Install 64-bit Legacy Bullseye Linux OS on Raspberry Pi-3 . Click here for information.
- Setup Camera
- Attach the piCamera to the Raspberry Pi 3. Click here for instructions.
- Run the following command to access configuration of pi
sudo raspi-config- Navigate to the I2C section and enable it.
- Installations
- Install dlib, cv2, and face_recognition libraries with pip.
pip install dlib
pip install cv2
pip install face_recognition
- Face Recognition setup inspired by: https://github.com/rithikachowta08/face-recognition-security
- Start the Raspberry Pi 3. Create two python scripts with the code provided in the files face_recog.py and stream_server.py.
- Upload an image of the person the system needs to recognize as a verified user to the Raspberry Pi using the file transfer feature iin VNC viewer.
- Follow the example code given in image_processing.py to process the image and store its encoding as pickled file.
- Make changes to stream_server.py to load the pickled data containing encodings of the verified person's image.
- A shortcut can be created on the iPhone to run the shell script on the pi. Go to the shortcuts app on iPhone and create a new shortcut. Inside it add an action of "Run script over SSH". Fill in the details of the pi's host, user and password. Type in the following in teh script region:
cd Desktop
python3 stream_server.py- The code on the pi can be run remotely if it is switched on and the iPhone and the pi are on the same local network. Alternatively, a global IP can be obtained for the pi to have remote global access.
- Once the Mbed and the pi are connected via USB serial, and the pi is run using the shortcut, the video streaming web page can be accessed. Go to the webpage <IP address of pi>:8000 and you should be able to see the video feed.
- Watch the demo video below for a more detailed undestanding of what the surveillance system is capable of doing.


