![]()
The Soldered Inkplate LVGL Library brings full LVGL support to the Soldered Inkplate family of e-paper displays. It provides ready-to-use integrations for display control, touch input (where available), and file system (FS) access, so you can focus entirely on designing and implementing your user interface. All necessary LVGL initialization is handled internally through the library’s begin() function — meaning you can start building your UI right away without worrying about setup details. Below are the color formats used by each Inkplate model:
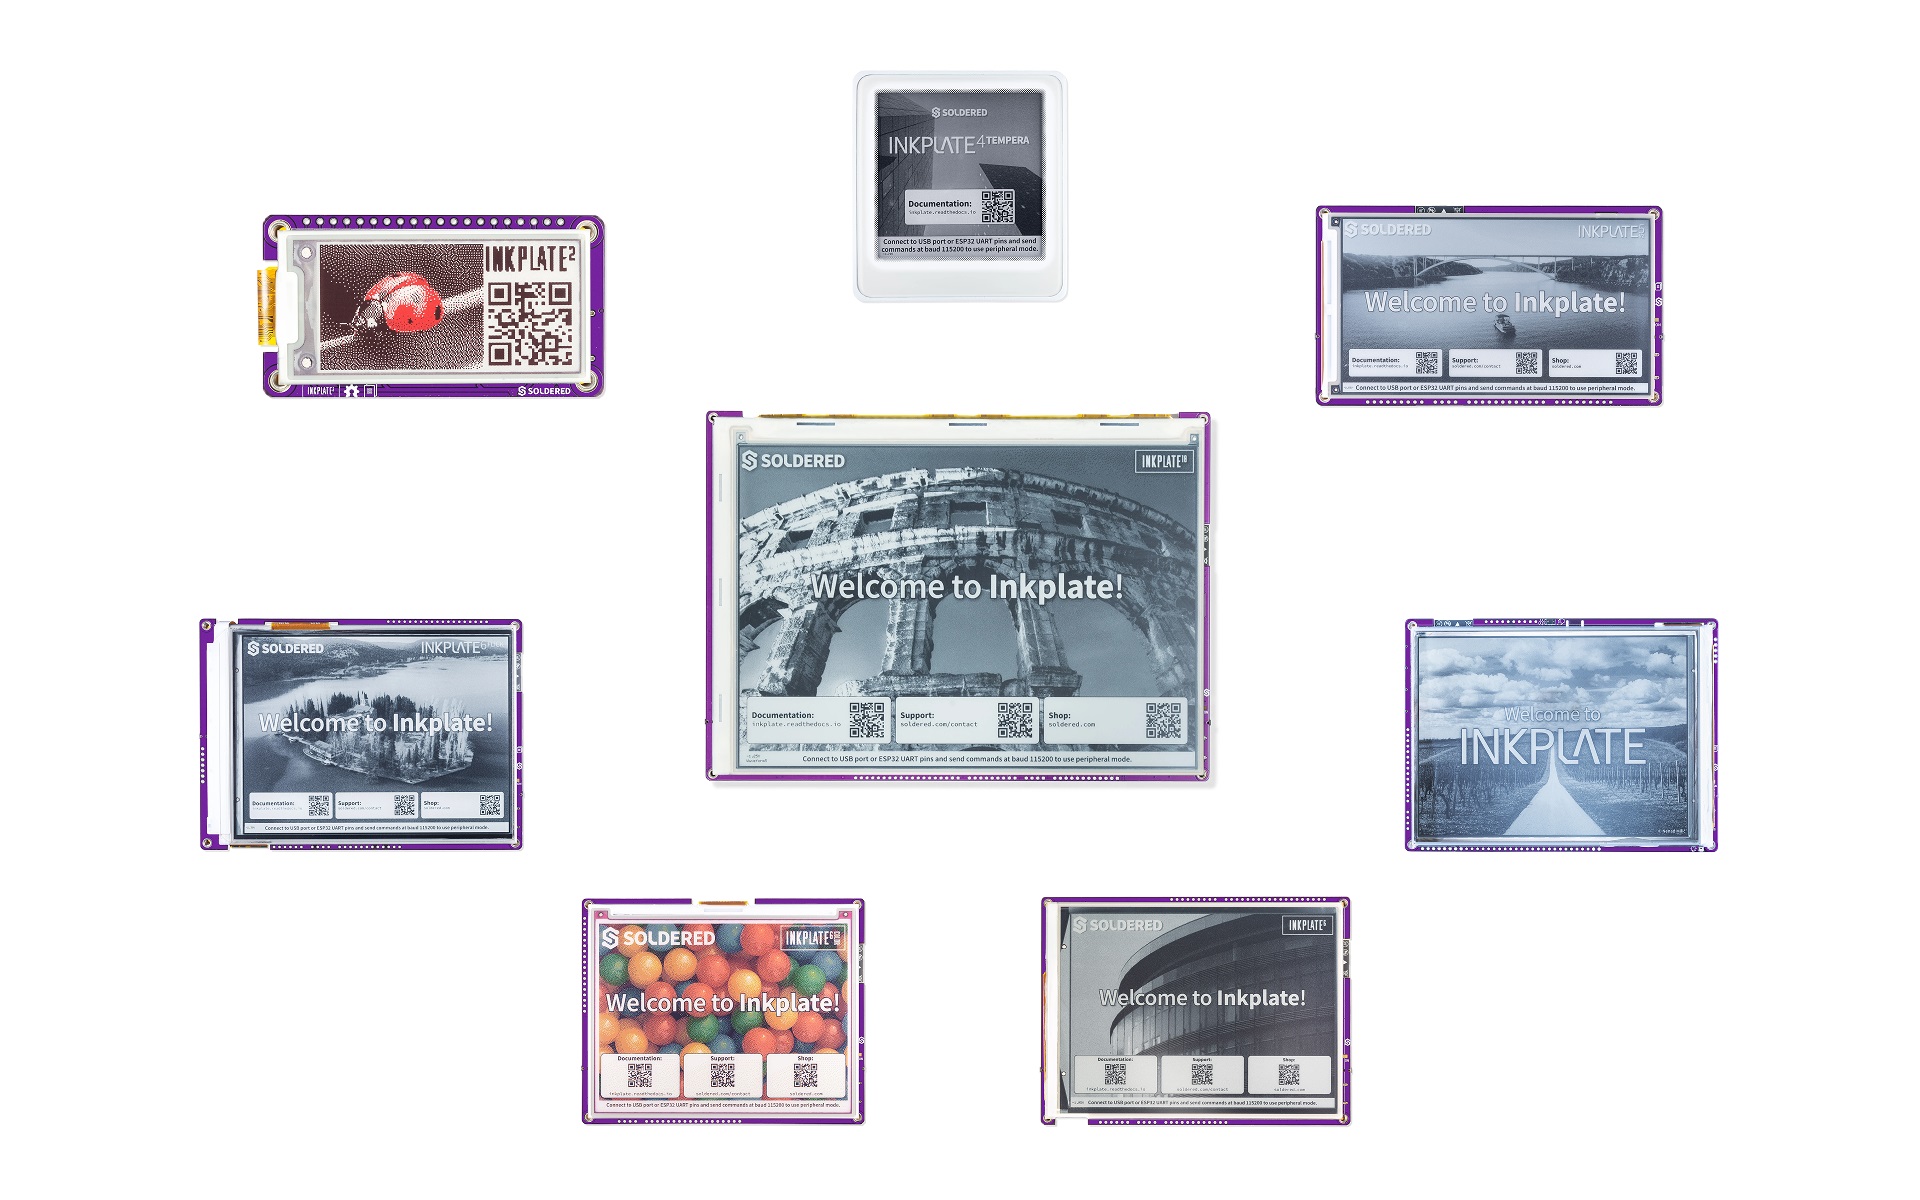
| Board | Color Format |
|---|---|
| Inkplate 2 | RGB565 |
| Inkplate 5V2 | L8 |
| Inkplate 6 | L8 |
| Inkplate 6Flick | L8 |
| Inkplate 6Color | RGB565 |
| Inkplate 10 | L8 |
In order to get a head start with Inkplate (any), follow these steps:
- Install Inkplate board definition - add Inkplate 2/5V2/6/6FLICK/6COLOR/10 as a board into your Arduino IDE.
- If you aren't using macOS install CH340 drivers (in case you don't have them yet) - instructions here
- Install Inkplate Arduino library - Install the library from the Arduino Library Manager (just type "Inkplate" and click "Install") or install it with this repo. If you don't know how, check our tutorial.
- You are ready to get started! Select Tools -> Board -> Inkplate Boards and then pick correct one, as well as correct COM port and upload!
As this is currently a work in progress, all examples except the 'project' Inkplate examples have been ported! The projects are coming soon.
To see the entire LVGL documentation, please check out the official LVGL documentation.
Find Inkplate documentation here.
Inkplate boards has two options for powering it. First one is obvious - USB port at side of the board. Just plug any micro USB cable and you are good to go. Second option is battery. Supported batteries are standard Li-Ion/Li-Poly batteries with 3.7V nominal voltage. Connector for the battery is standard 2.00mm pitch JST connector (except on Inkplate 2, it uses SMD solder pads for battery terminals). The onboard charger will charge the battery with 500mA when USB is plugged at the same time. You can use battery of any size or capacity if you don't have a enclosure. If you are using our enclosure, battery size shouldn't exceed 90mm x 40mm (3.5 x 1.57 inch) and 5mm (0.19 inch) in height (excluding Inkplate 2, it uses this battery. This battery is good fit for the Inkplate. Also, Inkplate's hardware is specially optimized for low power consumption in deep sleep mode, making it extremely suitable for battery applications.
Please check the polarity on the battery JST connector! Some batteries that can be purchased from the web have reversed polarity that can damage Inkplate board! You are safe if you are using the pouch battery from soldered.com or Inkplate with the built-in battery .
CR2032 battery is only for RTC backup. Inkplate cannot be powered with it.
All of Inkplate-related development is open-sourced:
- Arduino library
- Hardware design:
- Soldered Inkplate 2
- Soldered Inkplate 6 (comming soon!)
- Soldered Inkplate 6PLUS (comming soon!)
- Soldered Inkplate 10
- Soldered Inkplate 6COLOR (comming soon!)
- e-radionica.com Inkplate 6
- e-radionica.com Inkplate 10
- e-radionica.com Inkplate 6PLUS
- e-radionica.com Inkplate 6COLOR (comming soon!)
- micropython Inkplate
- OSHWA cerfiticates
Inkplate boards are available for purchase via:
For all questions and issues please reach us via e-mail or our contact form.