-
Notifications
You must be signed in to change notification settings - Fork 0
02. Write your first Planar Job
You can find all the below demo at Demo Folder
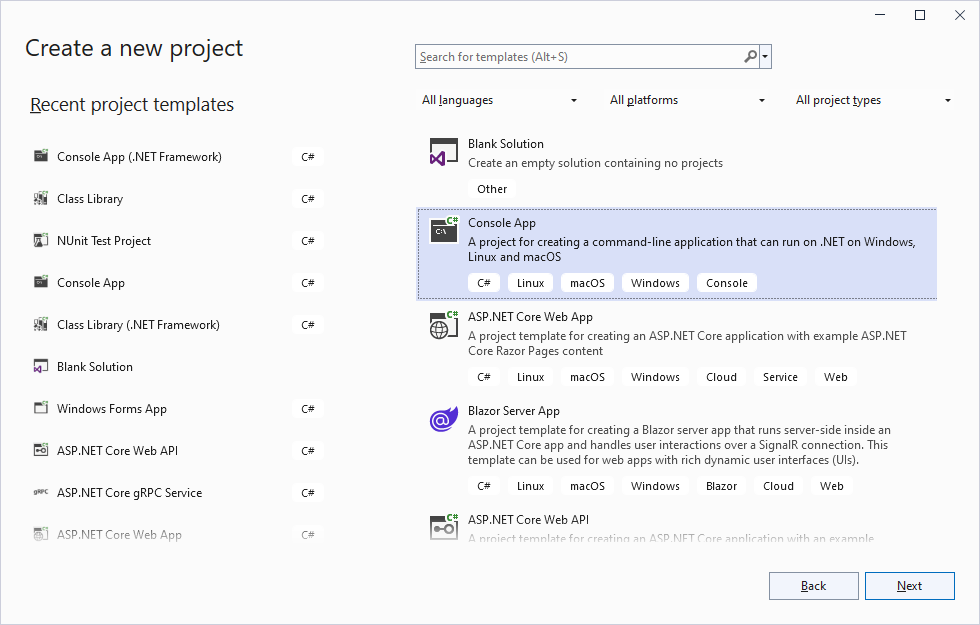
Choose: Console App
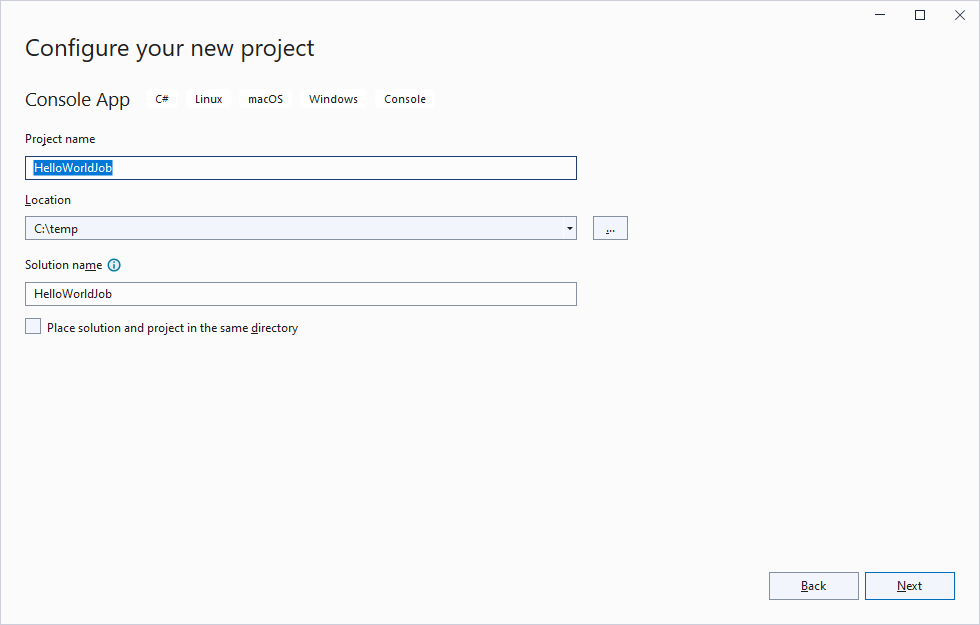
Name it: HelloWorldJob
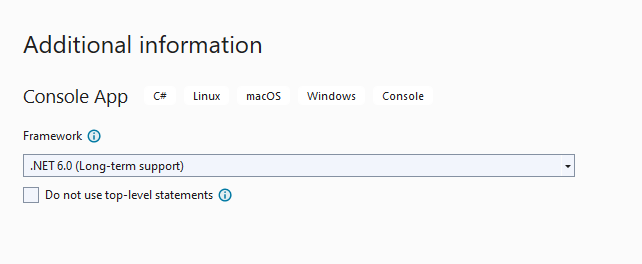
Choose: .NET 6.0 (or lower dot net core version)
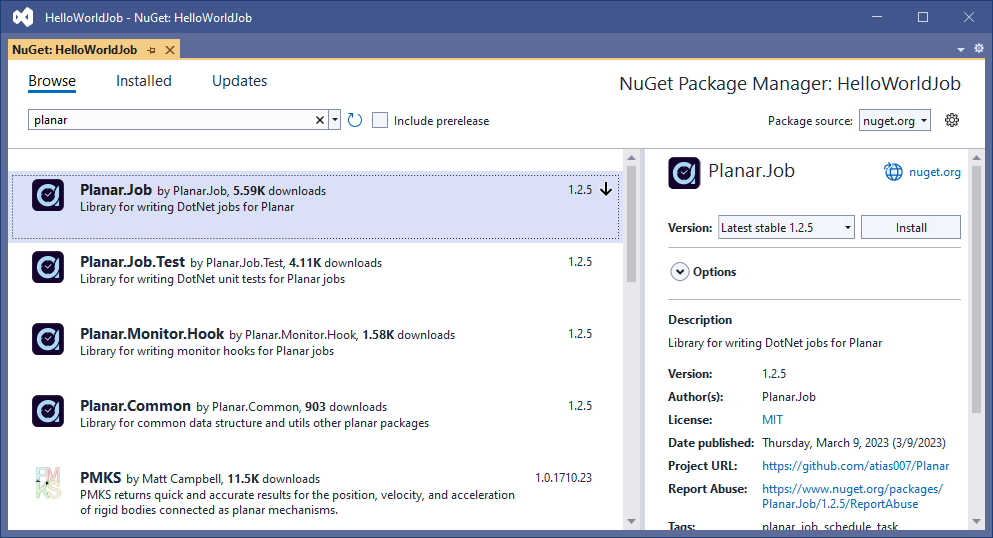
Open the NuGet package manager and search for Planar.Job package. Install it
Add new class, Name it Job, Inherit from BaseJob, Implement the abstract methods like bellow
using Microsoft.Extensions.Configuration;
using Microsoft.Extensions.DependencyInjection;
using Microsoft.Extensions.Logging;
using Planar.Job;

namespace HelloWorldJob
{
    public class Job : BaseJob
    {
        public override void RegisterServices(IConfiguration configuration, IServiceCollection services, IJobExecutionContext context)
        {
        }

        public override void Configure(IConfigurationBuilder configurationBuilder, IJobExecutionContext context)
        {
        }

        public override async Task ExecuteJob(IJobExecutionContext context)
        {
            for (int i = 1; i <= 10; i++)
            {
                Logger.LogInformation("Hello world - Round {Index}", i);
                await Task.Delay(TimeSpan.FromSeconds(3));
            }
        }
    }
}Add a new yml file named: JobFile.yml with the following content
job type: PlanarJob
name: HelloWorld
group: Demos
author: Jon Doh
description: Demonstrate running planar job
concurrent: false

properties:
  path: HelloWorld
  filename: HelloWorldJob.dll
  class name: HelloWorldJob.Job

simple triggers:
  - name: every-5minutes
    interval: 00:05:00
Set the property: "Copy To Output Directory" to value "Copy if newer"

Click publish on the HelloWorldJob project at visual studio

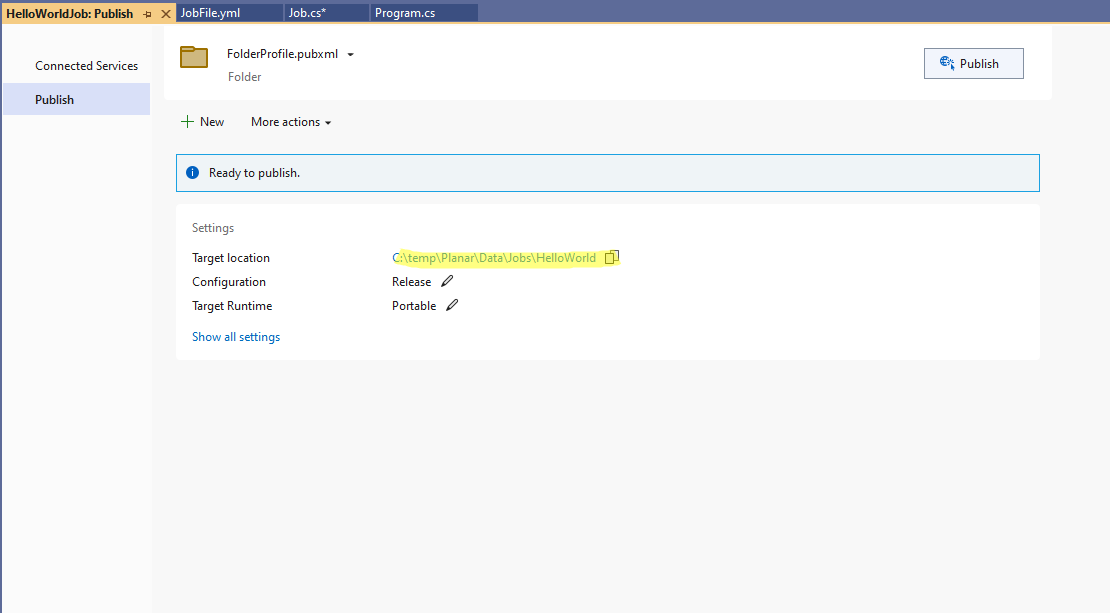
The target location should be under the planar Data folder.
You can find the Data folder in the root folder where Planar is installed (or in the volume root in case of docker installation).
All jobs should be located in Jobs folder which is under the Data folder
Click
 button
Run the Planae CLI by running the command below
planar-cli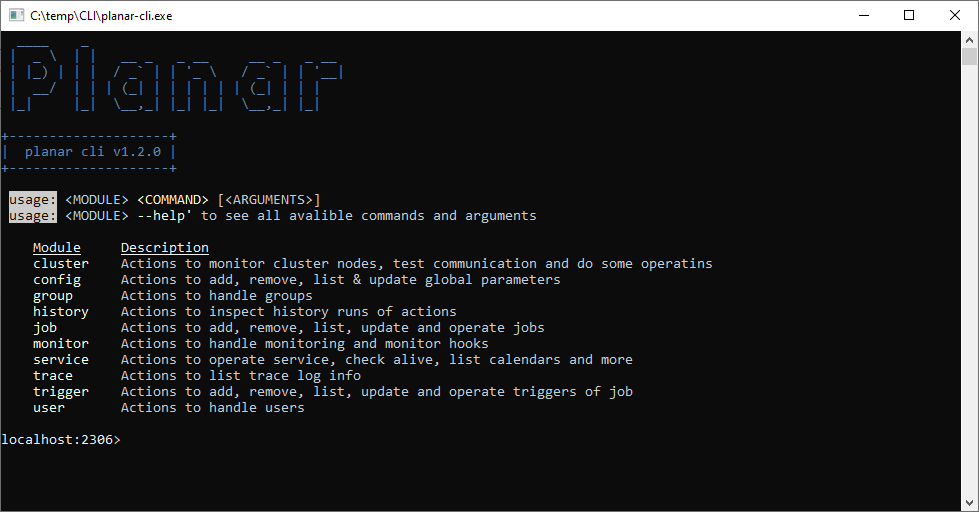
Type job add HelloWorld command and press Enter
If all ok you should get the job id (i.e l0f3eedrpvy) and the job is starting to run
- Type
job runningto see the job in currently running jobs - Type
history lsto see all the last history runs - Type
history get 123(where 123 is the id of the history instance, which you can find in the previous command) - Type
job next l0f3eedrpvy(where l0f3eedrpvy is the job id) to see the next scheduled running - Type
job invoke l0f3eedrpvyto immediately start run the job (if its not already running)