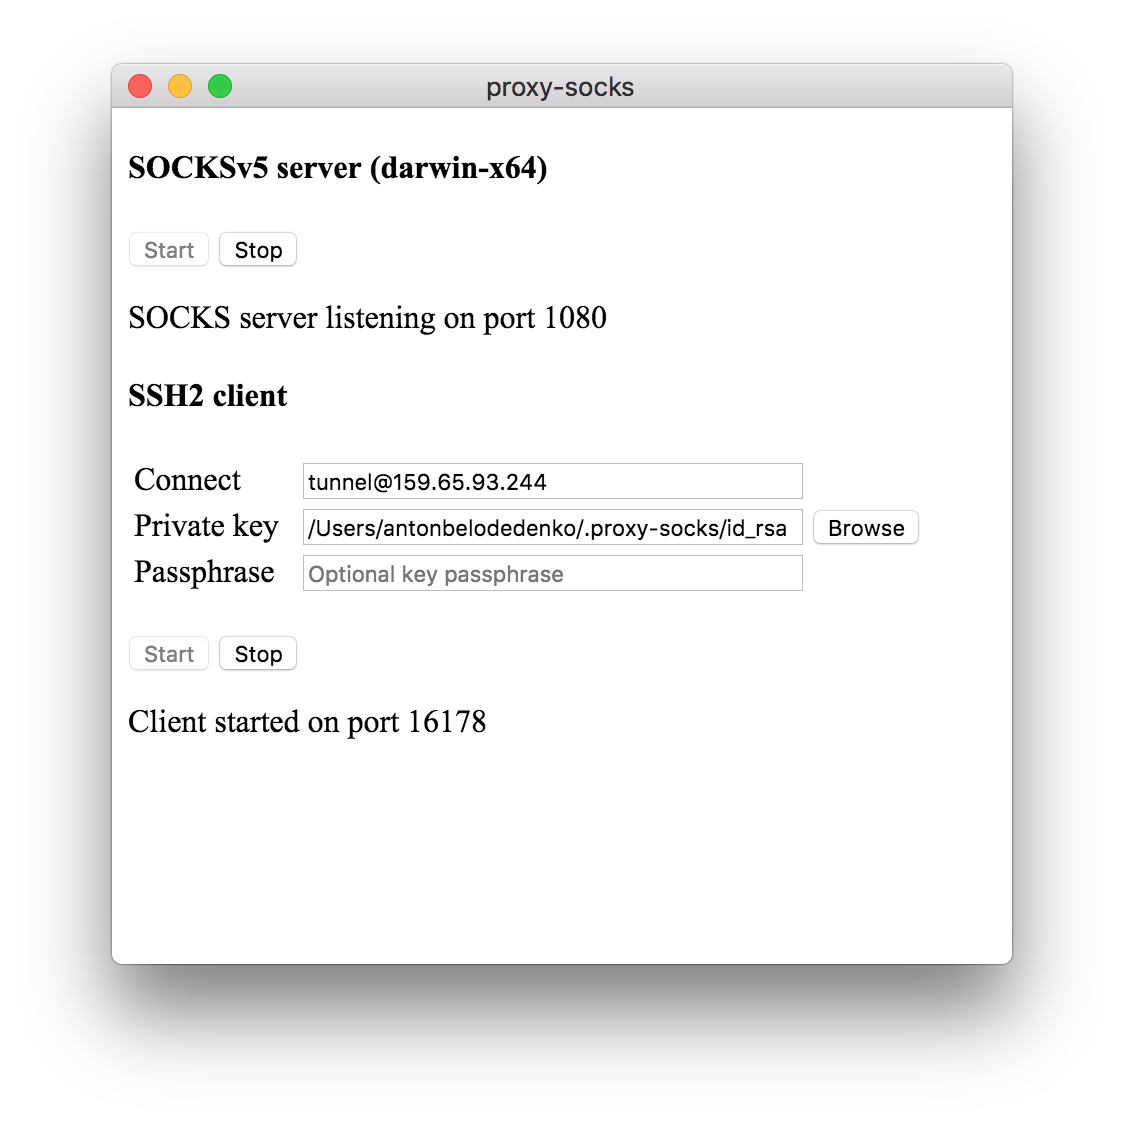
TL;DR follow these instructions to start building a flexible residential back-connect proxy network on any platform running Electron.
![]() This Electron desktop app forwards
This Electron desktop app forwards socksPort and squidPort to proxyRemote IP on the remote server over SSH and in reverse, forwards a random port on a remote Linux box to a SOCKS proxy running locally.
Clients connecting to squidPort or socksPort on the machine running the app, will be tunneled to proxyRemote on remote server. Similarly, remote SOCKS connections will be proxied out the local WAN interface of the machine running the app. It is up to you to handle incoming client connections on the remote server using HAProxy, Squid, etc.
- deploy an Ubuntu or Debian box to be the proxy concentrator and note its public IP (e.g. on DigitalOcean)
-
create SSH key locally and copy to the the proxy concentrator
mkdir -p ~/.proxy-socks\ && echo -e 'y\n' | ssh-keygen -f ~/.proxy-socks/id_rsa\ && ssh-copy-id -i ~/.proxy-socks/id_rsa.pub root@{proxy-concentrator} -
create
config.json, with the hostname or IP address of the proxy concentrator and adjust ports if required
cat << EOF > ~/.proxy-socks/config.json
{
    "username": "tunnel",
    "host": "{proxy-concentrator}",
    "port": 22,
    "privateKey": "${HOME}/.proxy-socks/id_rsa",
    "squidPort": 3128,
    "socksPort": 1080,
    "proxyRemote": "172.20.0.10"
}
EOF
-
on the proxy concentrator create
tunneluser, set a password and authorize keysuseradd -m tunnel -s /bin/bash\ && mkdir -p /home/tunnel/.ssh\ && cat ~/.ssh/authorized_keys > /home/tunnel/.ssh/authorized_keys -
create splash script and set permissions
cat << EOF > /home/tunnel/splash.sh
#!/bin/sh
echo '+--------------------------+'
echo '|                          |'
echo '|  Nothing to see here...  |'
echo '|                          |'
echo '+--------------------------+'
EOF

chmod +x /home/tunnel/splash.sh
chown tunnel:tunnel -hR /home/tunnel
- update sshd config and restart the service
cat << EOF >> /etc/ssh/sshd_config

Match User tunnel
  ForceCommand /home/tunnel/splash.sh
EOF

service ssh restart
The Windows binary is not signed and modern Chrome/Windows will try to prevent it from running. If this is important to you, you can get a signing certificate from one of the vendors and build a signed release.
| OS | release |
|---|---|
| Windows | latest, 1.0.4, 1.0.3, 1.0.2, 1.0.1, 1.0.0 |
| Linux (AppImage) | latest, 1.0.4, 1.0.3, 1.0.2, 1.0.1, 1.0.0 |
| Linux (Snap) | latest, 1.0.4, 1.0.3, 1.0.2, 1.0.1, 1.0.0 |
| Mac OS X | latest, 1.0.4, 1.0.3, 1.0.2, 1.0.1, 1.0.0 |
- launch the app and note the forwarded port number
The app will attempt to insert itself into the appropriate start-up chain to start automatically with the operating system and appear minimised to tray.
-
test connectivity to the proxy from the proxy concentrator
  # netstat -a -n -p | grep LISTEN | grep 127.0.0.1
  tcp        0      0 127.0.0.1:{zzz}         0.0.0.0:* ...

  root@ubuntu:# curl -4 ifconfig.co
  {xxx}

  root@ubuntu:# curl -4 --socks5 localhost:{zzz} ifconfig.co
  {yyy}
you should see a random TCP port and two different public IPs if everything is working correctly
the server is listening on both
AF_INETandAF_INET6sockets
    # netstat -a -n -p | grep LISTEN | grep ::1
    tcp6       0      0 ::1:{zzz}               :::* ...

    root@ubuntu:# curl -6 ifconfig.co
    {xxx}

    root@ubuntu:# curl -6 --socks5 localhost:{zzz} ifconfig.co
    {yyy}
Every new installation of the app, will attempt to make a connection to the remote server and forward a random port to the local proxy. These proxies can then be exposed on the public interface of the server using HAProxy, OpenVPN or a combination of tools.
An example shell script can be used to automatically generate HAProxy configuration for all connected proxies.
Once the ports are exposed, ensure appropriate ACLs are set.
© 2018 belodetek

