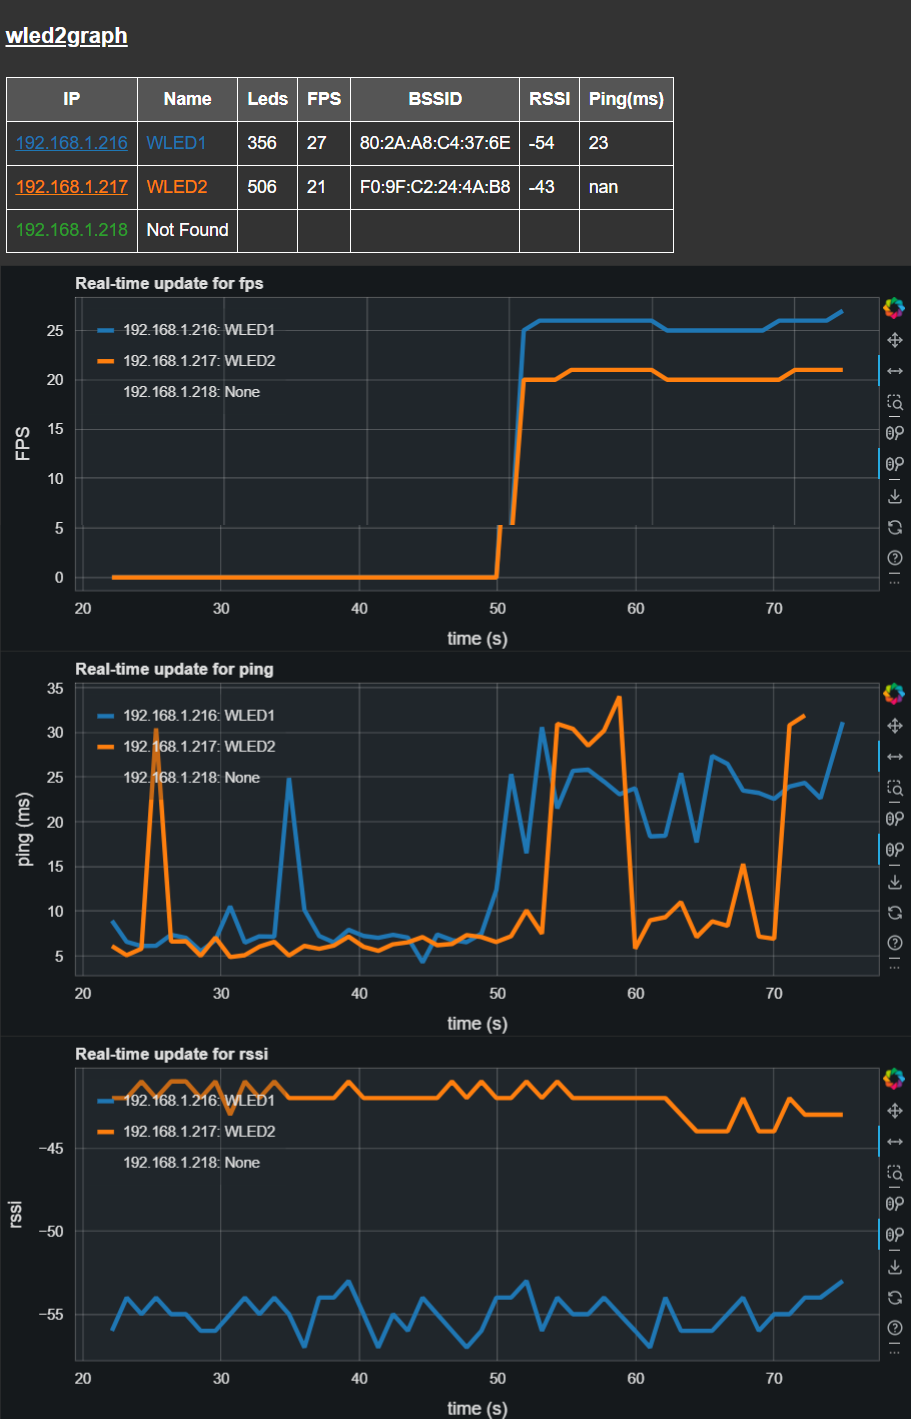
wled2graph is a Python program designed to visualize Frames Per Second (FPS) data and other from WLED endpoints on a network in real-time using a Bokeh graph server. It sets up a polling loop, defaulting to every 5 seconds, to fetch the current JSON state from each specified WLED endpoint
Note that the Bokeh server is hosted on port 5006 by default. You can access the graph by navigating to http://localhost:5006 in your web browser.
The browser window should be spawned on wled2graph launch, however, wled2graph is not closed on closure of the browser.
You can navigate again to the same URL to re-open the graph, as long as the application is left running.
- Real-time FPS, BSSID, RSSI and Ping Visualization: Continuously polls WLED endpoints and updates the graph with current FPS values.
- IP address hyperlink to WLED UI: Just click through direct to the WLED UI for the selected WLED endpoint.
- Configurable Polling Frequency: Allows customization of the polling interval to suit network and performance needs.
- Scalable: Can monitor multiple WLED endpoints simultaneously.
- Customizable Data Points Rollover: Supports setting a maximum number of data points to display on the graph, after which old data points are rolled off.
pip install wled2graphwled2graph is executed from the command line and requires a list of IP addresses corresponding to the WLED endpoints you wish to monitor.
wled2graph -w <WLED_IPs> [-t <time_period>] [-r <rollover>]-w, --wleds: A comma-separated list of IP addresses for the WLED endpoints.
-t, --time-period: (Optional) The time period in seconds for polling the WLEDs. Default is 5 seconds.
-r, --rollover: (Optional) The number of data points to keep in the graph before rolling over. Default is 20000.
-m, --remote: allow remote access to server on port 5006, default is False
To start monitoring two WLED endpoints with a polling interval of 10 seconds:
wled2graph -w 192.168.1.100,192.168.1.101 -t 10To start monitoring five WLED endpoints with a polling interval of 1 seconds and a data point rollover of 30:
wled2graph -w "192.168.1.216, 192.168.1.217, 192.168.1.220, 192.168.1.229, 192.168.1.230" -t 1 -r 30Source code is hosted at https://github.com/bigredfrog/wled2graph
Before you begin, ensure you have met the following requirements:
-
Python 3.9 or higher
-
uv package management is present, which can be installed with
pip install uv
-
Clone the repository to your local machine:
git clone https://github.com/bigredfrog/wled2graph.git cd wled2graph -
Install the project dependencies and test launch in a venv using uv:
uv run wled2graph
This will create a virtual environment and install the necessary Python libraries.
wled2graph is executed from the command line and requires a list of IP addresses corresponding to the WLED endpoints you wish to monitor.
uv run wled2graph -w <WLED_IPs> [-t <time_period>] [-r <rollover>]-w, --wleds: A comma-separated list of IP addresses for the WLED endpoints.
-t, --time-period: (Optional) The time period in seconds for polling the WLEDs. Default is 5 seconds.
-r, --rollover: (Optional) The number of data points to keep in the graph before rolling over. Default is 20000.
To start monitoring two WLED endpoints with a polling interval of 10 seconds:
uv run wled2graph -w 192.168.1.100,192.168.1.101 -t 10To start monitoring five WLED endpoints with a polling interval of 1 seconds and a data point rollover of 30:
uv run wled2graph -w "192.168.1.216, 192.168.1.217, 192.168.1.220, 192.168.1.229, 192.168.1.230" -t 1 -r 30wled2graph incluses a .vscode/launch.json
Press Ctrl + Shift + P (or Cmd + Shift + P on macOS) and select "Python: Select Interpreter". Browse to the virtual environment path from the uv created venv and select the python executable inside it.
add your IP address of interest or other launch options
wled2graph should run in the virtual environment against your selected args
Tagging is restricted to users with write permissions only
Pushing a release tag will trigger a release action with an approval step for publish
Useful commands
git tag v0.1.5
git tag -d v0.1.5
git push origin v0.1.5
git push origin --delete v0.1.5I just don't know if this has legs right now...
This project is licensed under the MIT License - see the LICENSE.md file for details.
https://github.com/bigredfrog/wled2graph/blob/master/license.md
