Installation
The module is installed in the same way as other WordPress modules involving two steps:
- Add the source files to the WordPress server.
- Enable the plugin in WordPress.
This plugin is available from the WordPress plugin repository and so can be installed as follows:
- Navigate to the Plugins page of the Administrator dashboard.
- Click on the Add New button.
- Enter
LTI Toolas the Keyword. - Click on the
Install Nowbutton for the LTI Tool plugin.
Repeat the above steps to install the ceLTIc LTI Library plugin and activate it once installed.
The source files can be installed on the WordPress server using composer:
- Log into the WordPress server.
- Navigate to the
wp-content/pluginsdirectory of the WordPress installation. - Run the command
composer create-project celtic/wordpress-lti lti.
Alternatively the source files and dependencies can be added manually in one of the following ways:
- Extract the source files from this repository into a directory named
ltiwithin the plugins area of your WordPress instance and follow the manual instructions in the LTI class library documentation for installing the LTI library and its dependencies; or - Use the
lti.zipfile available from the project site in OSCELOT to add the plugin using the WordPress admin interface.
- Log into WordPress as an administrator.
- Navigate to the Admin Dashboard (for the network when using a multisite instance of WordPress).
- Select the Activate option on the Plugins page to enable the module.
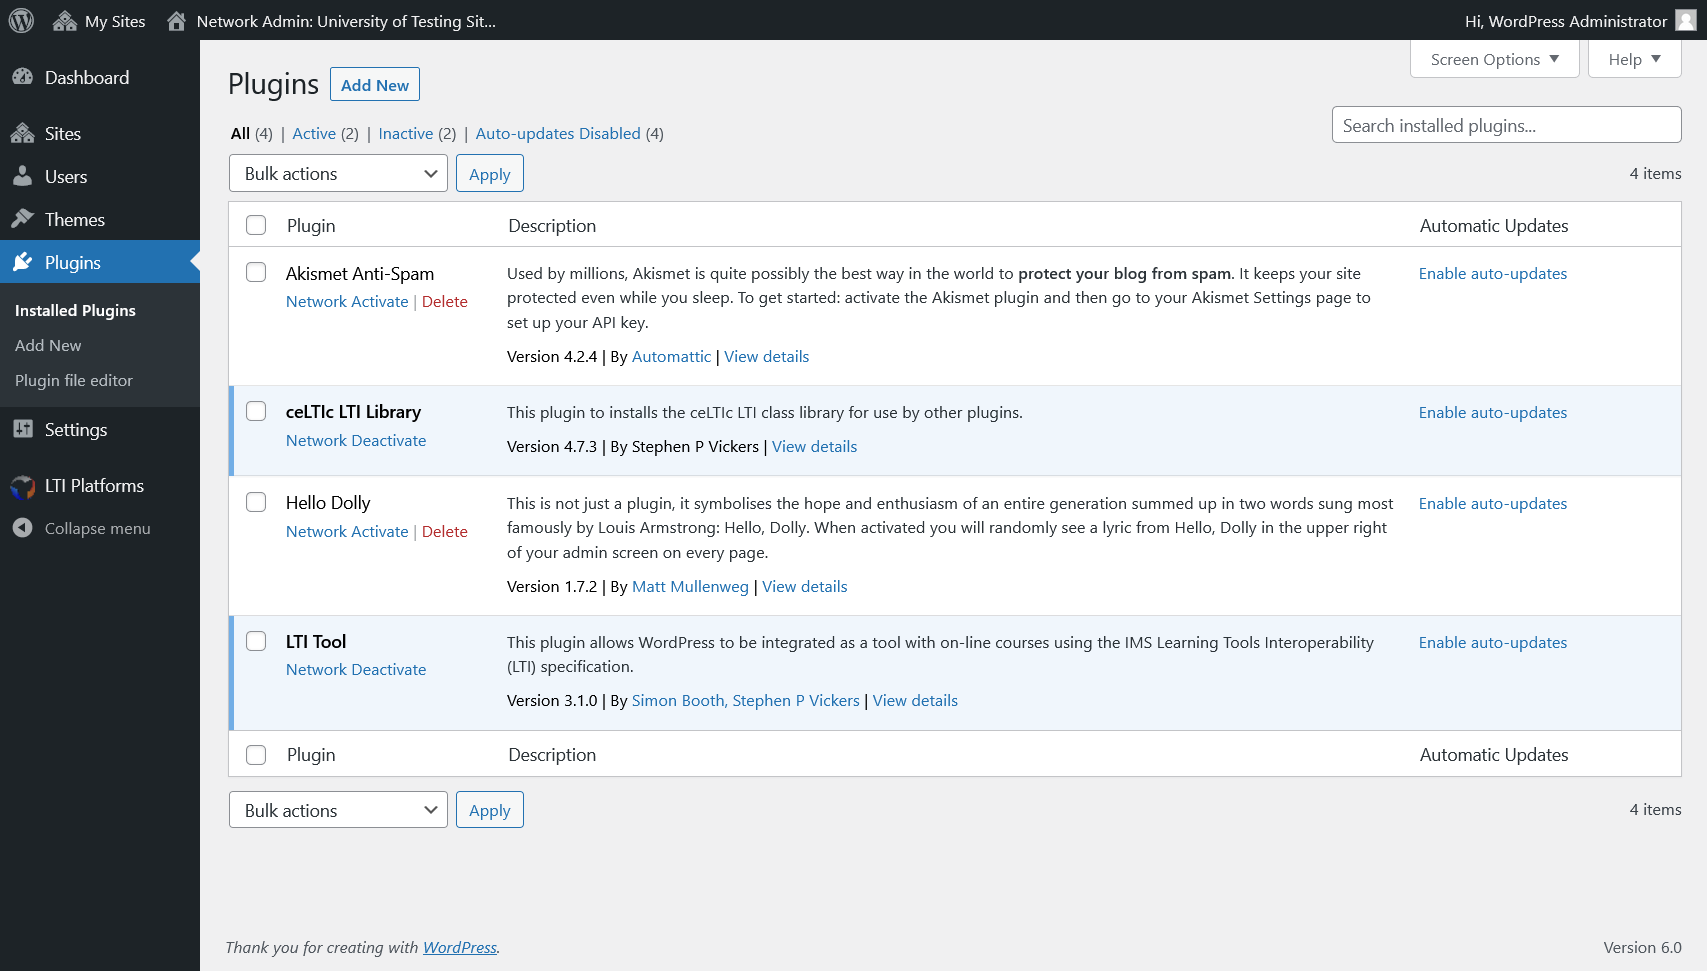
Once enabled, the module will automatically create a set of tables in the WordPress database and a new menu option named LTI Platforms will appear on the dashboard menu.
If you already have version 1 of the plugin installed, then it is possible to upgrade to version 2 as follows:
- Remove the files from the existing
plugins/lti-tooldirectory. - Install the new source files (see above).
- Log into WordPress as an administrator.
- Navigate to the Admin Dashboard.
- Select the Deactivate option on the Plugins page to disable the module.
- Select the Activate option on the Plugins page to enable the module (which will create the new database tables).
- Migrate the data from the old tables by running the migration script (note that the script assumes a table name prefix of
wp_; edit the file if your system is using a different value). - Optionally remove the old database tables; e.g.:
DROP TABLE wp_lti_user;
DROP TABLE wp_lti_nonce;
DROP TABLE wp_lti_share_key;
DROP TABLE wp_lti_context;
DROP TABLE wp_lti_consumer;Version 3 of the plugin involves a change in its slug from lti to lti-tool and so the upgrade involves a few additional steps:
- Deactivate the old
LTIplugin. - Install the new
LTI Toolplugin (see above). - Enable the new
LTI Toolplugin (see above).
The settings for the old plugin will be automatically migrated to the new plugin. The message URLs will now contain lti-tool but the old form containing lti is still supported for backward compatibility.
The old plugin may be deleted from WordPress but ensure that the Delete data on uninstall? option is NOT selected before doing so.
To completely remove the plugin from the WordPress installation use the Deactivate option on the Plugins page in the Admin Dashboard, and then select the Delete option for the plugin. To permanently remove the data created by the plugin from the WordPress instance, ensure that the following option has been checked before it is deactivated:
- Delete data on uninstall?
This will remove the LTI tables from the database as well as the plugin option settings.