Write terminal GIFs as code for integration testing and demoing your CLI tools.
The above example was generated with VHS (view source).
To get started, install VHS and create a new .tape file.
vhs new demo.tapeOpen the .tape file with your favorite $EDITOR.
vim demo.tapeTape files consist of a series of commands. The commands are instructions for VHS to perform on its virtual terminal. For a list of all possible commands see the command reference.
# Where should we write the GIF?
Output demo.gif

# Set up a 1200x600 terminal with 46px font.
Set FontSize 46
Set Width 1200
Set Height 600

# Type a command in the terminal.
Type "echo 'Welcome to VHS!'"

# Pause for dramatic effect...
Sleep 500ms

# Run the command by pressing enter.
Enter

# Admire the output for a bit.
Sleep 5s
Once you've finished, save the file and feed it into VHS.
vhs demo.tapeAll done! You should see a new file called demo.gif (or whatever you named
the Output) in the directory.

For more examples see the examples/ directory.
Use a package manager:
# macOS or Linux
brew install vhs

# Arch Linux (btw)
pacman -S vhs

# Nix
nix-env -iA nixpkgs.vhs

# Windows using scoop
scoop install vhs
Or, use Docker to run VHS directly, dependencies included:
docker run --rm -v $PWD:/vhs ghcr.io/charmbracelet/vhs <cassette>.tapeOr, download it:
- Packages are available in Debian and RPM formats
- Binaries are available for Linux, macOS, and Windows
Or, just install it with go:
go install github.com/charmbracelet/vhs@latestWindows, Debian, Ubuntu, Fedora, RHEL, Void Instructions
- Debian / Ubuntu
# Debian/Ubuntu
sudo mkdir -p /etc/apt/keyrings
curl -fsSL https://repo.charm.sh/apt/gpg.key | sudo gpg --dearmor -o /etc/apt/keyrings/charm.gpg
echo "deb [signed-by=/etc/apt/keyrings/charm.gpg] https://repo.charm.sh/apt/ * *" | sudo tee /etc/apt/sources.list.d/charm.list
# Install ttyd from https://github.com/tsl0922/ttyd/releases
sudo apt update && sudo apt install vhs ffmpeg- Fedora / RHEL
echo '[charm]
name=Charm
baseurl=https://repo.charm.sh/yum/
enabled=1
gpgcheck=1
gpgkey=https://repo.charm.sh/yum/gpg.key' | sudo tee /etc/yum.repos.d/charm.repo
# Install ttyd from https://github.com/tsl0922/ttyd/releases
sudo yum install vhs ffmpeg- Void
sudo xbps-install vhs- Windows
winget install charmbracelet.vhs
# or scoop
scoop install vhsVHS has the ability to generate tape files from your terminal actions!
To record to a tape file, run:
vhs record > cassette.tapePerform any actions you want and then exit the terminal session to stop
recording. You may want to manually edit the generated .tape file to add
settings or modify actions. Then, you can generate the GIF:
vhs cassette.tapeVHS allows you to publish your GIFs to our servers for easy sharing with your
friends and colleagues. Specify which file you want to share, then use the
publish sub-command to host it on vhs.charm.sh. The output will provide you
with links to share your GIF via browser, HTML, and Markdown.
vhs publish demo.gifVHS has an SSH server built in! When you self-host VHS you can access it as though it were installed locally. VHS will have access to commands and applications on the host, so you don't need to install them on your machine.
To start the server run:
vhs serveConfiguration Options
VHS_PORT: The port to listen on (1976)VHS_HOST: The host to listen on (localhost)VHS_GID: The Group ID to run the server as (current user's GID)VHS_UID: The User ID to run the server as (current user's UID)VHS_KEY_PATH: The path to the SSH key to use (.ssh/vhs_ed25519)VHS_AUTHORIZED_KEYS_PATH: The path to the authorized keys file (empty, publicly accessible)
Then, simply access VHS from a different machine via ssh:
ssh vhs.example.com < demo.tape > demo.gifNote
You can view all VHS documentation on the command line with vhs manual.
There are a few basic types of VHS commands:
Output <path>: specify file outputRequire <program>: specify required programs for tape fileSet <Setting> Value: set recording settingsType "<characters>": emulate typingLeftRightUpDown: arrow keysBackspaceEnterTabSpace: special keysCtrl[+Alt][+Shift]+<char>: press control + key and/or modifierSleep <time>: wait for a certain amount of timeWait[+Screen][+Line] /regex/: wait for specific conditionsHide: hide commands from outputShow: stop hiding commands from outputScreenshot: screenshot the current frameCopy/Paste: copy and paste text from clipboard.Source: source commands from another tapeEnv <Key> Value: set environment variables
The Output command allows you to specify the location and file format
of the render. You can specify more than one output in a tape file which
will render them to the respective locations.
Output out.gif
Output out.mp4
Output out.webm
Output frames/ # a directory of frames as a PNG sequence
The Require command allows you to specify dependencies for your tape file.
These are useful to fail early if a required program is missing from the
$PATH, and it is certain that the VHS execution will not work as expected.
Require commands must be defined at the top of a tape file, before any non- setting or non-output command.
# A tape file that requires gum and glow to be in the $PATH
Require gum
Require glowThe Set command allows you to change global aspects of the terminal, such as
the font settings, window dimensions, and GIF output location.
Setting must be administered at the top of the tape file. Any setting (except
TypingSpeed) applied after a non-setting or non-output command will be
ignored.
Set the shell with the Set Shell <shell> command
Set Shell fishSet the font size with the Set FontSize <number> command.
Set FontSize 10
Set FontSize 20
Set FontSize 40


Set the font family with the Set FontFamily "<font>" command
Set FontFamily "Monoflow"
Set the width of the terminal with the Set Width command.
Set Width 300
Set the height of the terminal with the Set Height command.
Set Height 1000
Set the spacing between letters (tracking) with the Set LetterSpacing
Command.
Set LetterSpacing 20
Set the spacing between lines with the Set LineHeight Command.
Set LineHeight 1.8
Set TypingSpeed 500ms # 500ms
Set TypingSpeed 1s    # 1s
Set the typing speed of seconds per key press. For example, a typing speed of
0.1 would result in a 0.1s (100ms) delay between each character being typed.
This setting can also be overwritten per command with the @<time> syntax.
Set TypingSpeed 0.1
Type "100ms delay per character"
Type@500ms "500ms delay per character"
Set the theme of the terminal with the Set Theme command. The theme value
should be a JSON string with the base 16 colors and foreground + background.
Set Theme { "name": "Whimsy", "black": "#535178", "red": "#ef6487", "green": "#5eca89", "yellow": "#fdd877", "blue": "#65aef7", "magenta": "#aa7ff0", "cyan": "#43c1be", "white": "#ffffff", "brightBlack": "#535178", "brightRed": "#ef6487", "brightGreen": "#5eca89", "brightYellow": "#fdd877", "brightBlue": "#65aef7", "brightMagenta": "#aa7ff0", "brightCyan": "#43c1be", "brightWhite": "#ffffff", "background": "#29283b", "foreground": "#b3b0d6", "selection": "#3d3c58", "cursor": "#b3b0d6" }You can also set themes by name:
Set Theme "Catppuccin Frappe"See the full list by running vhs themes, or in THEMES.md.
Set the padding (in pixels) of the terminal frame with the Set Padding
command.
Set Padding 0
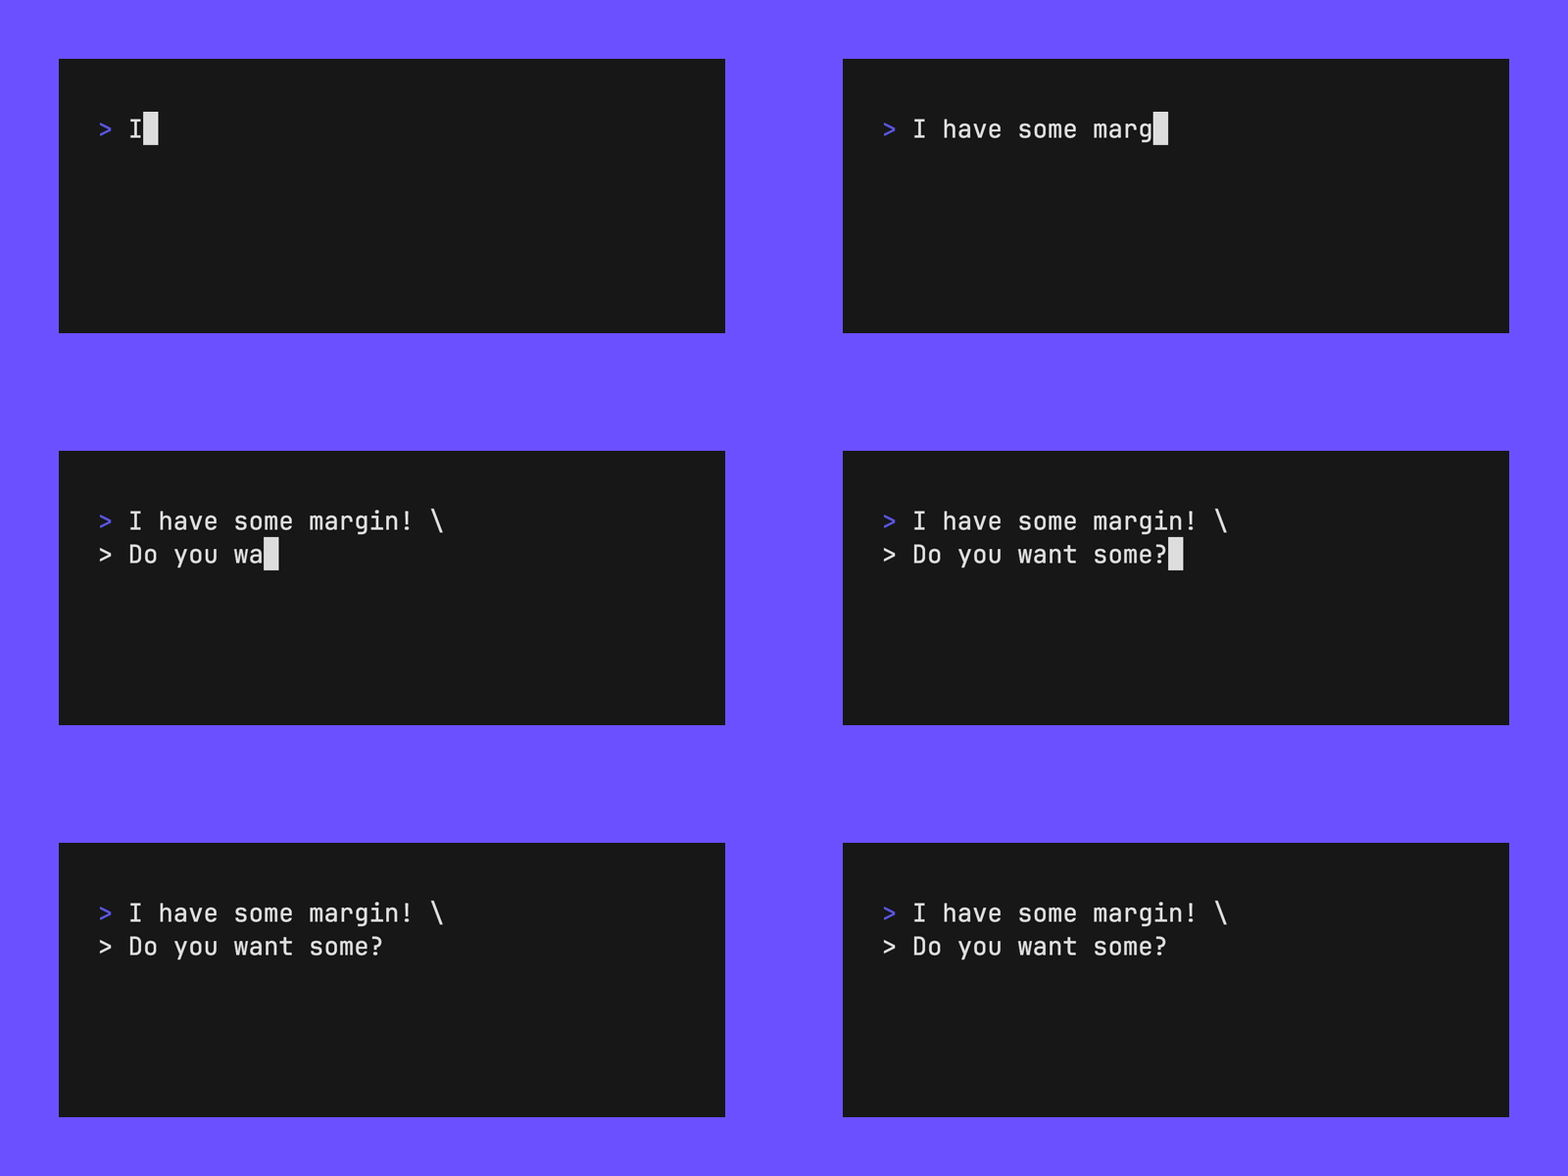
Set the margin (in pixels) of the video with the Set Margin command.
Set Margin 60
Set MarginFill "#6B50FF"
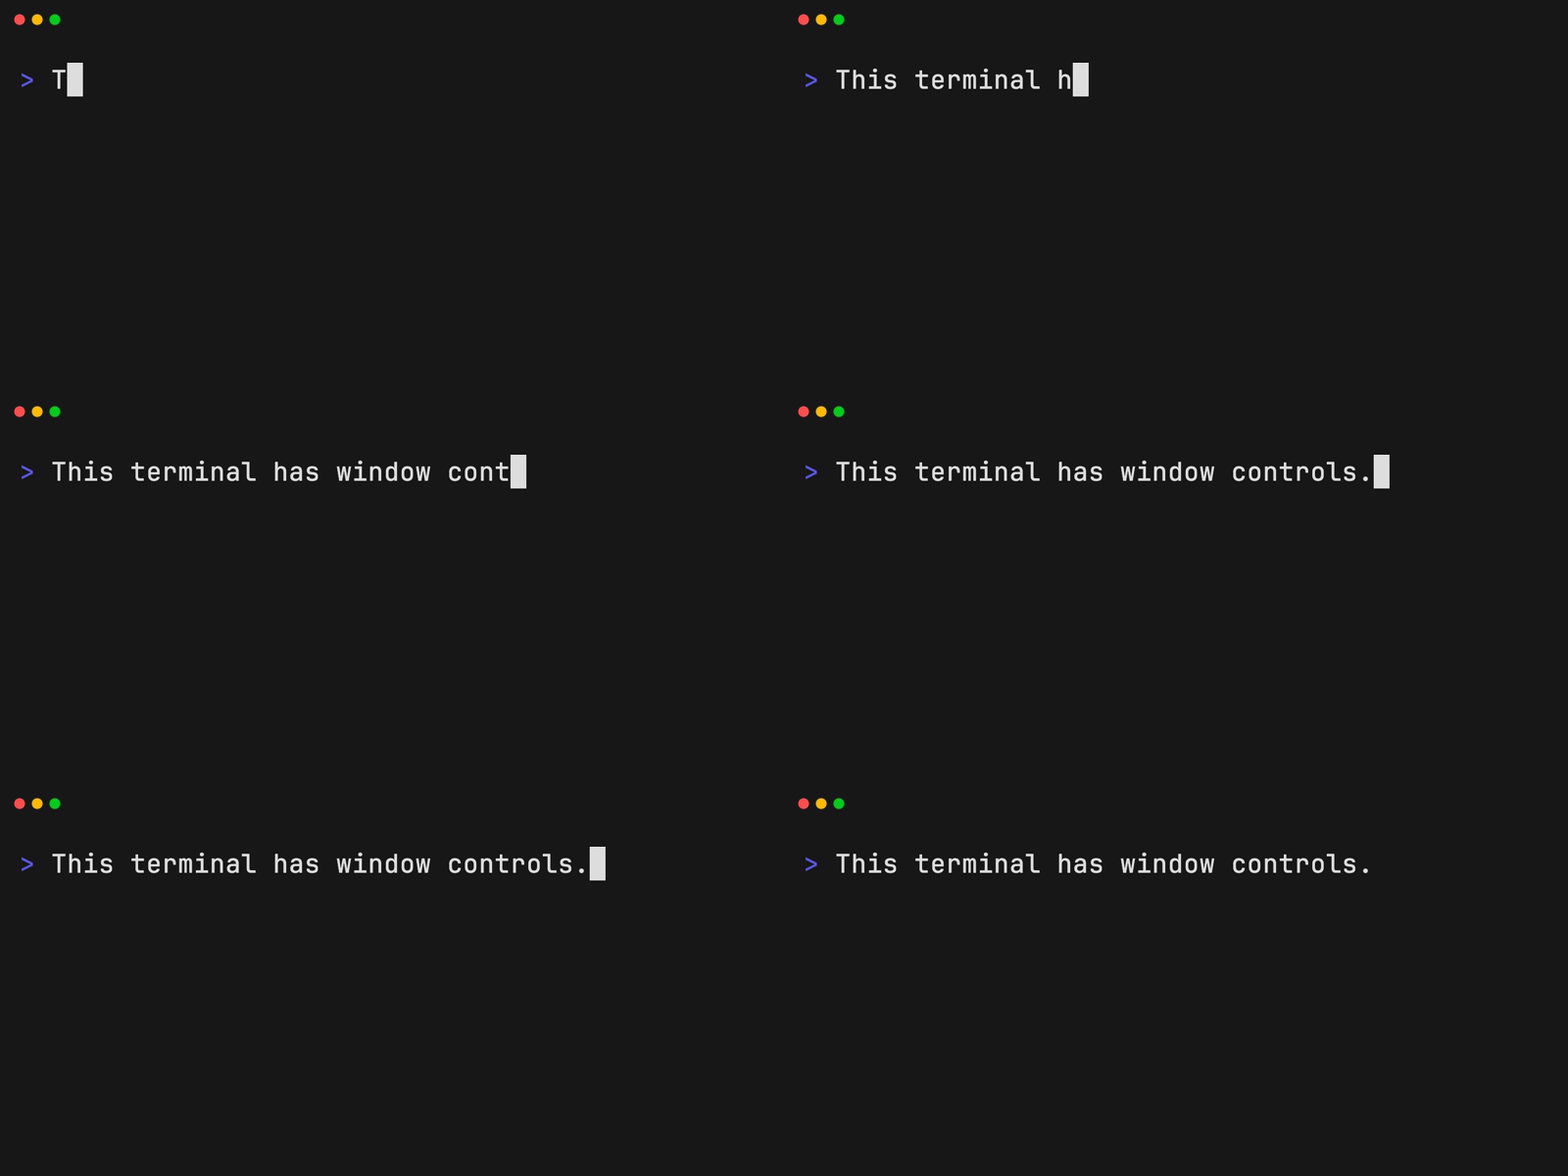
Set the type of window bar (Colorful, ColorfulRight, Rings, RingsRight) on the terminal window with the Set WindowBar command.
Set WindowBar Colorful
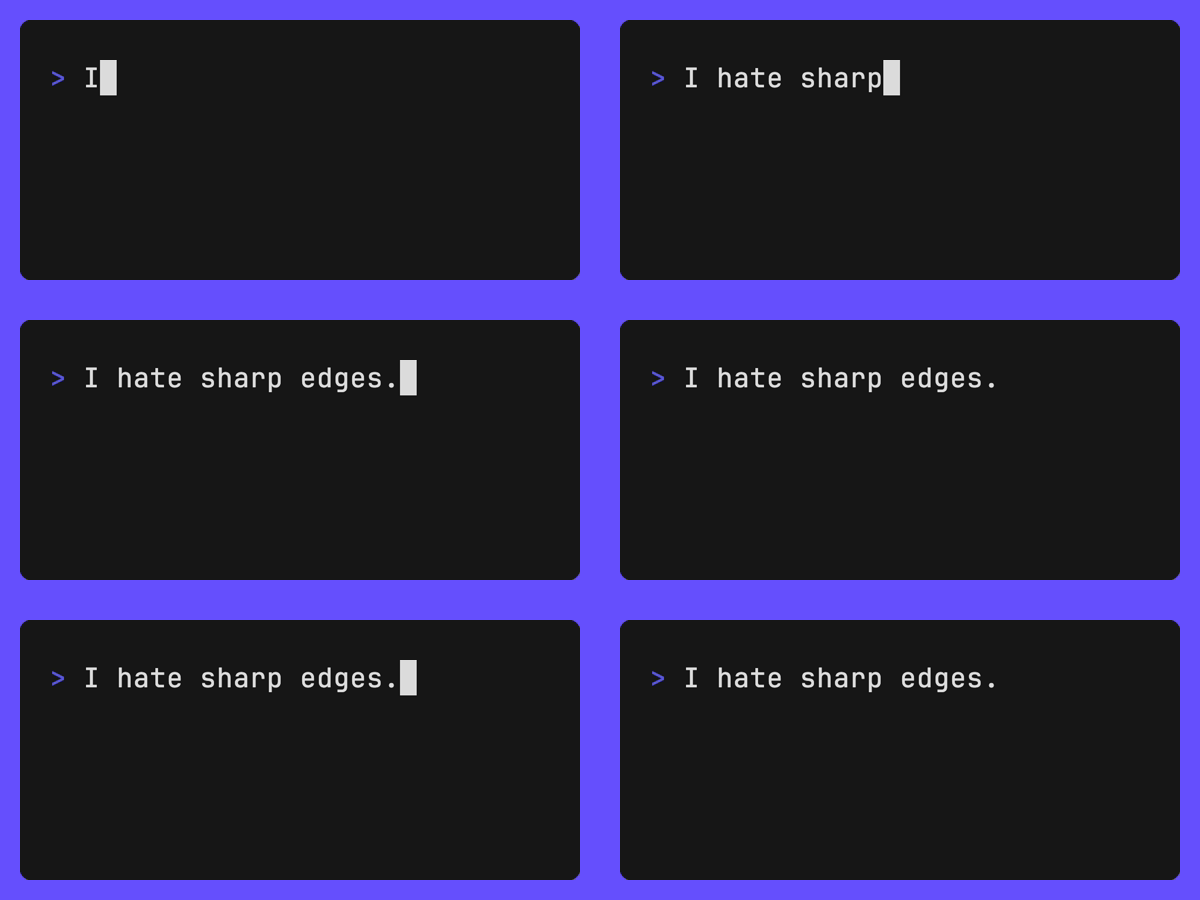
Set the border radius (in pixels) of the terminal window with the Set BorderRadius command.
# You'll likely want to add a Margin + MarginFill if you use BorderRadius.
Set Margin 20
Set MarginFill "#674EFF"
Set BorderRadius 10
Set the rate at which VHS captures frames with the Set Framerate command.
Set Framerate 60Set the playback speed of the final render.
Set PlaybackSpeed 0.5 # Make output 2 times slower
Set PlaybackSpeed 1.0 # Keep output at normal speed (default)
Set PlaybackSpeed 2.0 # Make output 2 times faster
Set the offset for when the GIF loop should begin. This allows you to make the first frame of the GIF (generally used for previews) more interesting.
Set LoopOffset 5 # Start the GIF at the 5th frame
Set LoopOffset 50% # Start the GIF halfway through
Set whether the cursor should blink. Enabled by default.
Set CursorBlink false
Use Type to emulate key presses. That is, you can use Type to script typing
in a terminal. Type is handy for both entering commands and interacting with
prompts and TUIs in the terminal. The command takes a string argument of the
characters to type.
You can set the standard typing speed with Set TypingSpeed
and override it in places with a @time argument.
# Type something
Type "Whatever you want"

# Type something really slowly!
Type@500ms "Slow down there, partner."
Escape single and double quotes with backticks.
Type `VAR="Escaped"`
Key commands take an optional @time and optional repeat count for repeating
the key press every interval of <time>.
Key[@<time>] [count]
Press the backspace key with the Backspace command.
Backspace 18
You can access the control modifier and send control sequences with the Ctrl
command.
Ctrl+R
Press the enter key with the Enter command.
Enter 2
Press any of the arrow keys with the Up, Down, Left, Right commands.
Up 2
Down 2
Left
Right
Left
Right
Type "B"
Type "A"
Enter a tab with the Tab command.
Tab@500ms 2
Press the space bar with the Space command.
Space 10
Press the Page Up / Down keys with the PageUp or PageDown commands.
PageUp 3
PageDown 5The Wait command allows you to wait for something to appear on the screen.
This is useful when you need to wait on something to complete, even if you don't
know how long it'll take, while including it in the recording like a spinner or
loading state.
The command takes a regular expression as an argument, and optionally allows to
set the duration to wait and if you want to check the whole screen or just the
last line (the scope).
Wait
Wait            /World/
Wait+Screen     /World/
Wait+Line       /World/
Wait@10ms       /World/
Wait+Line@10ms  /World/
The default regular expression is />$/, the wait timeout is 15s, and the
default scope is Line.
The Sleep command allows you to continue capturing frames without interacting
with the terminal. This is useful when you need to wait on something to
complete while including it in the recording like a spinner or loading state.
The command takes a number argument in seconds.
Sleep 0.5   # 500ms
Sleep 2     # 2s
Sleep 100ms # 100ms
Sleep 1s # 1sThe Hide command instructs VHS to stop capturing frames. It's useful to pause
a recording to perform hidden commands.
HideThis command is helpful for performing any setup and cleanup required to record a GIF, such as building the latest version of a binary and removing the binary once the demo is recorded.
Output example.gif

# Setup
Hide
Type "go build -o example . && clear"
Enter
Show

# Recording...
Type 'Running ./example'
...
Enter

# Cleanup
Hide
Type 'rm example'The Show command instructs VHS to begin capturing frames, again. It's useful
after a Hide command to resume frame recording for the output.
Hide
Type "You won't see this being typed."
Show
Type "You will see this being typed."
The Screenshot command captures the current frame (png format).
# At any point...
Screenshot examples/screenshot.pngThe Copy and Paste copy and paste the string from clipboard.
Copy "https://github.com/charmbracelet"
Type "open "
Sleep 500ms
Paste
Env command sets the environment variable via key-value pair.
Env HELLO "WORLD"

Type "echo $HELLO"
Enter
Sleep 1sThe source command allows you to execute commands from another tape.
Source config.tapeYou can hook up VHS to your CI pipeline to keep your GIFs up-to-date with the official VHS GitHub Action:
VHS can also be used for integration testing. Use the .txt or .ascii output
to generate golden files. Store these files in a git repository to ensure there
are no diffs between runs of the tape file.
Output golden.asciiThere’s a tree-sitter grammar for .tape files available for editors that
support syntax highlighting with tree-sitter:
It works great with Neovim, Emacs, and so on!
We’d love to hear your thoughts on this project. Feel free to drop us a note!
Part of Charm.

Charm热爱开源 • Charm loves open source


