blackmagic-espidf is a project which aims to support debugging SWD and JTAG targets over wifi by integrating blackmagic probe firmware to the espressif IDF platform for esp8266.
- NEW Automatic Attach to target on connect to GDB server
- NEW Live Expressions support in STM32CubeIDE
- NEW Non-Stop GDB protocol and multiple GDB connections (beta)
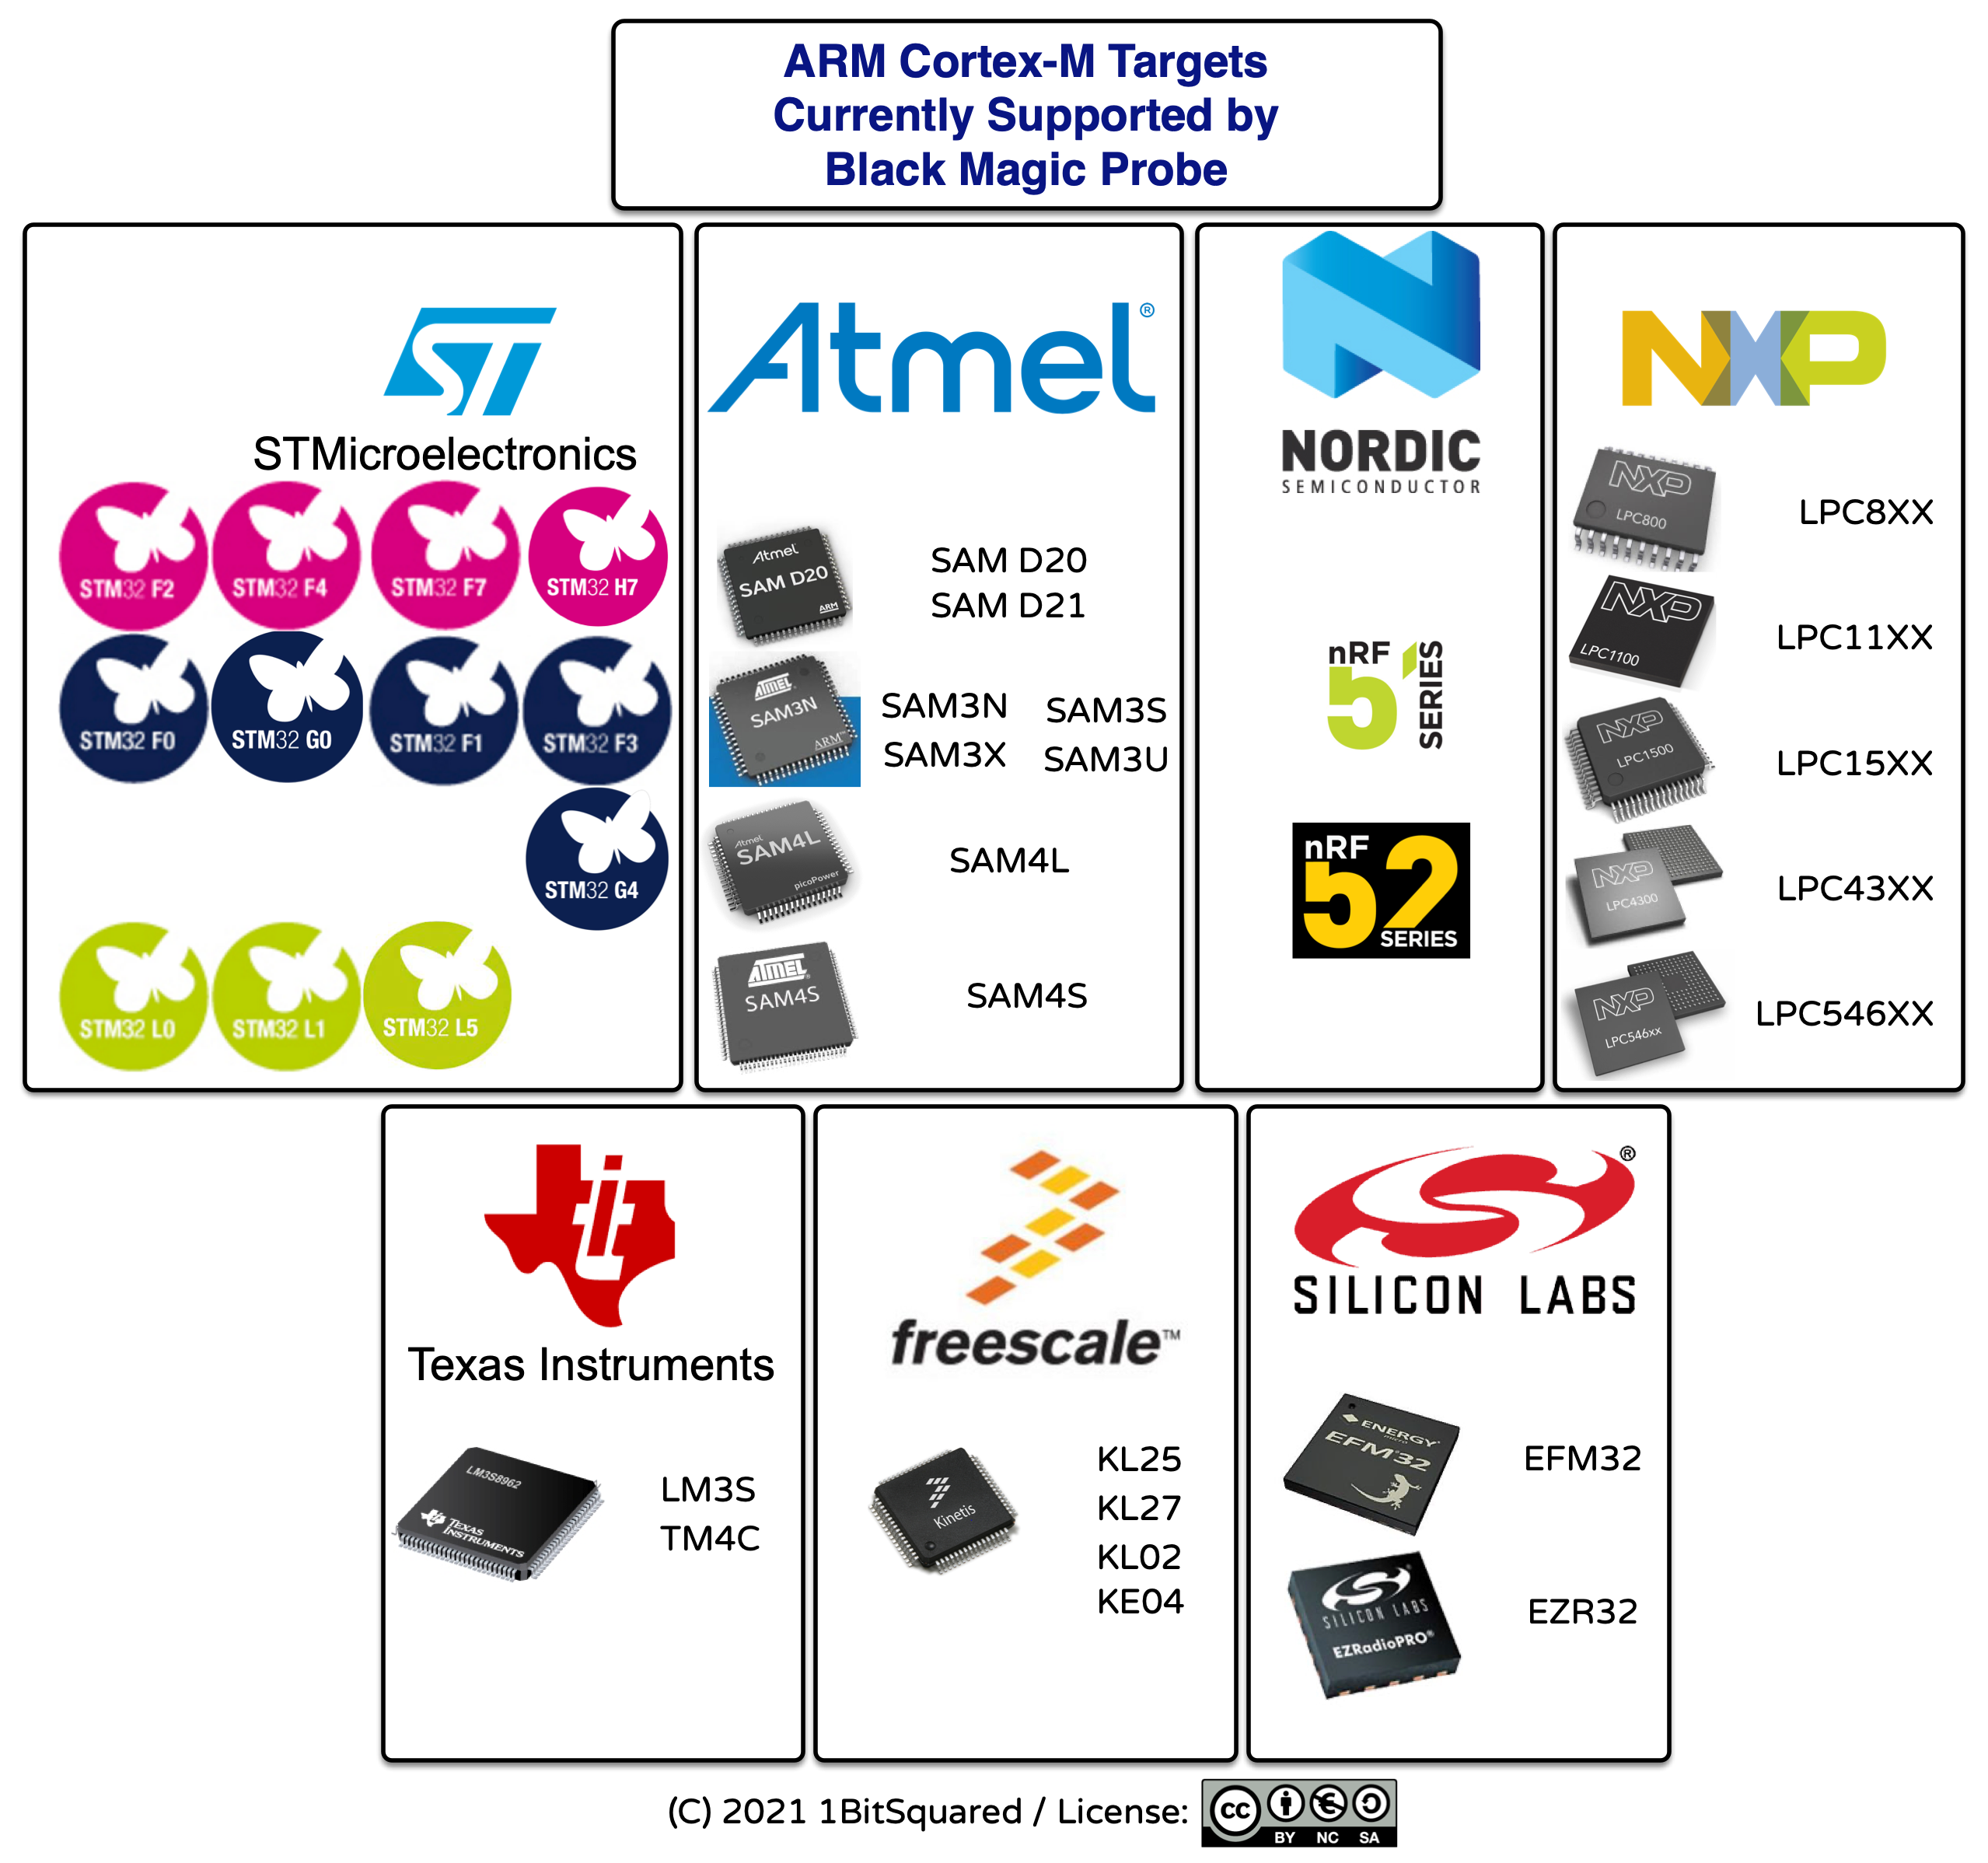
- All the debug features and supported targets of the blackmagic firmware:
- Targets ARM Cortex-M and Cortex-A based microcontrollers.
- Connects to the target processor using the JTAG or Serial Wire Debug (SWD) interface.
- Provides full debugging functionality, including: watchpoints, flash memory breakpoints, memory and register examination, flash memory programming, etc.
- Load your application into the target Flash memory or RAM.
- Single step through your program.
- Run your program in real-time and halt on demand.
- Examine and modify CPU registers and memory.
- Obtain a call stack backtrace.
- Set up to 6 hardware assisted breakpoints.
- Set up to 4 hardware assisted read, write or access watchpoints.
- Set unlimited software breakpoints when executing your application from RAM.
- Implements the GDB extended remote debugging protocol for seamless integration with the GNU debugger and other GNU development tools.
- GDB server on TCP port 2022
- Serial port server on TCP port 23
- Serial port over websocket on embedded http server (powered by xterm.js) @ http://192.168.4.1
- OTA updates over tftp
- Platform/BMP debug messages terminal over http://192.168.4.1/debug.html
Live Expressions in STMCubeIDE
STMCubeIDE settings
esp8266 module with >= 2MB flash. Default configuration is set for 4MB flash for OTA updates. It's possible to configure for other flash sizes. see make menuconfig
By disabling OTA it should work on 1MB devices.
GPIO0 - SWDIO
GPIO2 - SWCLK
TX0 - UART TXD
RX0 - UART RXD
Connecting to serial terminal can be done using socat:
socat tcp:192.168.4.1:23,crlf -,echo=0,raw,crlf
Before you start, ensure you have the toolchain set up. You can download it from the ESP8266 RTOS SDK repository and add it to your $PATH.
-
Clone the blackmagic-espidf repository:
git clone --recursive https://github.com/walmis/blackmagic-espidf.git cd blackmagic-espidf -
(Optional) Configure the settings using:
make menuconfig
-
Compile the project:
make
-
Flash the firmware using
esptool.pyover a serial connection:make flash
A pre-built Docker image is available as datxuantran/blackmagic-espidf, which significantly reduces the time spent installing all the necessary dependencies for this project.
-
Identify the Serial Port:
- Connect the ESP8266 to your Linux computer.
- Run the following command to find the connected serial port:
sudo dmesg | grep tty - Example output may look like
/dev/ttyUSB0, indicating that the ESP8266 is connected to this serial port.
-
Grant Your User Access to the Serial Port:
- Add your user to the
dialoutgroup to allow access:sudo usermod -aG dialout $USER - To apply the changes, run:
newgrp dialout
- Add your user to the
-
Run the Docker Image:
- Execute the following command to start the Docker container, replacing
/dev/ttyUSB0with your actual serial port:docker run -it --rm --device=/dev/ttyUSB0 datxuantran/blackmagic-espidf:latest
- Execute the following command to start the Docker container, replacing
-
Inside the Docker Container:
- You can now run the following commands:
- For configuration:
make menuconfig
- To compile and flash the firmware:
make flash
- To compile, flash, and monitor the firmware:
make flash monitor
- For configuration:
- You can now run the following commands:
To use the ESP8266 in Station mode, in the Blackmagic configuration section:
- Configure Station mode
- Specify the SSID and password you wish to connect to. NOTE: The SSID is case sensitive
- (optional) Specify a hostname to make it easier to connect to the probe.
When working on blackmagic-espidf it is frequently desirable to continue to use the ESP8266 UART for debugging. To achieve this you can disable Monitor target UART in the Blackmagic configuration section.
In this mode you will be unable to use the ESP UART to monitor the target and connecting the ESP UART to the target may result in undefined behavior since the debug messages will be sent to the target.
If the firmware is already on the esp8266 device, it is possible to flash using tftp. Make sure you have tftp-hpa package installed then run:
make tftpflashIf you find this project useful, consider buying me a coffee :-)
Don't forget to support Blackmagic developers !


