Create workflows that enable you to use Continuous Integration (CI) for your projects.
Welcome to "Develop code using GitHub Codespaces and Visual Studio Code"! 👋
What's the big deal about using a codespace for software development? A codespace is a development environment that's hosted in the cloud. You can customize your project for GitHub Codespaces by committing configuration files to your repository (also known as configuration-as-code), which creates a repeatable codespace configuration for all users of your project. Each codespace you create is hosted by GitHub in a Docker container that runs on a virtual machine. You can choose the type of machine you want to use depending on the resources you need.
GitHub offers a range of features to help your development team customize a codespace to reach peak configuration and performance needs. For example, you can:
- Create a codespace from your repository.
- Push code from the codespace to your repository.
- Use VS Code to develop code.
- Customize the codespace with custom images.
- Manage the codespace.
To begin developing using GitHub Codespaces, you can create a codespace from a template or from any branch or commit in a repository. When you create a codespace from a template, you can start from a blank template or choose a template suitable for the work you're doing.
We recommend opening another browser tab to work through the following activities so you can keep these instructions open for reference.
-
Start from the landing page of your repository.
-
Click the green Code button located in the middle of the page.
-
Select the Codespaces tab in the box that pops up and then click the Create codespace on main button.
Wait about 2 minutes for the codespace to spin itself up. Note: It's a virtual machine spinning up in the background.
-
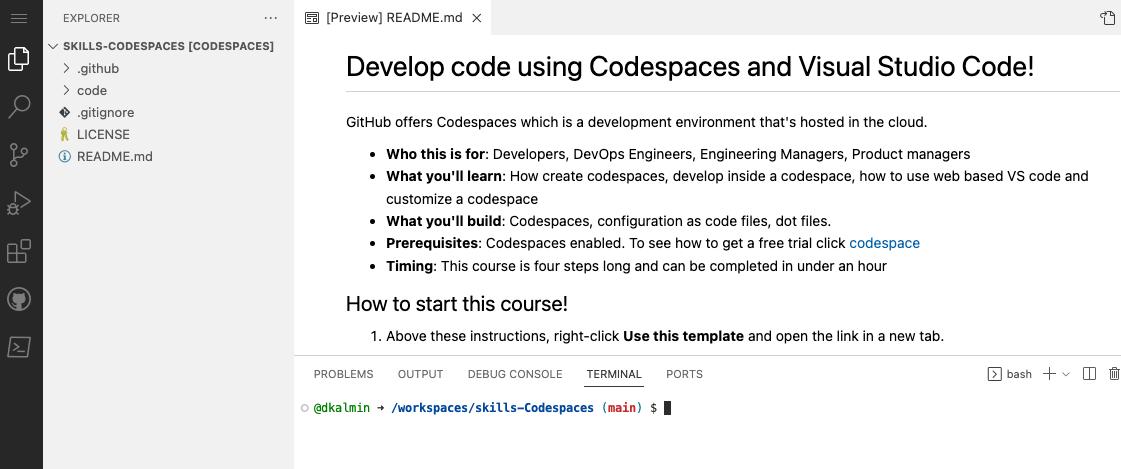
Verify your codespace is running. The browser should contain a VS Code web-based editor and a terminal should be present such as the below:

-
From inside the codespace in the VS Code explorer window, select the
index.htmlfile. -
Replace the h1 header with the below:
<h1>Hello from the codespace!</h1>
-
Save the file.
Note: The file should autosave.
-
Use the VS Code terminal to commit the file change by entering the following commit message:
git commit -a -m "Adding hello from the codespace!" -
Push the changes back to your repository. From the VS Code terminal, enter:
git push
-
Your code has been pushed to your repository!
-
Switch back to the homepage of your repository and view the
index.htmlto verify the new code was pushed to your repository. -
Wait about 20 seconds then refresh this page (the one you're following instructions from). GitHub Actions will automatically update to the next step.
Get help: Review the GitHub status page
© 2023 GitHub • Code of Conduct • MIT License