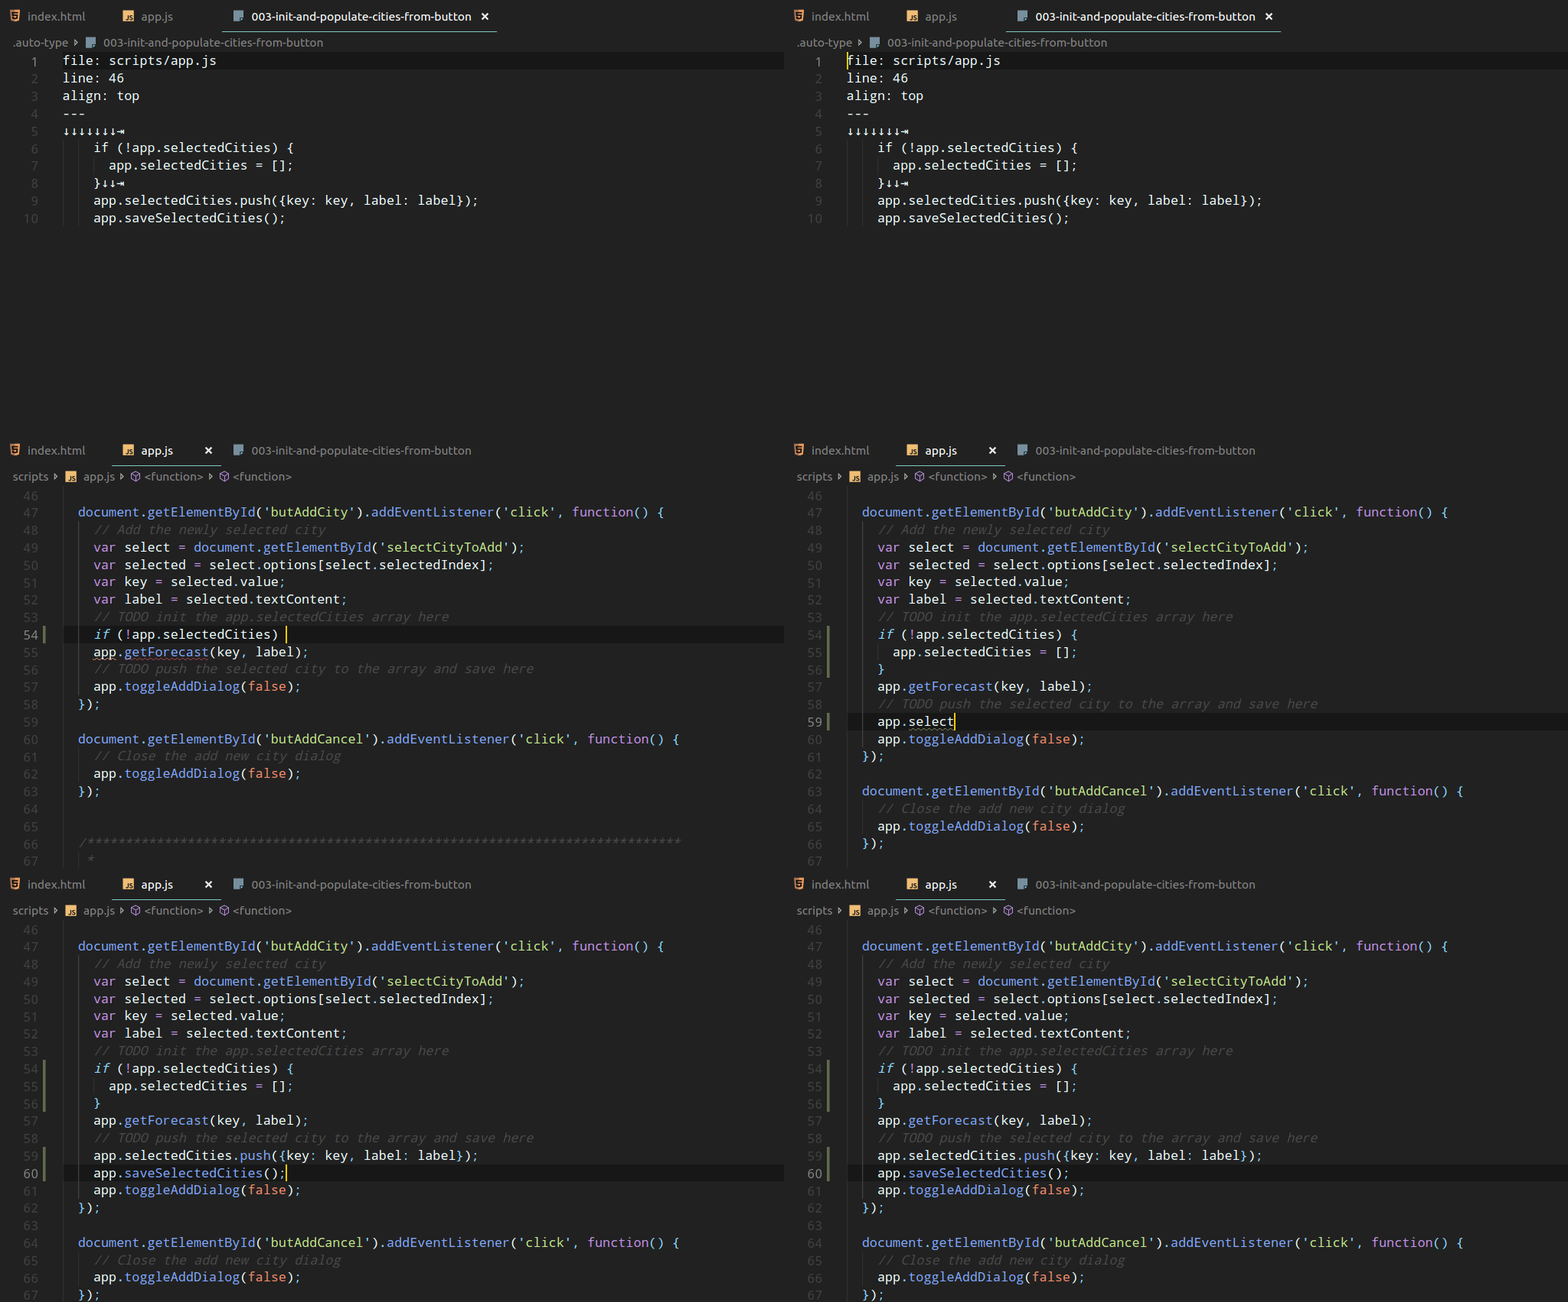
Never live code again! Type it up ahead of time in a simple format, then replay it for 100% typing accuracy each time.
In addition to typing code, auto-type can :
- move the cursor left and right
- move the cursor up and down
- Move the cursor to the beginning and end of the line
- delete characters
Here is auto-type in action:
To use auto-type, you type up the script you want to follow, one page at a time. The script pages are stored in the .auto-type directory in the root folder of your project. The script pages are ordered by filename.
Tip: To order your pages, give each page a name that starts with a number like
001-description,002-description-of-page-2, etc.
Script pages look like:
file: scripts/app.js
line: 46
align: top
---
↓↓↓↓↓↓↓⇥
    if (!app.selectedCities) {
      app.selectedCities = [];
    }↓↓⇥
    app.selectedCities.push({key: key, label: label});
    app.saveSelectedCities();
Pages consist of two parts (separated by a line with three dashes):
- The front-matter, which describes which file you're editing, line numbers, etc.
- The actual characters to type.
Front-matter goes at the top of the script page, above the triple-dash separator. Supported attributes include:
file- the path to the file to be edited (required, can be relative to your project's root directory)line- the line number to start at (optional, defaults to1)col- the column number of start at (optional, defaults to1)align- where to position the active line in the editor viewport (optional, defaults tomiddle, can also be set totop)
IMPORTANT: the file should already be open in VS Code when starting the script. Don't rely on auto-type to open it!
Tip: Use
colsparingly. It's more realistic to start at the beginning of the line, then arrow over to the place you want to start typing (seeScript Contentbelow)
TIP: Setting align to
topis useful with large functions / methods.
Inside script page files, the content can be as simple as code that you want to type:
file: service-worker.js
---
var cacheName = 'weatherPWA-step-6-1';
var filesToCache = [];
The real power of auto-type comes from it's active unicode support. Following is the list of active unicode characters supported by auto-type:
| Character | Name | Description |
|---|---|---|
| ↓ | Down Arrow | Move the cursor down one line |
| ↑ | Up Arrow | Move the cursor up one line |
| → | Right Arrow | Move the cursor right one character |
| ← | Left Arrow | Move the cursor left one character |
| ⇥ | Right Arrow Bar | Move the cursor to the end of the line |
| ⇤ | Left Arrow Bar | Move the cursor to the beginning of the line |
| ⌫ | Backspace | Delete the character to the left of the cursor |
Tip: combine active unicode to achieve realistic typing. For example, to move to the end of the line, then back three characters, use:
⇥←←←.
Tip: newlines are significant. Don't hit
Enterin between active unicode unless you want a newline. Newline at the end of the file will type insert a newline at the very end of typing.
A complete auto-type reference repo is available at https://github.com/eee-c/your-first-pwa. That repo has 5 different scripts, each with multiple pages, in five tags listed in the README.
Scripts are run one page at a time with the Play Code Script command.
While developing script, the Restart Code Script will restart the script with the first page.
I am unsure if this works on Windows yet.
There are no supported settings yet.
This is a very early release. It likely does not work on Windows yet with CRLF newlines and probably doesn't work with Windows file paths.
auto-type does not:
- trigger code completion
- trigger auto-termination of blocks (e.g. the closing parenthesis when the opening parenthesis is typed)
auto-type uses VS Code's insert API to "type." In other words, it copies and pastes code, one character at a time.
Initial beta release. Minimal viable features:
- Left/right cursor movement
- Up/down cursor movement
- Beginning/end of line movement
- Delete
