No longer maintained, sorry. Completely rewritten v2 is going to be released soon. Please follow http://github.com/logvoyage
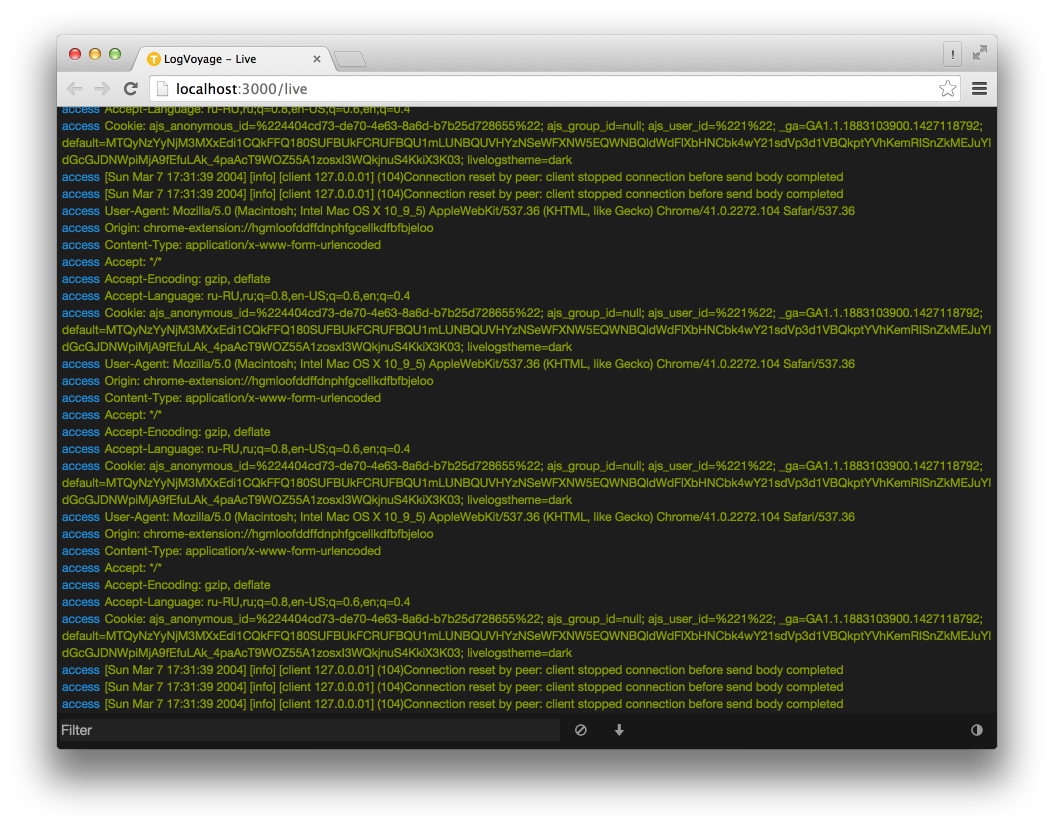
LogVoyage allows you to store and explore your logs in real-time with friendly web ui.
Table of Contents generated with DocToc
- Installation
- Usage
- Search data
- Third-party clients
- Submitting a Pull Request
- Front-end development
- Roadmap v0.1
- License
Installing LogVoyage is as easy as installing any other go package:
go get github.com/firstrow/logvoyage
logvoyage create_users_indexOnce you installed LogVoyage you need to start backend and web servers.
logvoyage start-allOr you can start/stop servers separately
logvoyage backend
logvoyage web
Once server started you can access it at http://localhost:3000.
Execute logvoyage help for more info about available commands.
By default LogVoyage opens two backend ports accesible to the outsise world.
- 27077 - TCP port
- 27078 - HTTP port
NOTE: Keep in mind to change `API_KEY` and `LOG_TYPE`.
You can find your api key at http://localhost:3000/profile page.
telnet 127.0.0.1 27077
API_KEY@LOG_TYPE {"message": "login", "user_id": 1}
API_KEY@LOG_TYPE simple text message
Now you can see your messages at http://localhost:3000 and try some queries
Or we can use curl POST request to send messages. Each message should be separated by new line.
echo 'This is simple text message' | curl -d @- http://localhost:27078/bulk\?apiKey\=API_KEY\&type\=LOG_TYPE
echo '{"message": "JSON format also supported", "action":"test"}' | curl -d @- http://localhost:27078/bulk\?apiKey\=API_KEY\&type\=LOG_TYPERefer to Query String Syntax for more info about text queries available.
Examples:
user_id:1
simple*
amount:>10 and status:completedIf you know any programming language, you can join our project and implement LogVoyage client.
- Propose a change by opening an issue.
- Fork the project.
- Create a topic branch.
- Implement your feature or bug fix.
- Commit and push your changes.
- Submit a pull request.
To manage 3rd-party libraries simply add it to static/bower.json and run
bower install
We are using grunt to build project js and css files. Execute next commands to setup environment:
npm install
grunt
After grunt is done, you can find result files in static/build directory.
To automatically rebuild js, css, coffee, less files simply run in console
grunt watch
// Sample coffescript code
PubSub.subscribe "log_message", (type, data) ->
  console.log data.message
Sample messages:
{
	"type": "log_message",
	"log_type": "nginx_access",
	"message": "test received log message goes here..."
}
{
"type": "logs_per_second",
"count": 5
}- Daemons
- Zero-downtime deployment
- Finish web ui
- Docker image
- Docs
LogVoyage is available without any costs under an MIT license. See LICENSE file for details.


