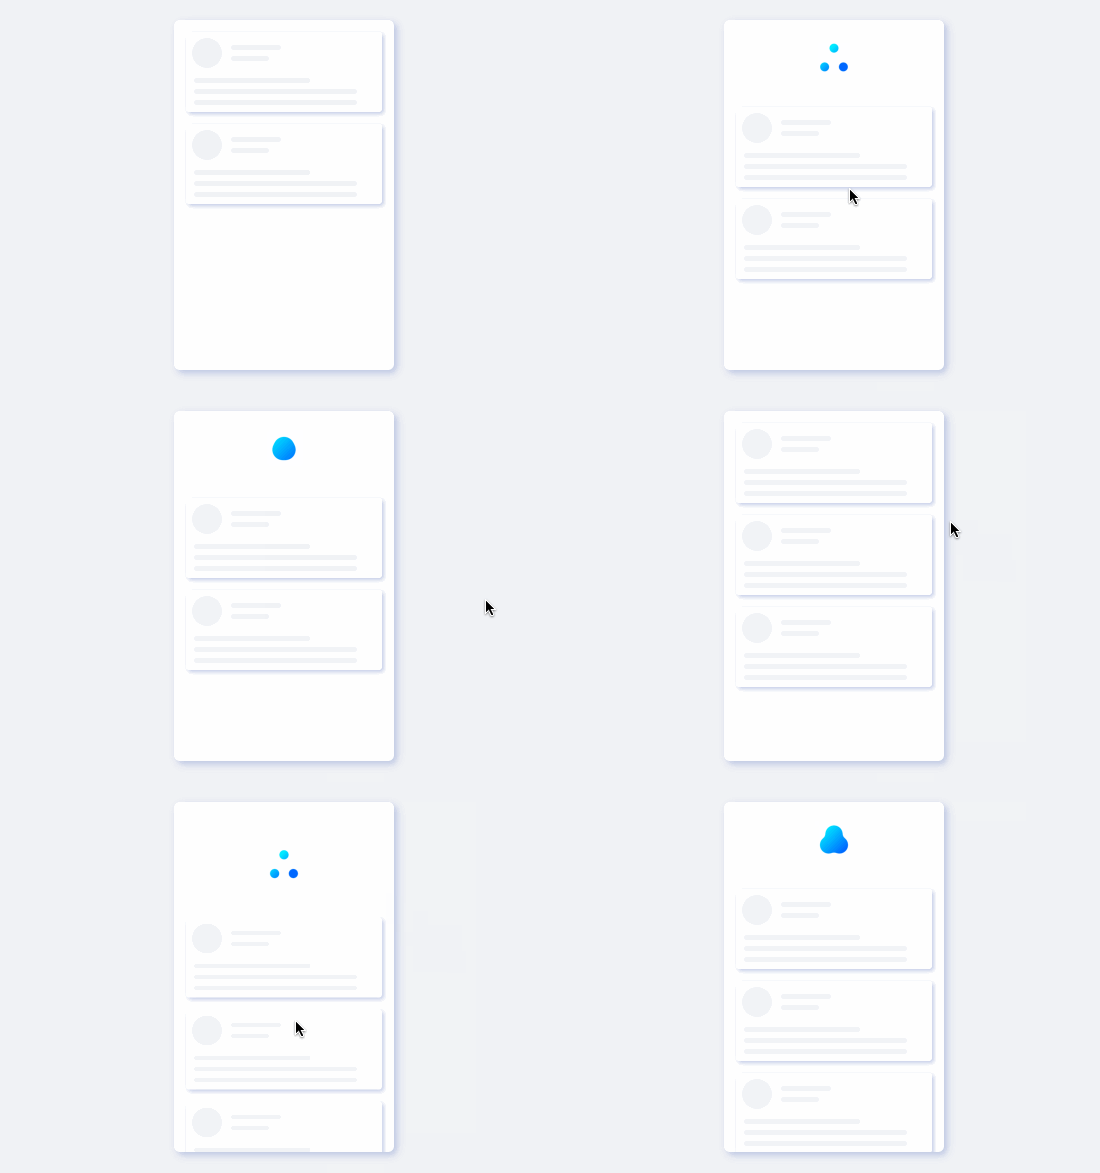
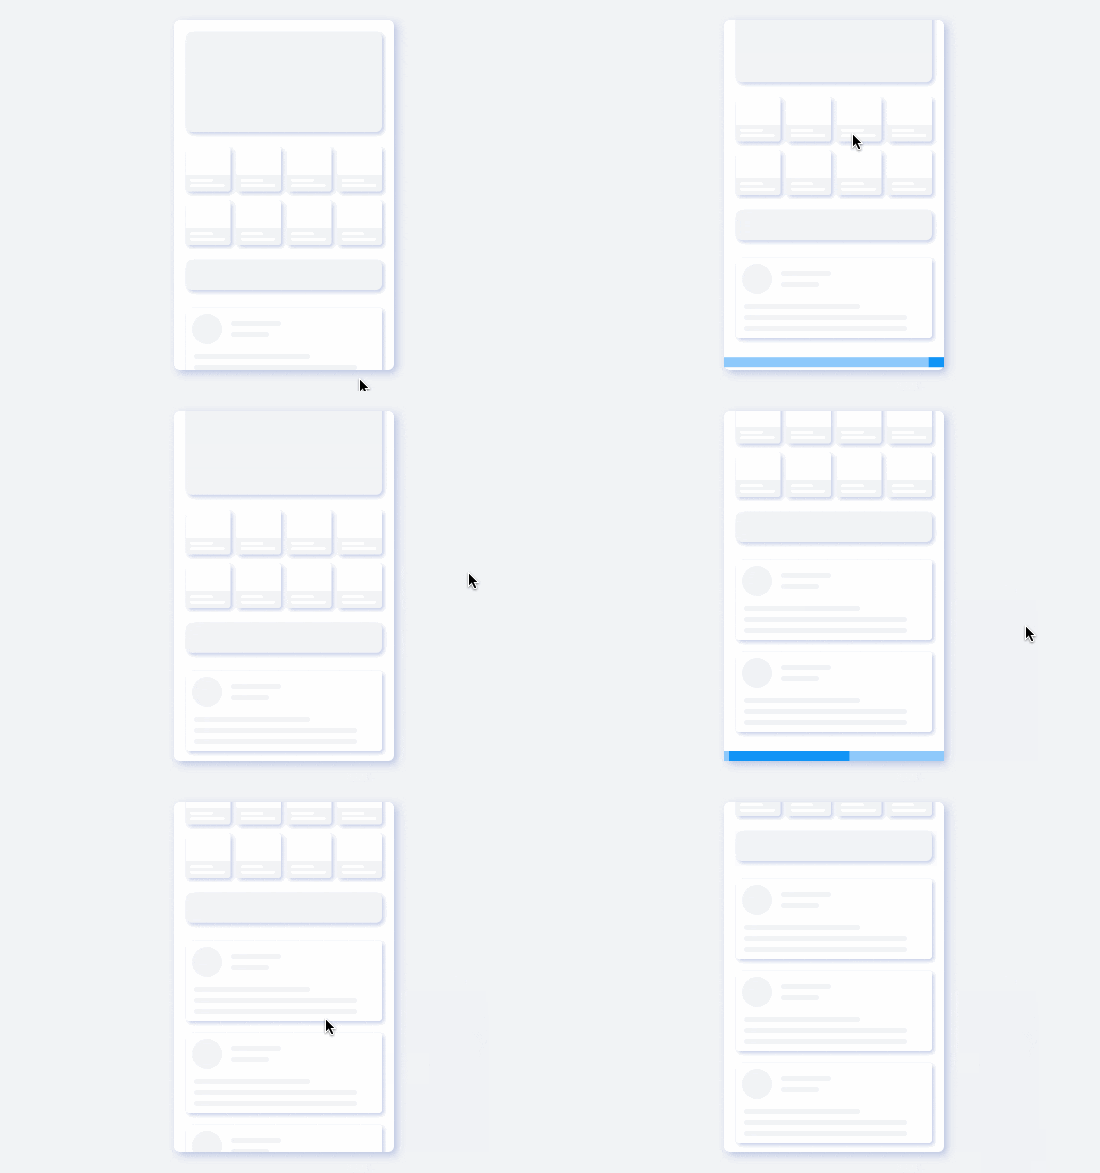
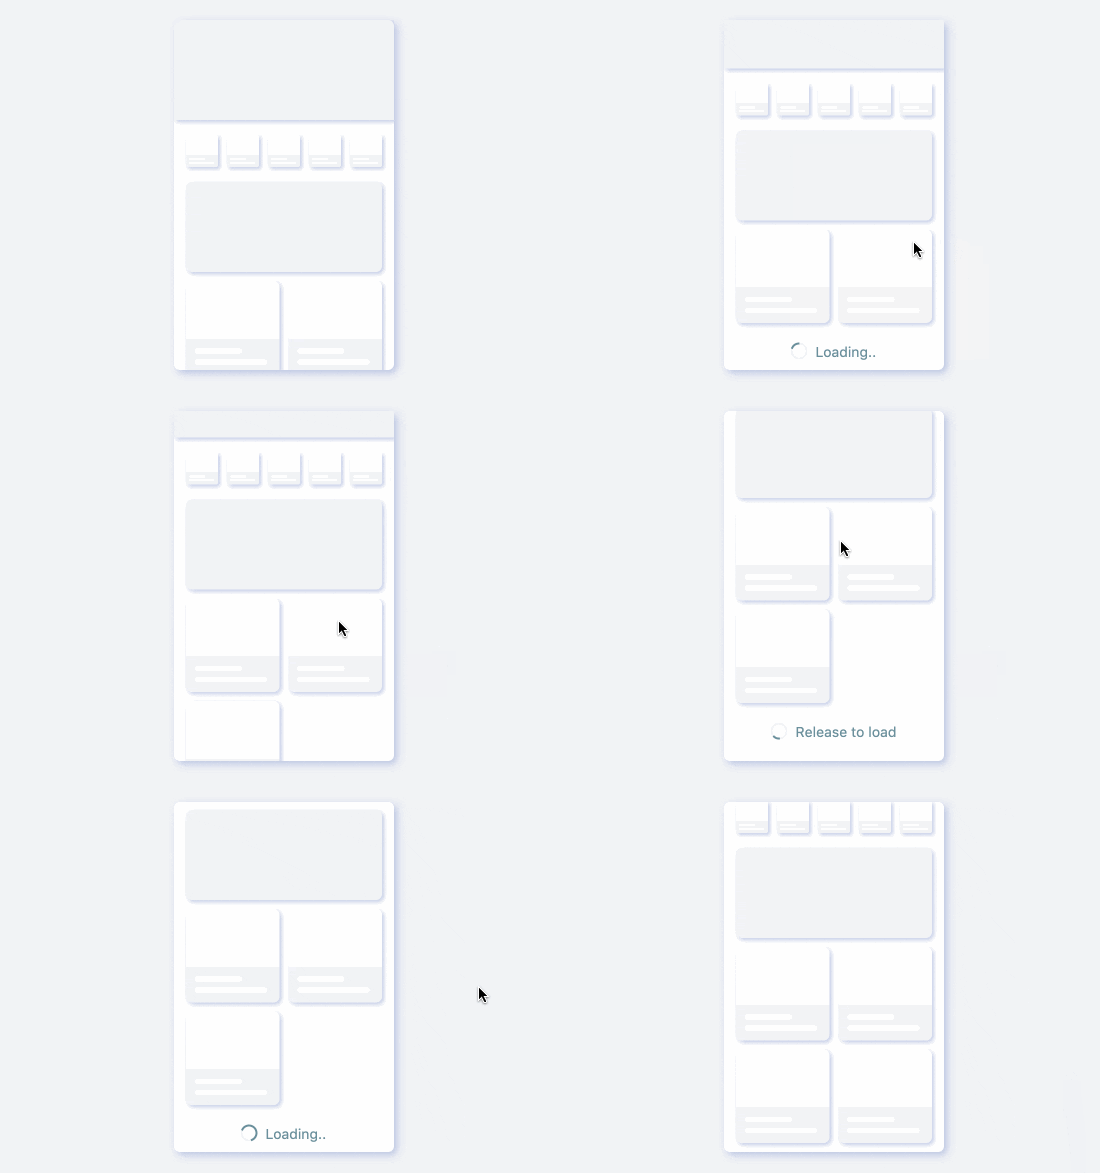
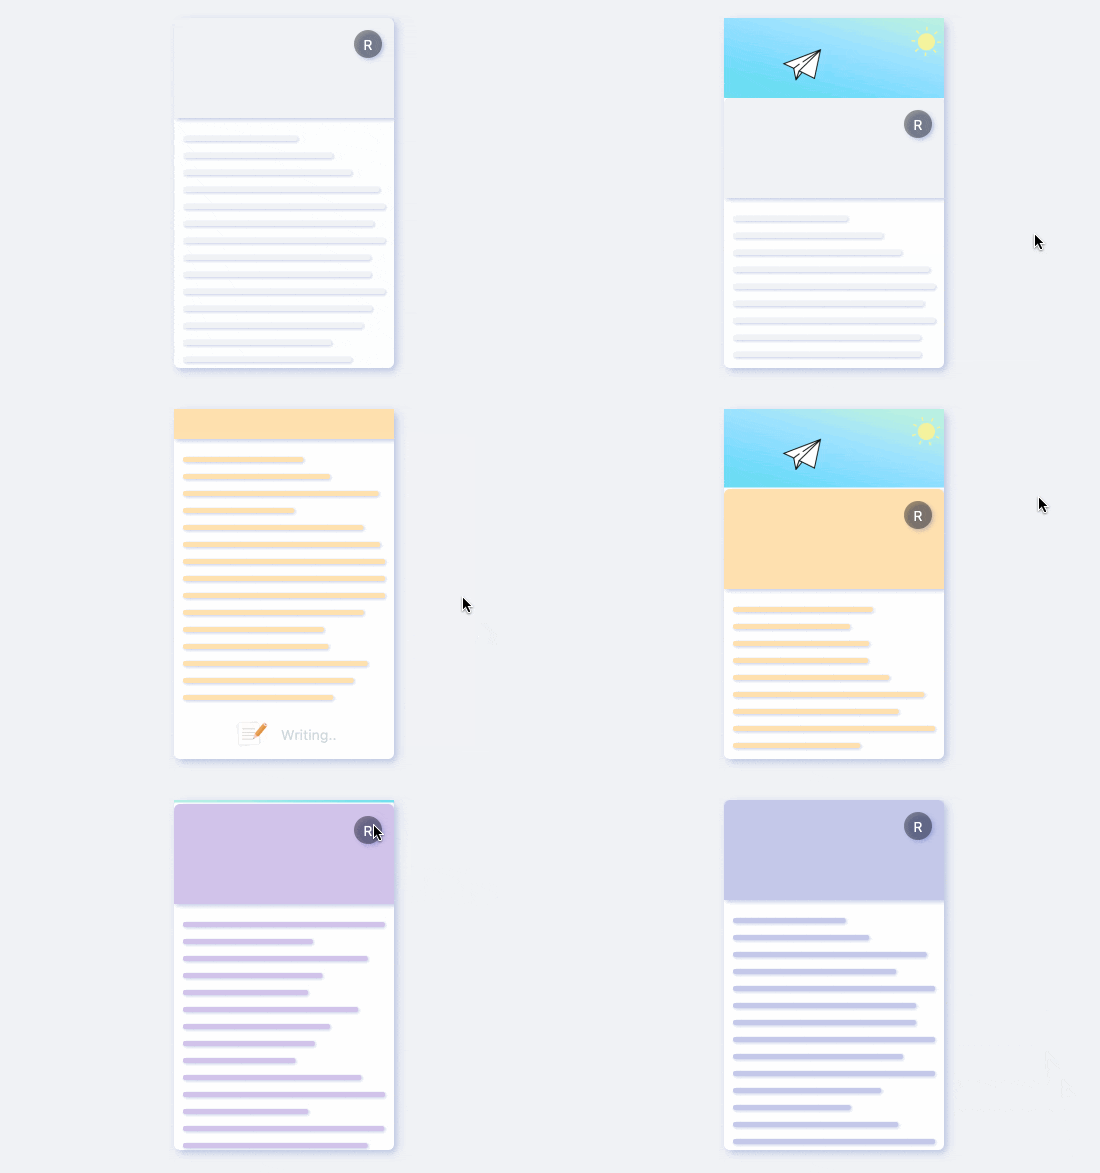
Help you to build pull-down refresh and pull-up loading in the simplest way.
Although unprecedented simplicity, but the effect is amazing. It also supports configuration refresh and loading elements. The complete controller allows you to help you control the entire dynamic process.
Author:Newton(coorchice.cb@alibaba-inc.com)
 |
 |
 |
 |
 |
 |
English | 简体中文
Like it? Please cast your Star 🥰 !
| Param | Type | Necessary | Default | desc |
|---|---|---|---|---|
| child | Widget | true | null | Main view content |
| header | Widget | false | null | Elements that will be displayed when you pull down and refresh |
| headerBuilder | HeaderBuilder | false | null | Construct a pull-down refresh element. [Header] configuration will be overwritten. |
| headerHeight | double | false | 50.0 | [header] The height of the area |
| headerTrigger | double | false | 0.0 | The distance to trigger pull-down refresh should be greater than [headerHeight] |
| onRefresh | VoidCallback | false | null | Callback when refresh is triggered |
| footer | Widget | false | null | Elements that will be displayed when pulling up |
| footerBuilder | FooterBuilder | false | null | Build pull-up loading elements. Will override [footer] configuration. |
| footerHeight | double | false | 0.0 | [footer] The height of the area |
| footerTrigger | double | false | 0.0 | The distance to trigger the pull-up loading should be greater than [headerHeight] |
| shouldLoad | bool | false | true | Whether the pull-up load should be triggered. In some scenarios, when the loading is completed, the pull-up loading element will need to be turned into a footer |
| onLoad | VoidCallback | false | null | Callback when loading is triggered |
| controller | FRefreshController | false | null | [Refresh] controller. See [Refresh Controller] for details |
| Param | Type | Desc |
|---|---|---|
| refreshState | RefreshState | Get the pull-down refresh status. See [RefreshState] for details |
| loadState | LoadState | Get the pull-up loading status. See [LoadState] for details |
| position | double | Current scroll position |
| scrollMetrics | ScrollMetrics | Current scroll information. See [ScrollMetrics] for details. |
| backOriginOnLoadFinish | bool | When loading is completed, whether to return to the original position. This parameter is useful when the GridView only adds one element. |
void refresh({Duration duration = const Duration(milliseconds: 300)})
Actively trigger pull-down refresh.
[duration] The duration of the pull-down effect. Default 300ms
finishRefresh()
End pull-down refresh.
finishLoad()
End pull-up loading.
void setOnStateChangedCallback(OnStateChangedCallback callback)
Set up status listener. e.g .:
controller.setOnStateChangedCallback((state){
  if (state is RefreshState) {

  }
  if (state is LoadState) {

   }
})
void setOnScrollListener(OnScrollListener onScrollListener)
Set up scroll listener. Receive [ScrollMetrics].
void scrollTo(double position, {Duration duration = const Duration(milliseconds: 300)})
Scroll to the specified position.
void scrollBy(double offset, {Duration duration = const Duration(milliseconds: 300)})
Scroll the specified distance.
void jumpTo(double position)
Jump to the specified position.
| Value | Desc |
|---|---|
| PREPARING_REFRESH | Reach [headerTrigger], ready to enter refresh state |
| REFRESHING | Refreshing |
| FINISHING | Refresh ending |
| IDLE | Idle state |
| Value | Desc |
|---|---|
| PREPARING_LOAD | Reach [footerTrigger], ready to enter the loading state |
| LOADING | Loading |
| FINISHING | Load ending |
| IDLE | Idle state |
This is our most common pull-down refresh example in daily development 🌰. Believe me, if you want to build such an effect, it will be very difficult!
But if you use FRefresh, the situation is completely different.
Next, we only need a few lines of code to complete the construction of this effect.
/// Create a controller
FRefreshController controller = FRefreshController()
FRefresh(

  /// Set up the controller
  controller: controller,

  /// create Header
  header: buildRefreshView(),

  /// Need to pass the size of the header area
  headerHeight: 75.0,

  /// Content area widget
  child: ListView.builder(
      physics: NeverScrollableScrollPhysics(),
      shrinkWrap: true,
      ...
  ),

  /// This function will be called back after entering Refreshing
  onRefresh: () {

     /// End refresh via controller
     controller.finishRefresh();
  },
);
Done 🔨!
This is all you need to do to create a pull-down refresh.
FRefresh takes care of everything, developers only need to focus on the construction of the Header area and content area.
⚠️ Attention,To use ListView, GridView in FRefresh, you need to configure theirphysics: NeverScrollableScrollPhysics (),shrinkWrap: true, otherwise it will affect the scrolling and layout effects.
FRefresh(
  controller: controller,

  /// Build the header area with headerBuilder
  headerBuilder: (setter, constraints) {
    return FSuper(

       /// Get the available space in the current header area
       width: constraints.maxWidth,
       height: constraints.maxHeight,
       ...
       onClick:{
          setter((){
             /// Refresh the header area
          })
       },
    );
  },
  headerHeight: 100.0,

  /// Build content area
  child: GridView.builder(),

  /// This function will be called back after entering the refreshing state
  onRefresh: () {

    /// finish refresh
    controller.finishRefresh();
  }
)
FRefresh provides a very flexible Header area construction method, which is to complete the construction through the HeaderBuilder function.
In the HeaderBuilder function, the developer can get the refresh function StateSetter for the partial refresh Header area and the real-time size of the Header area through the parameters.
This way, the Header area is given more open creativity.
Corresponding to the pull-down refresh, the construction of the pull-up loading effect is also very simple.
/// Create a controller
FRefreshController controller = FRefreshController()
FRefresh(

  /// Setup the controller
  controller: controller,

  /// create Footer area
  footer: LinearProgressIndicator(),

  /// need to setup Footer area height
  footerHeight: 20.0,

  /// create content area
  child: builderContent(),

  /// This function will be called back after entering the Loading state
  onLoad: () {

    /// End loading state
    controller.finishLoad();
  },
)
Building pull-ups is equally simple enough. Developers only need to pay attention to the construction of Footer area and content area, and the state changes and visual effects control during the pull-up loading process can be safely handed over to FRefresh.
FRefresh(
  controller: controller,

  /// Build Footer Area Widget by FooterBuilder
  footerBuilder: (setter) {

    /// Get refresh status, partially update the content of Footer area
    controller.setOnStateChangedCallback((state) {
      setter(() {
        ...
      });
    });
    return buildFooter();
  },
  footerHeight: 38.0,
  child: buildContent(),
  onLoad: () {
    controller.finishLoad();
  },
)
FRefresh also provides a builder function FooterBuilder for building the Footer area. Through this function, you can get the refresh function StateSetter which refreshes only the Footer area.
In this way, the developer can easily change the view of the footer area according to the status or some other conditions. Very intimate 🥰.
FRefresh provides developers with intimate controllers FRefreshController, which supports many convenient capabilities.
/// Create Controller
FRefreshController controller = FRefreshController()

/// Configure controller for FRefresh
FRefresh(
  controller: controller,
)
When the developer creates a controller and then sets it into a FRefresh, the controller can start to monitor the status of this FRefresh and control it.
When the refresh state or loading state is triggered, data processing tasks such as network requests are usually performed. After these tasks are completed, we need to stop the refresh state or loading state. How to do it?
-
controller.finishRefresh()Can stop refreshing -
controller.finishLoad()Can stop loading
controller5.setOnStateChangedCallback((state) {
  /// Refresh status
  if (state is RefreshState) {
  }
  /// Loading state
  if (state is LoadState) {
  }
});
Through the above simple code, you can monitor the status change of FRefresh, whether it is pull-down refresh or pull-up loading.
controller.setOnScrollListener((metrics) {
  /// Get scroll information
});
FRefreshController It is really convenient to add sliding monitor. The parameters received is [ScrollMetrics],it can get very comprehensive information such as current scroll distance, maximum scroll distance, whether it exceeds the scroll range, etc..
Through FRefreshController, developers can also actively trigger a refresh, and can specify the length of time to slide to the refresh position.
controller.refresh(duration: Duration(milliseconds: 2000));
This feature is very useful in many scenarios.
FRefreshController provides a variety of intimate and delicate sliding controls for developers to choose.
/// Scroll to the specified position
controller.scrollTo(100.0, duration:Duration(milliseconds: 2000));

/// Scroll the specified distance
controller.scrollBy(20.0, duration:Duration(milliseconds: 800));

/// Jump to the specified position
controller.jumpTo(100.0);
This makes many beautiful interactions easier to build.
Add dependencies in the project pubspec.yaml file:
dependencies:
  frefresh: ^<version number>
⚠️ Attention,please go to [pub] (https://pub.dev/packages/frefresh) to get the latest version number of FRefresh
dependencies:
  frefresh:
    git:
      url: 'git@github.com:Fliggy-Mobile/frefresh.git'
      ref: '<Branch number or tag number>'
⚠️ Attention,please refer to [FRefresh] (https://github.com/Fliggy-Mobile/frefresh) official project for branch number or tag.
Copyright 2020-present Fliggy Android Team <alitrip_android@list.alibaba-inc.com>.

Licensed under the Apache License, Version 2.0 (the "License");
you may not use this file except in compliance with the License.
You may obtain a copy of the License at following link.

    http://www.apache.org/licenses/LICENSE-2.0

Unless required by applicable law or agreed to in writing, software
distributed under the License is distributed on an "AS IS" BASIS,
WITHOUT WARRANTIES OR CONDITIONS OF ANY KIND, either express or implied.
See the License for the specific language governing permissions and
limitations under the License.
Like it? Please cast your Star 🥰 !
-
clone project to local
-
Enter the project
exampledirectory and run the following command
flutter create .
- Run the demo in
example
