Before you execute deblur, you have to blur your images. I will show you that by Gassuain in Python. You can follow or neglect it and go through deblurgan-v2 directly.
First you have to install opecv in your python. And here is the code.
pip install opencv-python
After that the main code is here. The parameters that you need to modify is line.3 the image name and path. And also line.11 ,line.12 about the width and hight of Gaussian kernal.
import cv2
import numpy as np
img = cv2.imread('ori.jpg')

# dst = cv2.GaussianBlur(img,ksize=(5,5),sigmaX=0,sigmaY=0)
# 建立毛玻璃特效
# 引數2:高斯核的寬和高(建議是奇數)
# 引數3:x和y軸的標準差

output1 = cv2.blur(img, (5, 5))
output2 = cv2.blur(img, (25, 25))

#存檔
cv2.imwrite('gaussian1.jpg', output1)
cv2.imwrite('gaussian2.jpg', output2)

#秀在螢幕上
#cv2.imshow('gaussian', )
#cv2.waitKey()
Demonstration:
Original image
 Gaussian kernal is setted by (5,5).
 Gaussian kernal is setted by (25,25).

There are 4 steps in the part.
👉Step.1
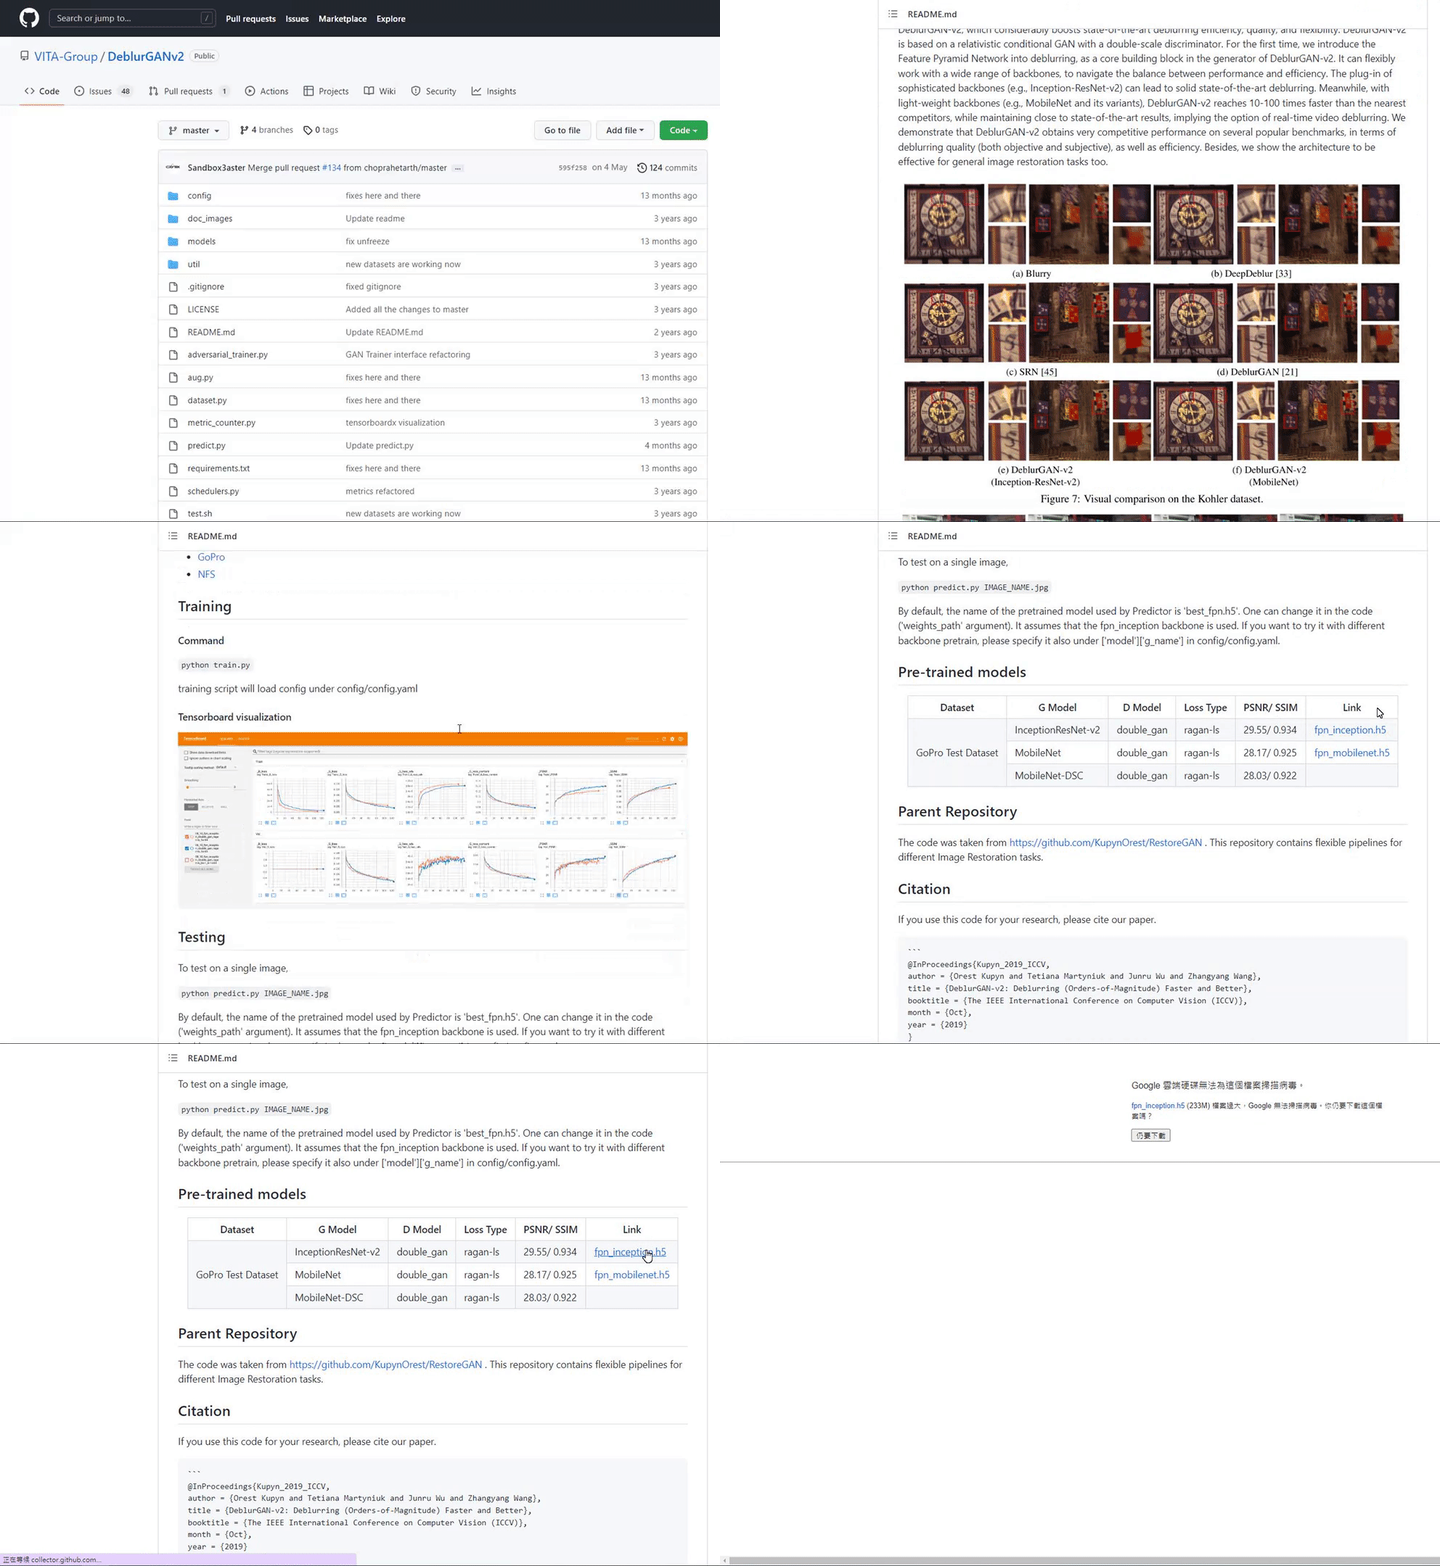
Download the material from Github 🔗 https://github.com/VITA-Group/DeblurGANv2 .
then unzipping it in your desktop.
👉Step.2
Download the weight on Github. There are 2 weights you can chooose. After that, renamed it as best_fpn.h5.

👉Step.3
Download the packages of Torch if you run it with GPU from 🔗 https://mirror.sjtu.edu.cn/pytorch-wheels/cu110/?mirror_intel_list .
⭐BTW, cp means the version of your python.⭐ You can check your python by the command python --version
I have no idea about CPU, you need to serch it by yourself. Besides, if you don't have cuda, well... Good luck. SEARCH IT !!! It's soooo easy. But if you have any questions, you can ask me.
pip install **path/torch-1.7.1+cu110-cp39-cp39-win_amd64.whl
pip install **path/torchvision-0.8.2+cu110-cp39-cp39-win_amd64.whl
👉Step.4
Execute it!! python predict.py **path/image.jpg or python predict.py **path/video.mp4
End, we finished it !!!!!😉


