After Ironhack, you have decided to work in the movie industry, and you've found a job where you need to manage the contacts of a famous producer.
Your task is to create a contact management app for the producer using Vue.js.
-
Fork this repo
-
Clone this repo
-
Open the LAB and start:
$ cd lab-vue-ironcontacts
$ npm install
$ npm start
-
Upon completion, run the following commands:
git add .
git commit -m "done"
git push origin main
-
Create a Pull Request so that your TAs can check your work.
Clean the App.js component so that it has the following structure:
// src/App.js
import "./App.css";

function App() {
  <template>
  <div id="app"></div>
</template>
}
export default App;Let's take a look at the starter code.
Inside the src folder we have a contacts.json file containing the producer's contacts. Import the contacts.json file to App.vue. Once done, create a ref variable named contacts and store an array containing the first 5 contacts.
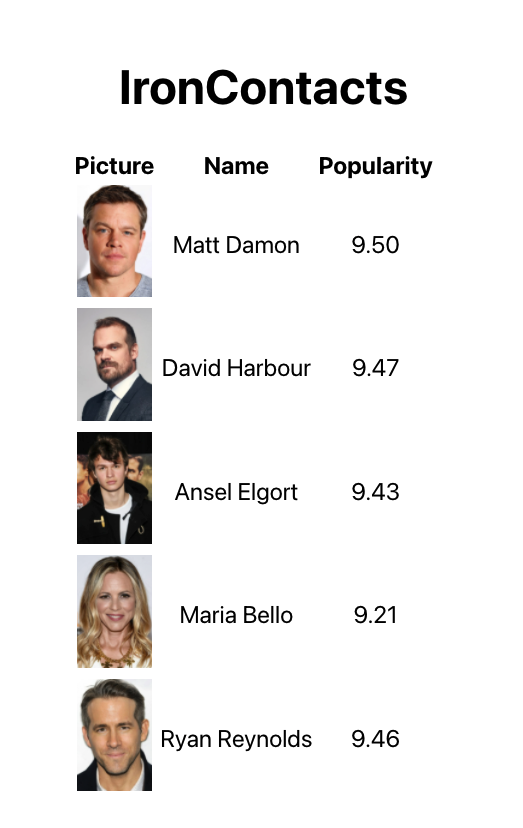
Display that array of 5 contacts as a list in a <table> and display the picture, name, and popularity of each contact.
For now, let's render the content in App.vue. This being said, don't proceed to create a dedicated component for the contact list. The reason will become a bit clearer later when we add the delete button next to each contact. You are probably not yet familiar with the concept of "lifting state up" and passing callbacks as props. For this reason, it is better to render everything in one component for the moment.
Let's proceed.
To import contacts.json in App.vue, you can use:
import contacts from "./contacts.json";At the end of this iteration, your application should look like this:
The producer would like to see the information about the awards that contact has won.
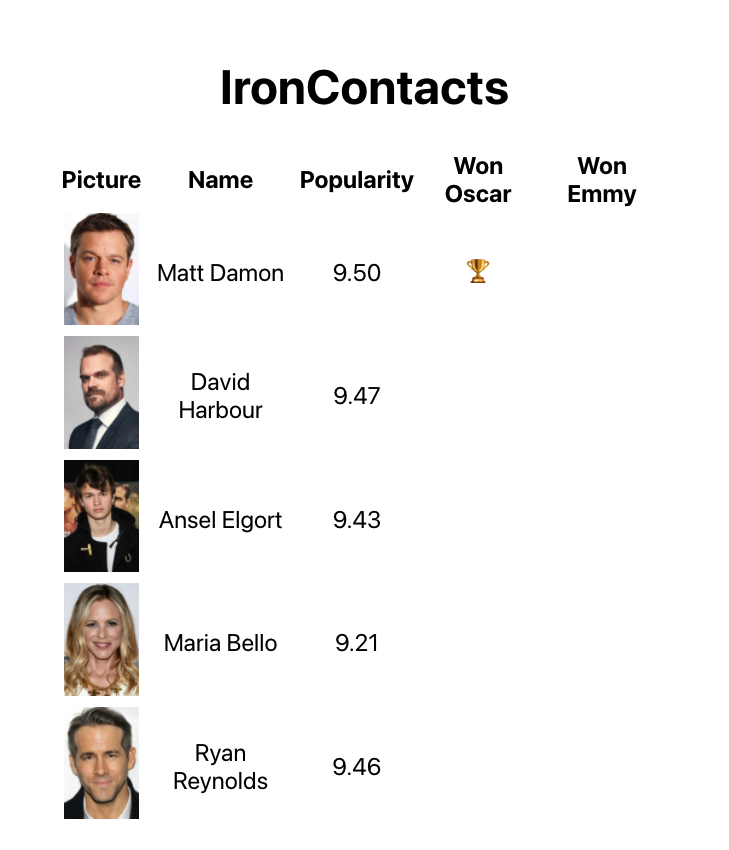
Update the list and add two more columns "Won an Oscar" and "Won an Emmy", at the end of the table. Then, depending on the value wonOscar and wonEmmy of each contact, conditionally render a trophy icon 🏆 or no content.
Once done, your application should look like this:
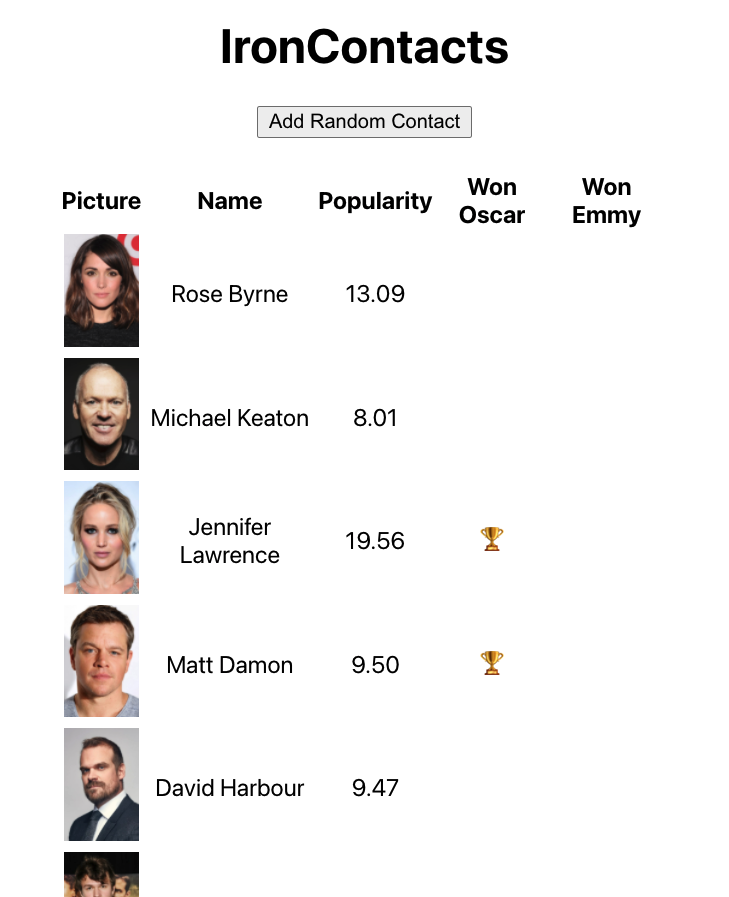
In your application, create a Add Random Contact button. Every time you click on this button, it should add a new random contact to the contacts. You should get random contacts from the remaining contacts that are still not showing.
First, randomly select a contact from the array of remaining contacts. Then add that contact to the array that lives in your data ref (that's the previously created array of 5 contacts).
At the end of this iteration, your website will probably look like this:
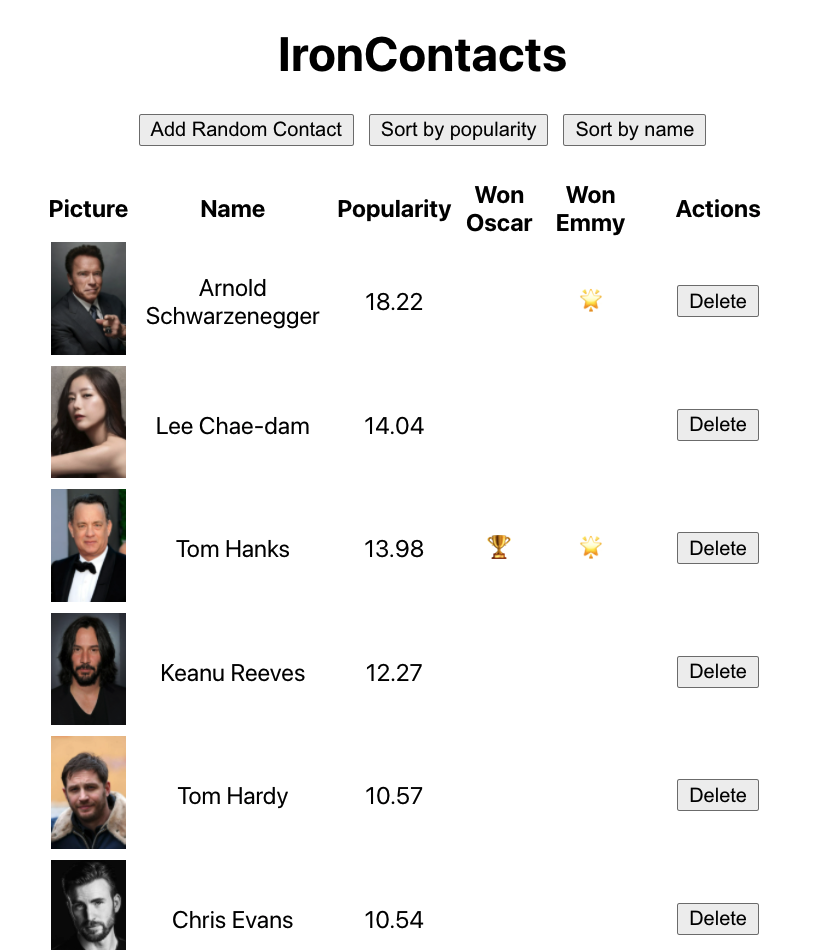
The producer asked you to add two new buttons to help them sort their contacts. When you click on one of the buttons, it should sort the table by name (alphabetically), and when you click the other, it should sort by popularity (highest first).
Once you have sorted the array, remember to update the state variable holding the contacts.
This is what you should have at the end of this iteration:
The producer also would like to remove some of their contacts. Implement a Delete button on each row of your <table> that will let the user remove the contact they clicked.
When they click, you should get the id of that actor and use it to remove the contact from the array. Remember to update the state variable holding the contacts after you remove the contact!
When done, your app should look like this (after playing a little bit with the Delete button):
Unfortunately, this contact list isn't production-ready. We are in the movie business! It has to sparkle! Add some beautiful CSS to make the app "pop".
Happy coding! 💙


