Slack application that allows users to keep track of their working hours and history through slack commands.
- Clockzy
- Introduction
- How to use
- Considerations before starting
- Create your user
- Clock your actions
- Check your worked time
- Check your worked time history
- Check your clock history
- Check your today info
- Check the availability of another user
- Create an username alias
- Check the aliases already created
- Link your account to the Intratime app
- Unlink your Intratime account
- Update your user information
- Delete your user
- Manage your clockings: view, add, edit, and delete
- Get commands help
- How to deploy
- Contributions
Clockzy app is an application that allows to keep an individual time control in a very comfortable way.
Users will be able to record different actions (entry, pause, return and out) to later make queries on the time worked, history ... and even know if other colleagues are available at that time.
In addition, it offers the possibility of integrating these clockings with the Intratime application.
In short, this application offers the following capabilities:
- Clock your entry, pause, return or out action.
- Get your total worked time (clocked).
- Get your clock history.
- Get your worked time history.
- Check if other users of the application are active at that moment.
-
All messages generated as a result of any command are of private visibility, thus avoiding flooding public conversations and preventing the rest of the users from seeing your information or actions.
-
If you link your user to an intratime account, the password is stored in encrypted form.
-
The clockzy app will only deal with requests made by slack, using a signature key. This prevents unwanted access in external applications.
Create your user by simply typing /sign-up in the chat of any slack channel (not threads)
Note: You do not need to enter any data, since will be used your slack profile data.
Once the user is registered (you only need to do it once), you can clock your action (IN, PAUSE, RETURN or OUT) in the intratime application using:
/clock <action>
Allowed parameters: in, pause, return, out.
If the action is successful, the following message will be displayed:
If you have linked your user with your account in Intratime, then the icon on the right representing the action will be orange.
This functionality also filters out possible inconsistent clockings, such as trying to clock a RETURN without a
previous PAUSE ... In this case, we can see messages like the following:
Check how long you have been working, making the calculation based on the clockings you have made. You can get this calculation for today, week or month, using:
/time <time_range>
Allowed parameters: today, week, month.
In addition, it has an icon that will change color depending on the number of hours you have been working:
- 🟢 You have already completed the required time (
[0h, 7h)) - 🟡 You are close to meet the required time (
[7h, 8h)) - 🔴 You are still some time away from the required time (
[8h, ))
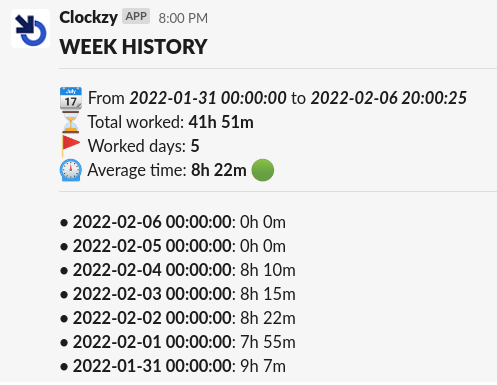
Get the worked time history that you have done during a period of time, using:
/time-history <time_range>
Allowed parameters: today, week, month.
Note: There will also be a color indicator according to the average time.
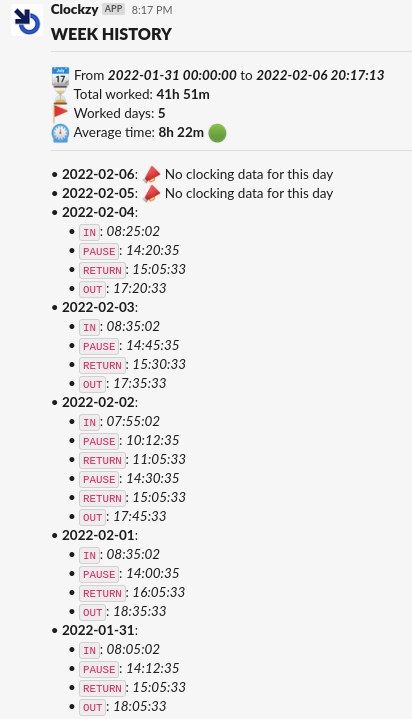
Check all the clockings that you have made in a period of time, using:
/clock-history <time_range>
Allowed parameters: today, week, month.
Note: There will also be a color indicator according to the average and total time.
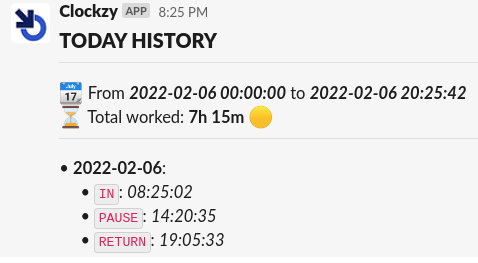
Check the time worked and actions recorded for today with a simple command. To do this use:
/today
Note: There will also be a color indicator according to the total time.
To check if another user is currently available (based on the last registered action), use the following command:
/check <username or alias>
It can be difficult to know the exact user name, so you can create a specific alias for that user, and perform the check using that alias.
To facilitate the availability query on users, it is possible to create a specific alias to perform this query. You can create an alias with the following command:
/alias <username> <alias>
For example, let's create an alias called jonathan_qa for the jmv74211 username.
/alias jmv74211 jonathan_qa
From now on, we can query the user's status using that alias:
/check
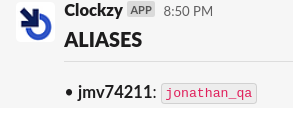
You can query the previously created aliases with the following command:
/get-aliases
It is possible to link the clockings made in the clockzy application with the Intratime application. All clockings will be performed in both apps.
By default it is disabled. To link your account, run the following command:
/enable-intratime <intratime_email_account> <intratime_password>
Note: The intratime password will be saved in a encrypted form.
Note: If you ever modify your Intratime account credentials, you can re-run this command to update your credentials in the clockzy app.
If for any reason you want to unlink the synchronization with Intratime, you can do so using the following command:
/disable-intratime
Note: Your credentials will be deleted from the clockzy app database.
Your user information is collected from slack at the time of user creation. If you ever change your timezone or username, run the following command to update that information in the clockzy app.
/update-user
If for any reason you want to delete your clockzy app user, you can do it with the following command:
/delete-user
Note: All the information related to your user will be deleted: profile, clockings...
You can manage all your clockings by accessing the web administration panel. To do so, you will need to generate login credentials. You can generate them by typing the following command:
/management
Note: The generated password will be temporary and will have a validation of 60 seconds.
Once the credentials are generated, you will have to access the site by clicking on the link indicated when the
credentials were created (https://your-web.app.es in the image above).
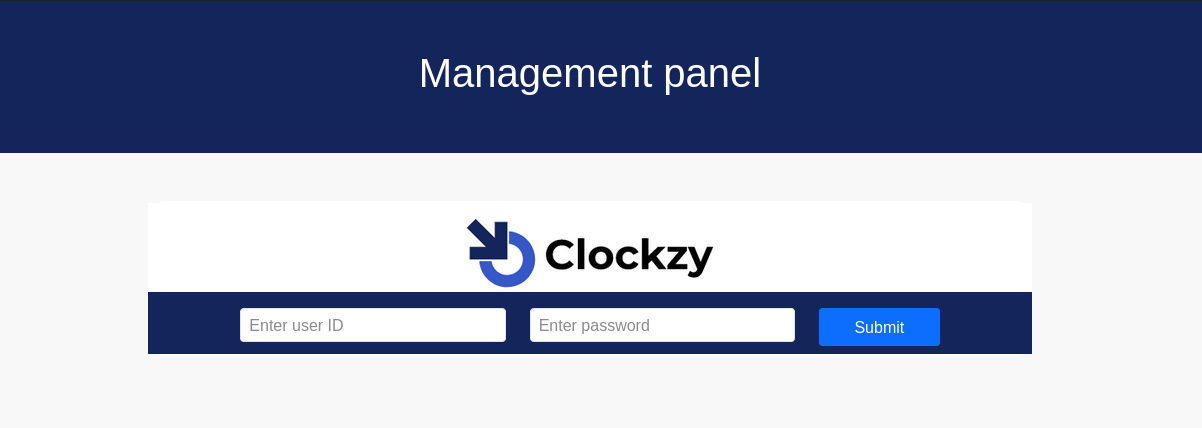
After accessing you will have to enter your credentials in the login form.
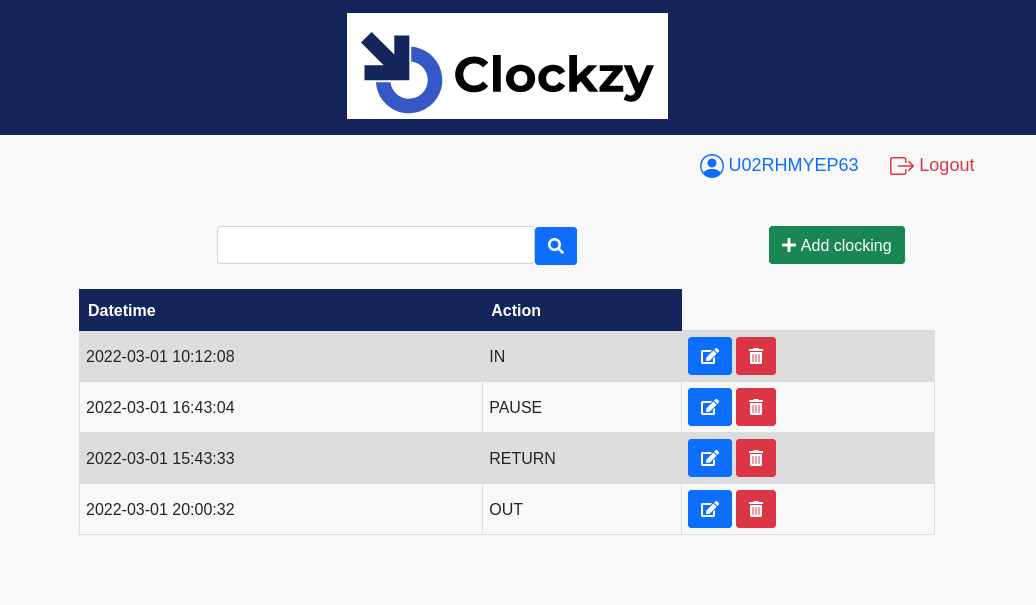
Finally, you will access your administration panel, where you will be able to view all the clockings made and add new ones, edit or delete existing ones.This is useful when you have forgotten to register a clocking at some point, and you later and then add or update it manually.
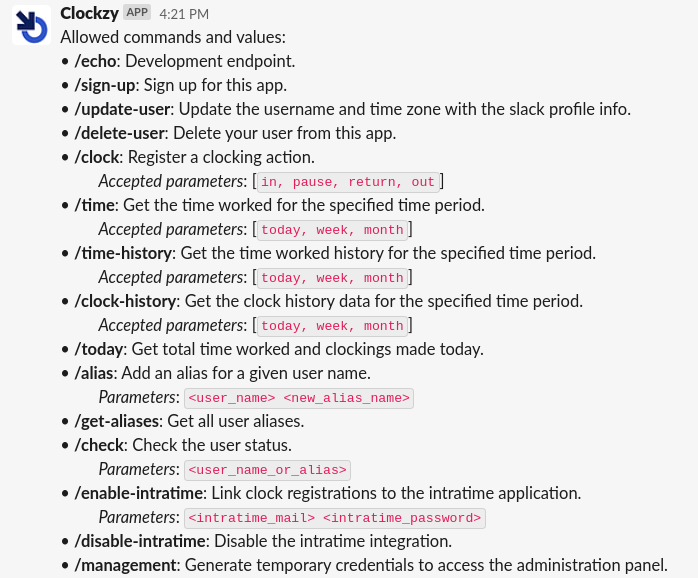
To display the set of available commands and their help menu run the following command:
/help
First you will have to create a slack application. You can create one from this website https://api.slack.com/.
Get slack app credentials
Once created, you will have to obtain your app tokens. You can find it in OAuth & Permissions section.
In this case, it is only necessary to get the Bot User OAuth Token. It will have a format like the following:
Bot User OAuth Token
xoxb-xxxxxxxxxxxxx-xxxxxxxxxxxxx-xxxxxxxxxxxxxxxxxxxxxxxx
It will also be necessary to obtain the signing secret key to verify that the requests come from our slack app. You can find this key in Basic information section.
Set your token scopes
It is necessary to define the scope of permissions that our slack application will have. You can configure them in OAuth & Permissions section in the slack app configuration. The needed token scopes are as follows:
- Bot token scopes:
commands,users:read.
Define your commands
Commands enable users to interact with your app from within Slack. In this case, we have to define the following commands in the slack app configuration:
/sign-up: https://<domain_name>/sign-up/delete-user: https://<domain_name>/delete-user/update-user: https://<domain_name>/update-user/clock: https://<domain_name>/clock/time: https://<domain_name>/time/clock-history: https://<domain_name>/clock-history/time-history: https://<domain_name>/time-history/today: https://<domain_name>/today/help: https://<domain_name>/help/alias: https://<domain_name>/alias/get-aliases: https://<domain_name>/get-aliases/check: https://<domain_name>/check/enable-intratime: https://<domain_name>/enable-intratime/disable-intratime: https://<domain_name>/disable-intratime
You have to configure the clockzy application modifying the
settings.py
file.
In addition, you have to update the .env file
to enter your MYSQL_ROOT_PASSWORD credentials.
In case of modifying default ports ..., take a look at the docker-compose.yaml file and update to your new values.
Once the application is configured (see the previous steps), Running the application is very simple, you just need to have installed docker and docker-compose, and execute the following command in root directory.
docker-compose upAll services will be automatically started.
Any doubt or suggestion, you can create issues and/or make pull requests :)


