-
Notifications
You must be signed in to change notification settings - Fork 9
Setting up the sample project
Start by cloning the repo down to your computer

Create a new AndroidStudio Project and follow the default wizzard.
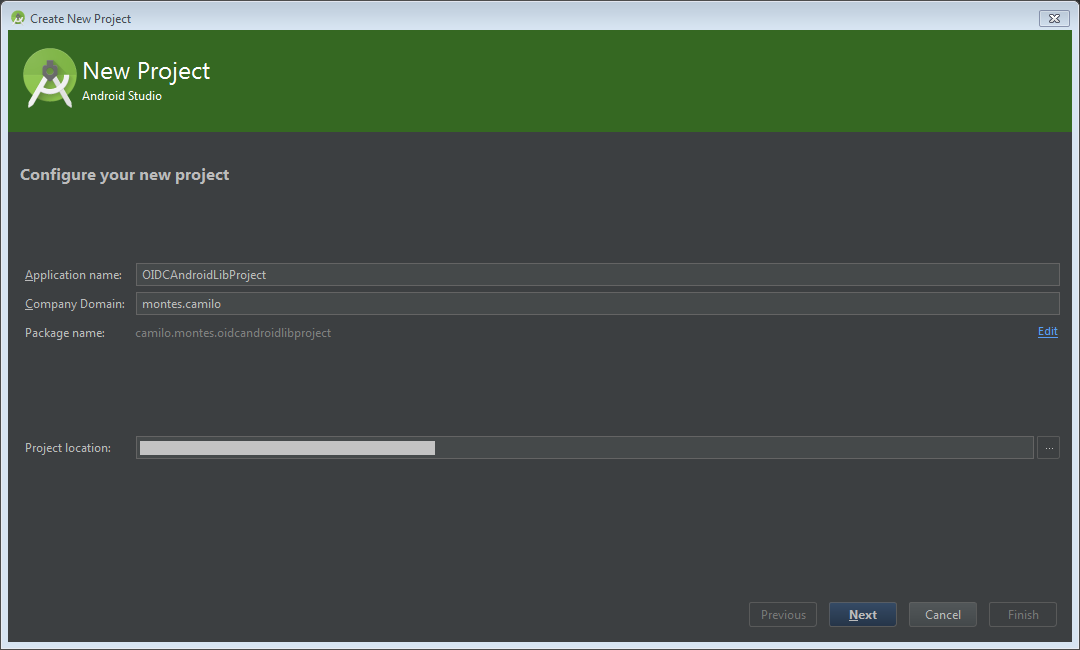
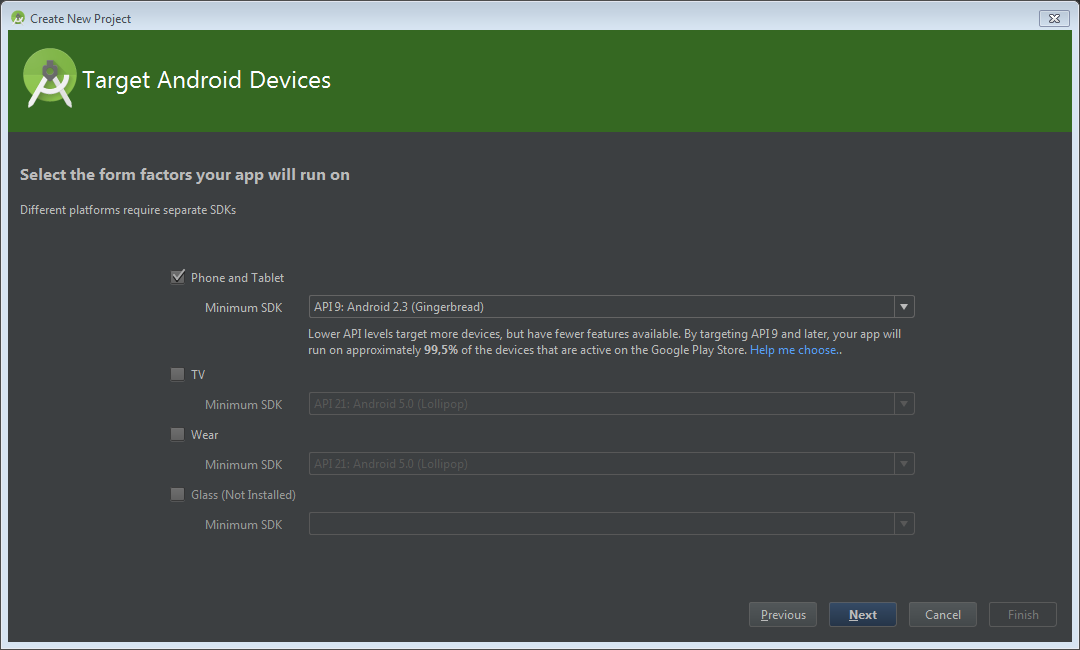
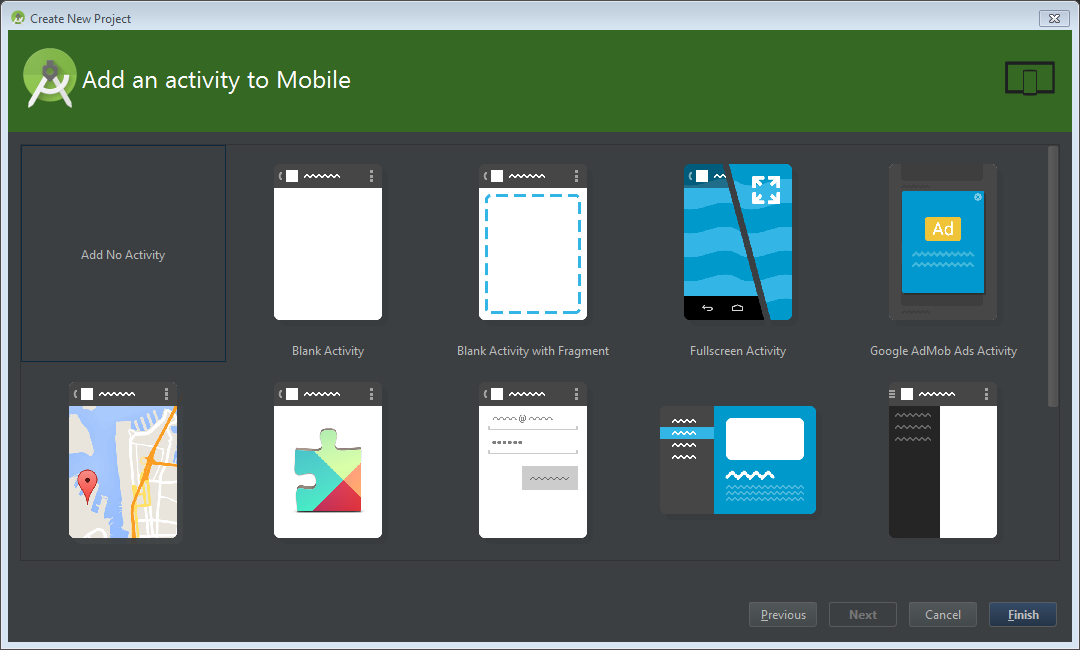
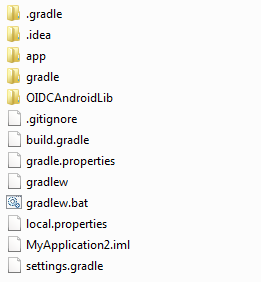
I think that the easiest way to set the modules is by moving the cloned repo to the project location. You can also start by creating the project then cloning directly to the project location.
Next, open the project modules settings from the contextual menu or using the Ctrl + Alt + Maj + S shortcut.
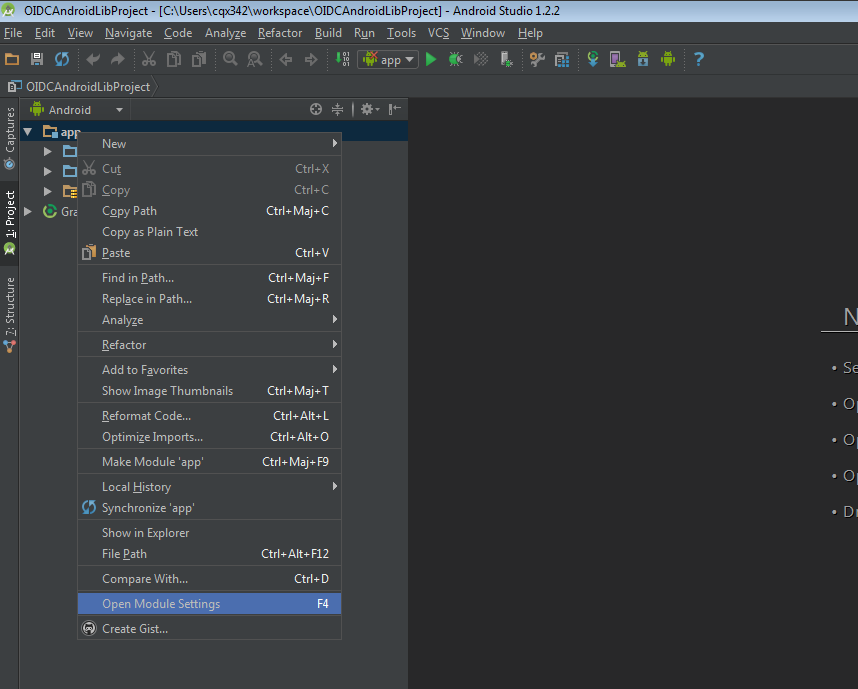
Remove de default app module as we only want the project container settings.
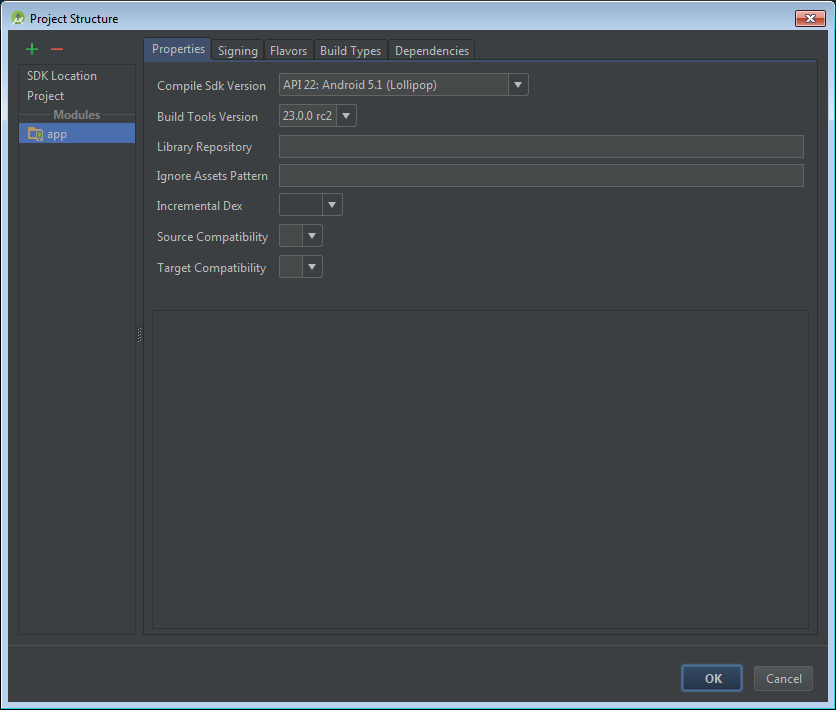
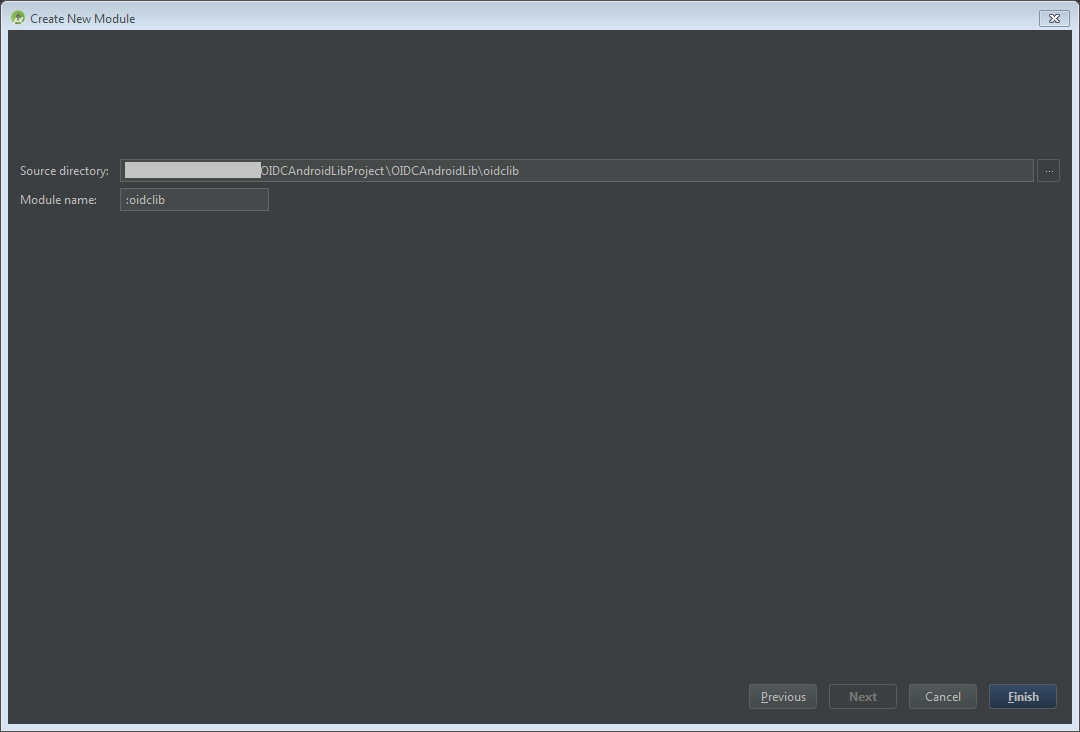
Now we need to import modules from the cloned repo to the current project
<img src="https://github.com/kalemontes/OIDCAndroidLib/wiki/images/SetUpSample6.PNG" alt=AndroidStudio Wizard New Module" width="600px"/>
Repeat these steps for the
oidlib-samplemobule
Check the oidclib dependencie on the oidlib-sample module
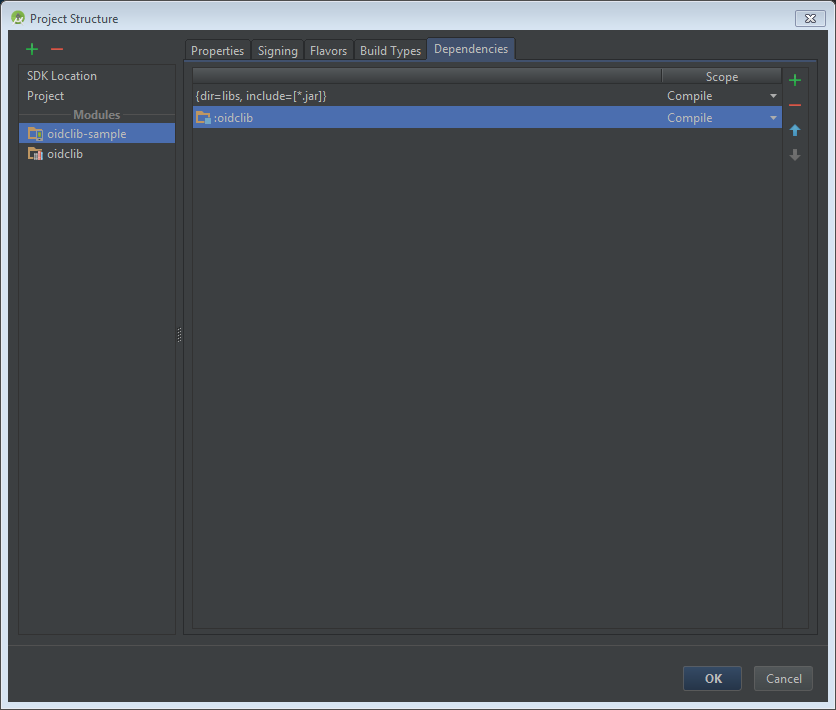
Click "OK" and Wait for gradle sync
Your settings.gradle should look like

Build and Run, you are ready to go!

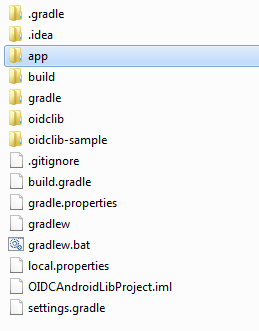
You can safely delete the app directory that was left when removing module from the project as AndroidStudio doesn't delete it for safety.
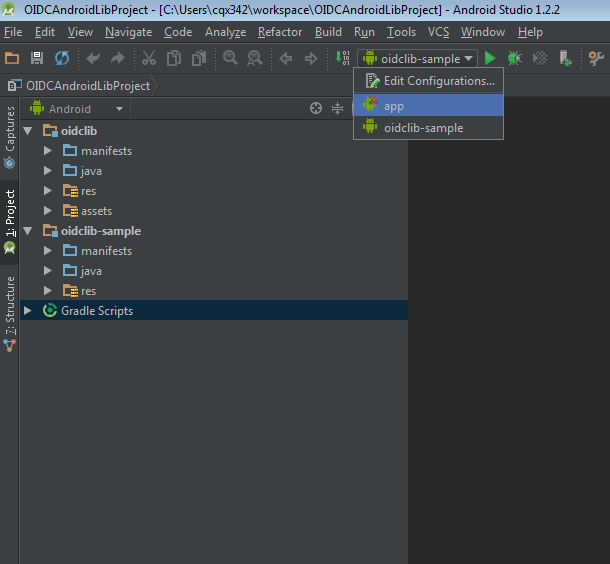
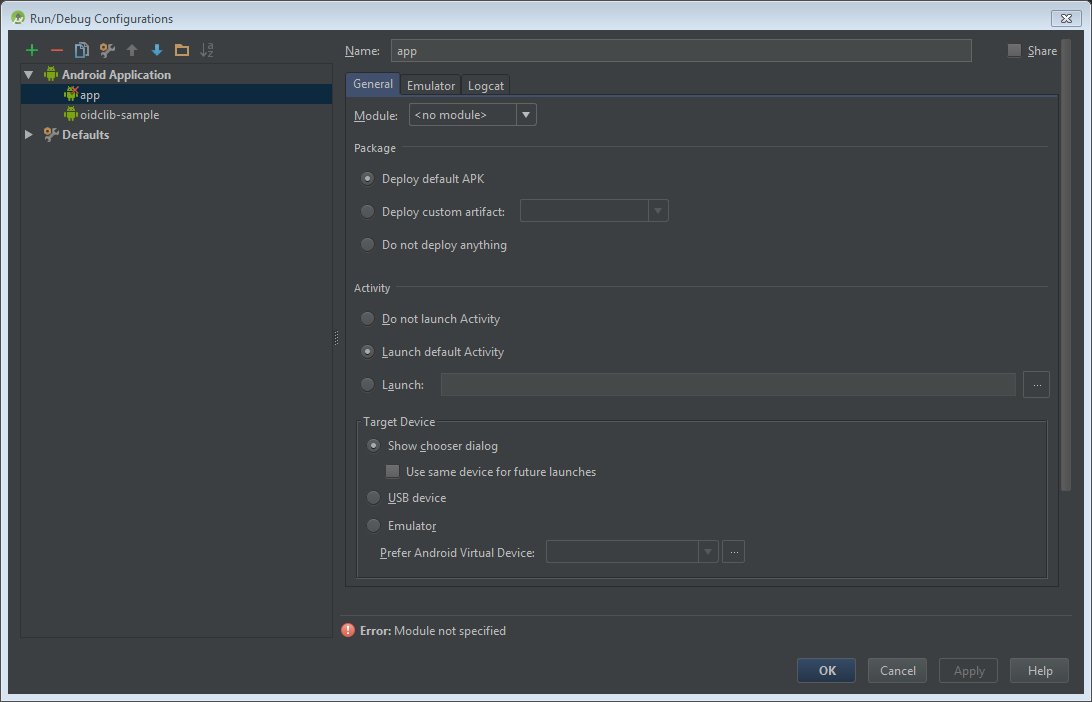
Also you can remove the run configuration that was also left when removing module from the project by opening the "Edit Configurations" menu.
