-
Notifications
You must be signed in to change notification settings - Fork 2
5. Troubleshooting
See Step 3 in Set up Raspberry Pi and tracking system software for some notes about troubleshooting. Here are some additional notes about common issues that can arise while using the tracking system software:
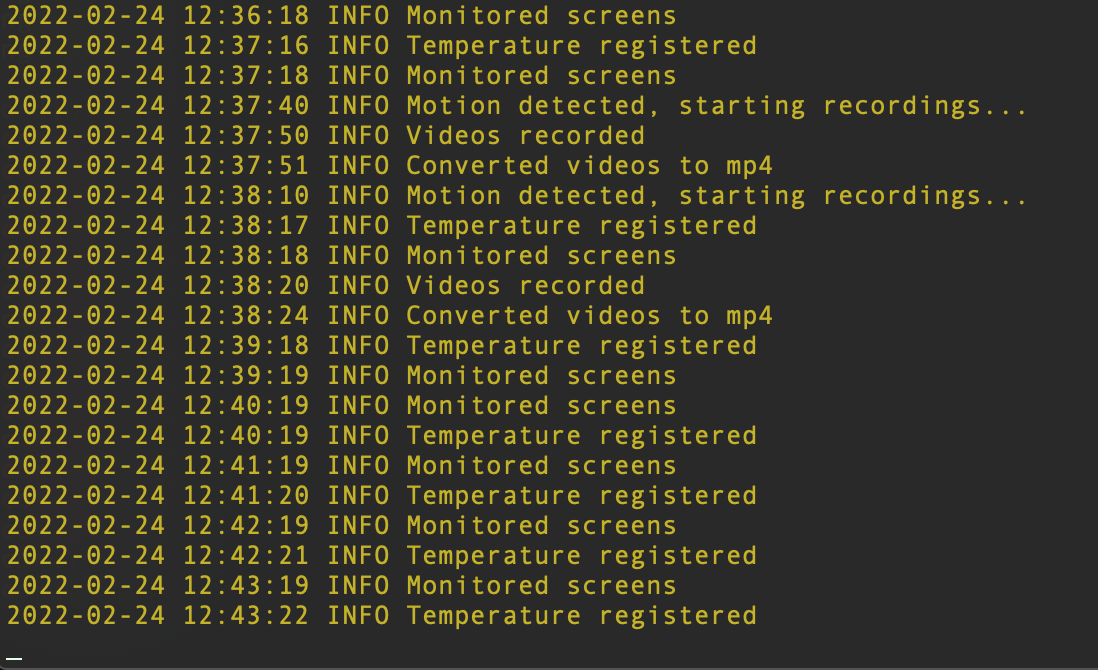
If you run run_install.sh more than once, make sure there's only one line in /etc/crontab that specifies the Abissmal cron job, otherwise remove the duplicated lines with vim/nano editor as sudo. To see cron logging during or after the tracking system is running, open a terminal window and run tail -f /home/pi/log/abissmal_cron.log
This error usually indicates that one of the devices to the Pi wasn't set up correctly, which caused one or more screens to fail. Check that you set up all devices correctly. For instance, for the temperature sensor to work, it needs to be connected to 3V power and GPIO pin #4 for 1-wire data transfer. The Pi also needs to be set up to communicate with this device before running Main.sh.
When using ssh connection to the raspberry pi, the external drive might not be found in /media/pi/. A few extra steps are required in order for it to be used by the Backups.py script.
- Mount the external drive using sudo
sudo mount /dev/sda1 /media/pi/YourEDName
- Give it permissions so that username 'pi' can write in it:
$ sudo -s
# chmod -R 777 /media/pi/YourExternalDriveName/Data
# exit
Note: Exit root mode so you won't run anything else under the root user
- Open terminal in root folder, run:
-
screen -r irbb
- Ctrl + C
-
- Run
$ grep -nir "ERROR" /home/pi/log/to find errors - Use specific strings to search in "" (examples: "Video recording", "Temperature", etc)
* Use tail to see logs in real time `tail -f /home/pi/log/abissmal_Box_01.log`

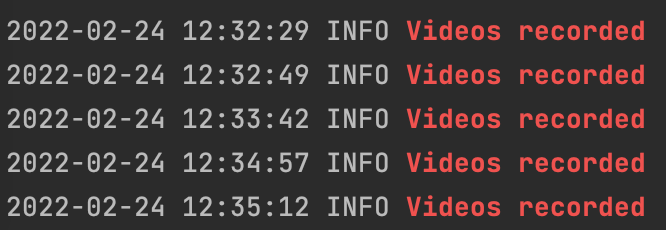
* Use specific strings to tail `tail -f /home/pi/log/abissmal_Box_01.log |grep "Videos recorded"`

-
du -s -h /media/pi/<YourDriveName>/<DataPath>/*
950K    /media/pi/Box_00/Data/IRBB
4.4M    /media/pi/Box_00/Data/Logs
88K     /media/pi/Box_00/Data/RFID
996K    /media/pi/Box_00/Data/Temp
35G /media/pi/Box_00/Data/Video-
df -h /media/pi/Box_00/
Filesystem      Size  Used Avail Use% Mounted on
/dev/sda1 932G 35G 897G 4% /media/pi/Box_00Make sure to test the different hardware components used for this tracking system before discarding a sensor. For instance, if a screen is continuously failing for a given sensor, start by checking whether the sensor is still connected to the PCB or the Pi. If the connection looks ok, then check and swap out the jumper cable harnesses or ribbon cable, custom-soldered PCB, and the sensor itself to test whether any of these individual components are causing problems.
This error arises when the camera ribbon cable isn't connected well to either the Pi or the camera, but can also arise if a ribbon cable has been damaged. If you see this error, it's worth starting with testing the connection itself (e.g. disconnect and reconnect the ribbon cable), then swapping out ribbon cables to see if that fixes the issue. If not, then the camera module itself may be bad.
In our experience, issues with the CognIoT RFID reader are usually caused by issues with setting up the Pi for compatibility with this device. Make sure to run all setup steps in the Set up Raspberry Pi and tracking system software protocol.
The RFID reader has an onboard LED that is helpful for troubleshooting. This light should be red when the reader is connected to a Pi that is powered on. If the red LED is blinking, then the antenna connection is missing or bad. The LED should turn green when it detects a PIT tag. If this LED doesn't change to green when you move a PIT tag near the antenna, then you may need to configure the RFID reader. To do this, use the following steps:
-
Connect the Raspberry Pi to the display, mouse, keyboard, and power cord
-
Connect the GPIO ribbon cable to the Raspberry Pi and the customized PCB
-
Connect the custom loop antenna to the RFID reader, then connect the RFID reader to the custom PCB with the jumper cable harnesses. Make sure these are connected in the right orientation
-
Test the connections on the jumper cables for continuity while the Pi remains powered off. Set the multimeter to the sound check for continuity and touch the positive end of the multimeter to one pin header on the PCB and the corresponding jumper cable header connected to the Pi. GPIO connections that are the same (e.g. #4 on the Pi and PCB) should have continuity, but GPIO that are different should njot have continuity (e.g. 5v0 and GND)
-
Turn the Pi on, and check that the red LED on RFID reader is on. If this is not on, or it's blinking, then there is an issue with the connection to the antenna
-
Open a new terminal window, and navigate to the Modules folder inside the Abissmal folder. Change the working directory below if you installed the software elsewhere:
cd /home/pi/Desktop/Abissmal/Modules
-
Run the file called "RFID_CognIot_Original.py" in order to configure the RFID reader
python RFID_CognIot_Original.py
-
Follow the prompts on the terminal in order to configure the RFID reader to detect PIT tags that will be used in experiments:
- Select option "v" and then "c" or "C" to change the reader operating mode to be compatible with the EM1042 PIT tags
-
When taken back to the main option menu, select option "S", pass the PIT tag over the antenna (the LED on the RFID reader should turn green when the tag is detected), and watch the output on the terminal to check that the reader is recognizing the PIT tag
-
Shut down the Pi, then disconnect the RFID reader
If you want to leave a Pi connected to a display in order to easily check data throughout the course of an experiment, you may run into issues with the display screen automatically blanking. Screen blanking can make it seem like a Pi is not working. Screen blanking is likely the problem when a monitor is blank and will not turn on even when you engage the Pi through a keyboard, but you can see that the RFID reader LED is red and not blinking. In order to fix this issue, you should turn off the display screen blanking, and also turn off the power save option for displays. Some of these commands may need to be run if the Pi is rebooted before running the tracking system:
-
Run
sudo raspi-configin a terminal window, then select "2 Display Options Configure Display Settings", then select "4 Screen blanking enable / disable screen blanking" and select "No" when asked whether you want to enable screen blanking. You can also select this preference through the "Preferences" tab in the GUI -
Run the following commands in a terminal window (check the status of power-saving, then turn power-saving off, then check the status to confirm):
-
iw wlan0 get power_save
-
sudo iw dev wlan0 set power_save off
-
iw wlan0 get power_save
-
Authors: Grace Smith-Vidaurre & Tania Molina