-
Notifications
You must be signed in to change notification settings - Fork 8
[Installation] Traditional .csproj format
This guide shows you how to use the Nullable package with
a traditional .NET Framework application which uses the old .csproj format by setting up a small
demo application. If your project uses the new SDK .csproj style you can simply follow the .NET
Standard/Core installation path.
This guide requires an installation of Visual Studio 2019 which supports Nullable Reference Types. This can easily be done by updating to the latest version and ensuring that the .NET Core 3.0 SDK is installed.
Create a new Console Application targeting the traditional .NET Framework. The target framework version doesn't matter as long as you choose a version >= 2.0.
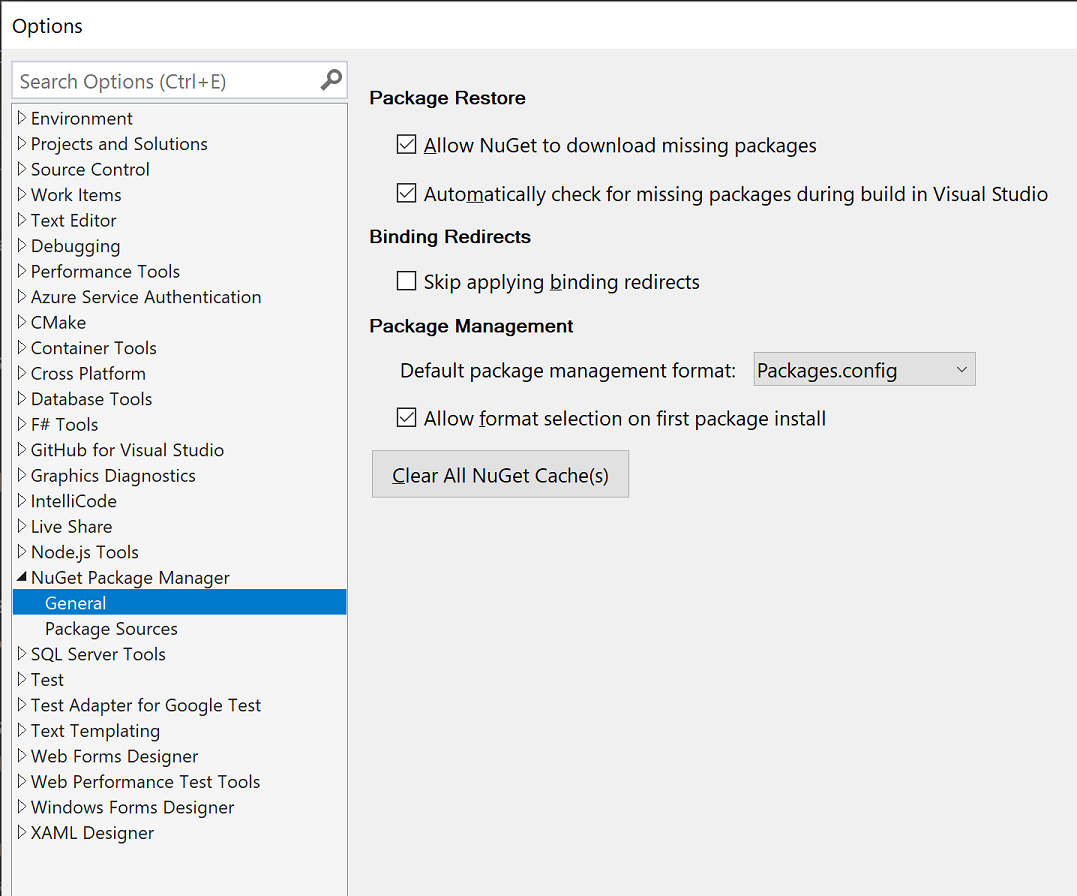
To ensure that you can install packages as package references, go to Visual Studio Options > NuGet Package Manager > General and ensure that the Allow format selection on first package install checkbox is checked. This allows you to choose if you want to use a packages.config file or package references when you install your first package.

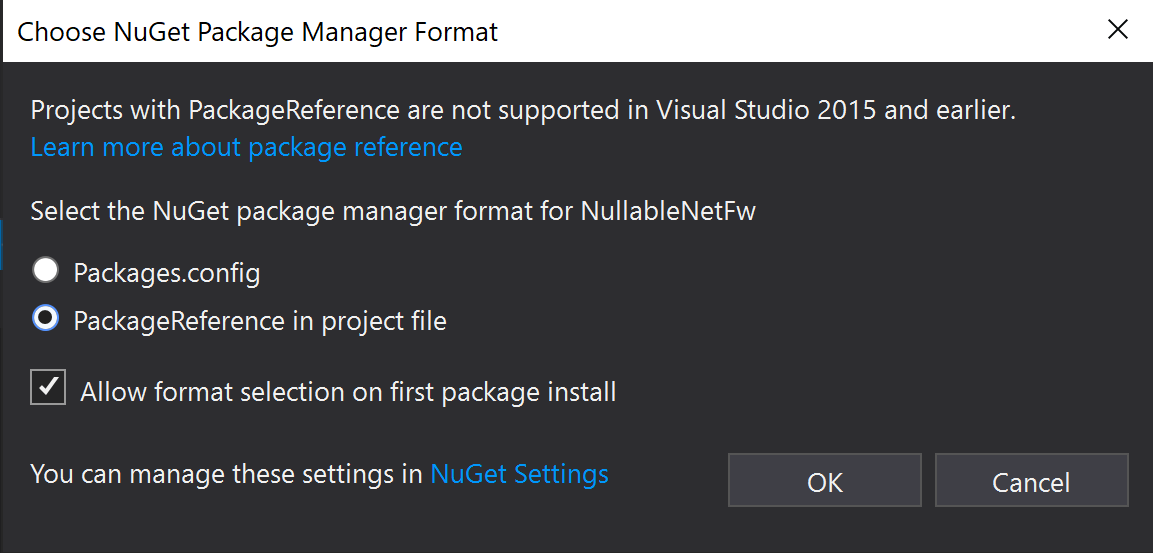
Open the NuGet package manager by right clicking References > Manage NuGet packages.... Search for "Nullable" and install the package. In the dialog which pops up, choose the Package reference in project file option.

Now that the package has been installed, it's time to enable C# 8.0 so that the compiler supports
Nullable Reference Types.
You can do this by unloading your project, editing the XML of the .csproj and then reloading it.
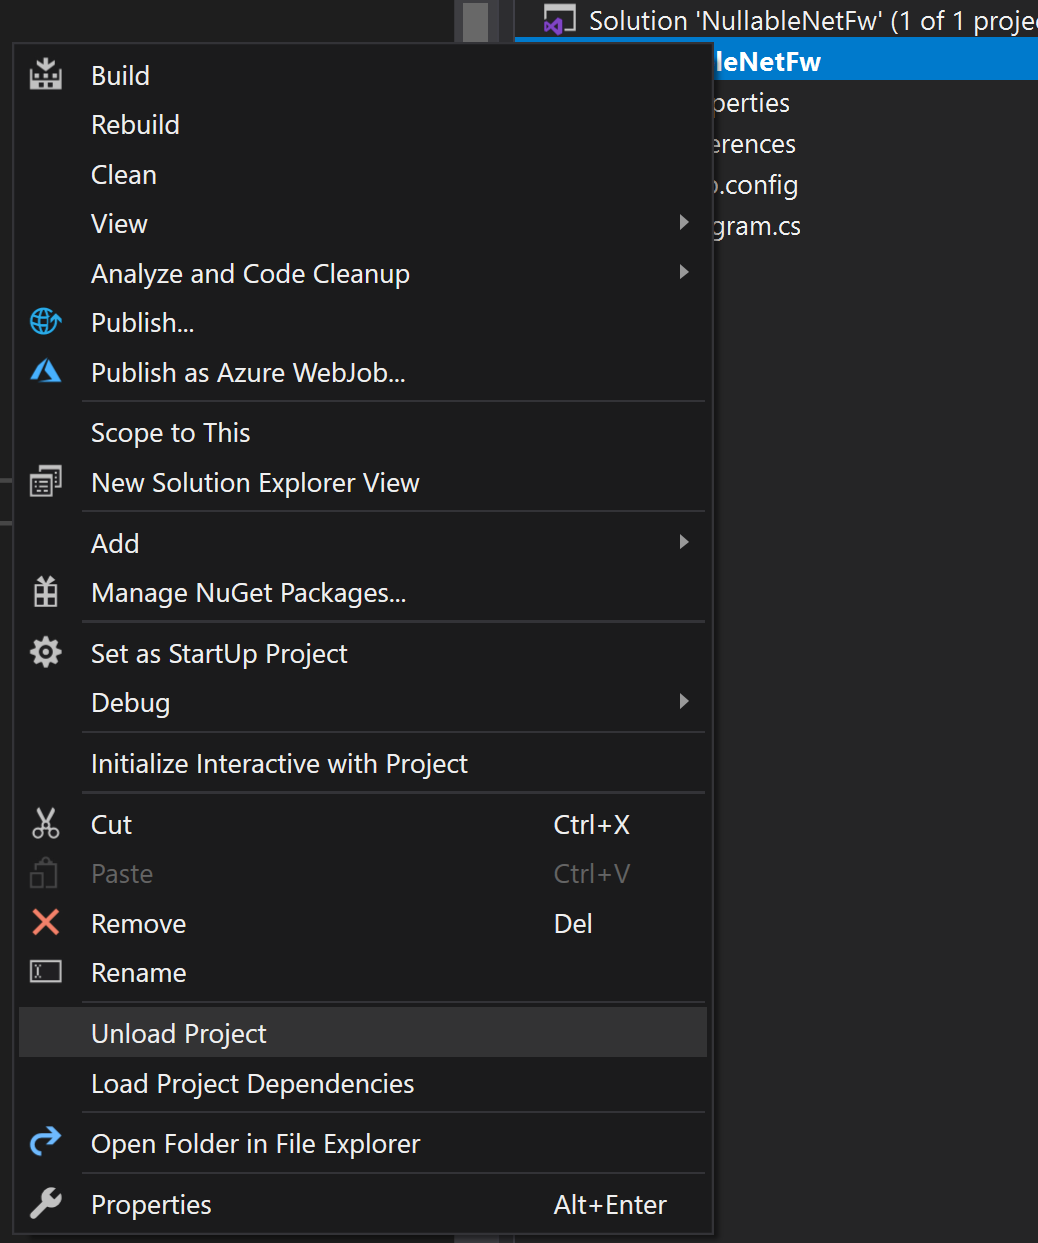
First of all, unload your project by right clicking it and clicking Unload Project.

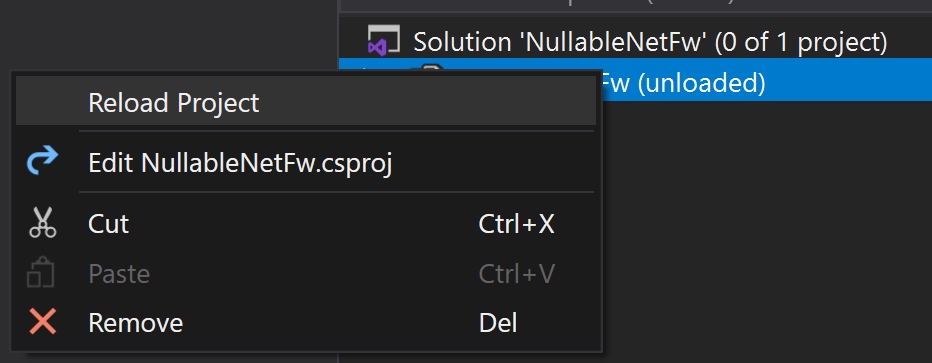
Then right click the project again and click Edit {YourProject}.csproj.

Afterwards, add the following XML code at the top of the file that got opened:
<LangVersion>8.0</LangVersion>
<Nullable>enable</Nullable> <!-- Note: At the time of writing this, this has no effect. It still doesn't hurt though. -->
It should now look somewhat similar to this:

Finally, right click the project again and click Reload Project.

Congratulations - you have done it! You should now be able to use the Nullable Attributes in the
project. Go ahead and try it out by replacing Program.cs with this code:
#nullable enable // Important!

namespace NullableDemo
{
    using System;
    using System.Diagnostics.CodeAnalysis;

    public class Program
    {
        [AllowNull]
        public static string AllowsNull { get; set; } = "Hello";
        public static string DoesntAllowNull { get; set; } = "Hello";

        public static void Main()
        {
            AllowsNull = null;
            DoesntAllowNull = null; // Should warn.
        }
    }
}

#nullable restore
If you have done everything correctly, you can now build your project and use these attributes. Furthermore, the code above should produce a compiler warning at the line with the comment.
To ensure that the attribute code file(s) really got added to your project, feel free to
put your cursor on [AllowNull] in the code and press F12 afterwards. The file should now be
opened and you can see the code that will be compiled together with your project.
ℹ️ Note:
Be aware that projects using the old.csprojformat require an explicit#nullable enabledeclaration in every file! This is a limitation of the C# compiler/project system and is not the fault of the Nullable package.