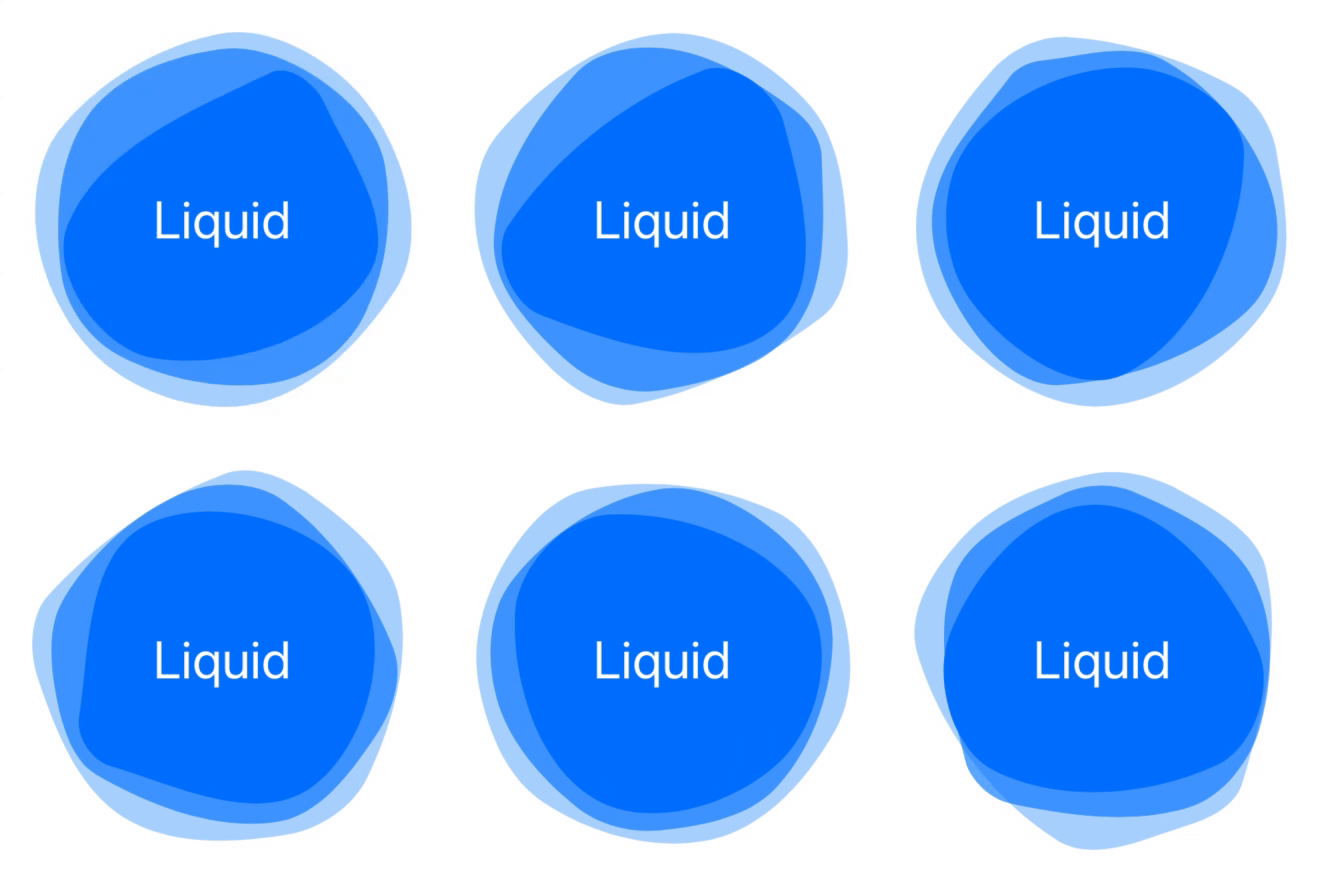
Create a subtle and playful backsplash with Liquid(). Try liquid behind your artwork, as a button, or even with your own shapes. Just add Liquid() to your view to get started!
File > Swift Packages > Add Package Dependency: https://github.com/maustinstar/liquid
Add a dependency in your your Package.swift
.package(url: "https://github.com/maustinstar/liquid.git", from: "0.0.1"),Just import Liquid, and add it to your View to get started.
struct ContentView: View {
    var body: some View {
        Liquid().frame(width: 200, height: 200)
    }
}
See the full Reference Guide.
struct ContentView: View {
    var body: some View {
        ZStack {
            Liquid()
                .frame(width: 240, height: 240)
                .foregroundColor(.blue)
                .opacity(0.3)


            Liquid()
                .frame(width: 220, height: 220)
                .foregroundColor(.blue)
                .opacity(0.6)

            Liquid(samples: 5)
                .frame(width: 200, height: 200)
                .foregroundColor(.blue)

            Text("Liquid").font(.largeTitle).foregroundColor(.white)
        }
    }
}
See more Examples.
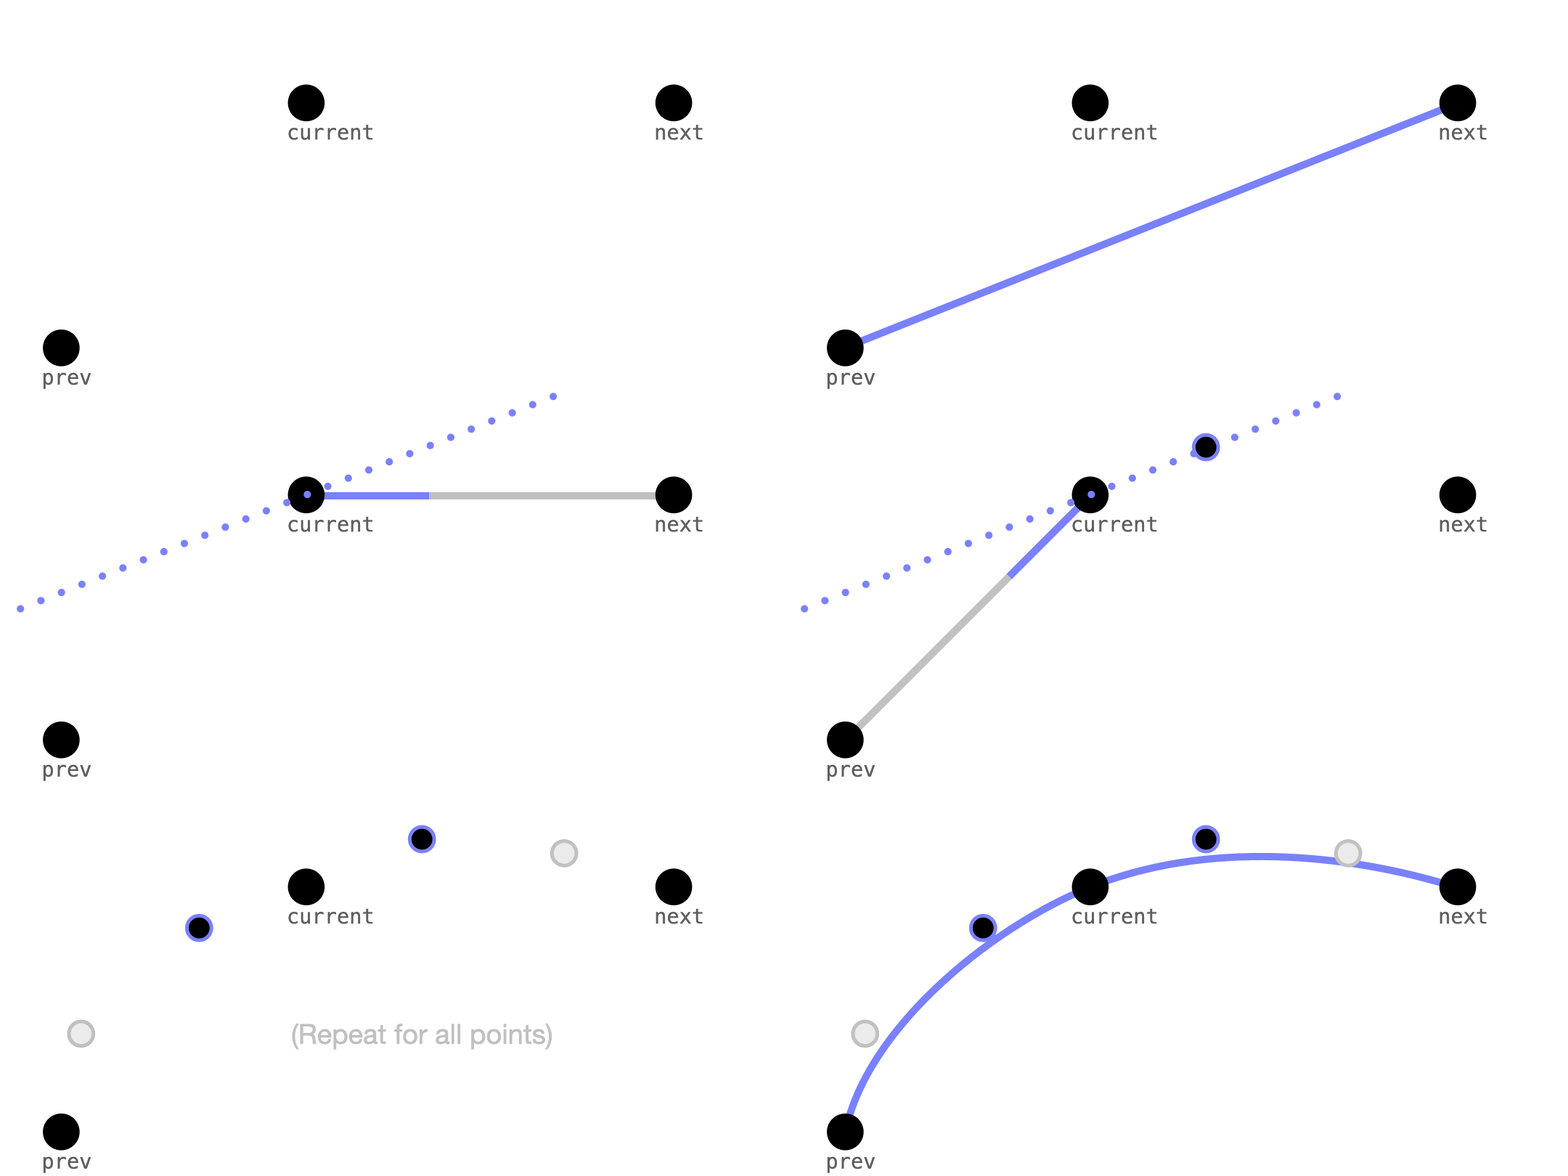
To get started, read the full Implementation Guide.
See Contributing.md.
Take your SwiftUI apps to the next level with these Packages!
- Michael Verges - Initial work - mverges3@gatech.edu -


