-
Notifications
You must be signed in to change notification settings - Fork 10
Home
First steps to use acmX.
Parsing problems and contests is done via Competitive-Companion extension.
- Install the extension for your browser:
-
Change the port used by the extension to 10042. This is the port used by default in
acmX. If you want to use any other port, open settings and update acmx.companion.port. This requires restart vscode to take effect. You should also change the port on the extension.
It is recommended before start using this tool for the first time to configure some settings.
To configure settings:
- Open the command palette (Ctrl + Shift + P) and run Preferences: Open Settings (UI)
- Type acmx on the search bar and select acmx to see all available settings.
Settings:
-
acmx.configuration.library: Path where all problems and contests will be created. Check File Structure to learn how problems and contests are stored.
$HOMEidentifier will be expanded with environment variableHOME. -
acmx.template.solutionPath: Template used to create main solution. Name of main solution will be the same of the name of the template in case it exists. If this field is empty it will use default c++ template. The extension of the file is used to determine the language of the program. Learn more about this in multiple language section.
If you are using c++ this will look like:
/path/to/template/sol.cpp. If your template involve multiple files check how to use it.
Read about all settings.
Create a new problem or contest using competitive programming integration. If you want to work on a problem or contest that is not online, or is not supported by competitive companion use commands:
-
ACMX: New Problem: Create a problem from name. If a problem with this name already exist it is opened without overwriting.
-
ACMX: New Contest: Create a problem from name and number of problems. If a problem with this name already exist it is opened without overwriting.
To use custom commands modify relevant files at ~/.acmx/languages. There should be one json file per language at this directory.
Each json file contains:
- ext: Files that have this extension will use this configuration.
- preRun: Command to be executed before running the solution. (Can be empty or missing).
- run: Command to be executed to run the solution.
There are available several flags that can be used on the commands:
- $CODE: Path to the file with the source code.
- $OUTPUT: Path to the "binary" that is going to be generated. (If any).
-
$ATTIC: Path to
atticof current folder. This might be useful to generate all trash files that are generated some times.
Default configuration for c++ is:
{
    "preRun": [
        "g++",
        "-fdiagnostics-color=always",
        "-std=c++17",
        "-DACMX",
        "$CODE",
        "-o",
        "$OUTPUT",
        "--debug"
    ],
    "run": ["$OUTPUT"],
    "ext": "cpp"
}
Feel free to modify these files and use your own configuration.
In general language directory is located in acmx.configuration.homePath. By default acmx.configuration.homePath points to $HOME/.acmx.
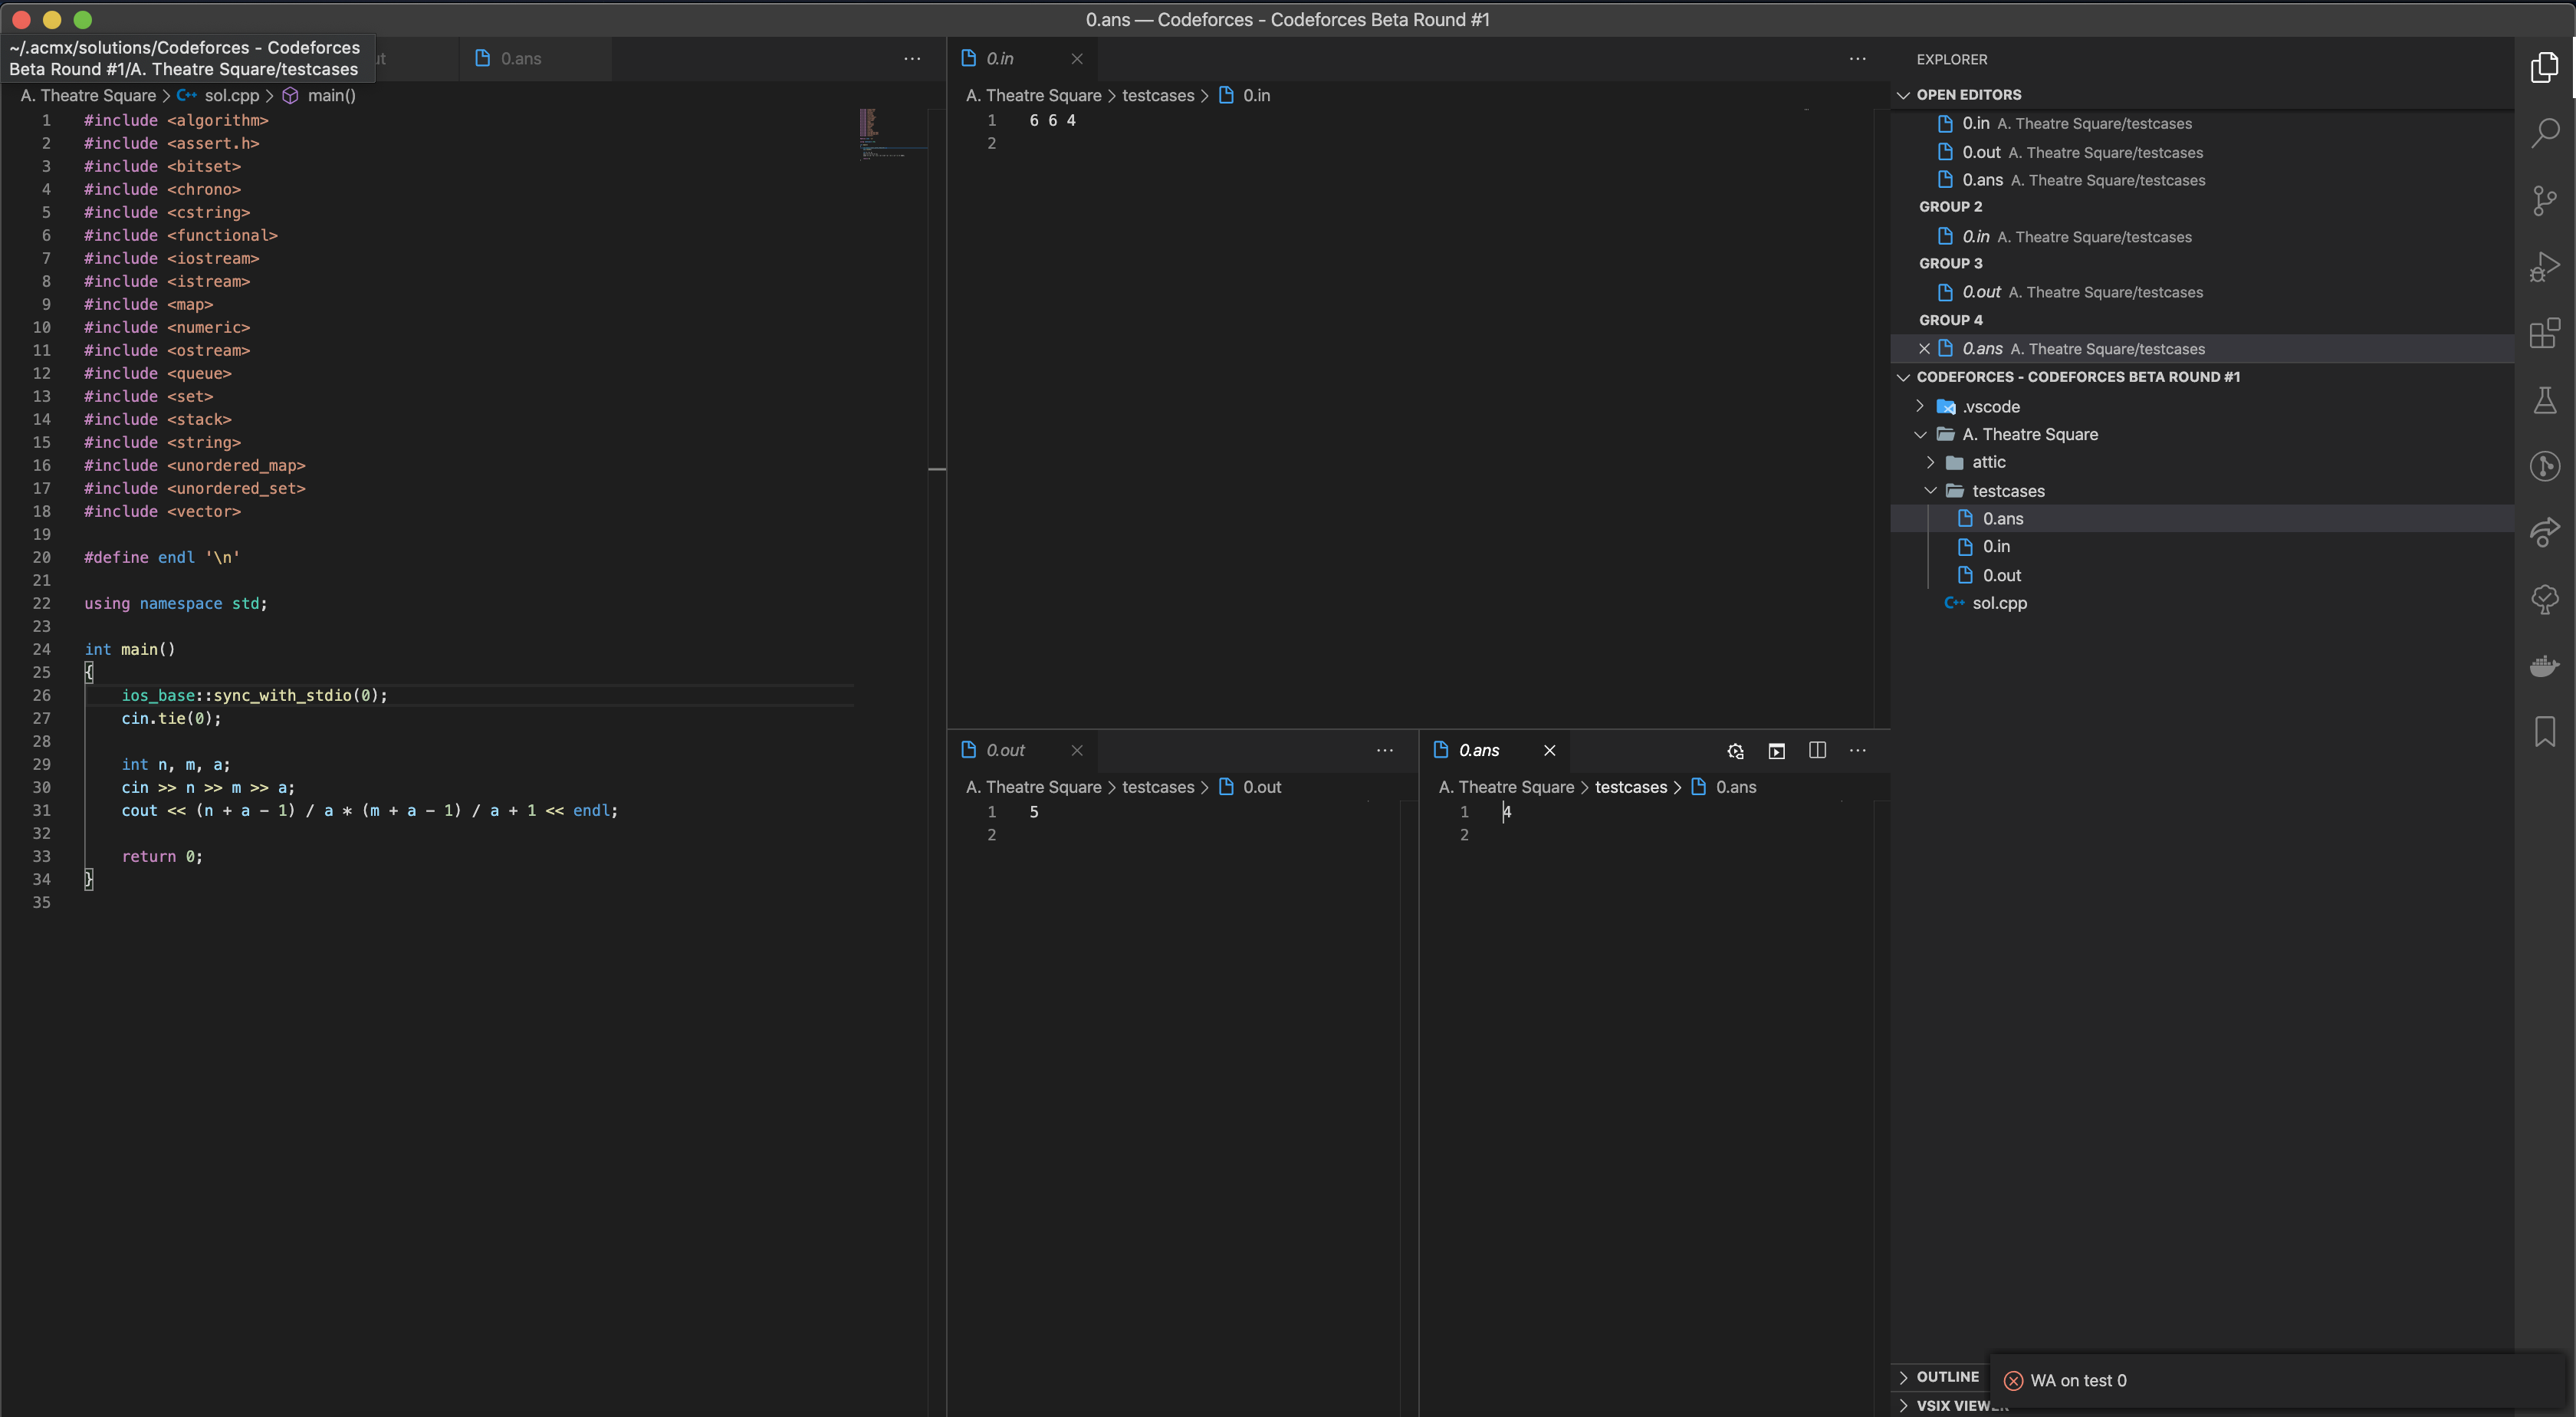
To evaluate your submission against all test cases run command: ACMX: Run (Ctrl + Alt + L). If the solution is OK, it will be reported, together with the maximum time spent among all test cases.

If the solution is incorrect the layout will be updated, and the failing test case will be shown.

Go back to the previous layout (only showing the code) using command: ACMX: View: Code.
Possible verdicts are:
- OK: All test cases passed.
- WA: Wrong Answer. Checker exit code is not 0.
- TLE: Time Limit Exceeded. Solution in at least one test case take more time that expected. Check below how to set time limit.
- RTE: Run Time Error. Solution exit code is not 0 in at least one test case.
- FAIL: Some other program fail to run (checker / generator / brute).
By default checker used compare outputs by tokens (so extra spaces are allowed). See how to use a custom checker.
All submissions will use same time limit. Use setting acmx.run.timeLimit to change it.
acmX 2020 Post any error or question in the main issue tracker or join Telegram group