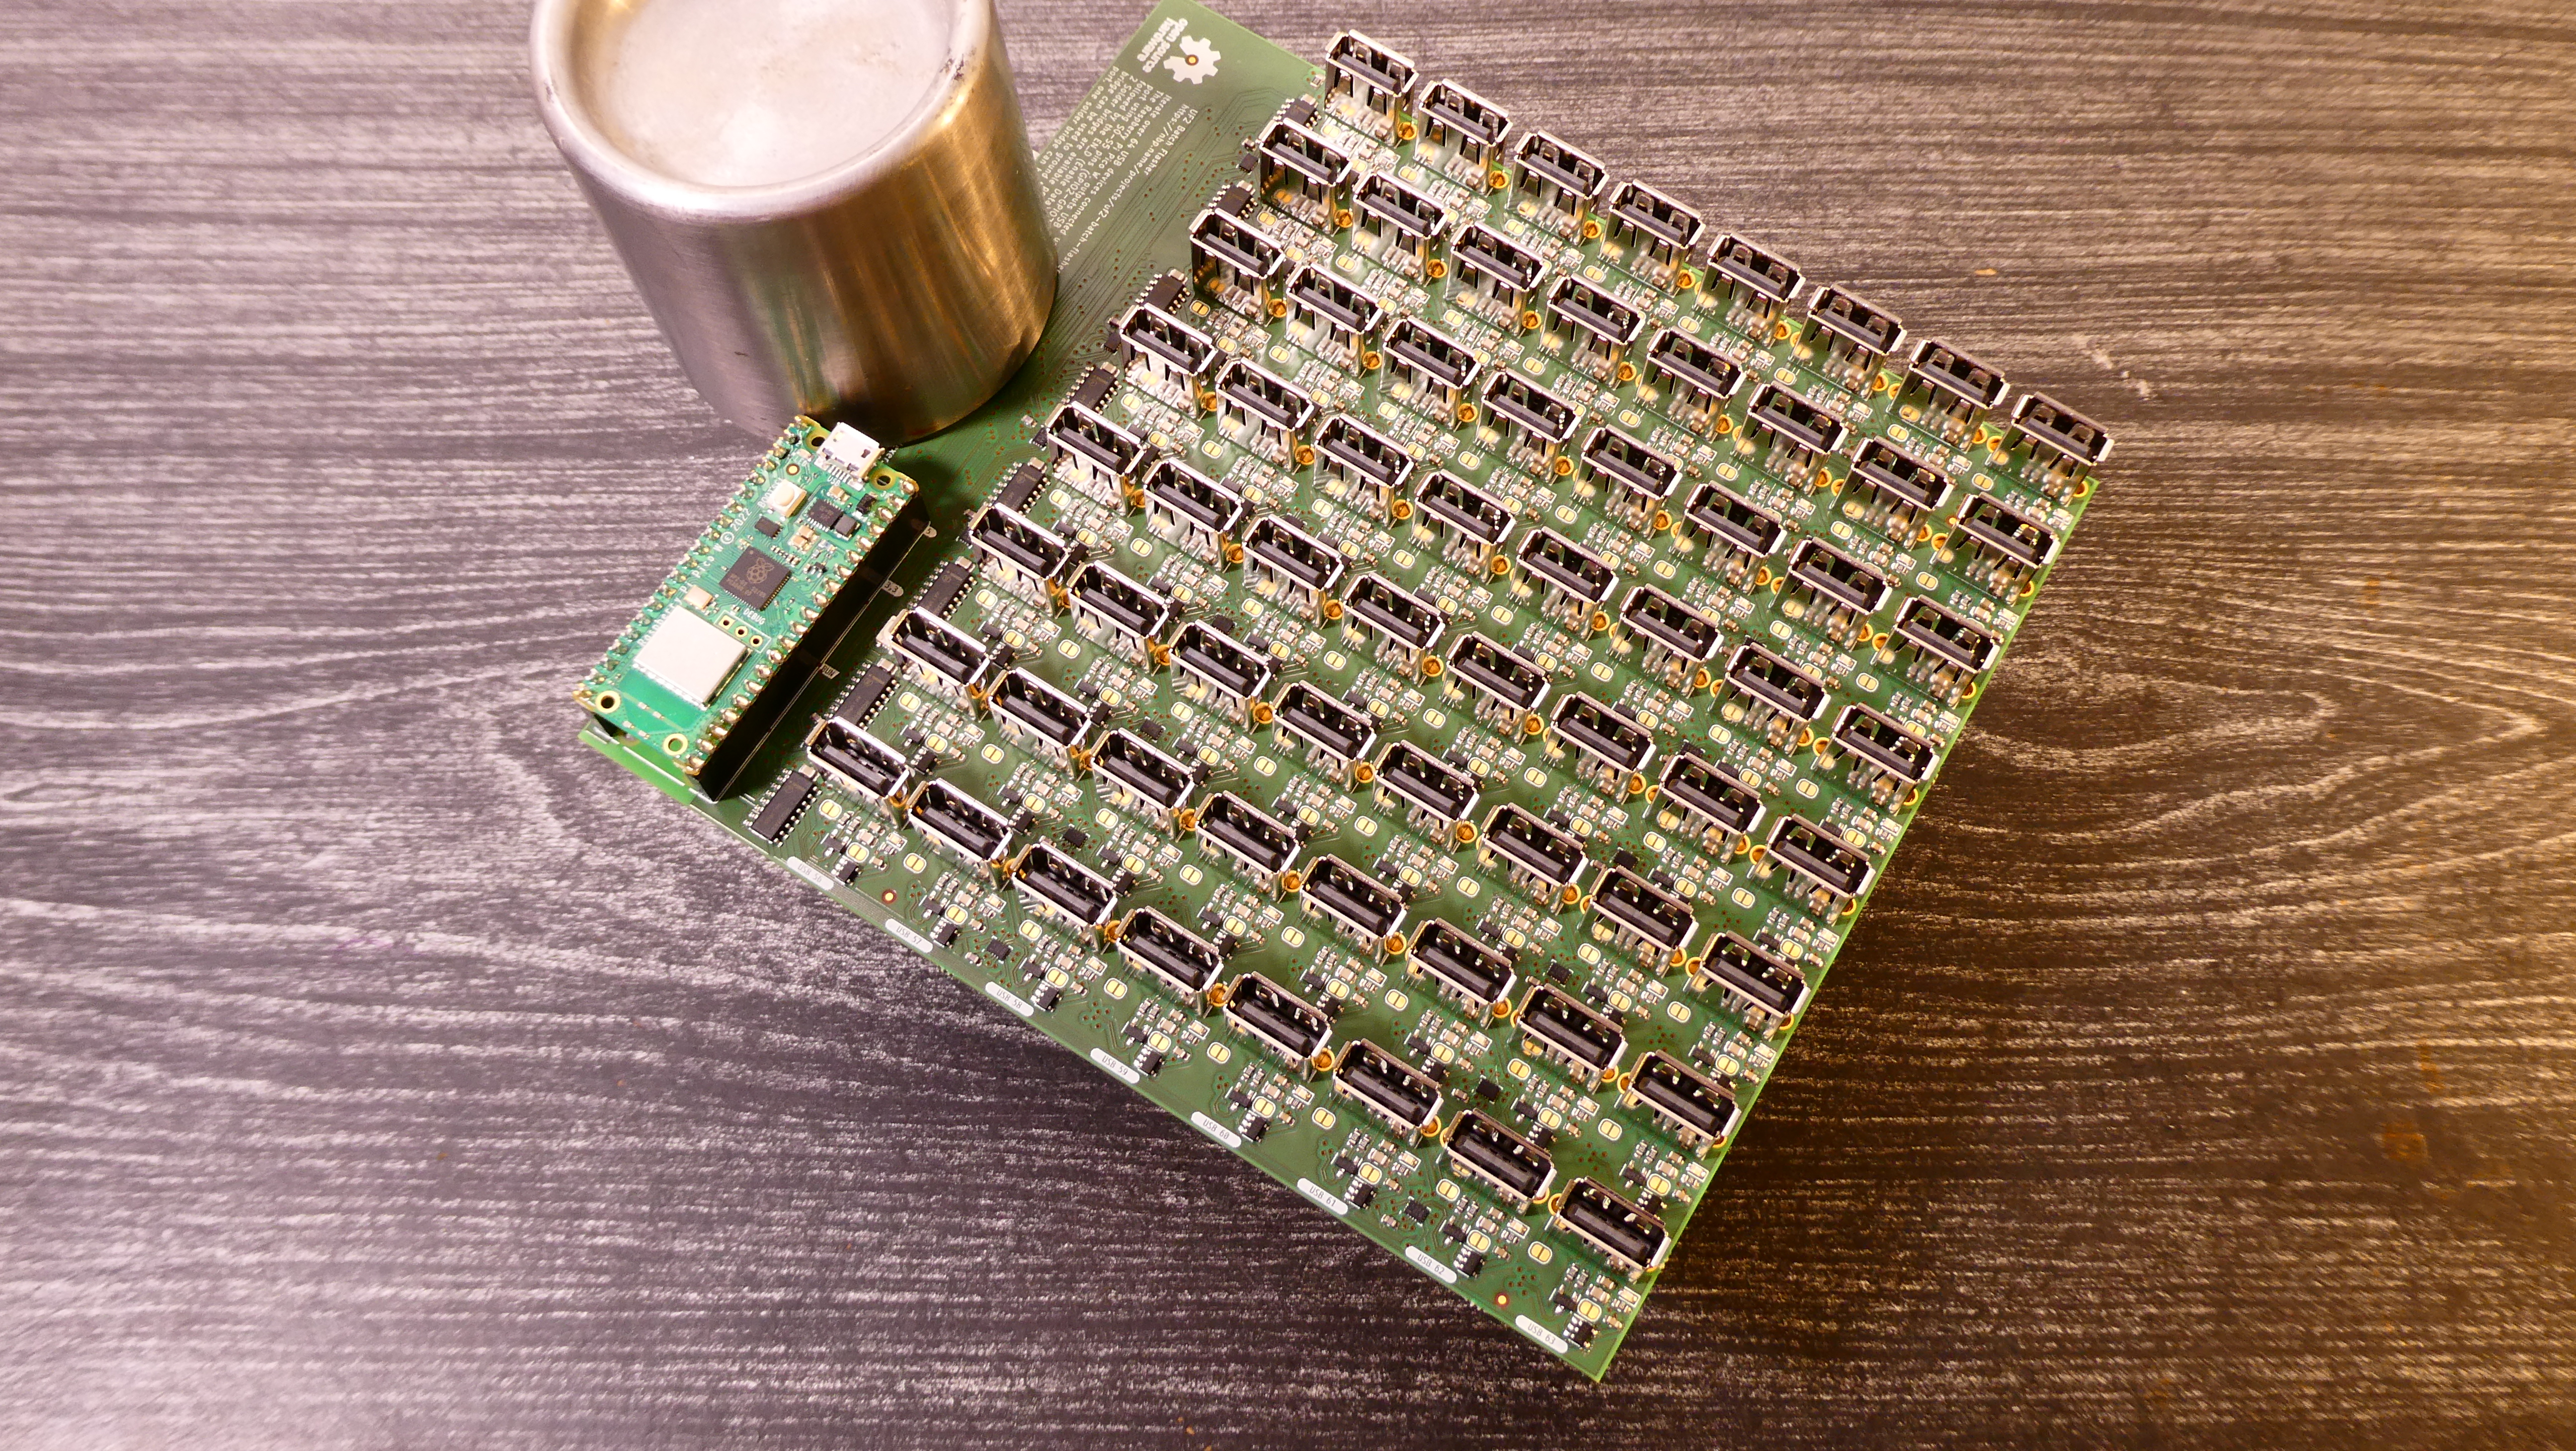
The UF2 Batch Flasher is meant to provide a way to loop over up to 64 devices, in order to flash all the 64 devices with a single UF2 image. Using a Raspberry Pi Pico, and 64 USB A ports, the RP2040 will select one port at a time, and copy the transmitted image to each device.
The alternative is to find the next cable, find the board at the end of it, press a button, plug the cable while pressing the button, type a command / drag a file over, unplug the device and repeat this 63 times. Not only this error prone but this is time intensive and would probably take half an hour to iterate over that many devices manually.
The board design is designed using KiCad and the sources are located under the PCB directory. The Vendor links to Mouser are listed as part of the component descriptions, and as of beginning of 2024, there is approximately 270€ of components and PCB to build a single one.
The firmware dependencies are managed with Nix and composed of the Pico-SDK, Cyw43-driver, LwIP, TinyUSB and Pico-PIO-USB.
In the root of the repository, type the following command to start a development environment:
$ nix developThis development environement will setup the expected environment variable and
provide a few useful functions such as build and flash. Other commands for
debugging are available such as start_uart, start_openocd and
start_gdb_core0, and listed in firmware/shell.nix.
Before building, you should configure the Wifi network credential by creating
the file firmware/wifi.cmake. A template file is available at
firmware/wiki.cmake.template.
To build just type build in this new environement and it would invoke cmake
and generate its output in the _build directory.
Once everything is built, plug the Raspberry Pi Pico W while pressing the BOOTSEL button in order to flash it with the newly built firmware.
To flash, type flash in the build environment. This command invoke picotool as
a super user, to have access to usb devices. This will ask for your user
credential in order to flash the image.
Once the image is flashed, if all is good a web page would be served by the Pico W, at the IP of the device on the registered network. The firmware also has UART output on pins 16 and 17 in case of problems with the network stack.
Using the debug probes, one can connect to the within the development
environment with the start_openocd and start_gdb_core0 to debug the Web
server and start_gdb_core1 to debug the USB Host. The UART output can be
watched with start_uart.
Once powered, a web page is provided by the device, which list the status of the USB as they are iterated over.
First drag and drop a UF2 image in the dedicated area and the click the "Flash All" button. The web page would then iterate over the 64 USB ports, check if any devices are connected, and if any flash the image on each of them.
The status of the flashing process then updates as it goes the status of the USB which are listed on the page.
