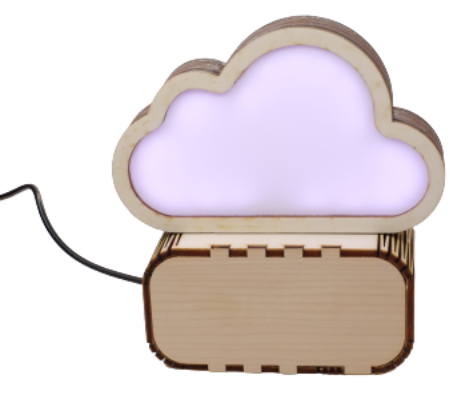
- Connect your JeanCloud to power
- Wait until the JeanCloud WiFi appears
- Connect to the JeanCloud WiFi and enter 192.168.4.1 into your web browser (NO GOOGLE SEARCH)
- You should see a web interface in which you can enter the name and password of your home WiFi
- After you press "save" the JeanCloud WiFi should disappear and your JeanCloud connects to your home WiFi
- You can access the web interface of your JeanCloud by entering its IP address into your web browser (with a device which is in the SAME network). You can identify the IP address of your JeanCloud either by using any network analysis tool (like the app fing) or looking into your router web interface. Check for connected (generic) devices and identify your JeanCloud (sometimes the device is named "espressif")
- Versorge deinen JeanCloud mit Strom
- Warte bis das JeanCloud WLan erscheint
- Verbinde dich mit dem JeanCloud WLan und gebe 192.168.4.1 in der Adresszeile deines Webbrowsers ein (KEINE GOOGLE SUCHE)
- Du solltest jetzt ein Webinterface sehen in dem du den Namen und das Passwort deines Heimnetzwerks eingeben kannst
- Wenn du jetzt "Speichern" drückst, sollte das JeanCloud WLan verschwinden und dein JeanCloud sich mit deinem Heimnetzwerk verbinden
- Du kannst jetzt das Webinterface zur Steuerung des Lichts etc. aufrufen indem du die IP Adresse deines JeanClouds in der Adresszeile deines Webbrowsers eingibst. Du kannst die IP Adresse deines JeanClouds entweder durch ein Netzwerkanalyse Tool wie z.B. die App fing oder über das Webinteface von deinem Heimrouter (schau unter verbundene Geräte) herausfinden.
Display: CLK to pin 18, DIO to pin 5, 5V to 3V3, GND to GND LED-Strip: Data to pin 14, 5V to 5V or Vin, GND to GND Buzzer: one leg to pin 32, one leg to GND (use the one of the display)
