tutorial 👈
This is an example on how to integrate an aquadoggo
node right next to a web frontend using the desktop application framework
Tauri. By embedding a node like that, your application will gain full
peer-to-peer and local-first capabilities.
On the front-end there is a simple JavaScript web app which demonstrates how to interact with the
embedded node using shirokuma to publish documents, GraphQL for queries, and http
endpoint for requesting blobs.
- Rust
- NodeJS
# Install NodeJS dependencies
npm install

# Start Tauri development window
npm run tauri devTauri recommends where app data should be stored based on expected platform specific locations.
Linux: Resolves to $XDG_DATA_HOME or $HOME/.local/share.
macOS: Resolves to $HOME/Library/Application Support.
Windows: Resolves to {FOLDERID_LocalAppData}.
Data for both the WebView and the rust code is persisted to the sub-folder p2panda-tauri-example.
On first run a new ed25519 key pair is generated and saved to a file named private-key.txt in
the app data directory. From this point on it is re-used each time you start the application, this
is the identity of the embedded aquadoggo node (which is different from a client's identity).
The embedded aquadoggo node can be configured via a config.toml file. On initial startup
a default config is generated and stored in the app data directory.
See config file comments for detailed instructions on the extensive configuration options. Visit
the aquadoggo cli for further
information and examples.
With the help of a github workflow task binaries for Windows, MacOS and Linux are compiled and pushed to a new release whenever a you push a new tag. For example:
# Create a new tag
git tag v0.1.0

# Push the current code and tags
git push --tags
This will trigger the ci to compile binaries, create a new release (v0.1.0) and upload the
binaries to the release assets.
In development mode (npm run tauri dev) data for each app instance is not persisted.
Schema are deployed to the node automatically on initial startup from a schema.lock file located
in the tauri resources/schemas directory. This file was created with the CLI tool
fishy.
When you replace these schema with the ones for your own application, don't forget to update allow_schema_ids
in your config.toml as well!
You can enable and configure logging using the RUST_LOG environment variable like so:
# Show debug logs emitted by `aquadoggo`
RUST_LOG="aquadoggo=debug" npm run tauri dev

# Show info logs emitted by all crates used in `aquadoggo`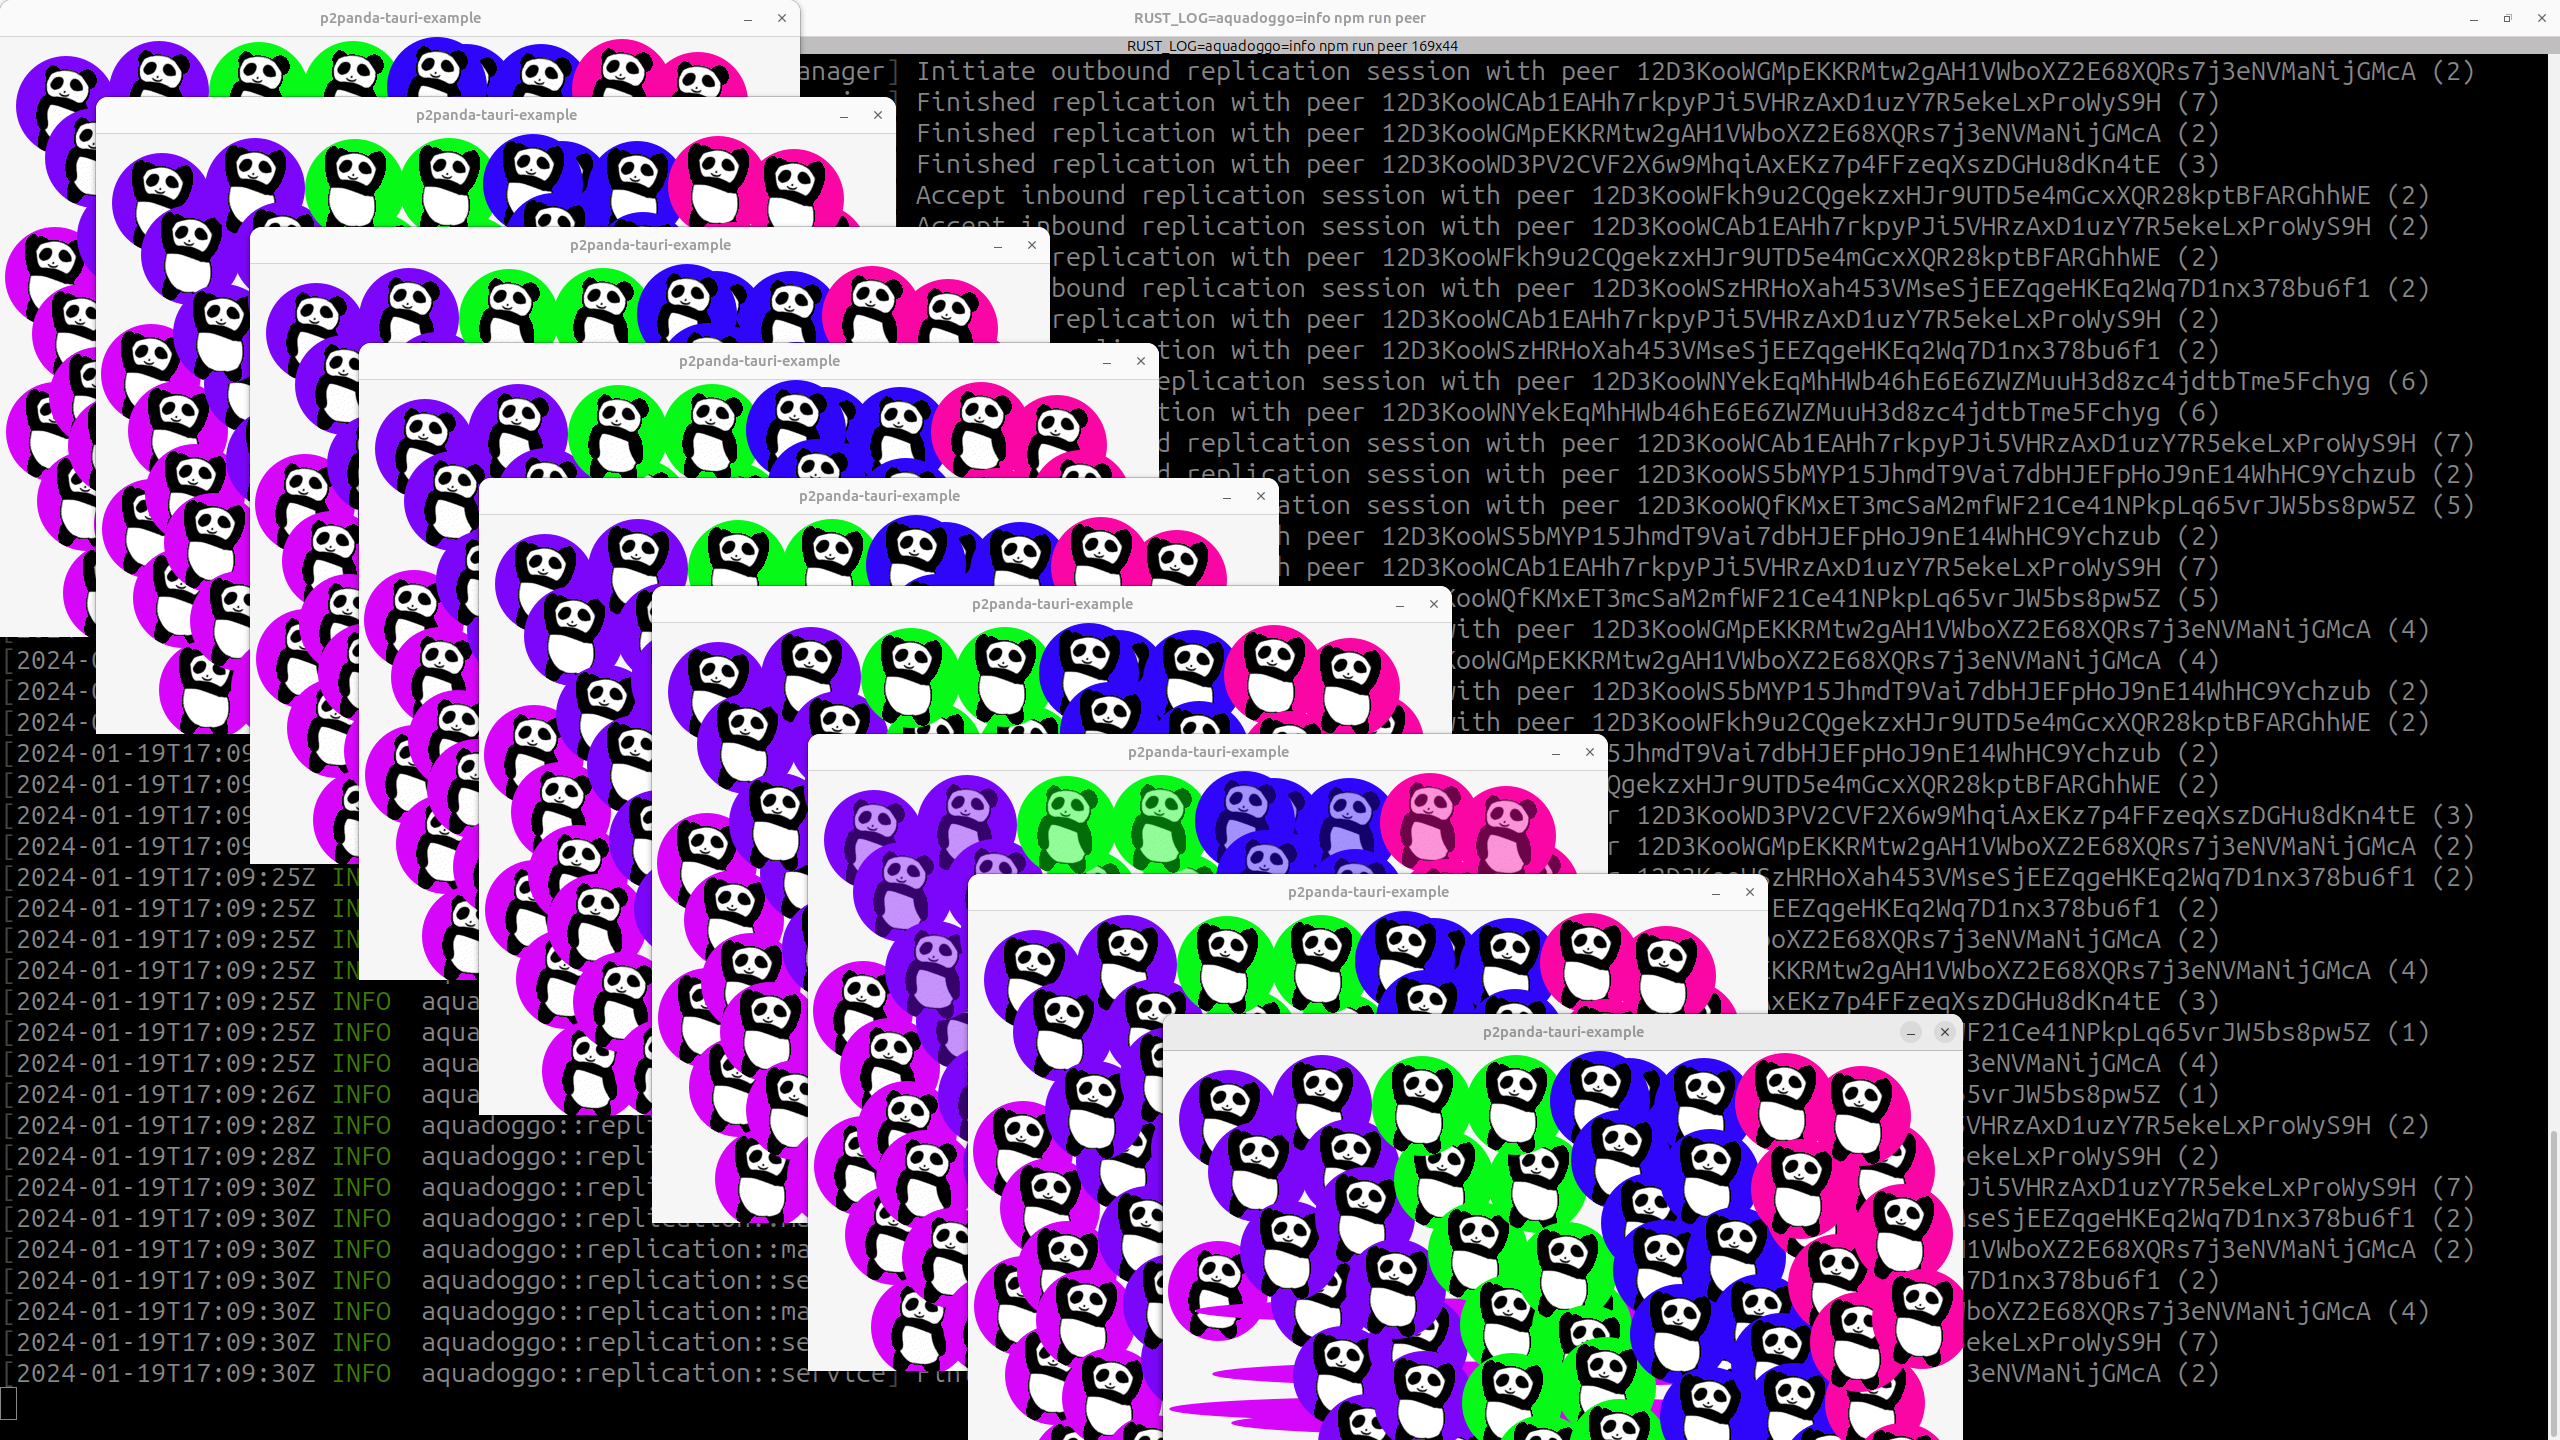
RUST_LOG="info" npm run tauri devTo test out p2p discovery and replication locally you can run multiple instances of the app simultaneously. You do this like so:
# Start up the front-end dev server, this same endpoint is shared across app instances.
npm run dev

# Start the tauri app selecting random port http port for the node. Run this many times to launch more peers.
npm run peer

# You can choose the http port manually too
HTTP_PORT=1234 npm run peer- Use
fishyto design, manage and deploy schemas on your node - Read more about the p2panda TypeScript SDK
shirokumawhich will help you to create data - Use the node's GraphQL API to query, filter and sort data
- Check out the configuration possibilities of
aquadoggo - Learn more about Tauri
GNU Affero General Public License v3.0 AGPL-3.0-or-later
![]()