-
Notifications
You must be signed in to change notification settings - Fork 0
V2 Migration Guide
Version v2.x of this plugin requires a different plugin config structure than prior v1.x versions. The plugin config structure was changed to enable more flexibility and support additional features. To support this change in structure, the plugin config version must be migrated to a v2-compatible structure.
If you are moving from any v1 Ecowitt plugin version to the v2+ version of this plugin, and you want to preserve your plugin config, a migration needs to be done. This includes those that are running another fork of the Homebridge Ecowitt plugin (supported by other authors) that are migrating to this Homebridge Ecowitt plugin. For example, you might be running -
-
v1.0,v1.1from spatialdude -
v1.2,v1.3from ochong -
v1.4from pavelserbajlo
If you are currently using any of these mentioned versions, you should follow Case 1 to migrate to v2. If you are already running v1 of this plugin, you should follow Case 2 to migrate to v2.
Case 1: Migrate from v1 of another Ecowitt Plugin to v2 of this Plugin
Case 2: Migrate from v1 of this Ecowitt Plugin to v2 of this Plugin
⚠️ Migration is only really necessary to preserve your plugin config. If you have a simple plugin config, or want to "start fresh" you can jump directly to v2 of this plugin and configure the plugin from scratch. The Getting Started Guide will help walk you through the set up.
⚠️ Unfortunately, existing Ecowitt accessories cannot be preserved when moving to v2. After migrating to v2, the first received data report will trigger the creation of new Ecowitt accessories. It's recommended to revisit any automations and scenes in Homekit associated with your Ecowitt devices to ensure they are configured properly after the migration to v2.
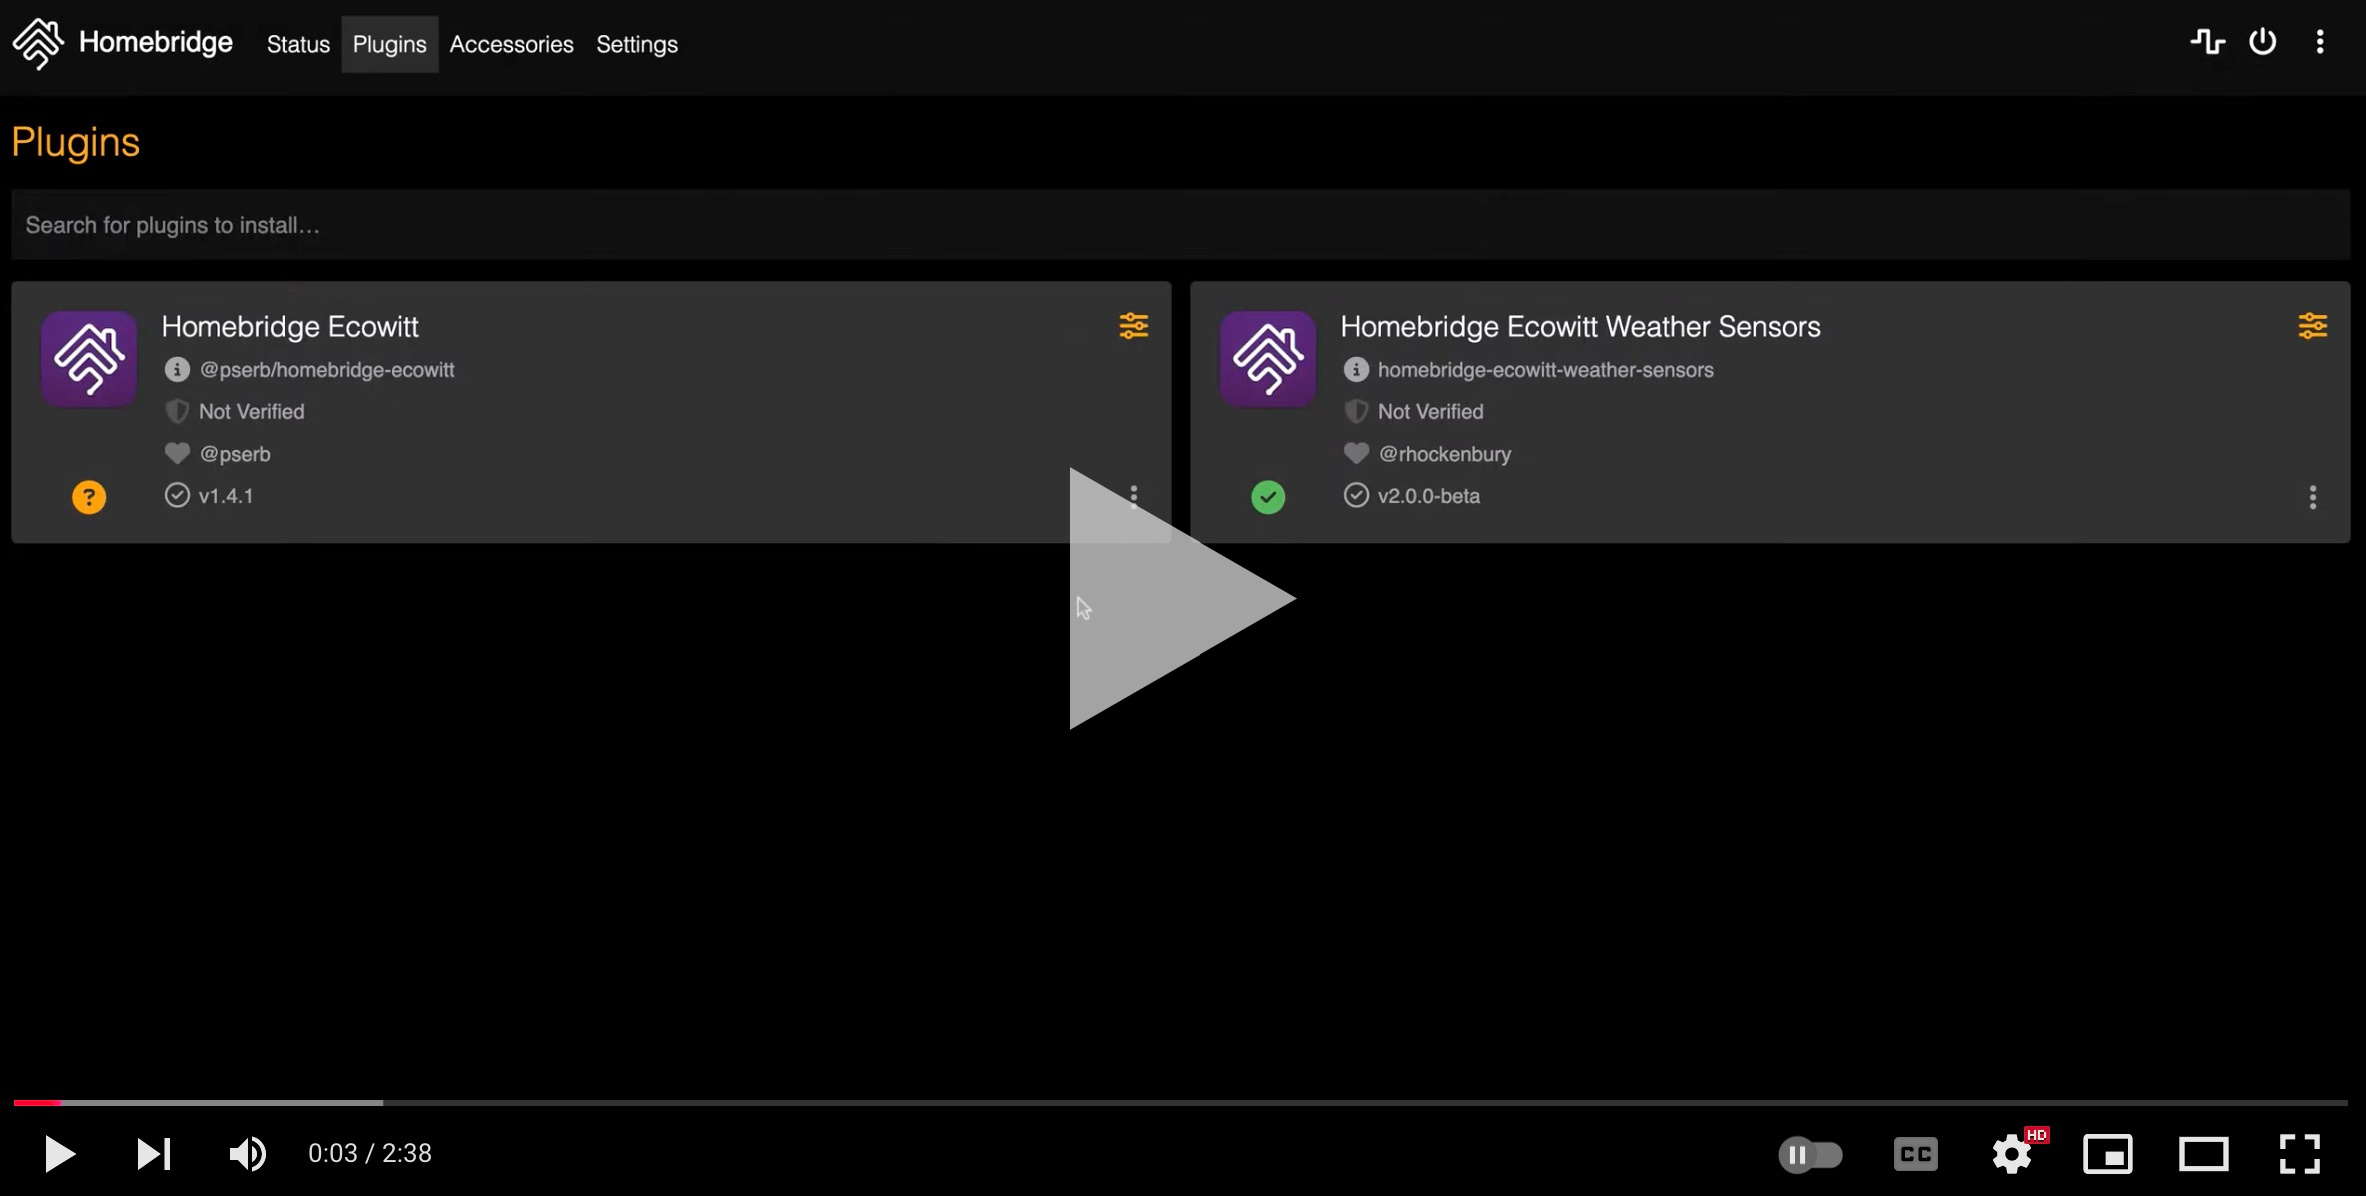
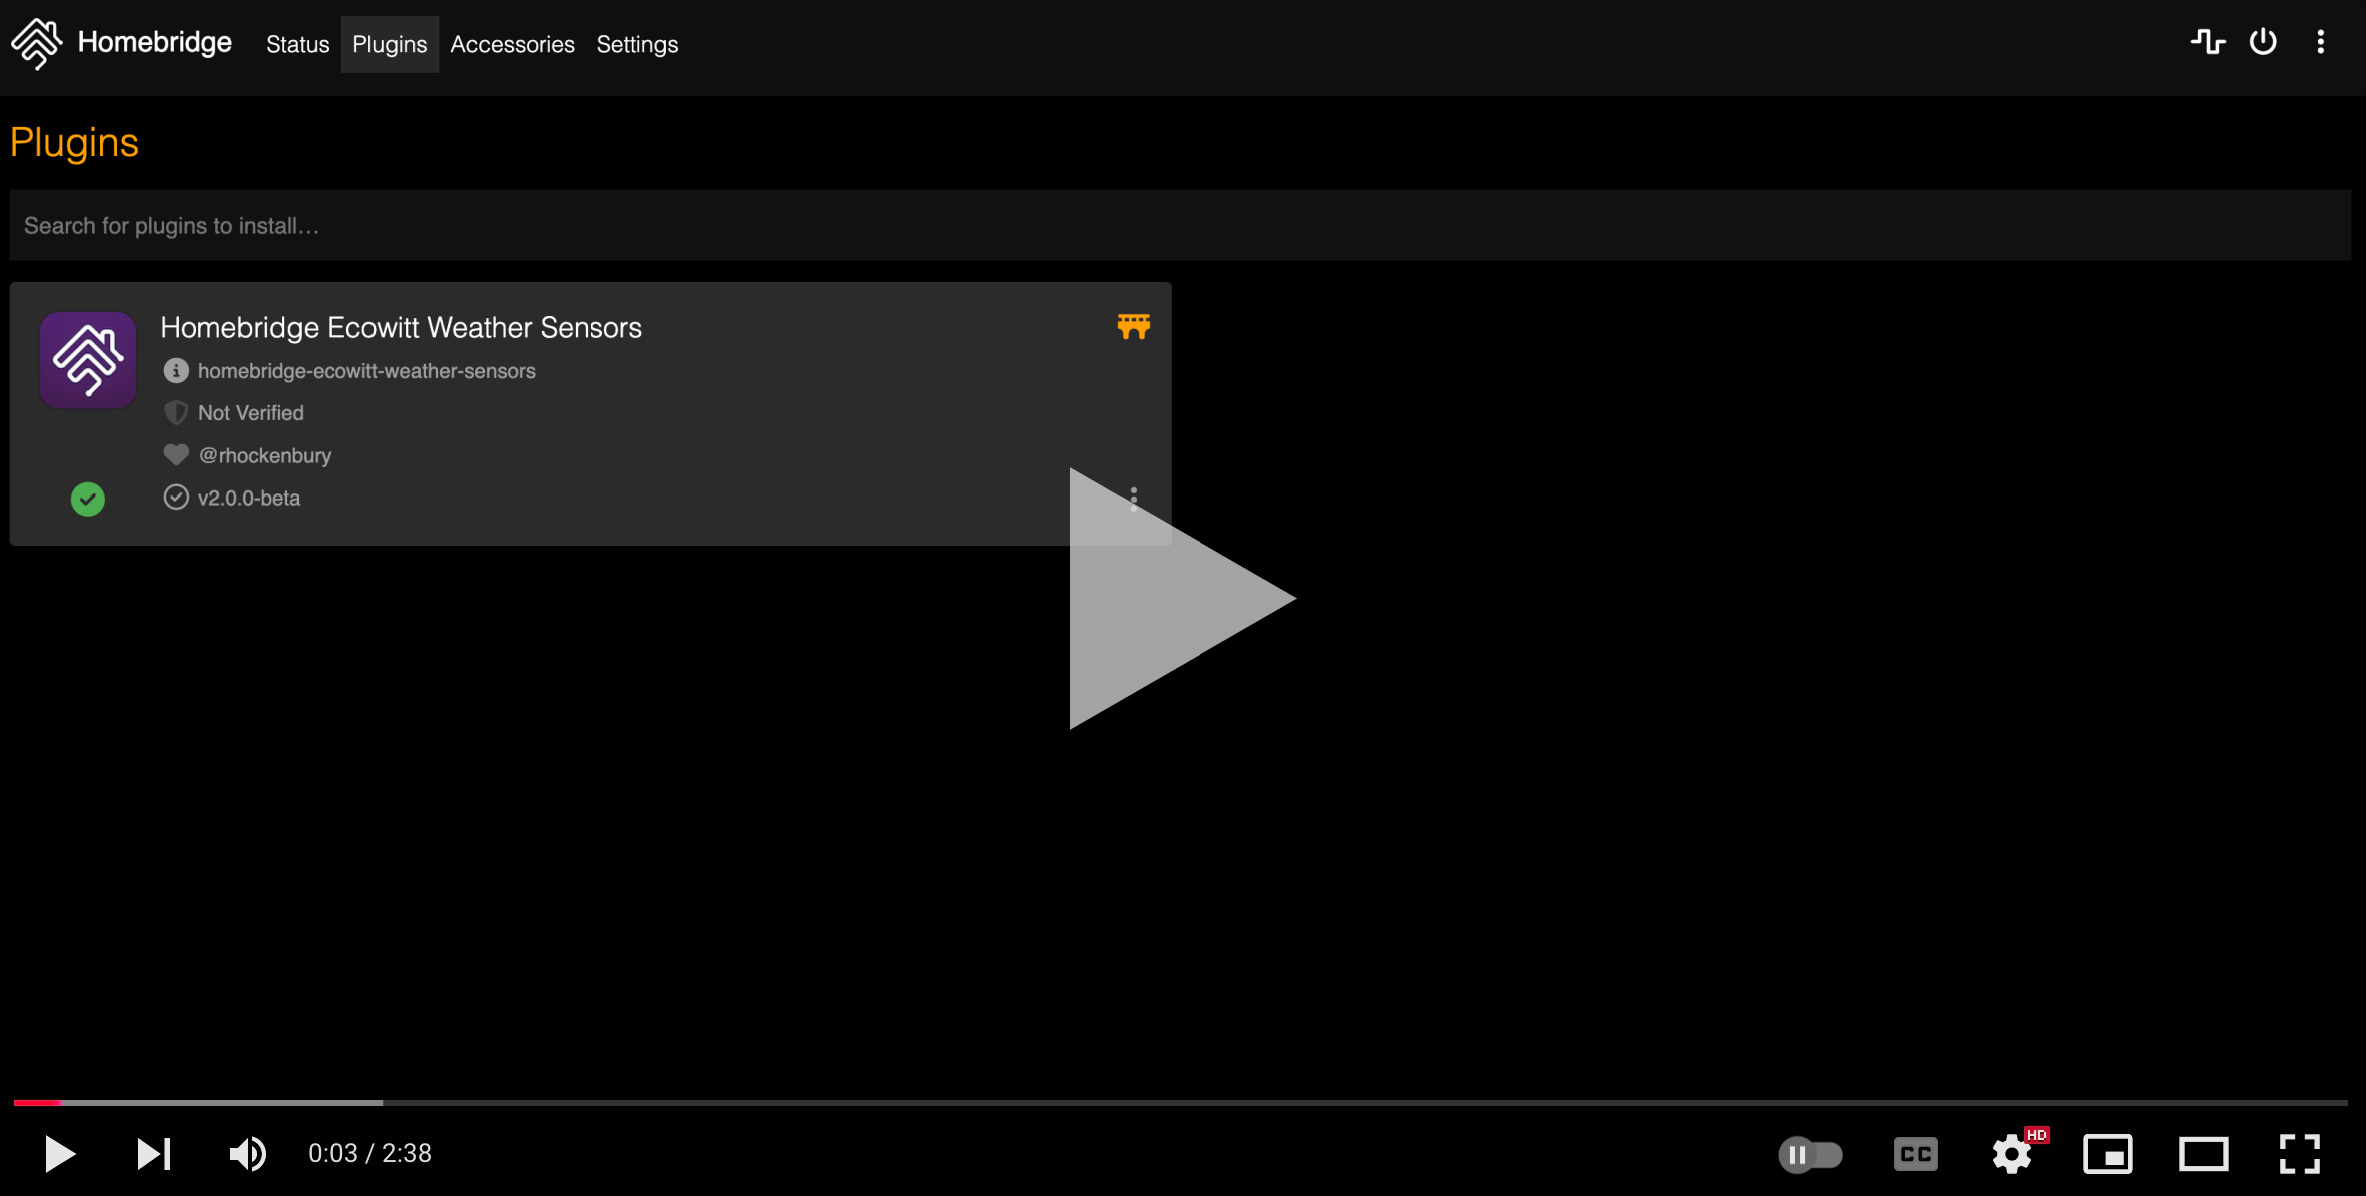
On the Homebridge UI "Plugins" tab, search for "Ecowitt" and find homebridge-ecowitt-weather-sensors. Select to install the plugin. A Homebridge restart will be required.
On the "Plugins" tab, find the old Ecowitt plugin. The old plugin is likely named @spatialdude/homebridge-ecowitt, @ochong/homebridge-ecowitt or @pserb/homebridge-ecowitt. Select to "Disable" the plugin. A Homebridge restart will be required.
On startup, the plugin will detect whether it's configured with a v1 or v2 config. If it detects a v1 config, the plugin will generate a migrated v2 config, and output this new v2 config to the Homebridge logs. Find the new v2 config in the Homebrige logs and copy it.
Head back to the "Plugins" tab, and select "JSON config" on the new plugin homebridge-ecowitt-weather-sensors. Delete the existing JSON config, and paste in the JSON config that was copied from the Homebridge logs. Make sure to include the full JSON object which includes the starting { and ending }. A Homebridge restart will be required.
On the "Plugins" tab, find the old Ecowitt plugin and select to "Uninstall."
You should now be running v2 of the new plugin with a v2 config. Check the Homebridge logs to see if the plugin is logging any warnings or errors. Now is also a good time to revisit any automations and scenes in Homekit associated with your Ecowitt devices to ensure they are configured properly after the migration to v2. Please report any issues associated with the upgrade.
Select "Manage Version" on the Homebridge UI "Plugins" tab. Select the latest v2 version and hit "Install." A Homebrige restart will be required.
On startup, the plugin will detect whether it's configured with a v1 or v2 config. If it detects a v1 config, the plugin will generate a migrated v2 config, and output this new v2 config to the Homebridge logs. Find the new v2 config in the Homebrige logs and copy it.
Head back to the "Plugins" tab, and select "JSON config" on the plugin. Delete the existing JSON config, and paste in the JSON config that was copied from the Homebridge logs. Make sure to include the full JSON object which includes the starting { and ending }. A Homebridge restart will be required.
You should now be running v2 of the plugin with a v2 config. Check the Homebridge logs to see if the plugin is logging any warnings or errors. Now is also a good time to revisit any automations and scenes in Homekit associated with your Ecowitt devices to ensure they are configured properly after the migration to v2. Please report any issues associated with the upgrade.
Please open an issue to report any issues with this documentation.

