A starter kit for building a custom Rocket.Chat bot with Botkit Studio.
This is a work in progress for the two communities to collaborate on to achieve the integration proposed in this issue on the main Rocket.Chat project: RocketChat/Rocket.Chat#9937
It follows the example of other Botkit starter projects, like https://github.com/howdyai/botkit-starter-slack to provide a starting point for building bots for teams and communities on Rocket.Chat
This project use the botkit-rocketchat-connector dependency to provide the controller access to Rocket.Chat message streams, methods and events.
When complete, this readme should be updated with usage and configuration docs, to help new users to either Botkit or Rocket.Chat with the end to end concerns.
It may also end up being moved to be maintained under the howdyai organisation, depending on what makes sense for the contributors doing most of the maintenance.
The botkit-starter-rocketchat use the botkit-rocketchat-connector, this repository it's a easy way to configure and use botkit inside RocketChat.
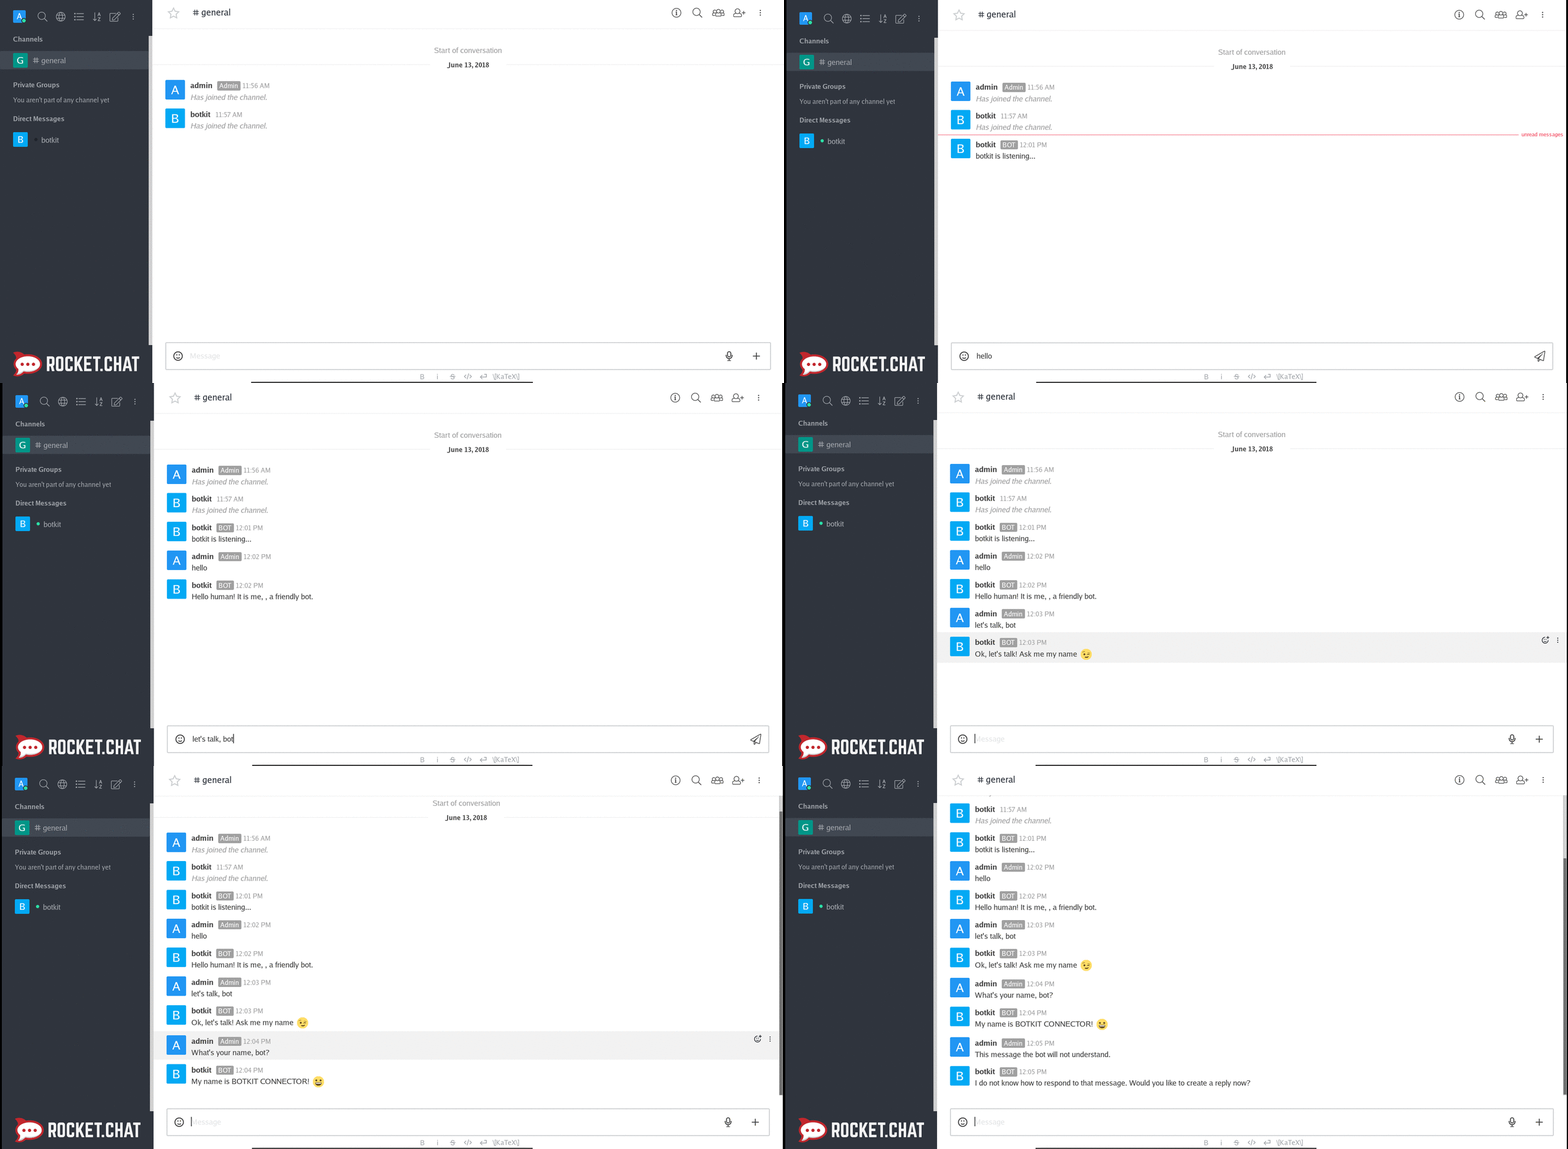
This is how your bot will work:
The image bellow exemplify this integration.
- Clone this repository:
git clone https://github.com/RocketChat/botkit-starter-rocketchat
- Install dependencies:
npm install
- Update .env file with your configuration:
studio_token=<BOTKIT STUDIO TOKEN>
ROCKETCHAT_URL=<ROCKETCHAT HOST>
ROCKETCHAT_USER=<BOTKIT USER NAME>
ROCKETCHAT_PASSWORD=<BOTKIT USER PASS>
ROCKETCHAT_USE_SSL=<SSL USAGE>
ROCKETCHAT_ROOM=<ROCKETCHAT CHANNEL>
MENTION_ROOMS=<CHANNEL THAT THe BOT WILL ONLY ANSWER WHEN MENTIONED>
RESPOND_TO_DM=<ENABLE BOT TO RESPOND TO DIRECT MESSAGES>
RESPOND_TO_LIVECHAT=<ENABLE BOT TO RESPOND TO LIVE CHAT>
RESPOND_TO_EDITED=<ENABLE BOT TO RESPOND TO EDITED MESSAGES>
See the section to Configure RocketChat.
- Run your starter:
node .
To have your local instance of RocketChat you just need to run:
- Up RocketChat container
docker-compose up mongo rocketchat
-
Create your user.
-
Create a bot with the same
BOT_USERandBOT_PASSof the.envfile.
Go to Administration -> Users -> + (in the right corner) -> insert the Name, Username, Email, Password and add the role bot than click in Save.
- Send a message in GENERAL channel or the channel that you configurated at
ROOMSin the.envfile.

