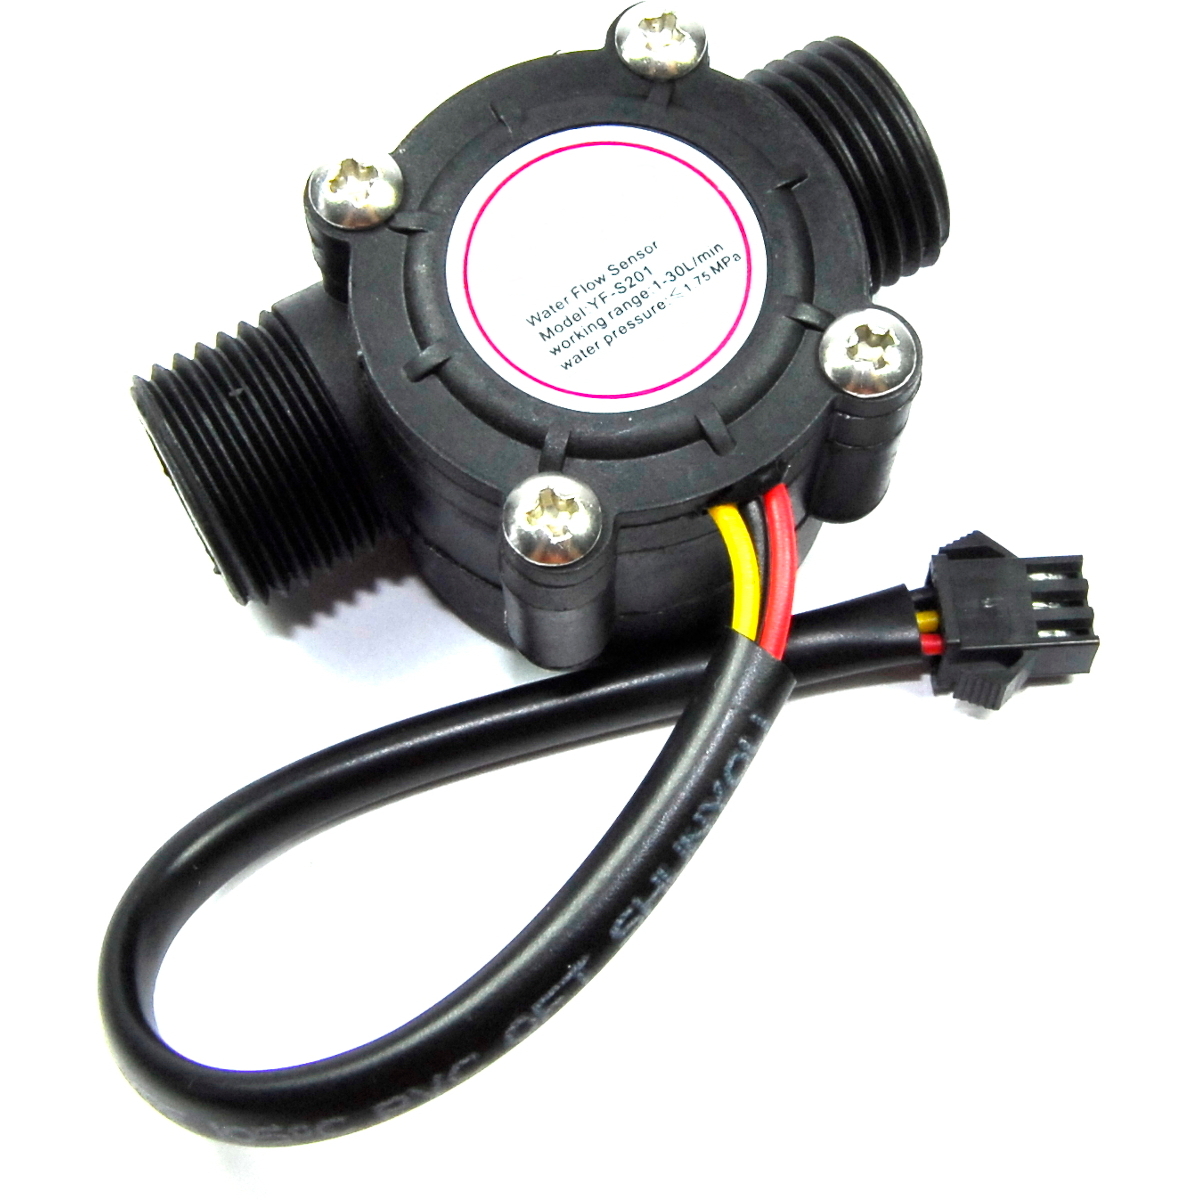
A Swift library for using Hall effect based water flow sensors.
This is a SwiftyGPIO built on library for using Hall effect based water flow sensors.
You will be able to read, via GPIO pin, the current flow rate per second and read the total volume flowed per requested time.
The illustration above gives a detailed working explanation of Hall effect based water flow sensors: a turbine wheel embedded with a magnet is placed in a closed case along with a Hall effect sensor. When water flows through the pipe, it makes the turbine wheel rotate and hence the magnet flux interferes the Hall sensor. The rate of interference depends directly on water flow rate, so the Hall effect sensor produces a pulse signal output. This pulse output can be transformed to water volume passed through the pipe per minute.
Hall effect based water flow sensors can provided by different manufacturers, but they all follow the same working principle. So, what makes them different? The formula that describes the sensor's pulse frequency transformation to flow rate.
The formula usually follows the form of:
Where:
- F: Pulse frequency in 1/s
- k: Pulses per second per unit of measure (1/s)/(l/min)
- Q: Flow rate in l/min
The sensor should be powered using 5V.
The Raspberry Pi’s GPIO pins operate at 3.3V
Every board supported by SwiftyGPIO: RaspberryPis, BeagleBones, C.H.I.P., etc...
To use this library, you'll need a Linux ARM board running Swift 5.x 🚗.
The example below will use a Raspberry Pi 3B+ board, but you can easily modify the example to use one of the other supported boards. A full working demo project for the RaspberryPi3B+ is available in the Example directory.
First of all, make sure your board is running Swift 5.x
Since Swift 5.x supports Swift Package Manager, you only need to add SwiftFlowMeter as a dependency in your project's Package.swift file:
let package = Package(
    name: "MyProject",
    dependencies: [
        .package(url: "https://github.com/samco182/SwiftFlowMeter", from: "1.0.0"),
    ]
    targets: [
        .target(
            name: "MyProject",
            dependencies: ["SwiftFlowMeter"]),
    ]
)
Then run swift package update to install the dependency.
The first thing is to initialize an instance of SwiftFlowMeter.
The SwiftFlowMeter initializer requires you to add a SensorCharacteristic instance. This object represents the formula that describes the sensor's pulse frequency transformation to flow rate.
Once you have your meter object, you can start getting the total flow per minute, or request flow rate readings per second, for example.
import Foundation
import SwiftFlowMeter

// Some sensors have an additional parameter, so their formula looks like F=k*Q+C. That is the `modifier` parameter for.
// If your sensor does not contains it, you can easily instantiate with SensorCharacteristic(kFactor: 10) instead.
let characteristic = SensorCharacteristic(kFactor: 10, modifier: .negative(4))

// You can also initialize the object without the .RaspberryPi3 parameter, since that is the default board.
let meter = SwiftFlowMeter(for: .RaspberryPi3, pinName: .P27, pulseCharacteristic: characteristic)

meter.readTotalVolume(every: .minutes(1), onVolumeCalculation: { totalVolume in
    print("Total flow per minute: \(totalVolume)")
}, onFlowRateCalculation: { flowRate in
    print("Flow rate: \(flowRate.value) l/min")
})

RunLoop.main.run()
There is another method you can use to obtain flow rate calculations per second only:
meter.readFlowRate { flowRate in
    print("Flow rate: \(flowRate.value) l/min")
}
⚠️ You should not call both methods at the same time, that is whyreadTotalVolumehas an injectable closure to be executed every time the flow rate is calculated. If you call them both at the same time, you might start getting weird readings⚠️ !
If for some reason you need to stop receiving readings for either total volume or flow rate, you can easily do it by calling the following:
meter.stopReadings()


