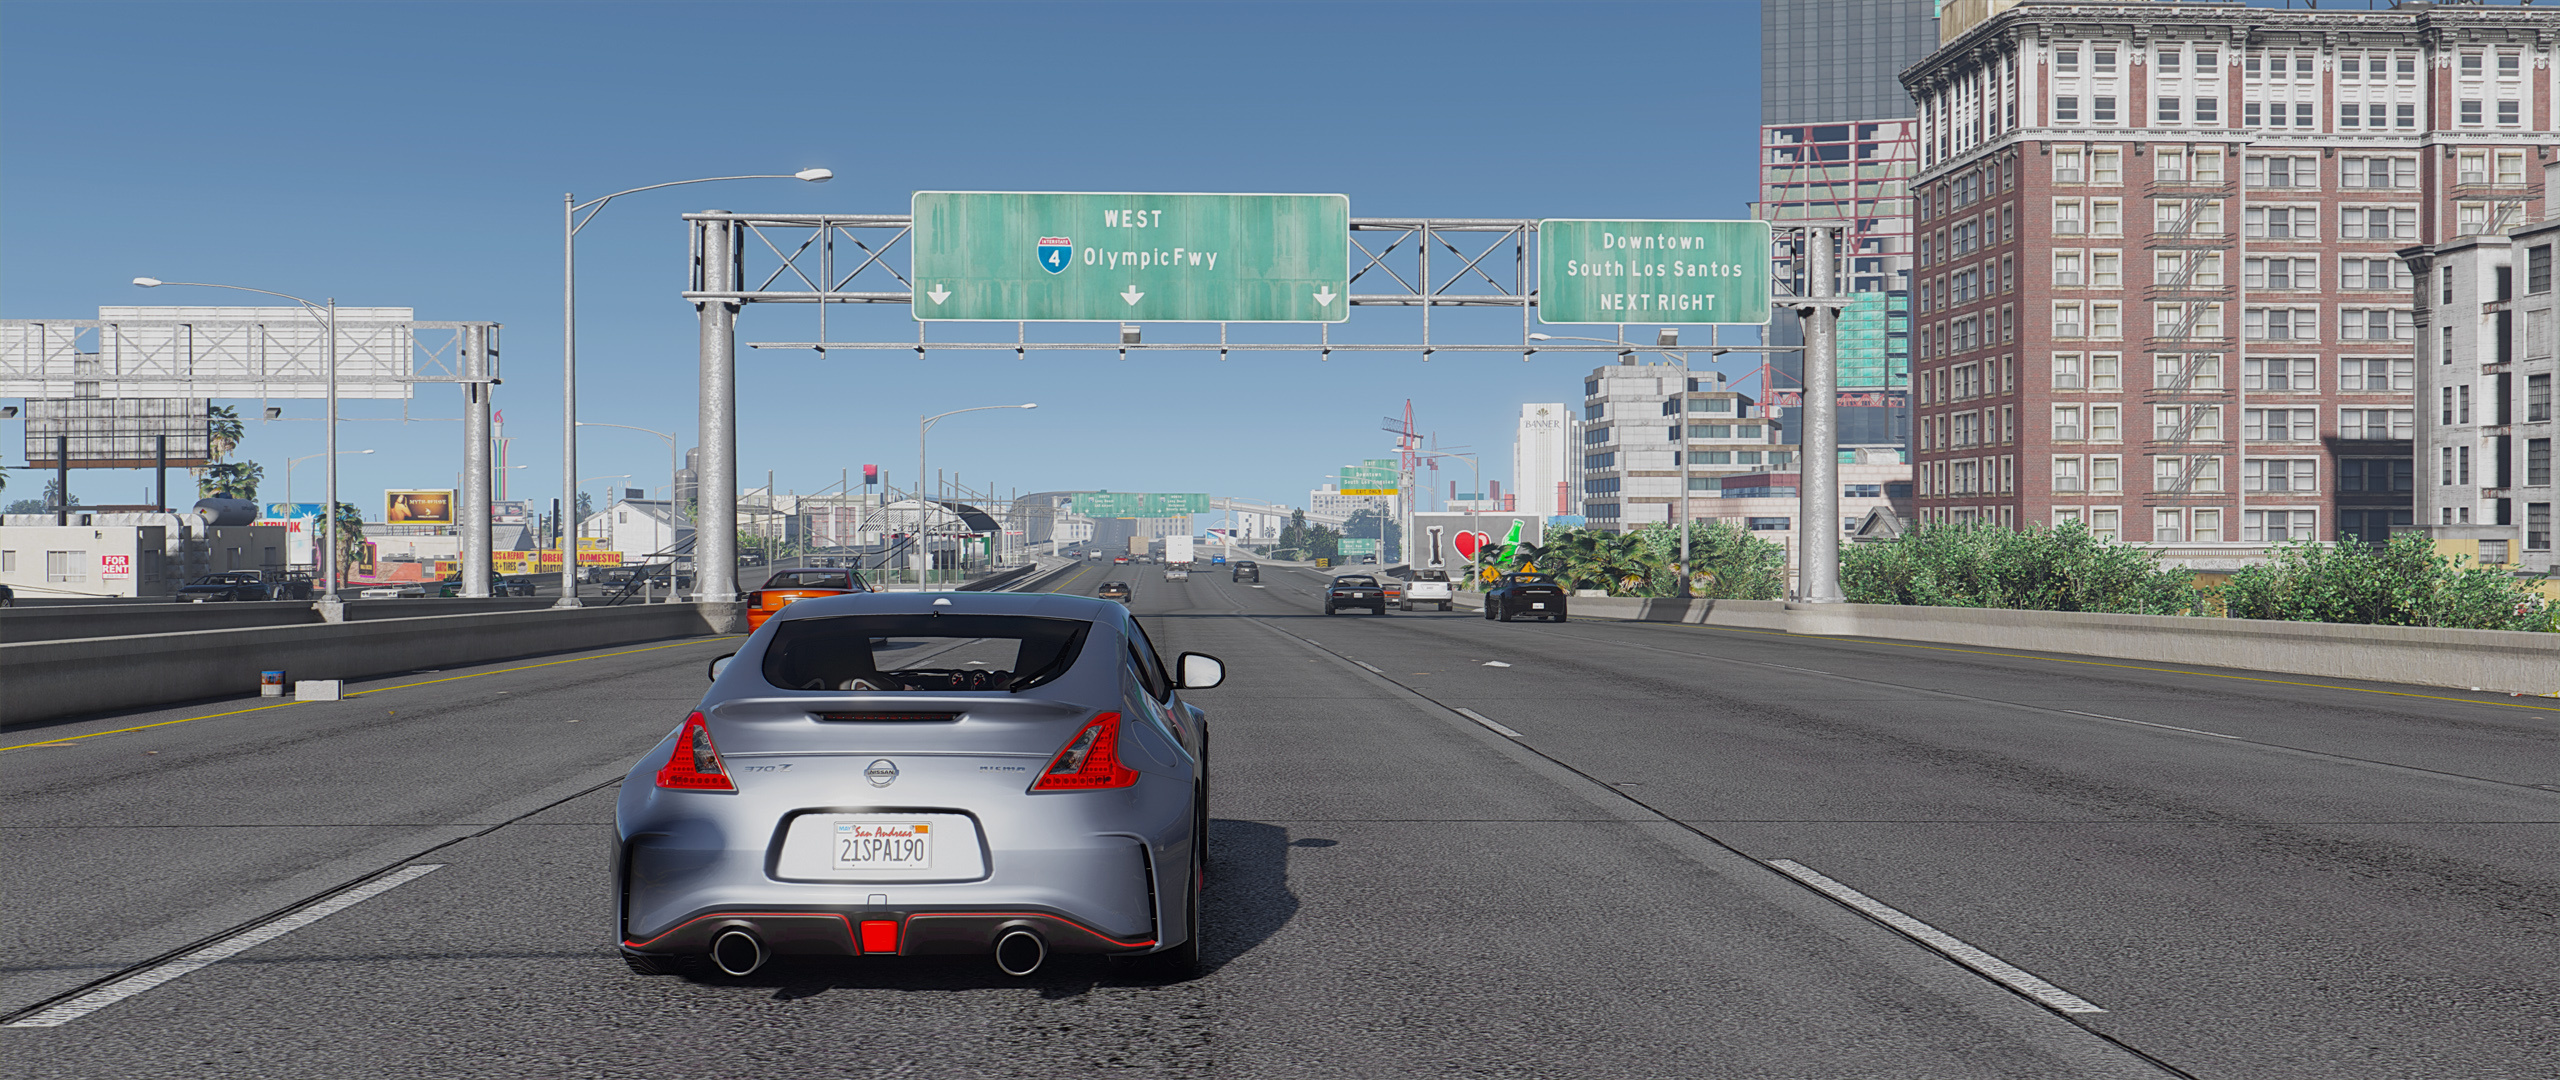
A plugin for GTAV that transforms it into a vision-based self-driving car development environment. It supports two main operation modes, Dataset generation or Reinforcement Learning environment and it is super easy to install!
If you are using this code for research, please email me, I would like to hear more! :)
Update GTAV to the last version and just copy-paste the contents of bin/Release under your GTAV installation directory and replace your saved game data in Documents/Rockstar Games/GTA V/Profiles/ with the contents contents of bin/SaveGame. Additionaly, download paths.xml and store it also in the GTAV installation directory.
Done! Configure your setup in the config.ini file and run the game. It will work out-of-the-box, it doesn't require any extra dependencies!
The configuration options of the environment are set through the config.ini file, in general a -1 value means randomly generated:
- mode: 0 for dataset generation, 1 for reinforcement learning [integer]
- imageWidth: Width in pixels of the images generated by the plugin [integer]
- imageHeight: Height in pixels of the images generated by the plugin [integer]
- car: Vehicle to use. For now only blista (Toyota Prius) is supported (0) [integer]
- weatherChangeDelay: Time in seconds between weather changes [integer]
- initialWeather: Initial weather type [integer]
- initialHour: Initial in-game hour [integer]
- initialMinute: Initial in-game minute [integer]
- initialPosX: Initial x position of the vehicle (will be redefined to closest road) [integer]
- initialPosY: Initial y position of the vehicle (will be redefined to closest road) [integer]
- maxDuration: Duration in hours of the session [integer]
See Scenario.cpp for more details on the supported values, especially for car, drivingStyle and initialWeather.
The in-game screenshots are stored as RGB PNG format, with the specified width and length of the config.ini file. These images are named in order of capture from 1 to undefined. Alongside the images, a file named dataset.txt contains a row for each image name, with the labels associated to it separated by spaces. The labels are the following, in the same order:
- Speed (m/s)
- Acceleration (m/s2)
- Brake pedal position (0 to 1)
- Steering angle (-1 to 1, left to right)
- Throttle pedal position (-1 to 1, negative is reverse)
- Yaw rate (deg/s)
- Direction (-1 to left, 1 to right)
This way of storing the dataset has two main benefits:
- It allows easy shuffling and splitting of data, by just reordering the lines or creating new dataset files.
- Easy preview and/or modification of the images
It can also have some drawbacks:
- Generates a lot of files, which can be hard to handle by graphical file browsers
- Higher size, given by the generation of meta-data produced by the individual files.
Also, this mode supports the following extra configurations of config.ini:
- captureFreq: Frequency of image and labels capture in Hz (FPS) [integer]
- datasetDir: Absolute path with trailing slash to directory to save the dataset (must exist) [string]
- setSpeed: Set speed of the vehicle in m/s during dataset generation [float]
- drivingStyle: Driving style of the vehicle driver during dataset generation, -1 is manual mode [integer]
It is also possible to use DeepGTAV as a reinforcement learning environment. When the game starts, the plugin will try to connect via TCP to any server listening in the specified port (see VPilot for an example on how a server that communicates with DeepGTAV should be built). Input actions are throttle, brake and steering in this order and should have the same format as the output from the Data Generation mode.
Once it is connected, the plugin will enter in a loop. First it will send the current game state (camera pixels with the specified with and height) and wait for the actions in return (throttle, brake and steering). Once the commands are received it will send back the reward as response (a float number between -1 and 1) and repeat.
The following extra configurations can be set in config.ini for this mode:
- reward: Selection of reward function [integer]
- desiredSpeed: For rewards that require so, the set speed the vehicle should have (m/s) [float]
- desiredAgressivity: For rewards that require so, a float between 0 and 1 that regulates the behavior of the reward function [float]
- host: IP to connect to [string]
- port: Port to connect to [integer]
Nowadays 3 type of reward functions can be chosen, all of them penalize collisions:
- Reach speed (0): Reach and keep a desired speed.
- Stay in lane (1): The more centered the better, if the vehicle goes against traffic or gets out of the road the reward will be negative.
- General (2): It is a combination of the other two, the vehicle will try to stay in lane while maintaining a certain speed, the agressivity configuration option sets how the two partial rewards are averaged. The more agressivity the more reward will be given for keeping the speed and less to stay in lane (i.e. tendence to overtake other vehicles)
- New Online Learning mode (end of January)
- Implement target labelling (vehicles, peds animals and hopefully traffic signs and map directions) (end of February)
- Find a way to automatically close/restart the game once dataset generation has finished/vehicle is stuck.
- Bug fixes and improvements.
Many thanks to @crizCraig and the OpenAI team for providing me with access to their repos and pioneering this work with DeepDrive!
