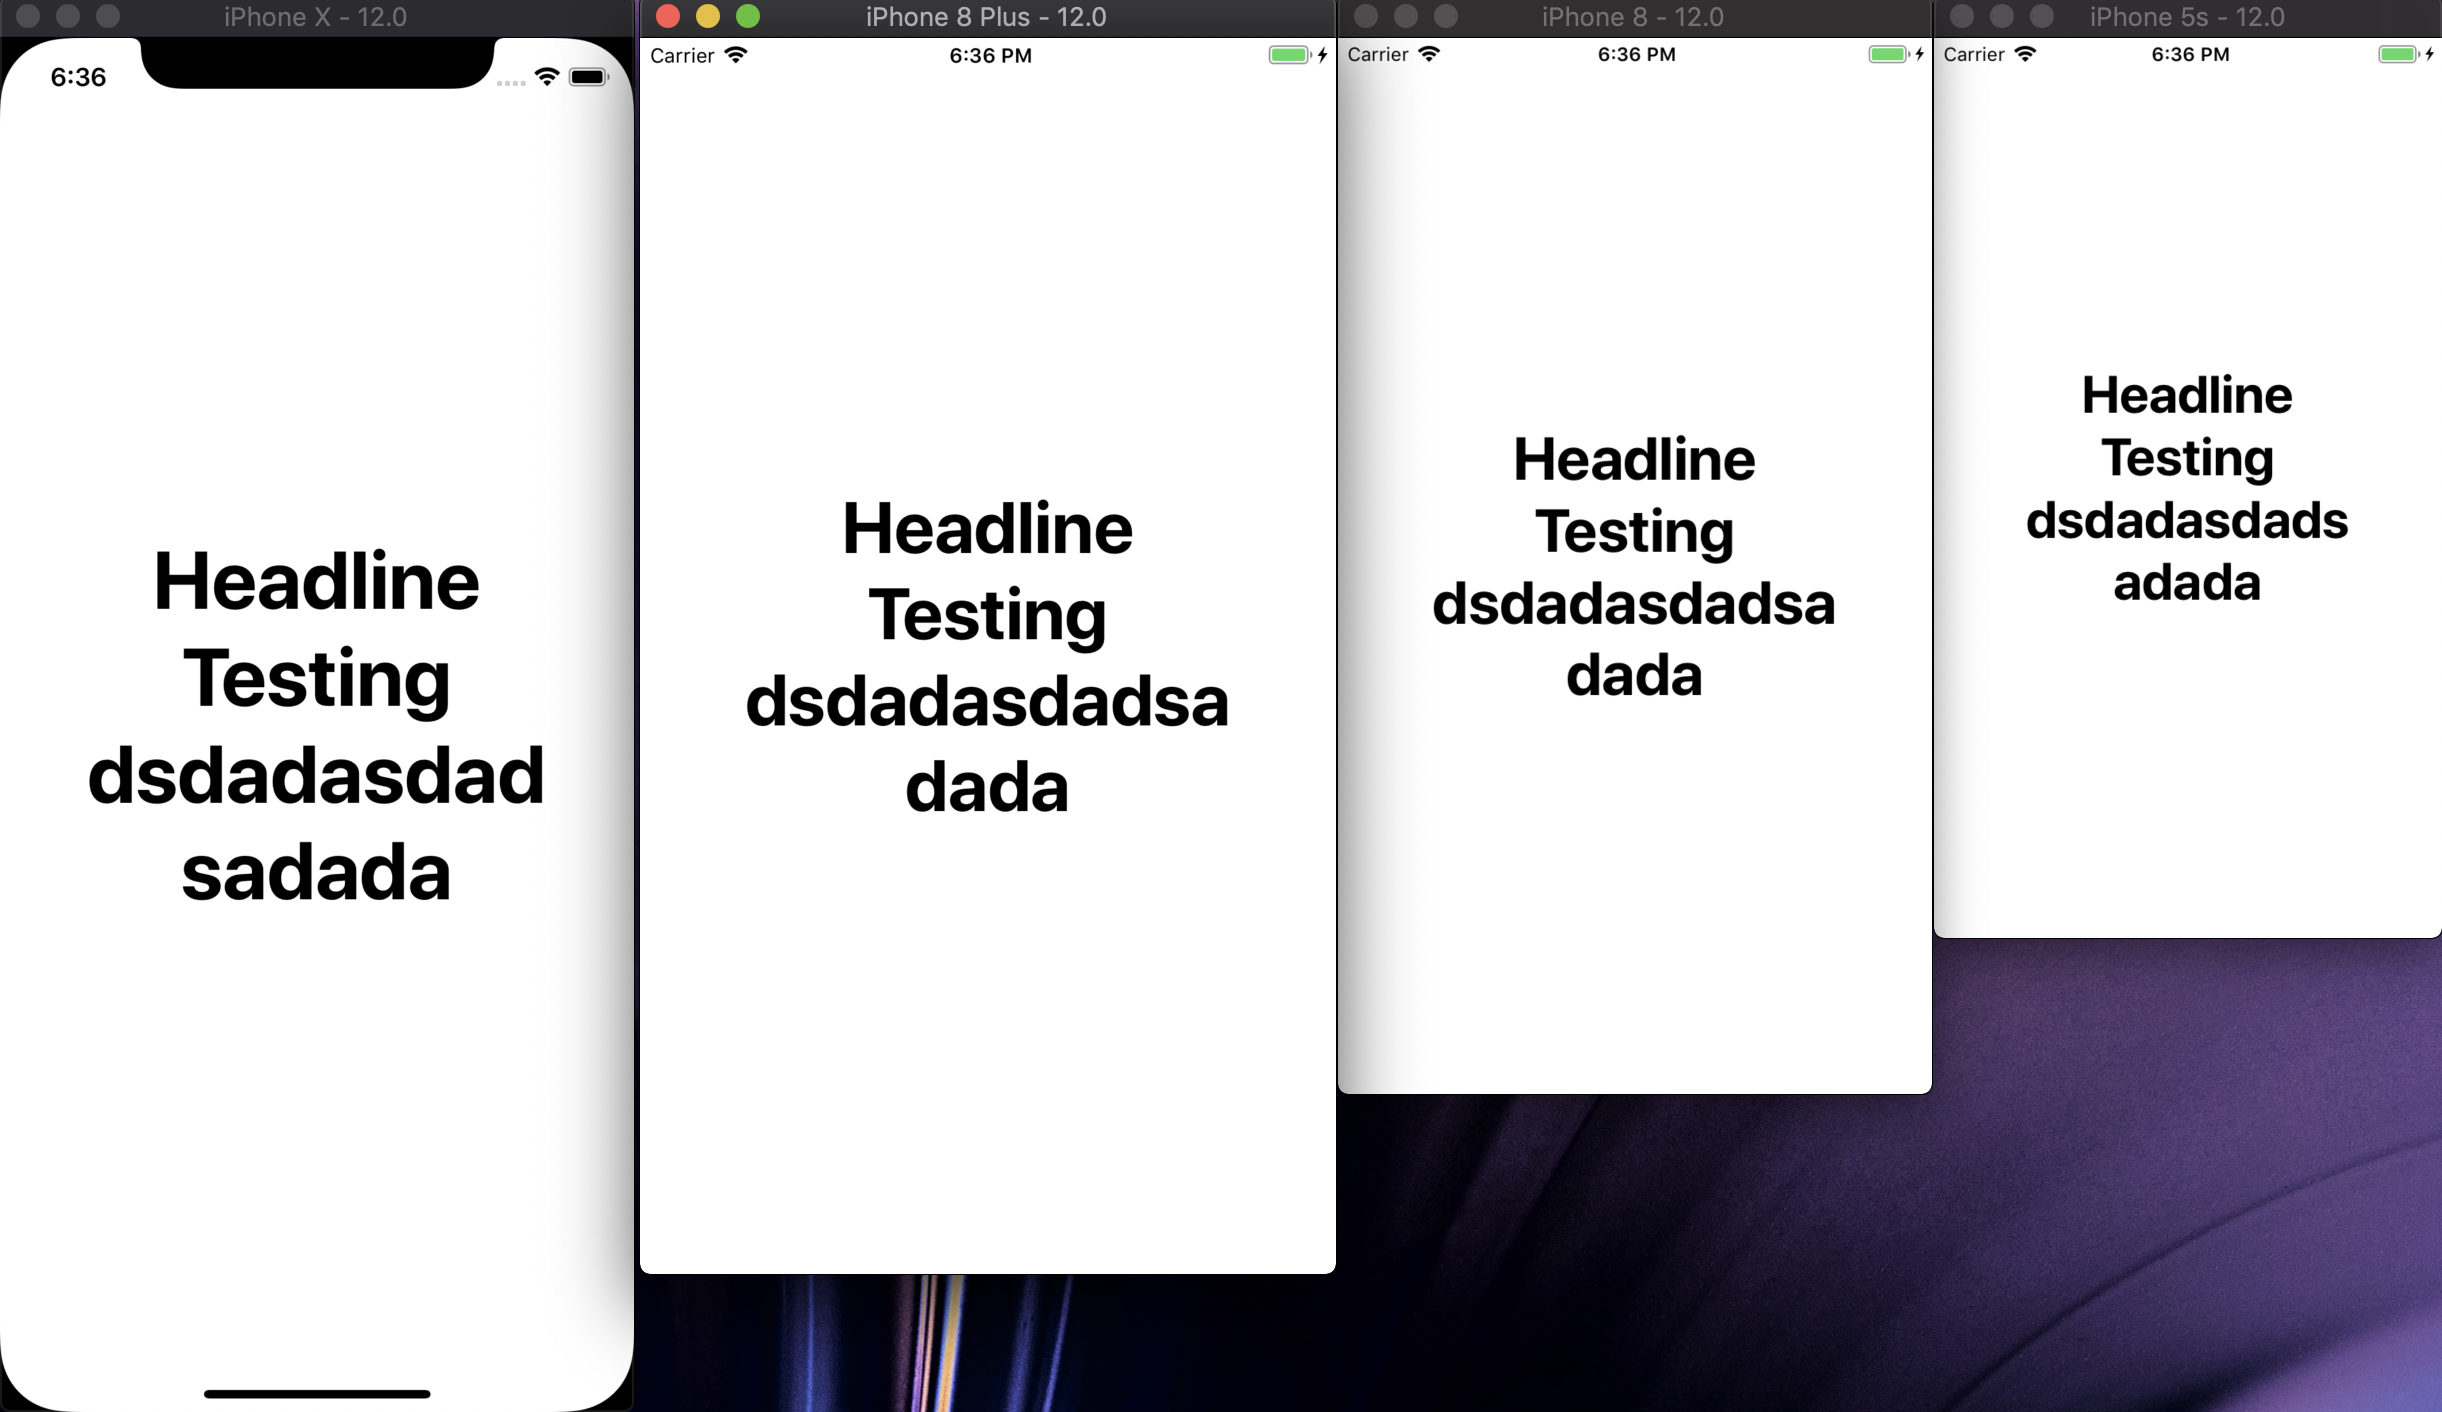
- Just drag and drop. I will setup CocoaPods later because currently finding solution for creating custom stylesheet.
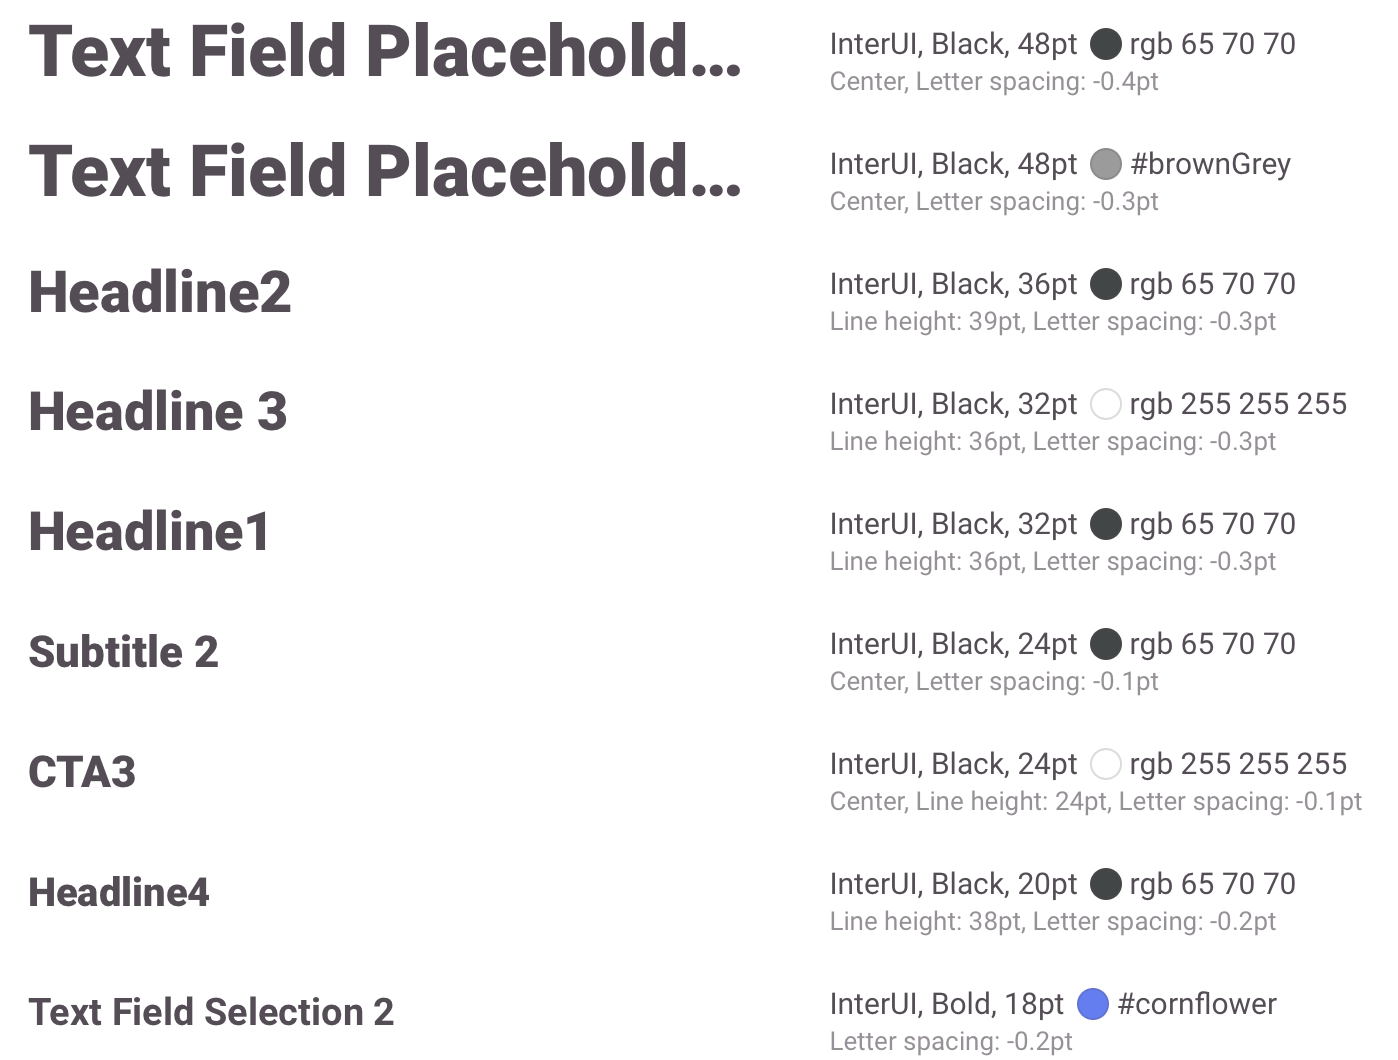
Since this label component is based on Stylesheet, you may need to get the stylesheet first with variable font sizes.
-
Collect those font sizes and group from higher to lower
-
Edit
enumas shown below picture for controlling font size
      internal enum SizeLevel: Int {
            case HeadLineOne = 0 // 48 points
            case HeadLineTwo = 1// 36 points
            case Biggest = 2 // 32 points
            case Bigger = 3  // 24 points
            case Big = 4 // 20 Points
            case Medium = 5 // 18 points
            case Normal = 6 // 16 points
            case Small = 7 // 14 points
            case Smaller = 8 // 12 points
      }
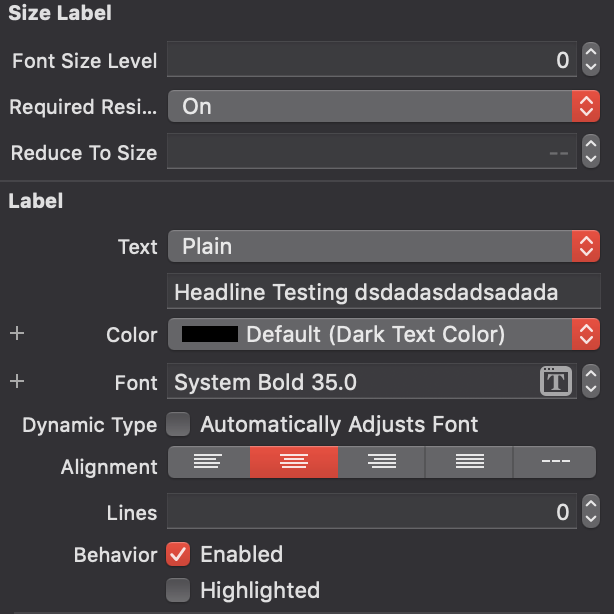
First you need to define the UILabel that you want to use as TASizeLabel at identity inspector.
Font Size Label - is the enum that you configured. Can set it to 0,1,2,3,4
Required Resize - true will use default auto resize config. Default is false
Minimum Size - When you set requiredResize to true, you can also set custom reduce point for smaller devices [iPhone 4S and 5 sizes] instead of using default configuration. Just set the smallest size that you want to see on those devices and it will automatically resized as same algorithum used on high end devices.
Kerning Space - You can use this attribute to control character spacing. Default is 0.0.
import UIKit

class ViewController: UIViewController {

    @IBOutlet weak var lblSizeOne: TASizeLabel!

    override func viewDidLoad() {
        super.viewDidLoad()

        lblSizeOne.requiredResize = true
        lblSizeOne.fontSizeLevel = 0

        // Do any additional setup after loading the view, typically from a nib.
    }
}


