✨ Updated October 2018: As we have introduced some new features, this tutorial and the code samples have been updated! All the changes from the previous version of this example, read the DIFF.md
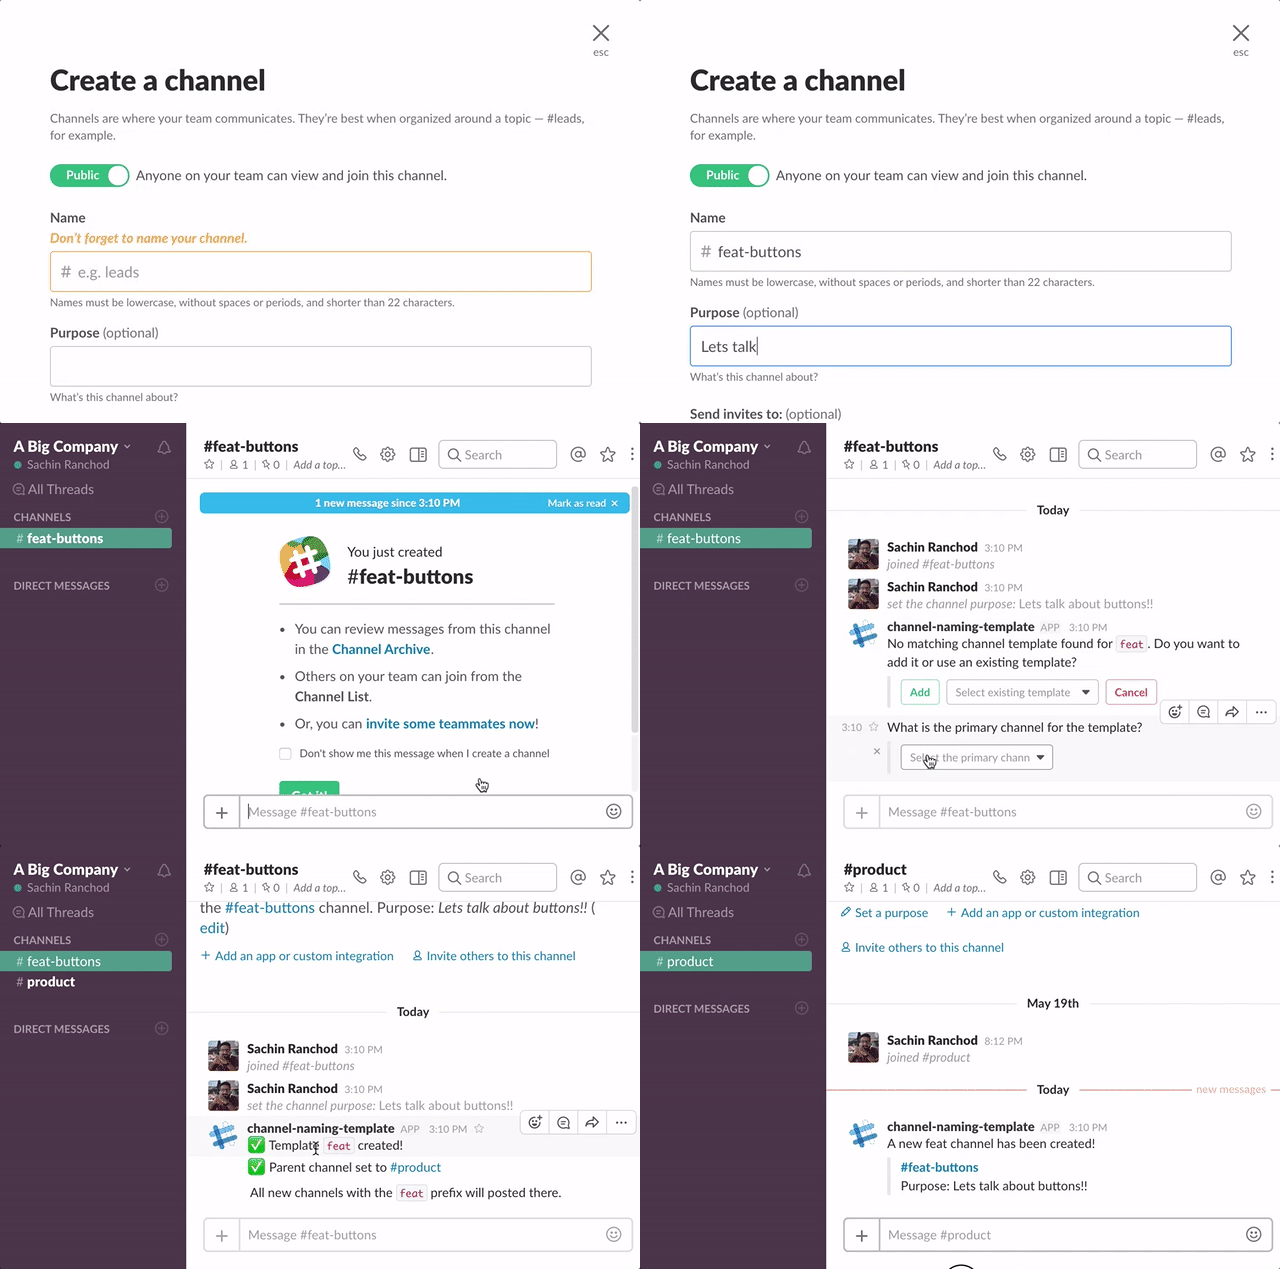
An example app that helps enforce channel naming conventions.
 (The GIF image is outdated, however, the functionality of this sample app reminds the same! 🙇♀️)
git clone https://github.com/slackapi/template-channel-naming.git
- Create an app at https://api.slack.com/apps
- At Bot Users, add a new bot user.
- Click on OAuth & Permissions and select the following scopes:
chat:write,channels:read,chat:write.public - Enable the interactive messages (See below Enable Interactive Messages)
- Enable events (See below Enable the Events API)
- Click 'Save Changes' and install the app to all channels (You should get an OAuth access token after the installation
- Set the following environment variables in
.env(copy from.env.sample):SLACK_ACCESS_TOKEN: Your app'sxoxa-token (available on the Install App page)SLACK_SIGNING_SECRET: Your app's Verification Token (available on the Basic Information page)PORT: The port that you want to run the web server on (Default: 5000)
- If you're running the app locally:
- Start the app (
npm start)
- Start the app (
- Click on Interactive Components and enable the feature.
- Set the Request URL to your server URL +
/interactions
If you did "Remix" on Glitch, it auto-generate a new URL with two random words, so your Request URL should be like: https://fancy-feast.glitch.me/command.
- Click on Events Subscriptions and enable events.
- Set the Request URL to your server (e.g.
https://yourname.ngrok.com) or Glitch URL +/events - On the same page, scroll down to Subscribe to Bot Events and subscribe to the
channel_createdandchannel_renameevents.
